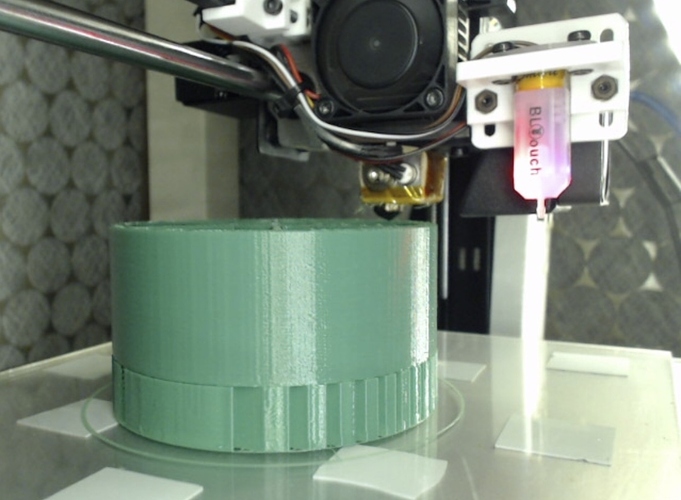
The “fit” is not perfect, but that might be a good thing. It’s worth a shot going through the full calibration with the new “pull up from bottom” technique (mine ended a wee bit short last night) and trying it out. Would be good to compare curve and interpolation.
That’s a good thing to do, it will also keep the point pressed down uniformly over surface irregularities.
Yeah this would be ideal. Maybe adding a little bit of clearance for the pencil so that it can slide easily then just a couple hooks on the top for some rubber bands might be enough. I think I have the Fusion360 file on thingiverse if you want to give it a shot.
I’ve had fairly good luck with it as is but I do have to adjust the z periodically
I’m also printing a big hollow screw-together camera holder that I can fill with BBs for weight. I’ll put that file up once I try it.
Thank you, I was actually about to apologize for explaining friction as if no one here had ever heard of it! I wasn’t intending to be condescending. Thank you for not taking it that way!
nice pretty graphs, but I don’t understand what they mean.
what are the different runs, why is the X axis of the graphs -15 to 15?
David Lang
The matrix of test squares is 31x15. Each square is 3 inches apart. So -15,+7 is the top left square and +15,-7 is the bottom right square. Multiply those coordinates by 3 and you have the position of the center of the square in inches, relative to the maslow’s coordinate system. Each series in the chart reflects a single row of measurements (from -15 to +15)
What are the units on the vertical axis?
millimeters
I suspect the frame is tilted a little… doesn’t take much tilt to do that.
Nothing seems to come out to the correct scale whenever I print things… I don’t know if its a calibration issue with the printer or that PLA shrinks. I think I’m just going to have to use the drill press and try my best to get the hole in a 1/2-inch dowel in the middle of it.
PLA does shrink by ~10% as it cools (more if you treat it afterwards)
David Lang
It came out too small? How far off was it? I’m using petg which avoids shrinkage. But I also found that my Wanhao i3 Plus clone had the incorrect steps per mm setting from the factory, so you might have something to adjust on the printer also.
Most slicers can easily scale models also. So might be worth a try measuring how much smaller yours came out as then scaling the appropriate amount in the slicer.
More like 2%
Thanks for the correction
David Lang
Print a 10 mm cube and 100 mm cube - from there you can calc “correction and scale”
Thank you
Yesterday I scaled it up by 1.07 (I found on the internet that pla shrank 7%… not saying its, right, just what I found) but the piece came out too big and the inside hexagon for the pencil was too small. So, I measured today and came up with 1.049 as the scale factor… so I used 1.045. I then increased the size of the hexagon some and the print looks much better. Can’t test it until tomorrow, but I think it will fit.
you have two factors
-
the material shrings as it freezes
-
the 3D printer is printing a wide line, and your cad is for the center of the
line, so you have to move the line in the cad over by half the width of the
layer (and since that depends on your extrusion rate and movement rate, it is
non-trivial to calculate, so you end up tweaking it until it prints the way you
want)
David Lang
+1 this rings true to me.
For #2 you can do an e-step calibration. Also check your filament diameter with calipers and make sure your slicer is set accordingly. Finally you can tweak line width by adjusting the flow percentage in most slicers. I think I have my petg set to 95% flow because I found experimentally that my line width was too big otherwise
Your board should arrive tomorrow - BTW
Thank you
