After disappointing results on my first run, I’m excited for this next. I have taken apart the machine and sanded down all belt guides so they spin relatively freely but with no play inside of the arms. I also think I might have had the arms in the wrong order? But we will see.
I want to do a new total calibration. But I have a question about the z offset first.
I am cutting horizontally with concrete anchors. The 3/4-in plywood is sitting on top of a 0.5 -in foam pad.
My question is where should I put the belt loop on the anchor? Should they each be at different heights so that the belt runs perfectly perpendicular to the floor/ cutting surface? Or should each belt be at the exact same location on the anchor?
So far my understanding is that I change the z offset when I make 1/2 in or more changes to my cutting material /pads. I do not change the location of my belt loops on my anchors, ever.
If you use the old one it will check to see if it is reasonably close and if it is it will use that as a starting point for the computation which can make things go a bit faster
My question is where should I put the belt loop on the anchor? Should they
each be at different heights so that the belt runs perfectly perpendicular to
the floor/ cutting surface? Or should each belt be at the exact same location
on the anchor?
So far my understanding is that I change the z offset when I make 1/2 in or
more changes to my cutting material /pads. I do not change the location of my
belt loops on my anchors, ever.
the default z offset values assume that the anchors are all at the same height.
some of us are thinking that having them close to parallel with the workpiece
when you are at Z-Zero (no bit, router all the way down) will be an improvement
(setting the Z offset values accordingly)
but there is not enough real-world testing to know if this is true or not.
My interpretation is that now the different height of the arms should not affect where the belts are on the anchor.
I have not changed any z height offset values. I’m not sure where I would do that in the setup?
Also, as far as the belts moving around, I think they are supposed to be able to rotate around the anchors, but the anchors are large enough in diameter to where they have little to no room to wiggle when they are loose .
My interpretation is that now the different height of the arms should not affect where the belts are on the anchor.
that is one way of setting them up, but you can also adjust the height of each
anchor
I have not changed any z height offset values. I’m not sure where I would do that in the setup?
you can manually edit the maslow.yaml file or adjust the Zoffset values in the
tab next to where you update the firmware.
you do need to make this correct or it cascades to further problems
Also, as far as the belts moving around, I think they are supposed to be able
to rotate around the anchors, but the anchors are large enough in diameter to
where they have little to no room to wiggle when they are loose .
when you are using non-standard anchors you have to think about the details.
For example, if you were to use a piece of alltread and have it stick up 6"
above the concrete before you have a nut, the plastic anchor end and a different
nut, the 3/8" allthread will flex if you pull on it hard. That makes the anchor
point move around.
you need to do something to prevent this flex (making plywood spacers that you
glue into a solid block and then tighten down hard against the floor works well)
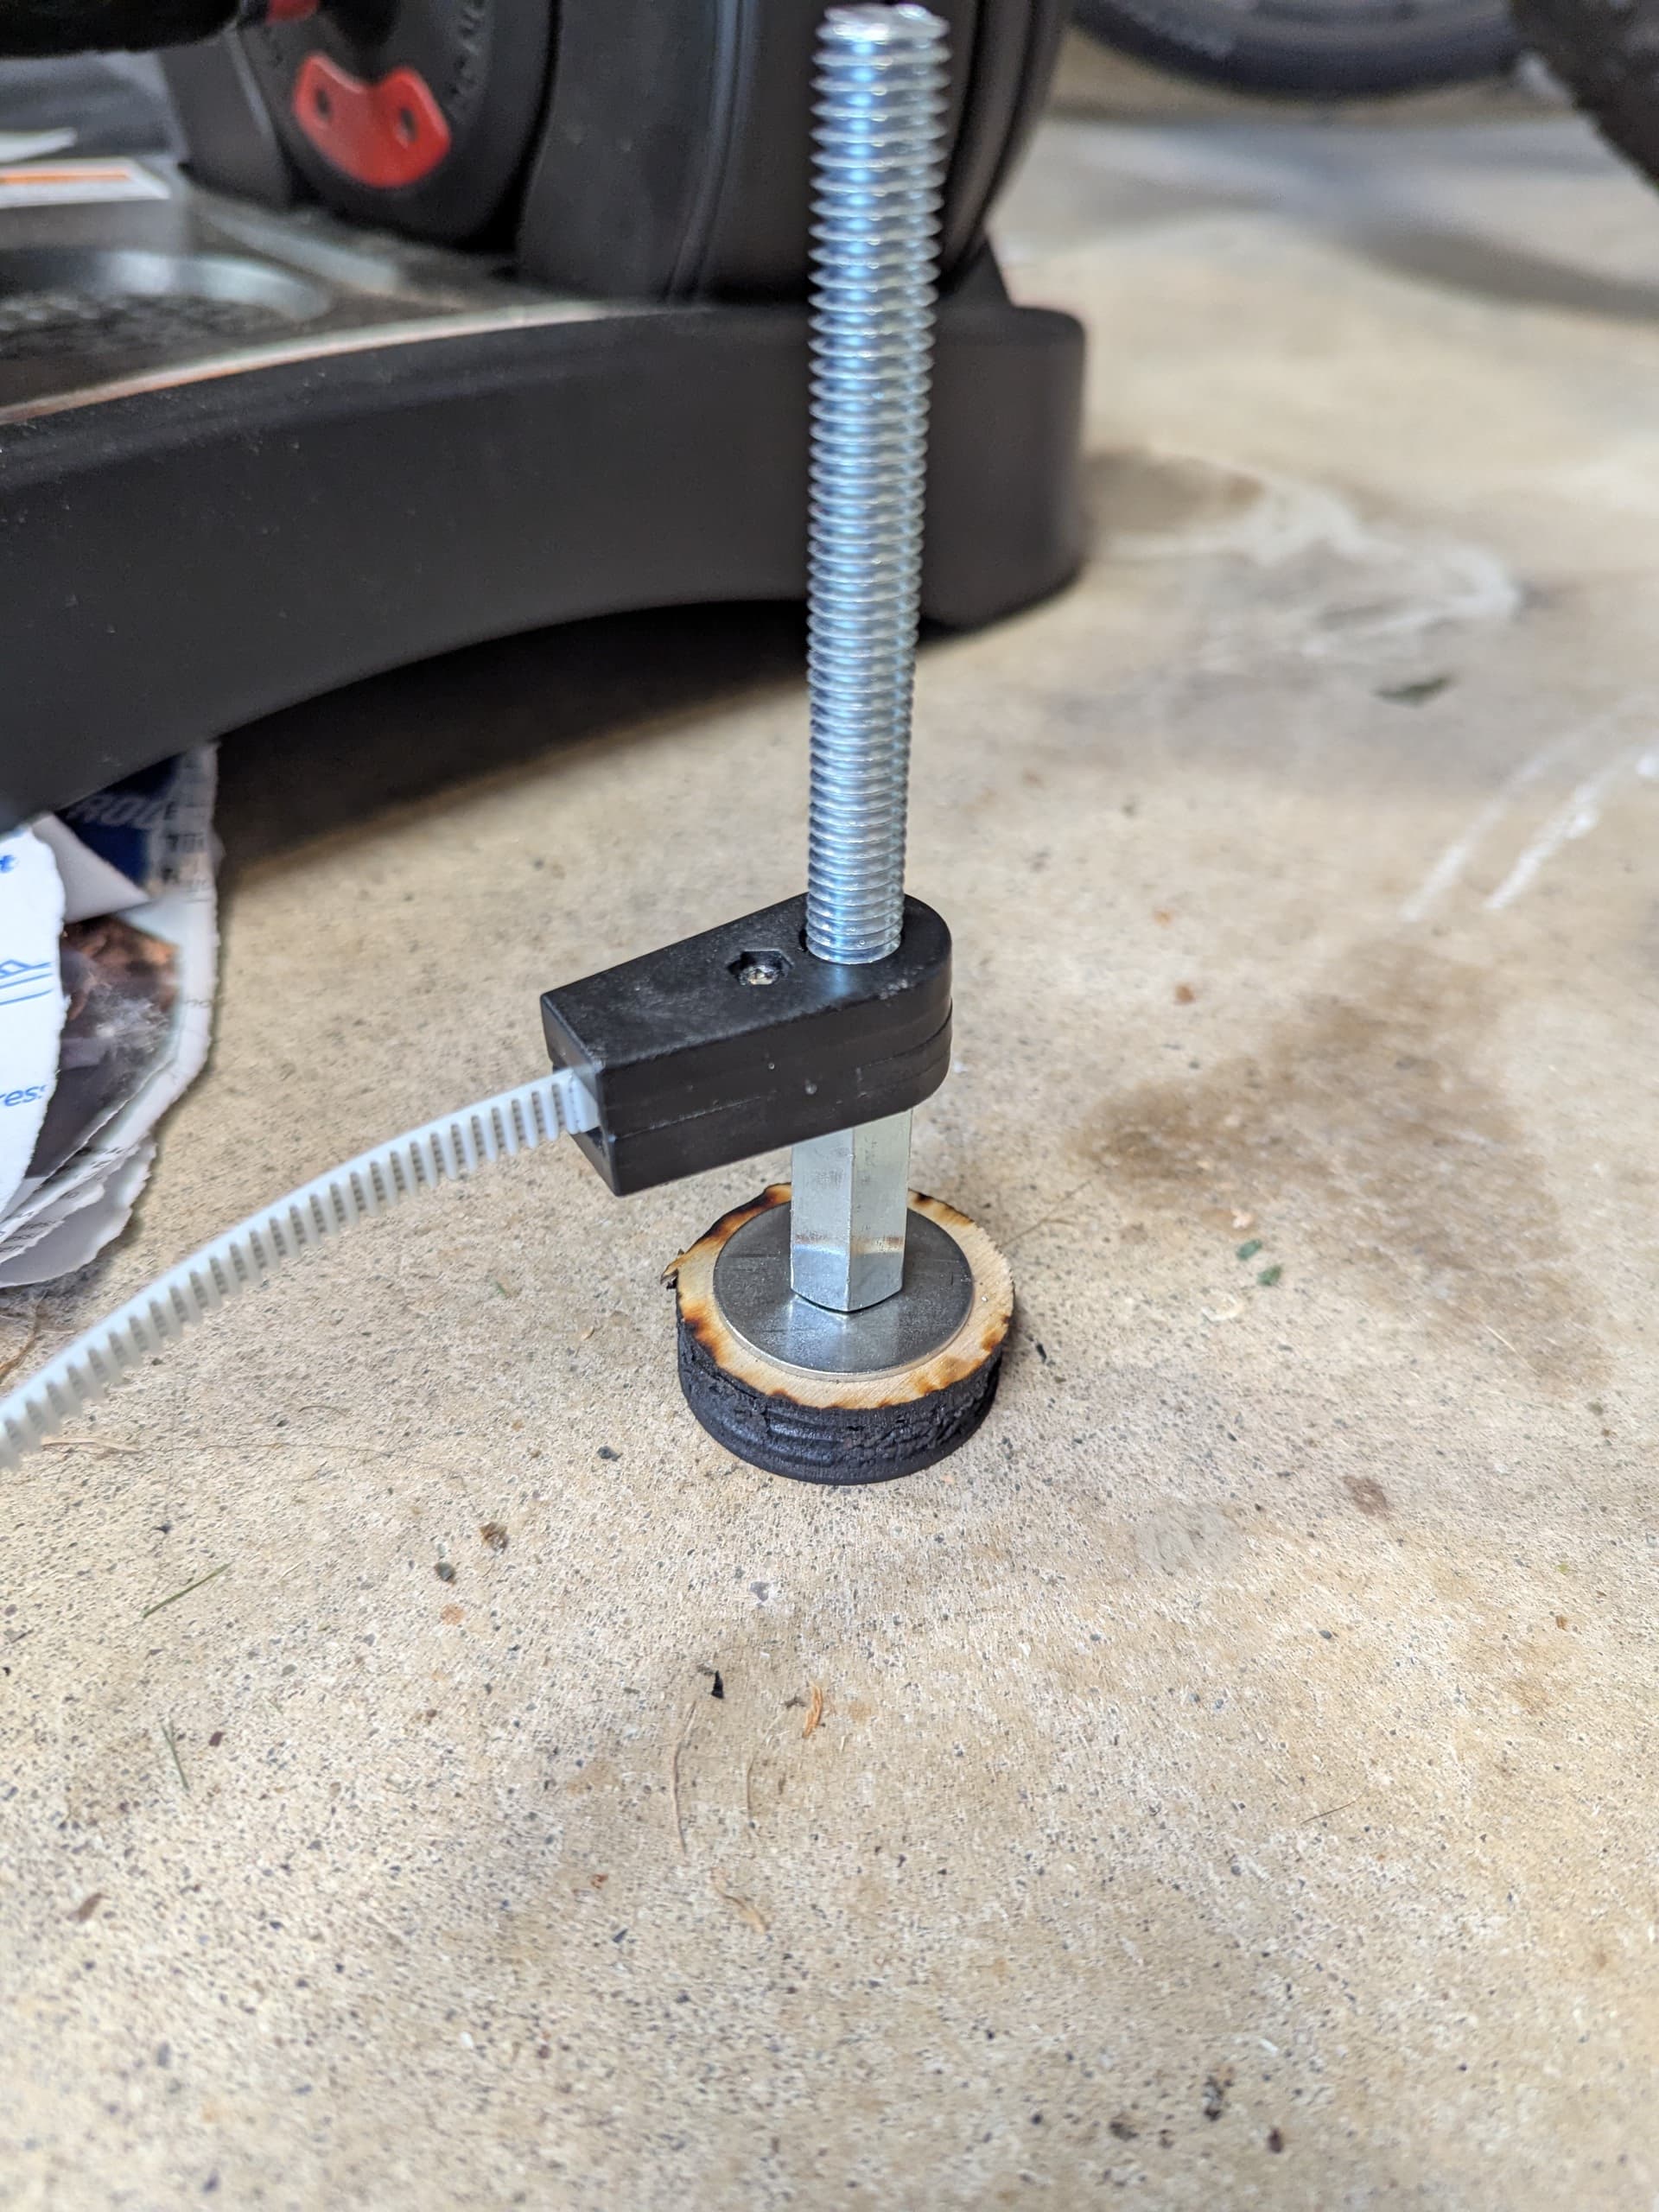
Thanks for the guidance David. I think this is what your describing? I thought they were pretty solid, but you’re right after tightening it down with the nut they feel very static.
Top of the plywood is 29.6 mm above the concrete floor.
The wooden thick washer metal washer + standoff nut all measure up to 40.6 mm. The belt anchor is slid. On top of that. I’d like to try and keep them all at the same height as bar had suggested above (or at least start with that.)
Thanks for the guidance David. I think this is what your describing? I thought they were pretty solid, but you’re right after tightening it down with the nut they feel very static.
right idea, but I would use a normal or nylock nut rather than the extra long
one you use, staking more plywood disks (but gluing them together to avoid any
possibility of them shifting)
if you have the ability to do so, setup a camera/phone recording a video over
the top of the anchor (possibly with a ruler next to it so you can see how much
it moves) and then pull on the belt (you can pull pretty hard, I think the
maslow can aplly 60 pounds of force or something like that) and if you playback
the video at high speed, it will make the movement really obvious even without a
fuler to show how much it moves.
do this with the bolt by itself, the setup that you have now, and with a taller
stack of plywood and see how much each option moves with similar force.
The extra information just says things like top left z and their normal amount, I’m not exactly sure how to measure it from what to what.
I’m guessing that the z amount is the change in belt height?
exactly.
what I would do is measure from the floor to the top of the belt at the anchor,
then stack your wasteboard, a sample thickness of your common material, and the
sled, and measure from the floor to the top of the belt at the arm
I have large aluminum extrusion offset for each arm and enough steel washers / bolts to adjust in case I change my waste board/ cutting material thickness.
I couldn’t find nylon lock it’s but I did include a lock washer.
I have large aluminum extrusion offset for each arm and enough steel washers / bolts to adjust in case I change my waste board/ cutting material thickness.
looks better, but still do the test with the camera, you can be surprised at how
such things can shift when they are just stacked (you may need to tack weld them
together up to the first washer on top, which is why I say that plywood disks
stacked should be glued together.
when the belts are close to flat, a difference in workpiece thickness has a much
smaller effect than the same difference when the belts are at steeper angles