Another storage frame

Sharing a few pictures and info on my frame build. I got a lot of great advice on this forum, and found great examples. My end product will most resemble this.

I built it to store extra plywood and to be able to easily add skirting later.

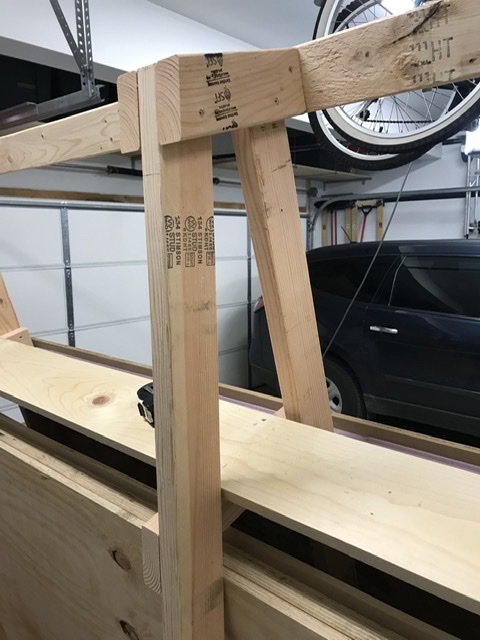
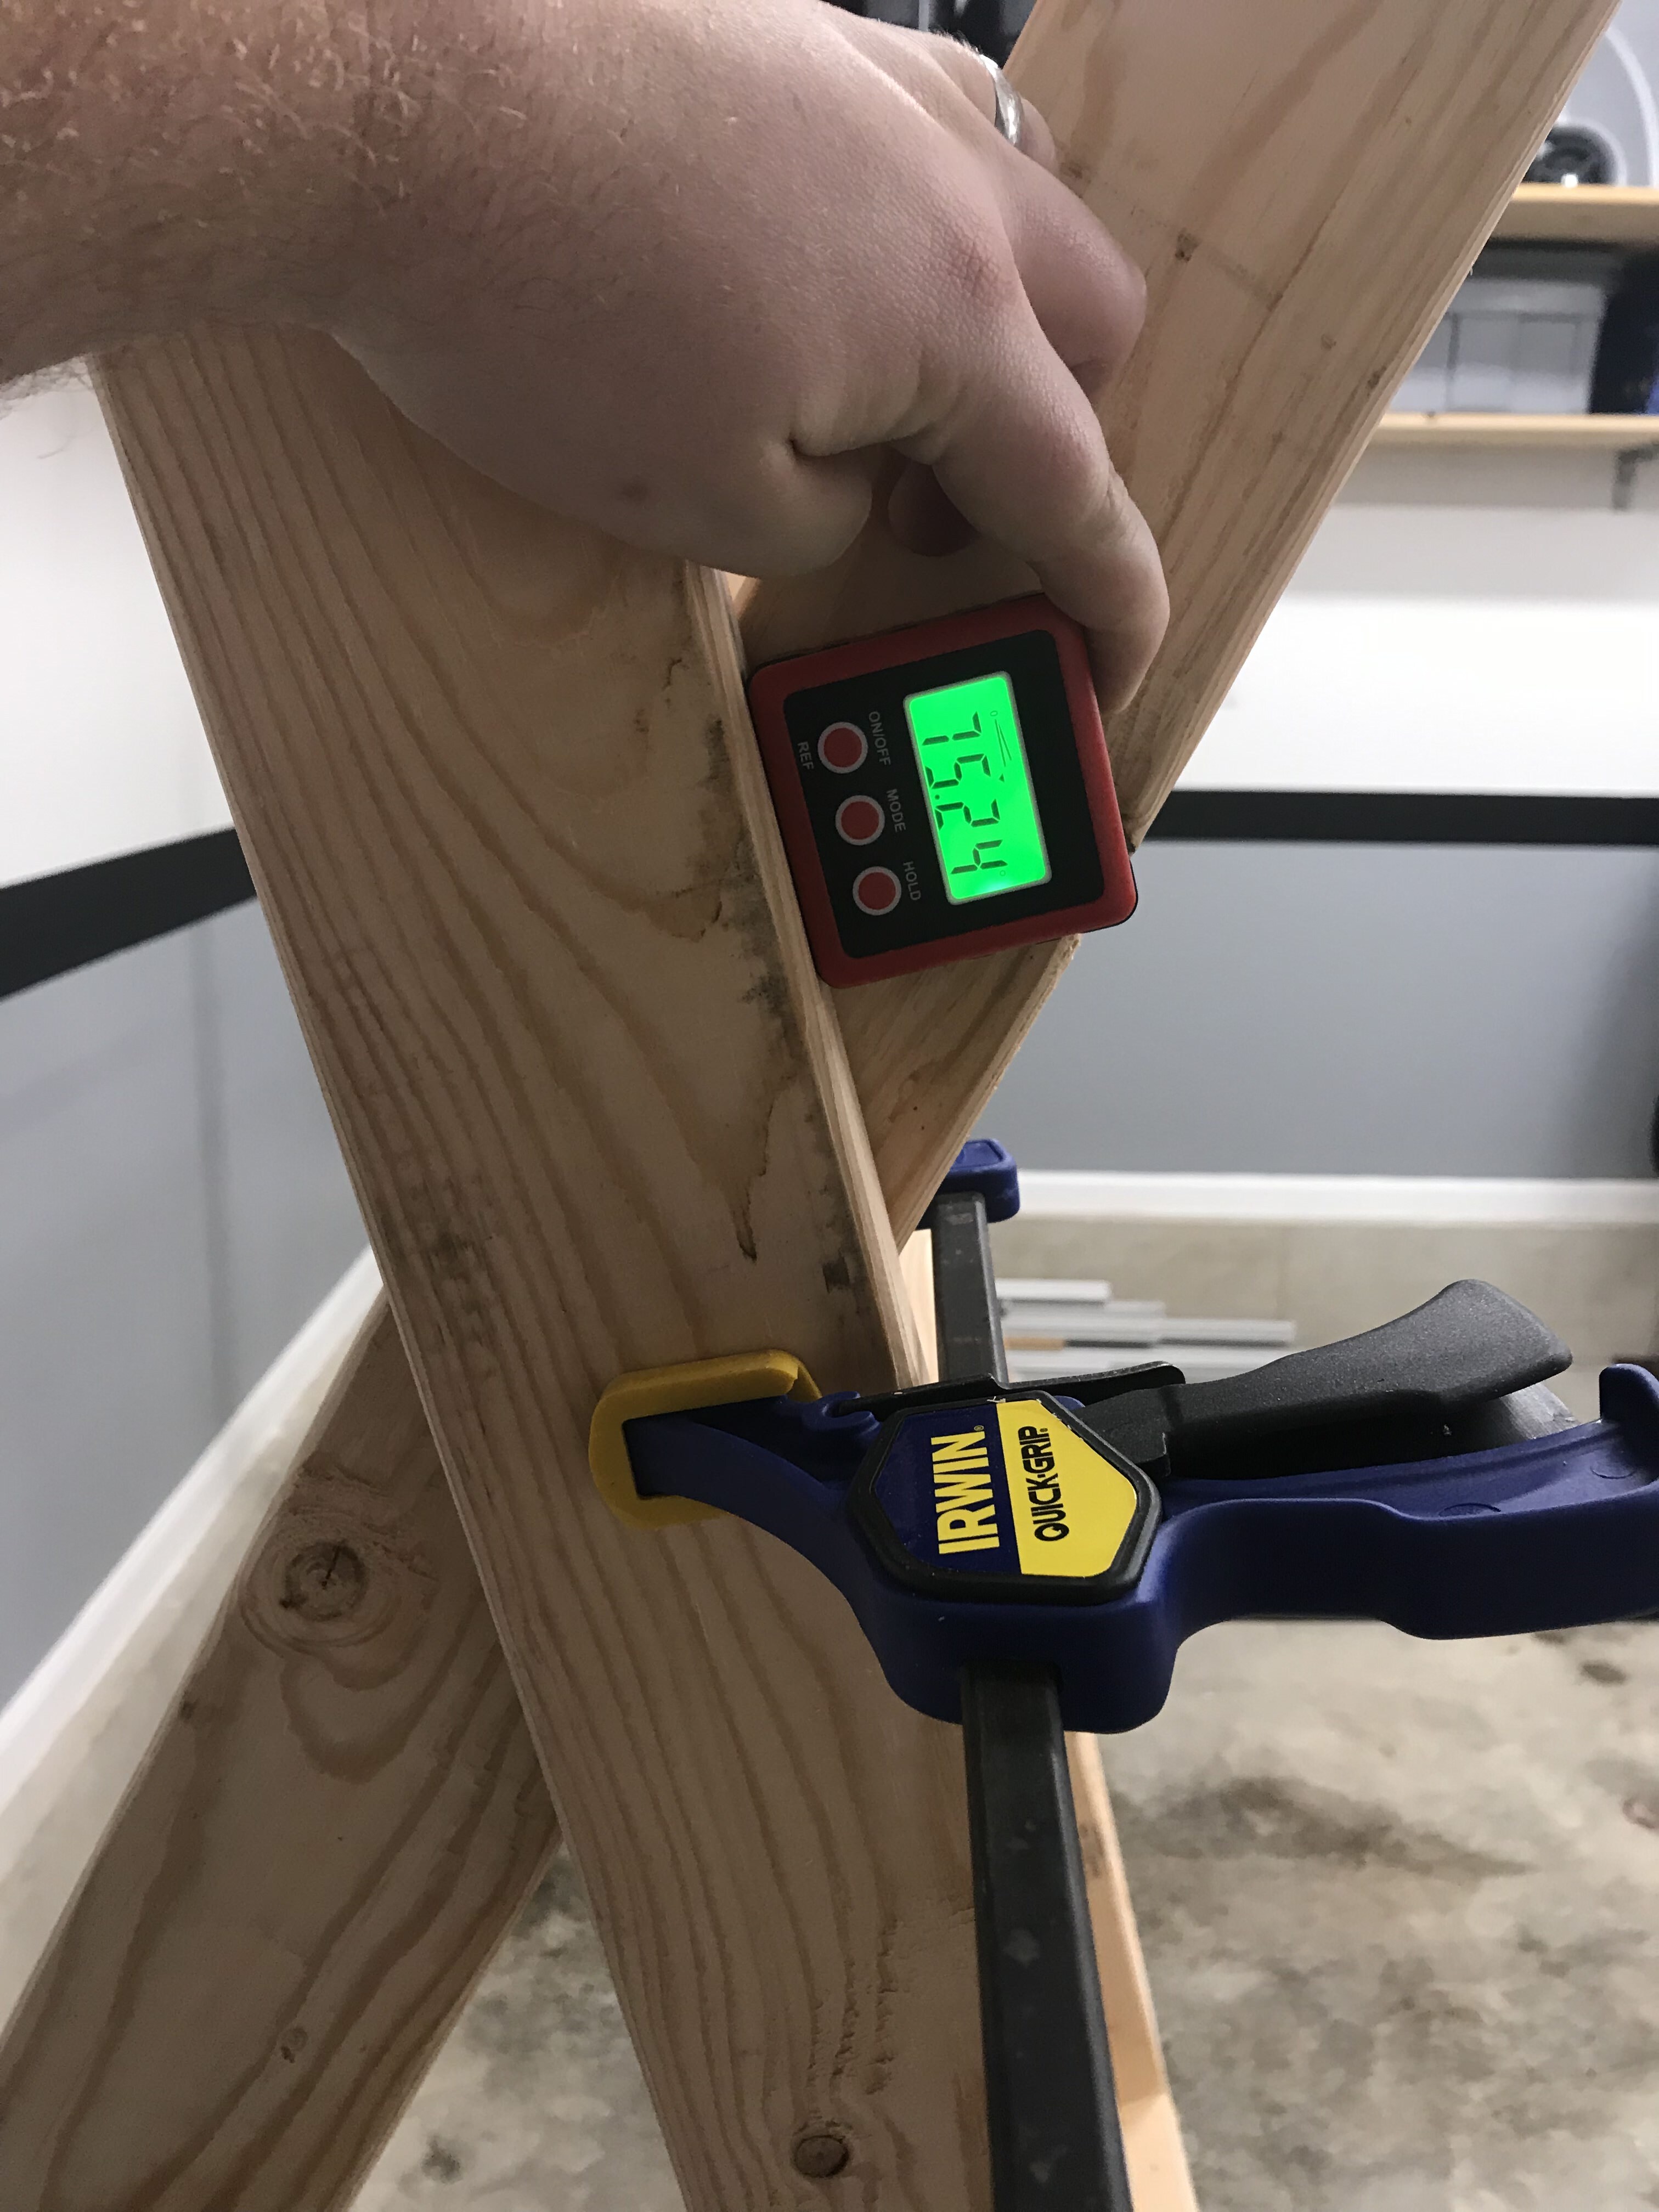
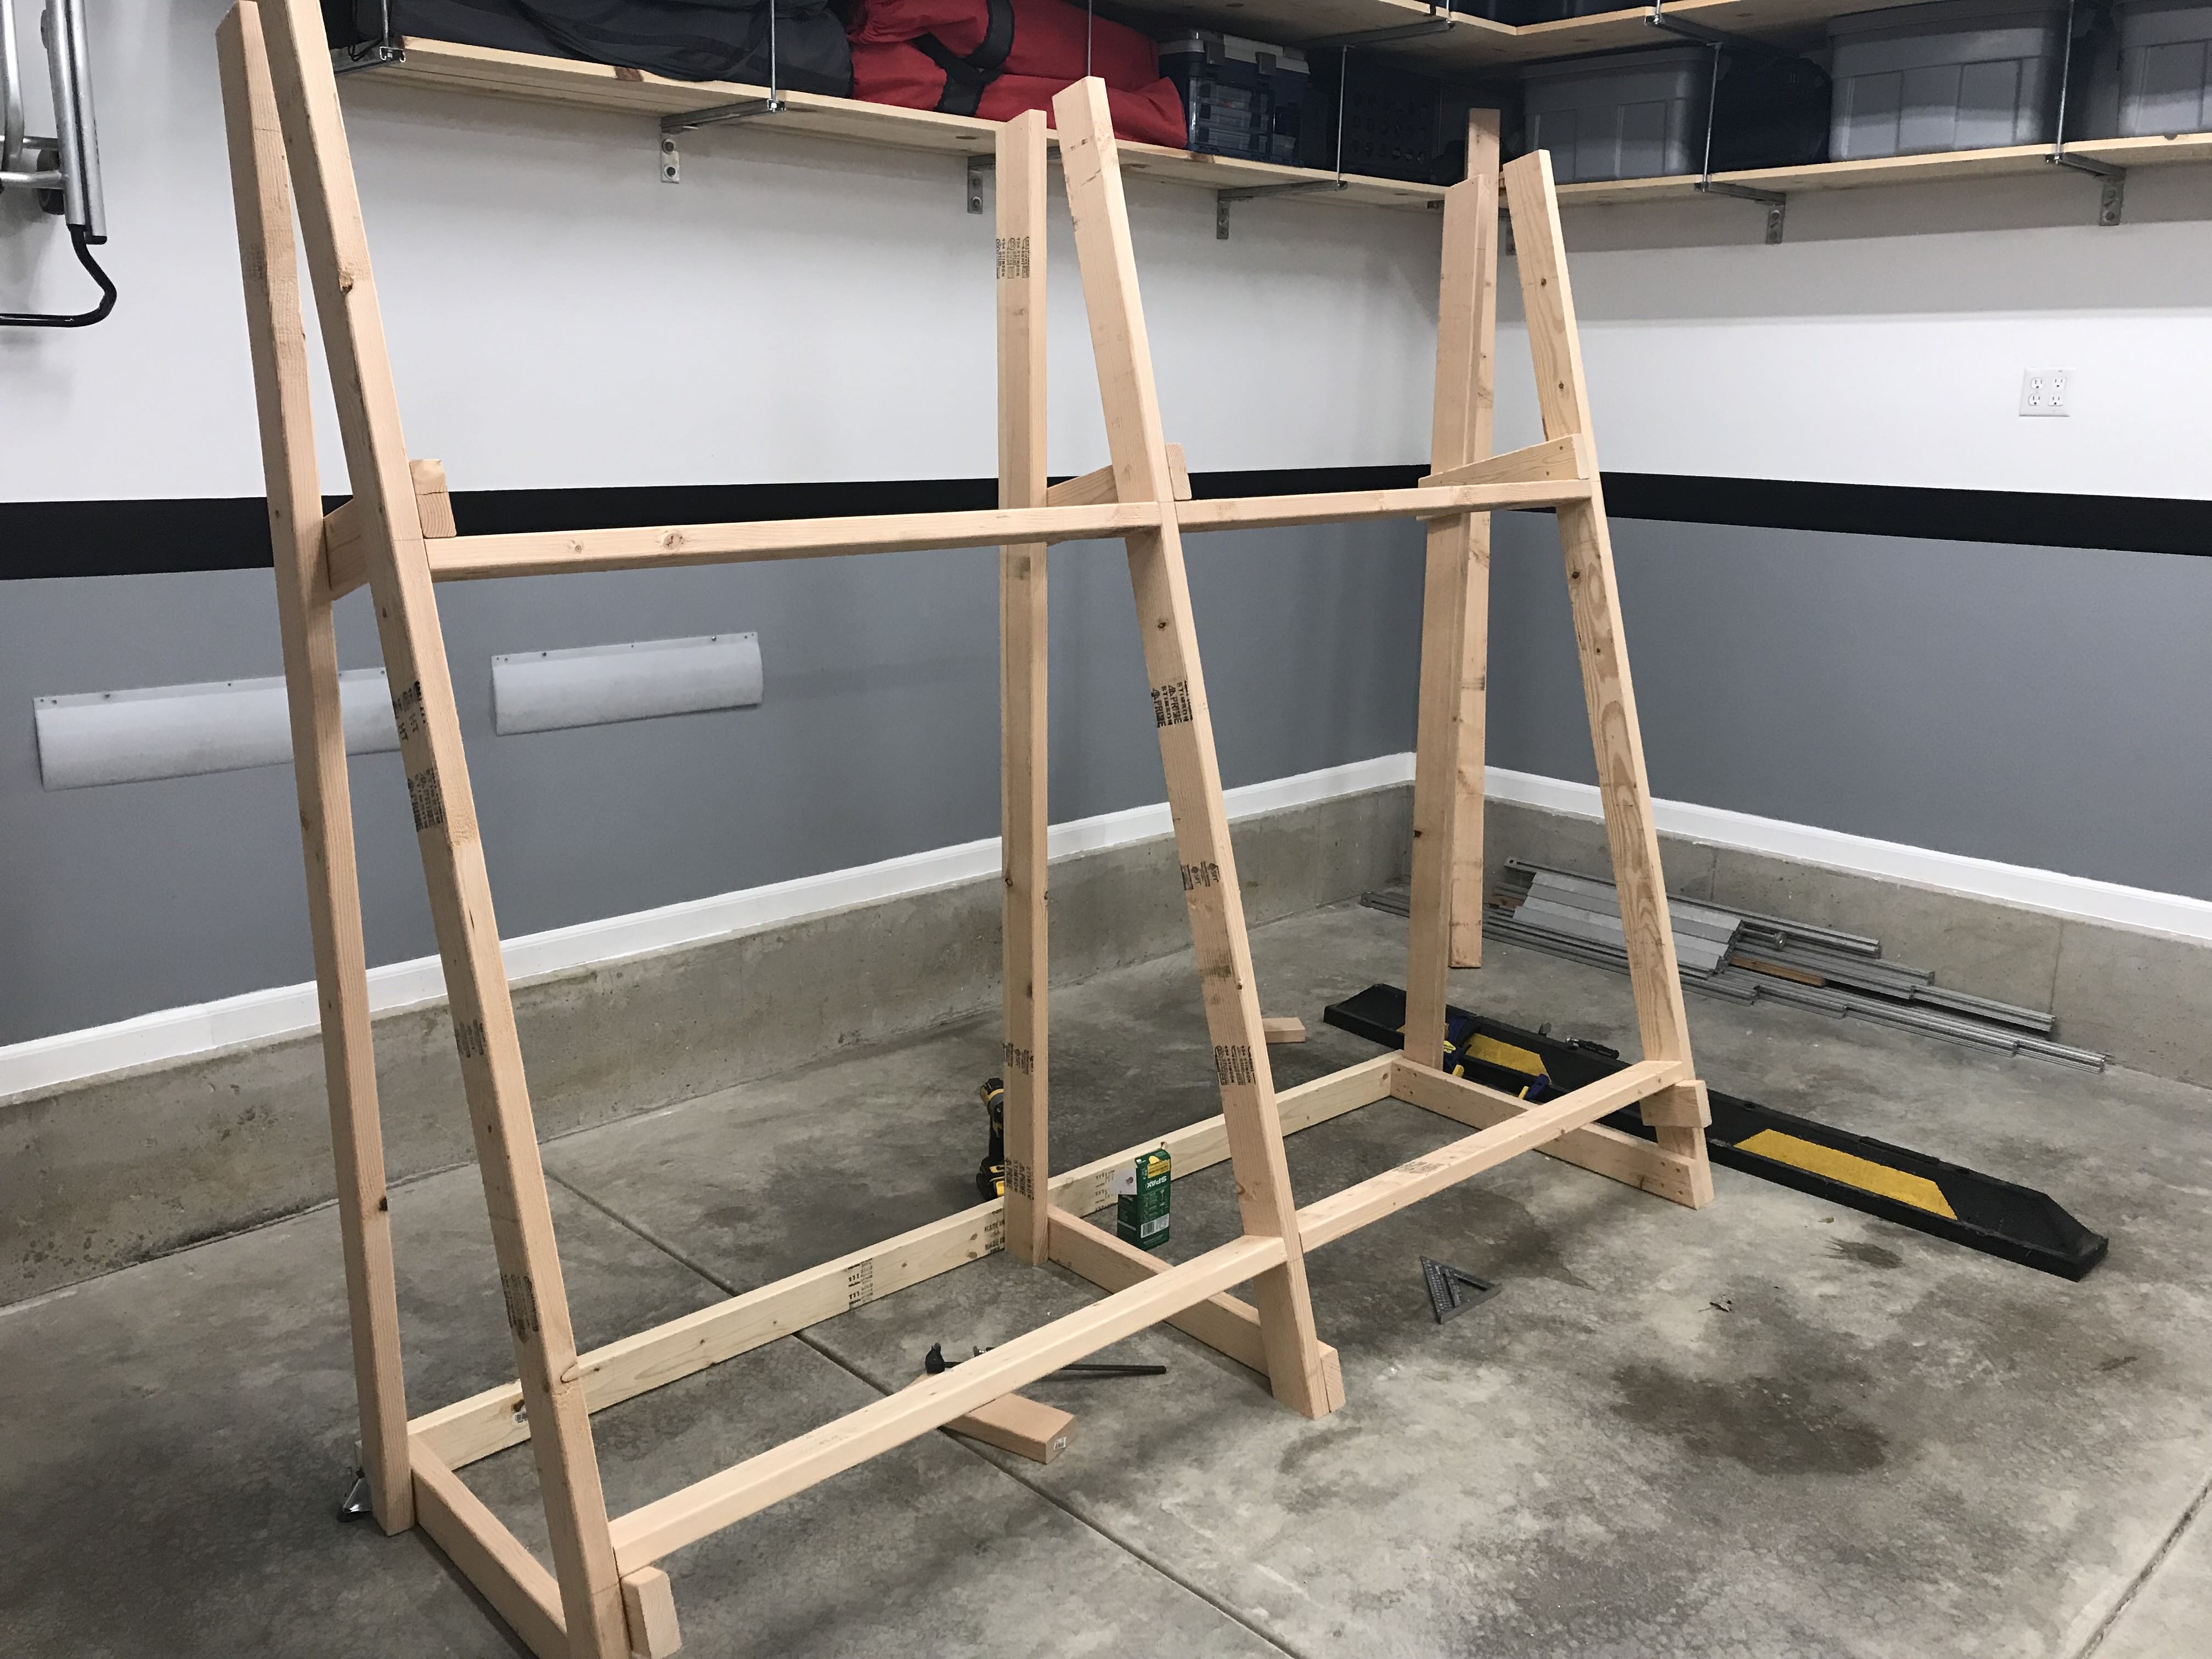
I started with building three triangular supports. Despite picking very straight kiln dried lumber and making careful cuts, they ended up being three different angles, and in the end I took them apart and reused the lumber.

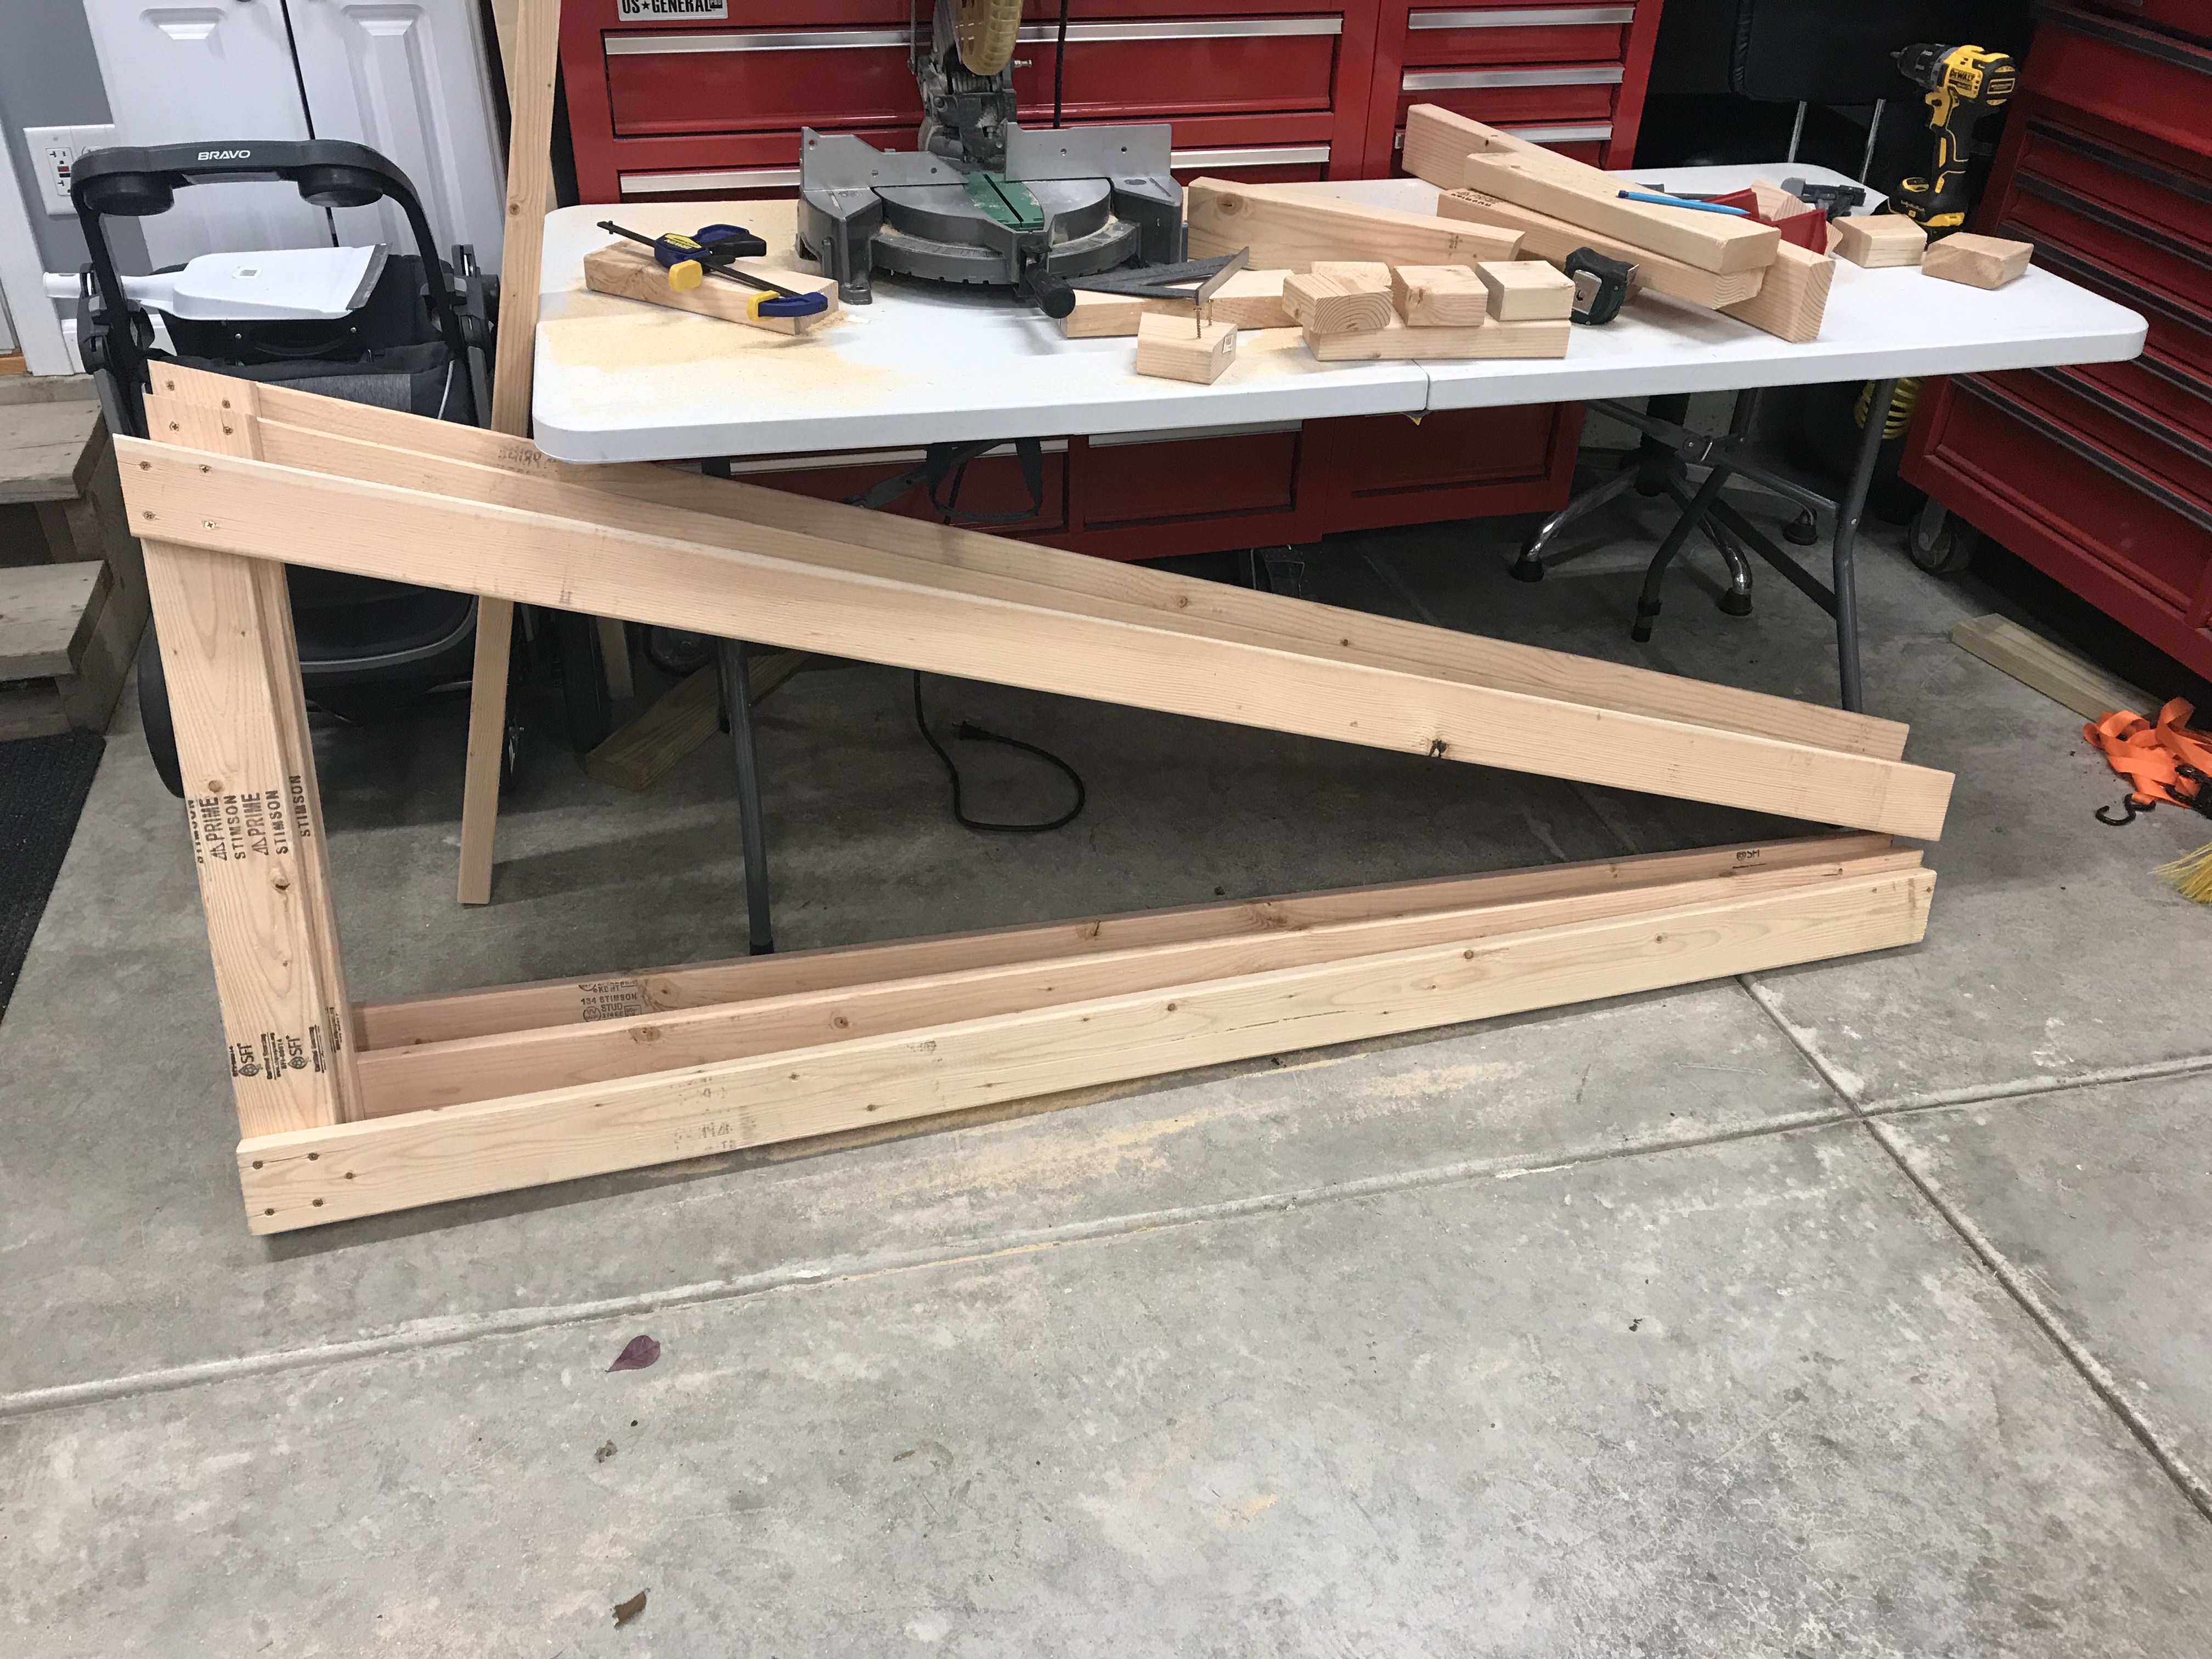
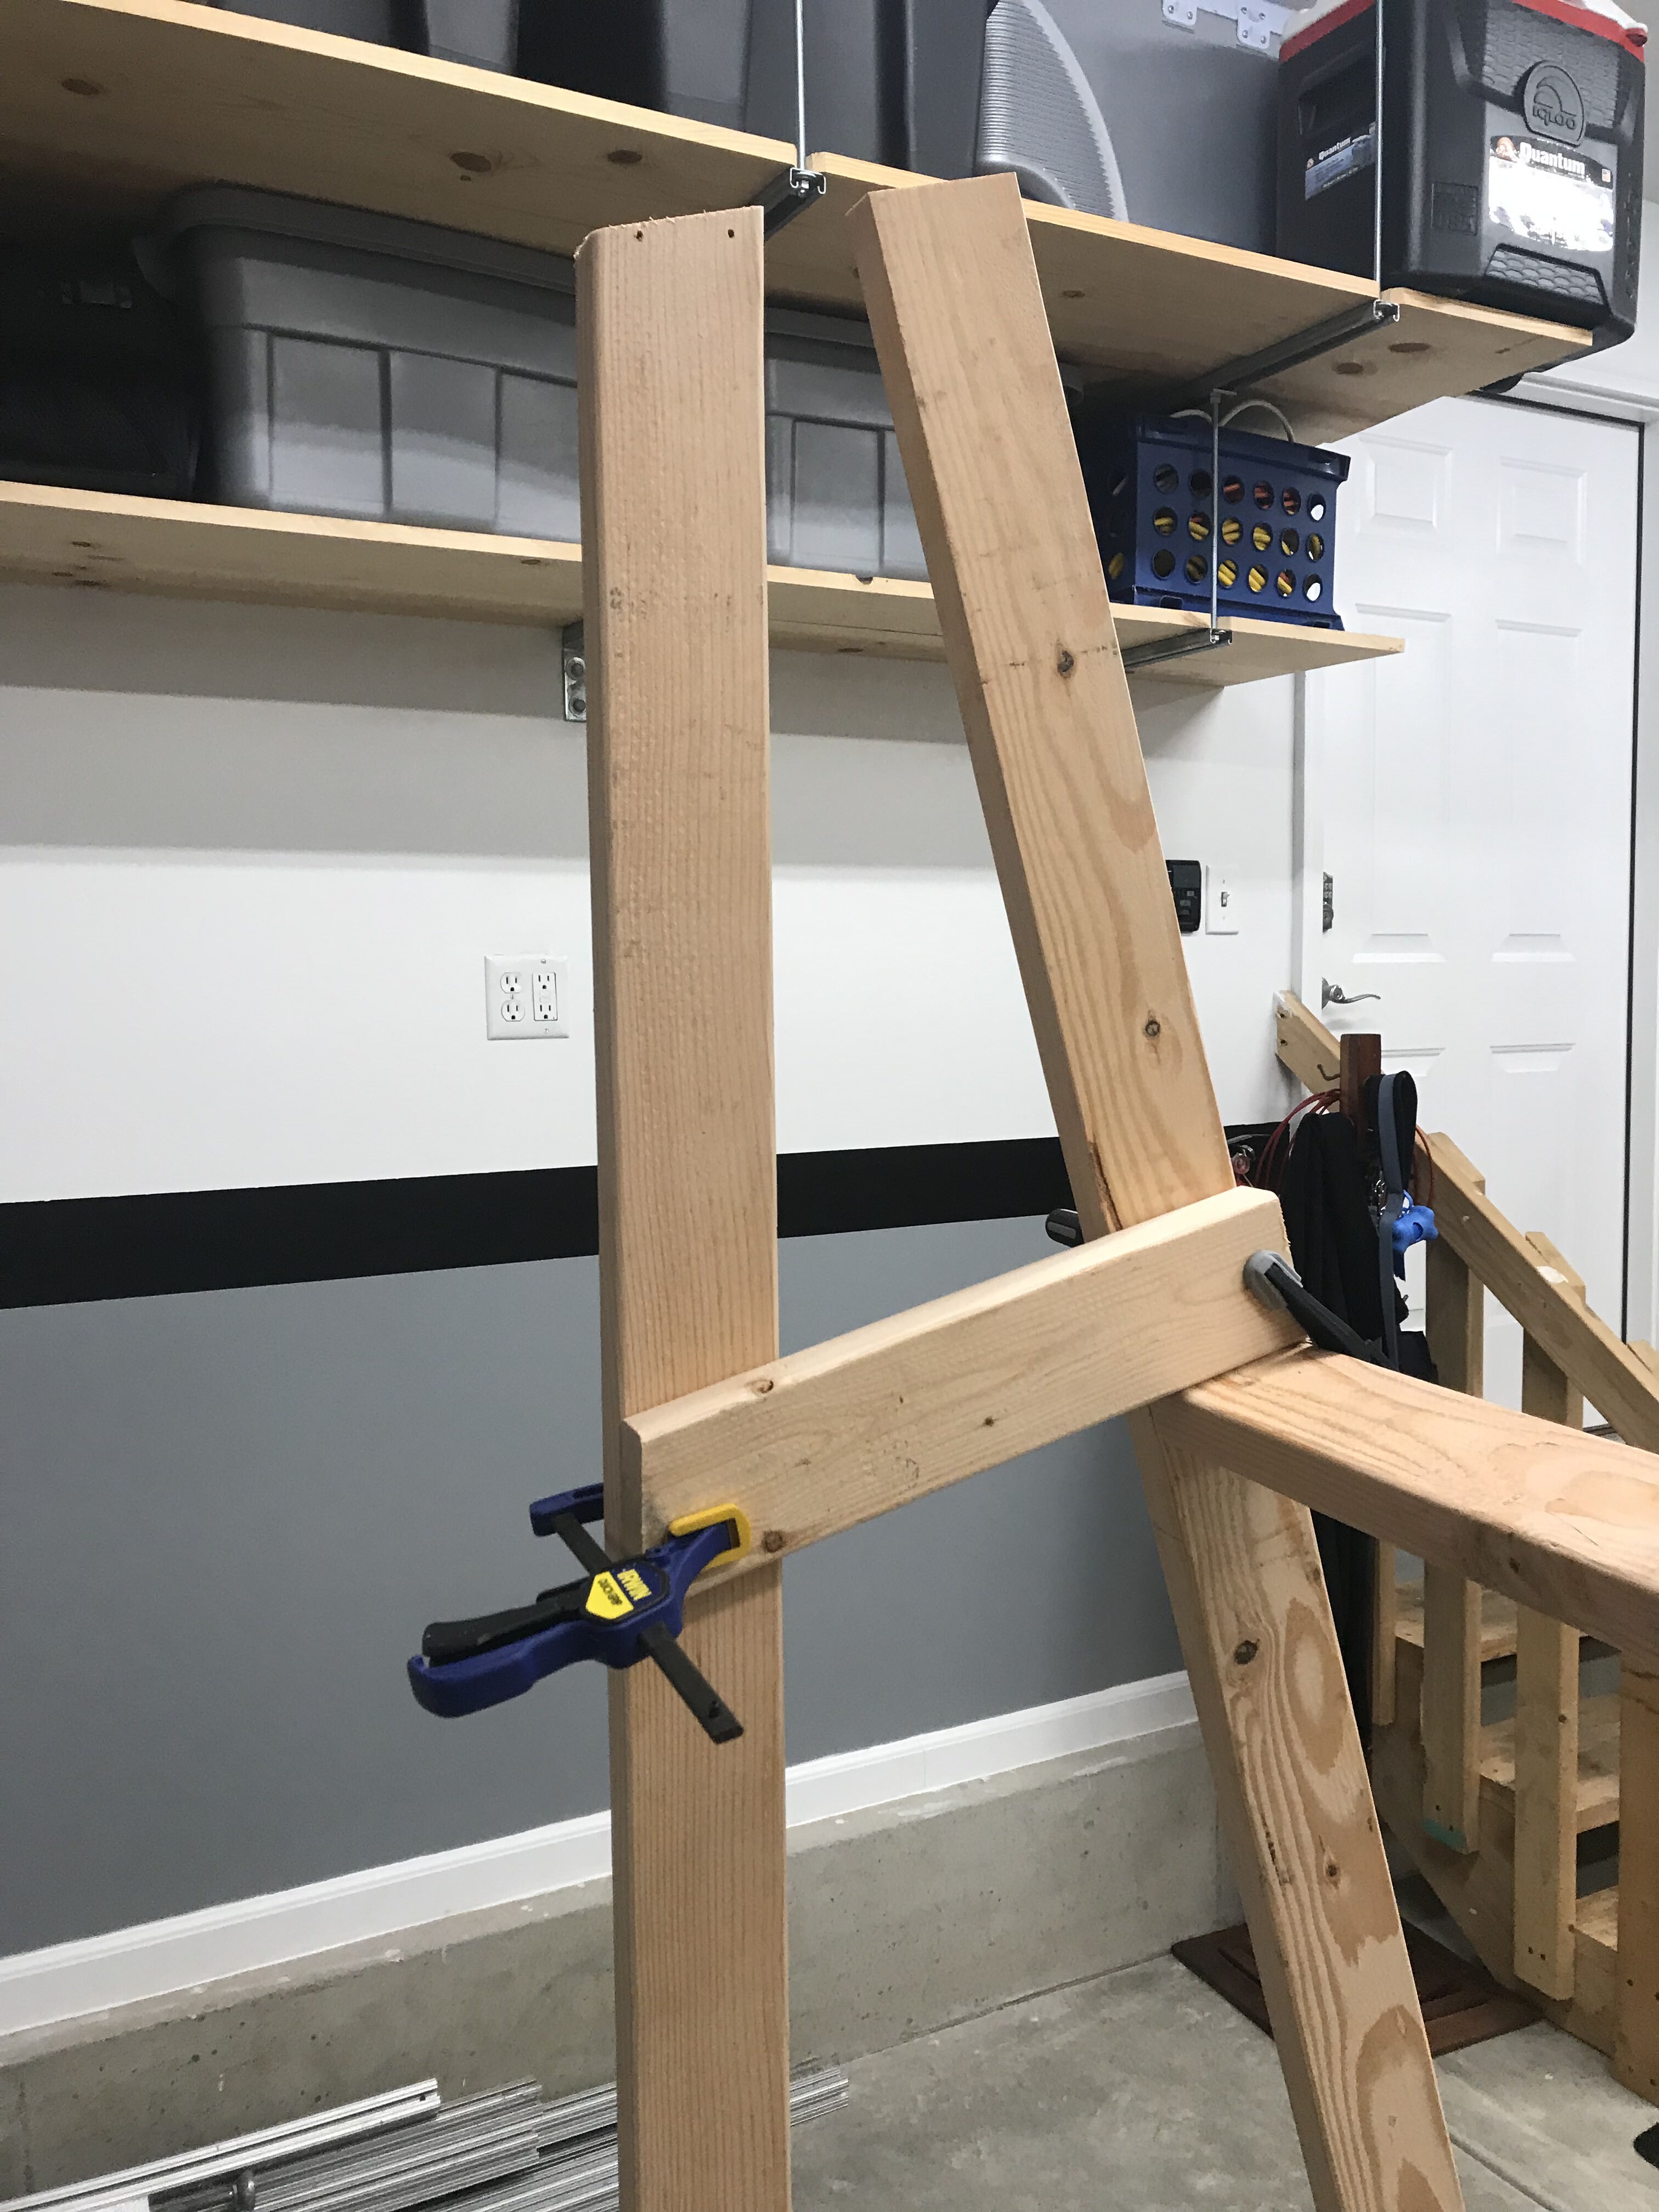
Next I decided to build my work surface plane on the floor, so keep it nice and straight.

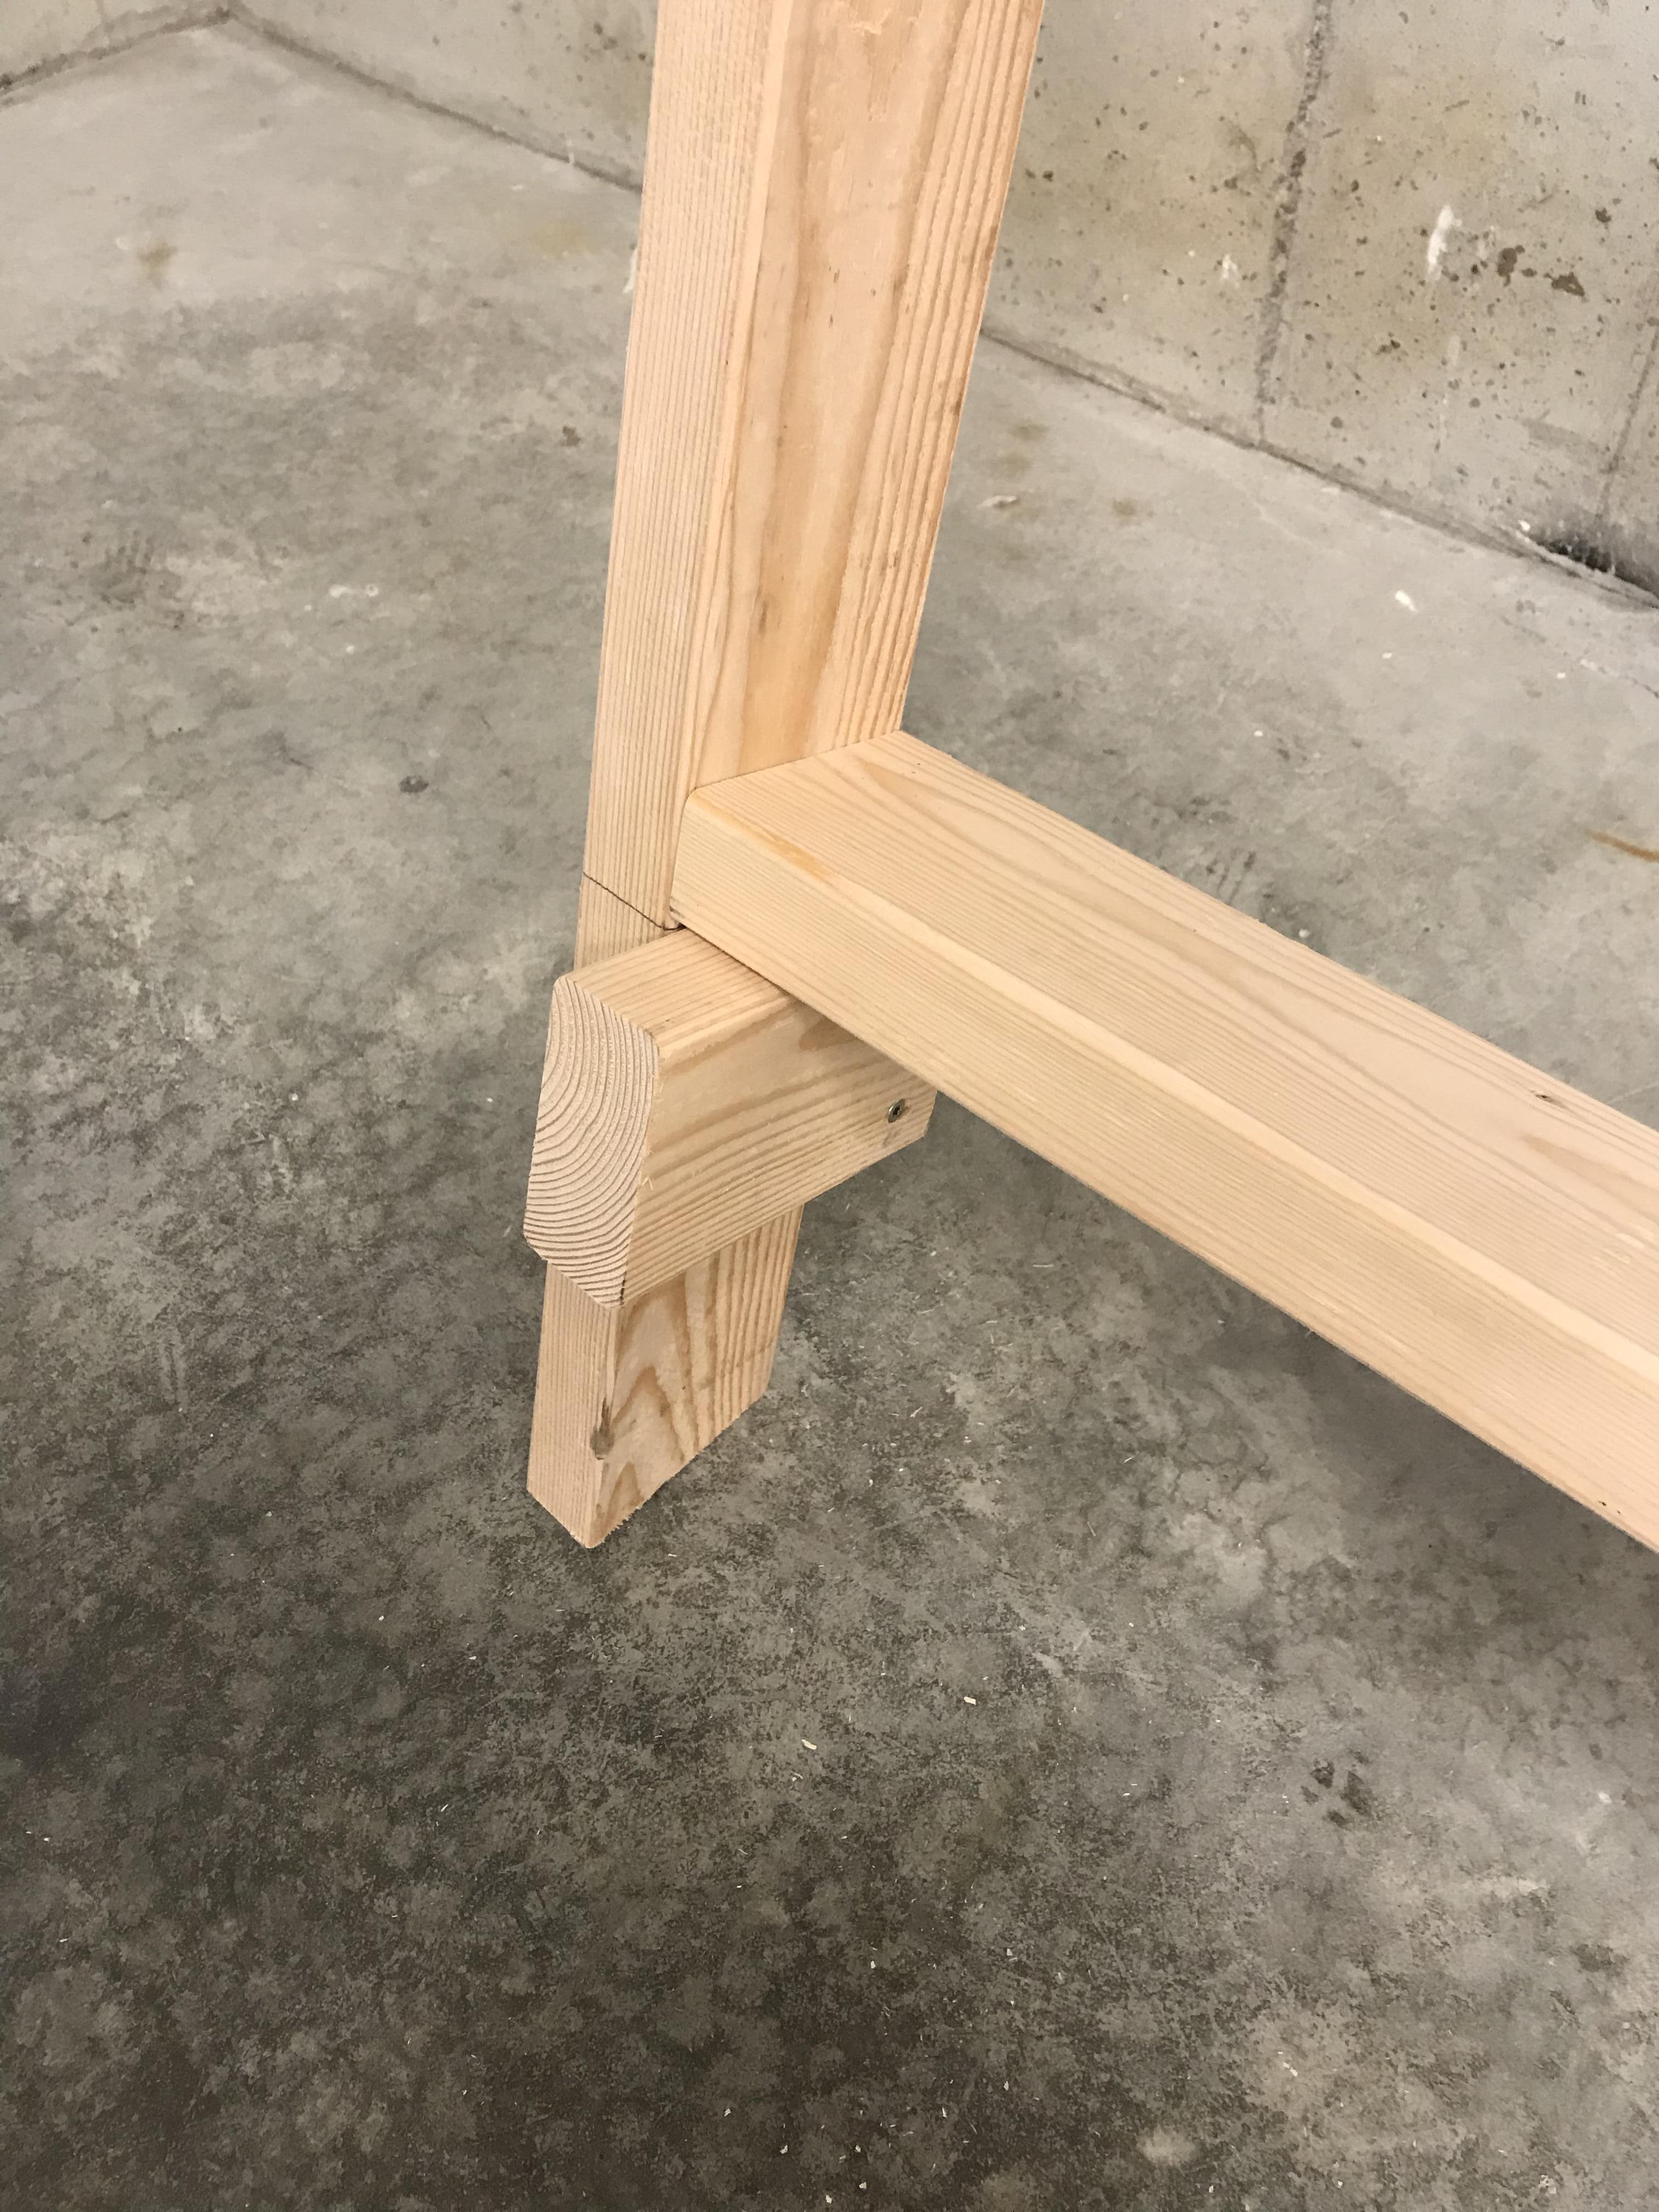
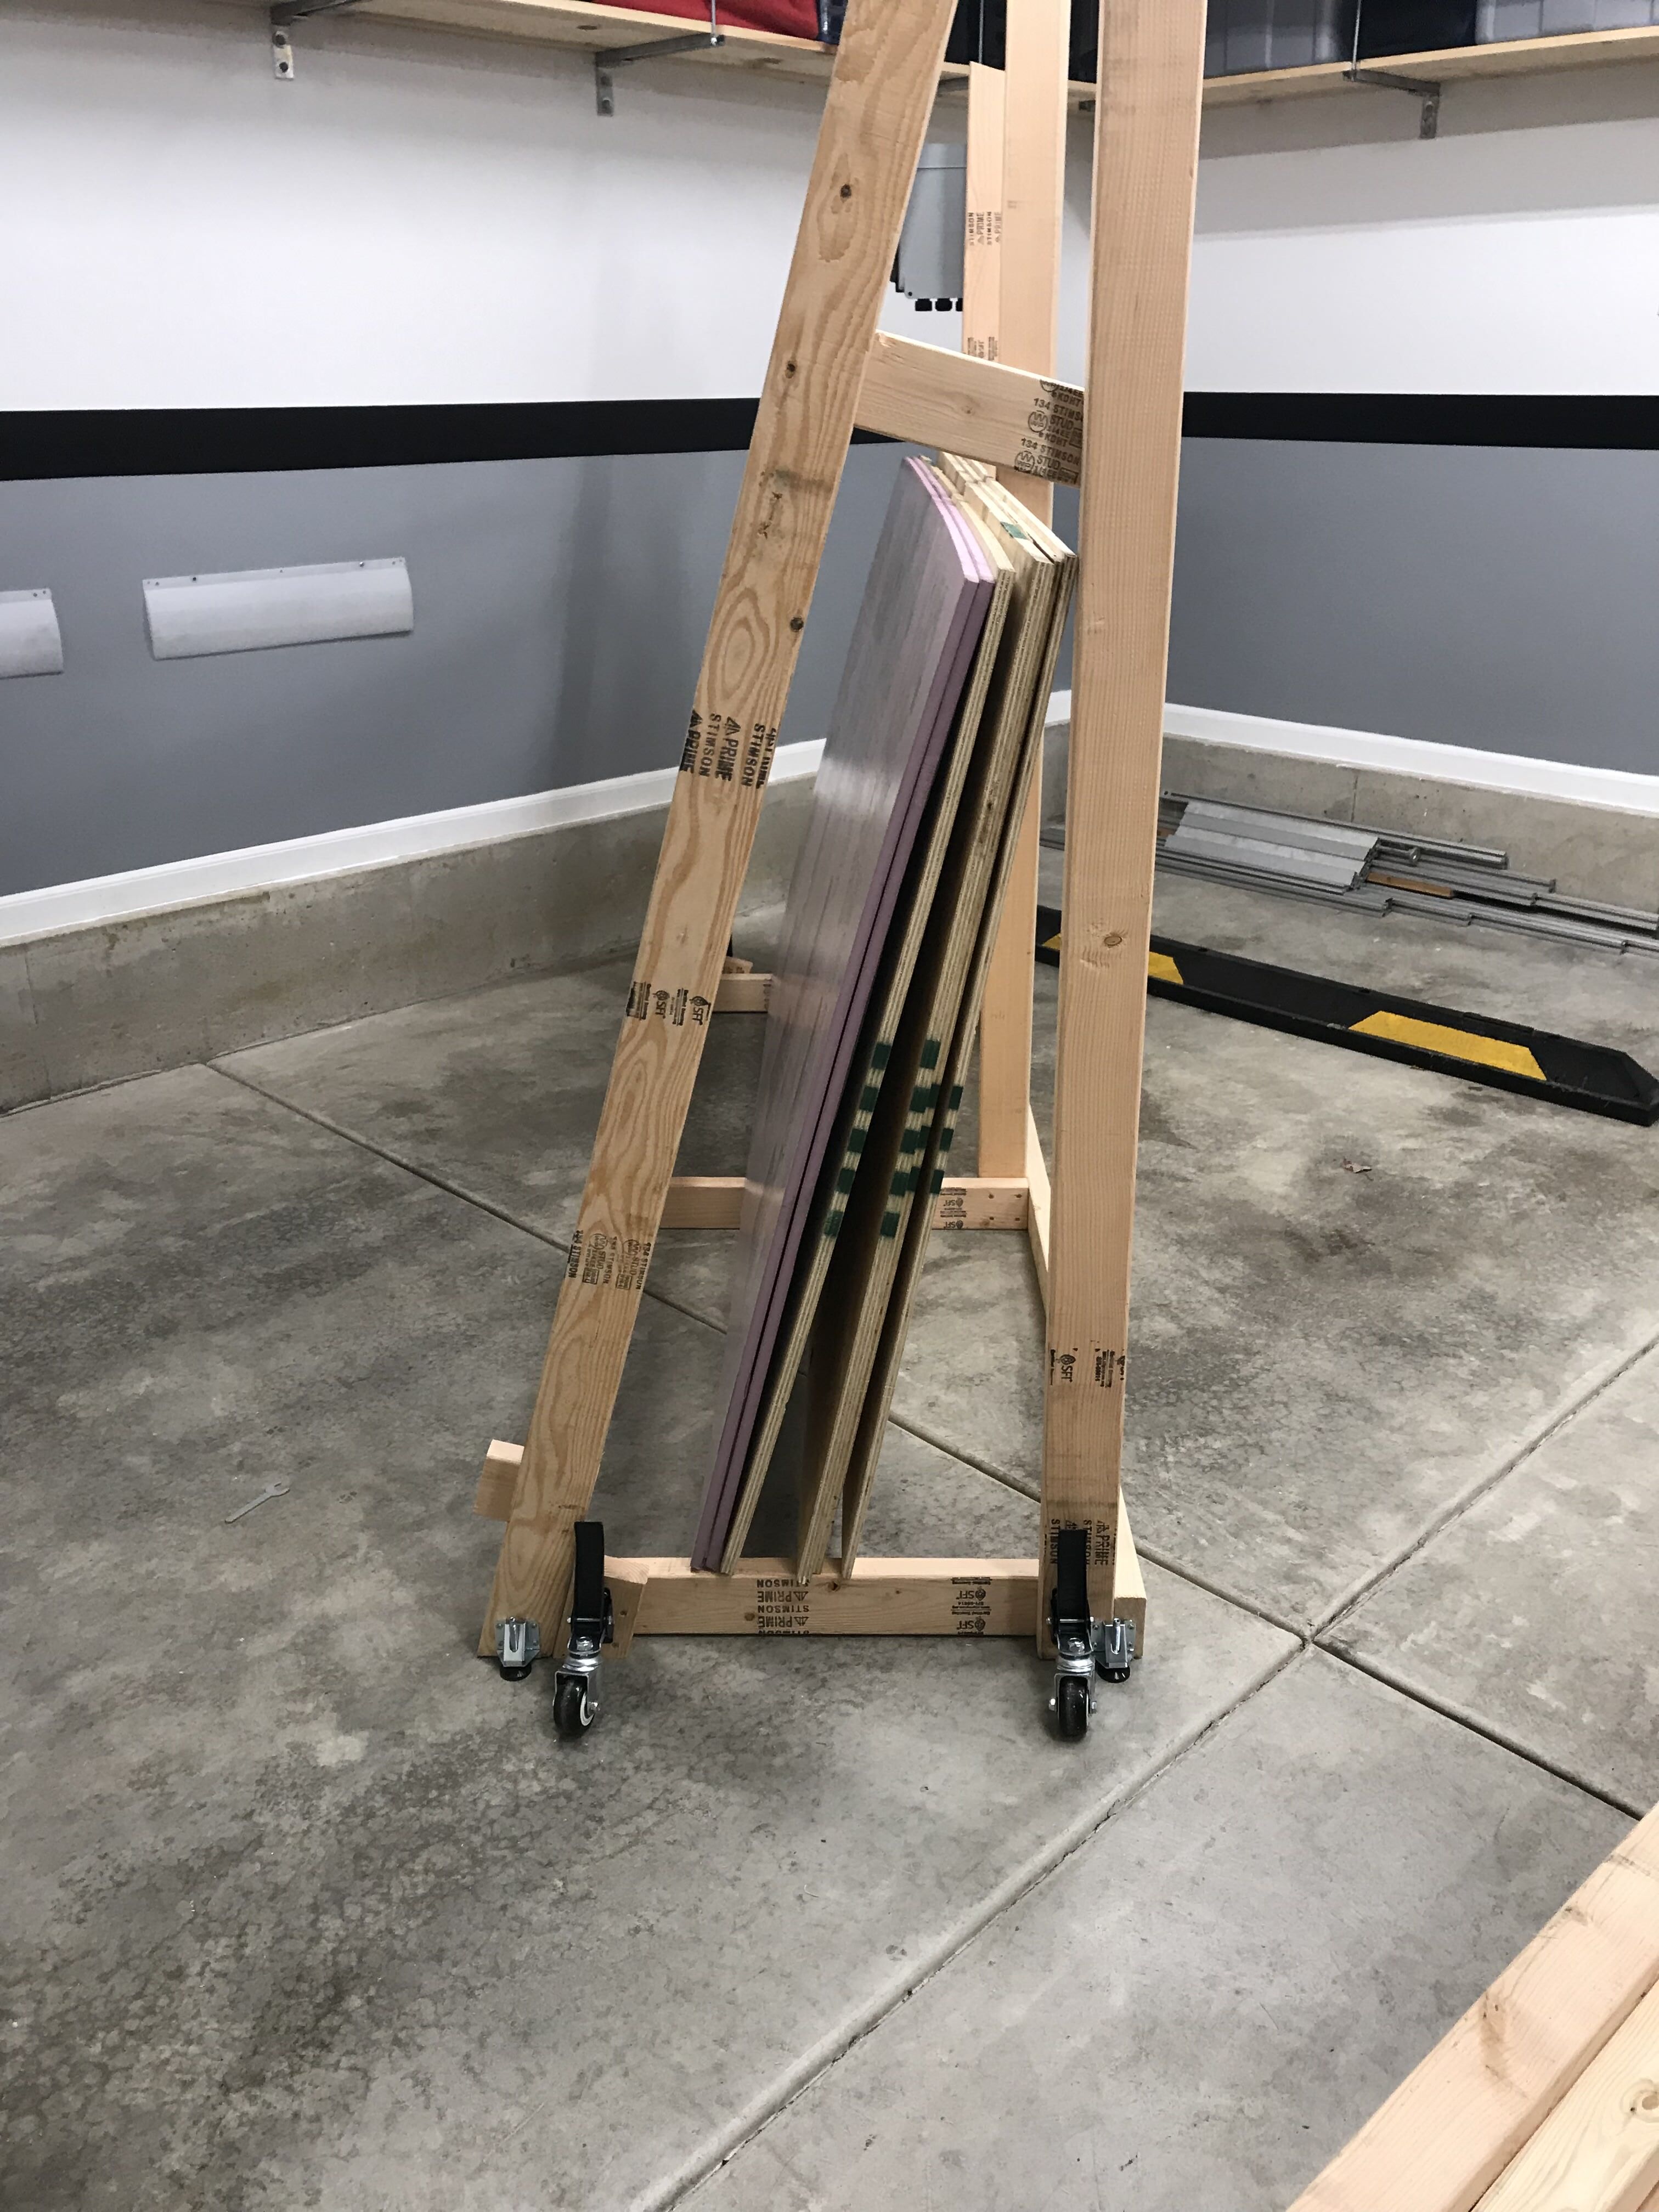
I added a couple little supports to hold my plywood.

I temporarily supported it by clamping on some 2x4s and checking with a level.

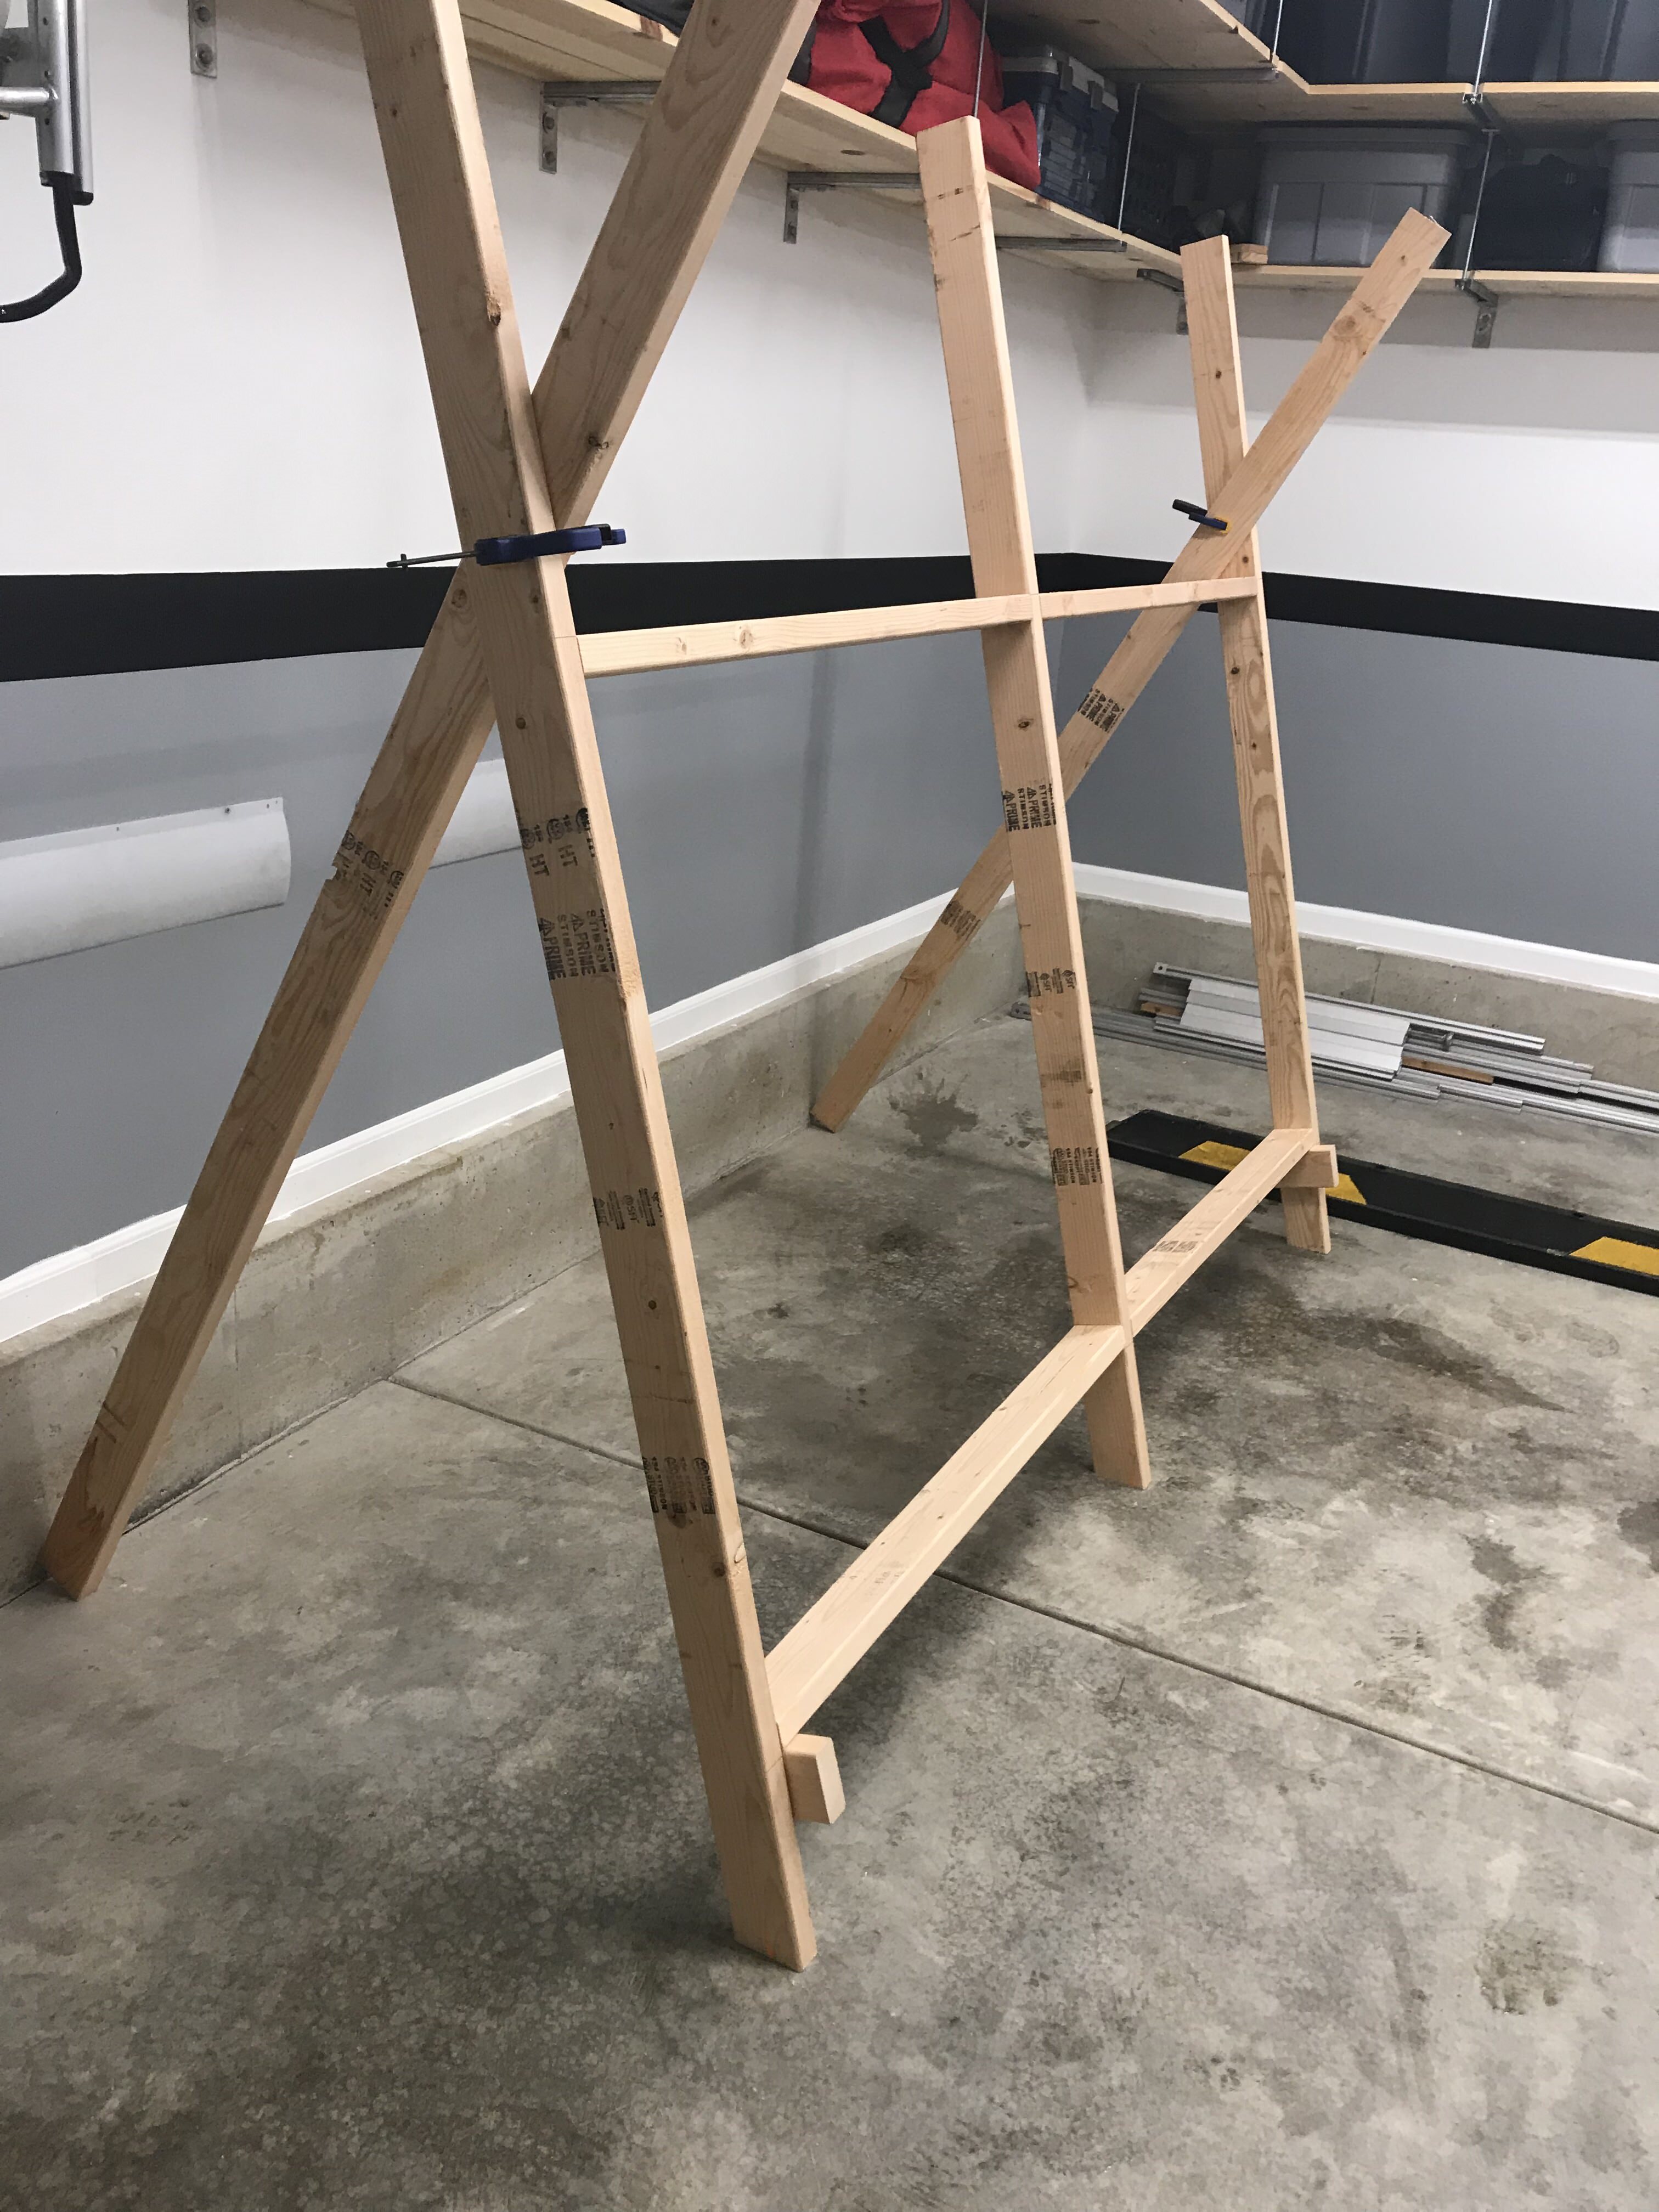
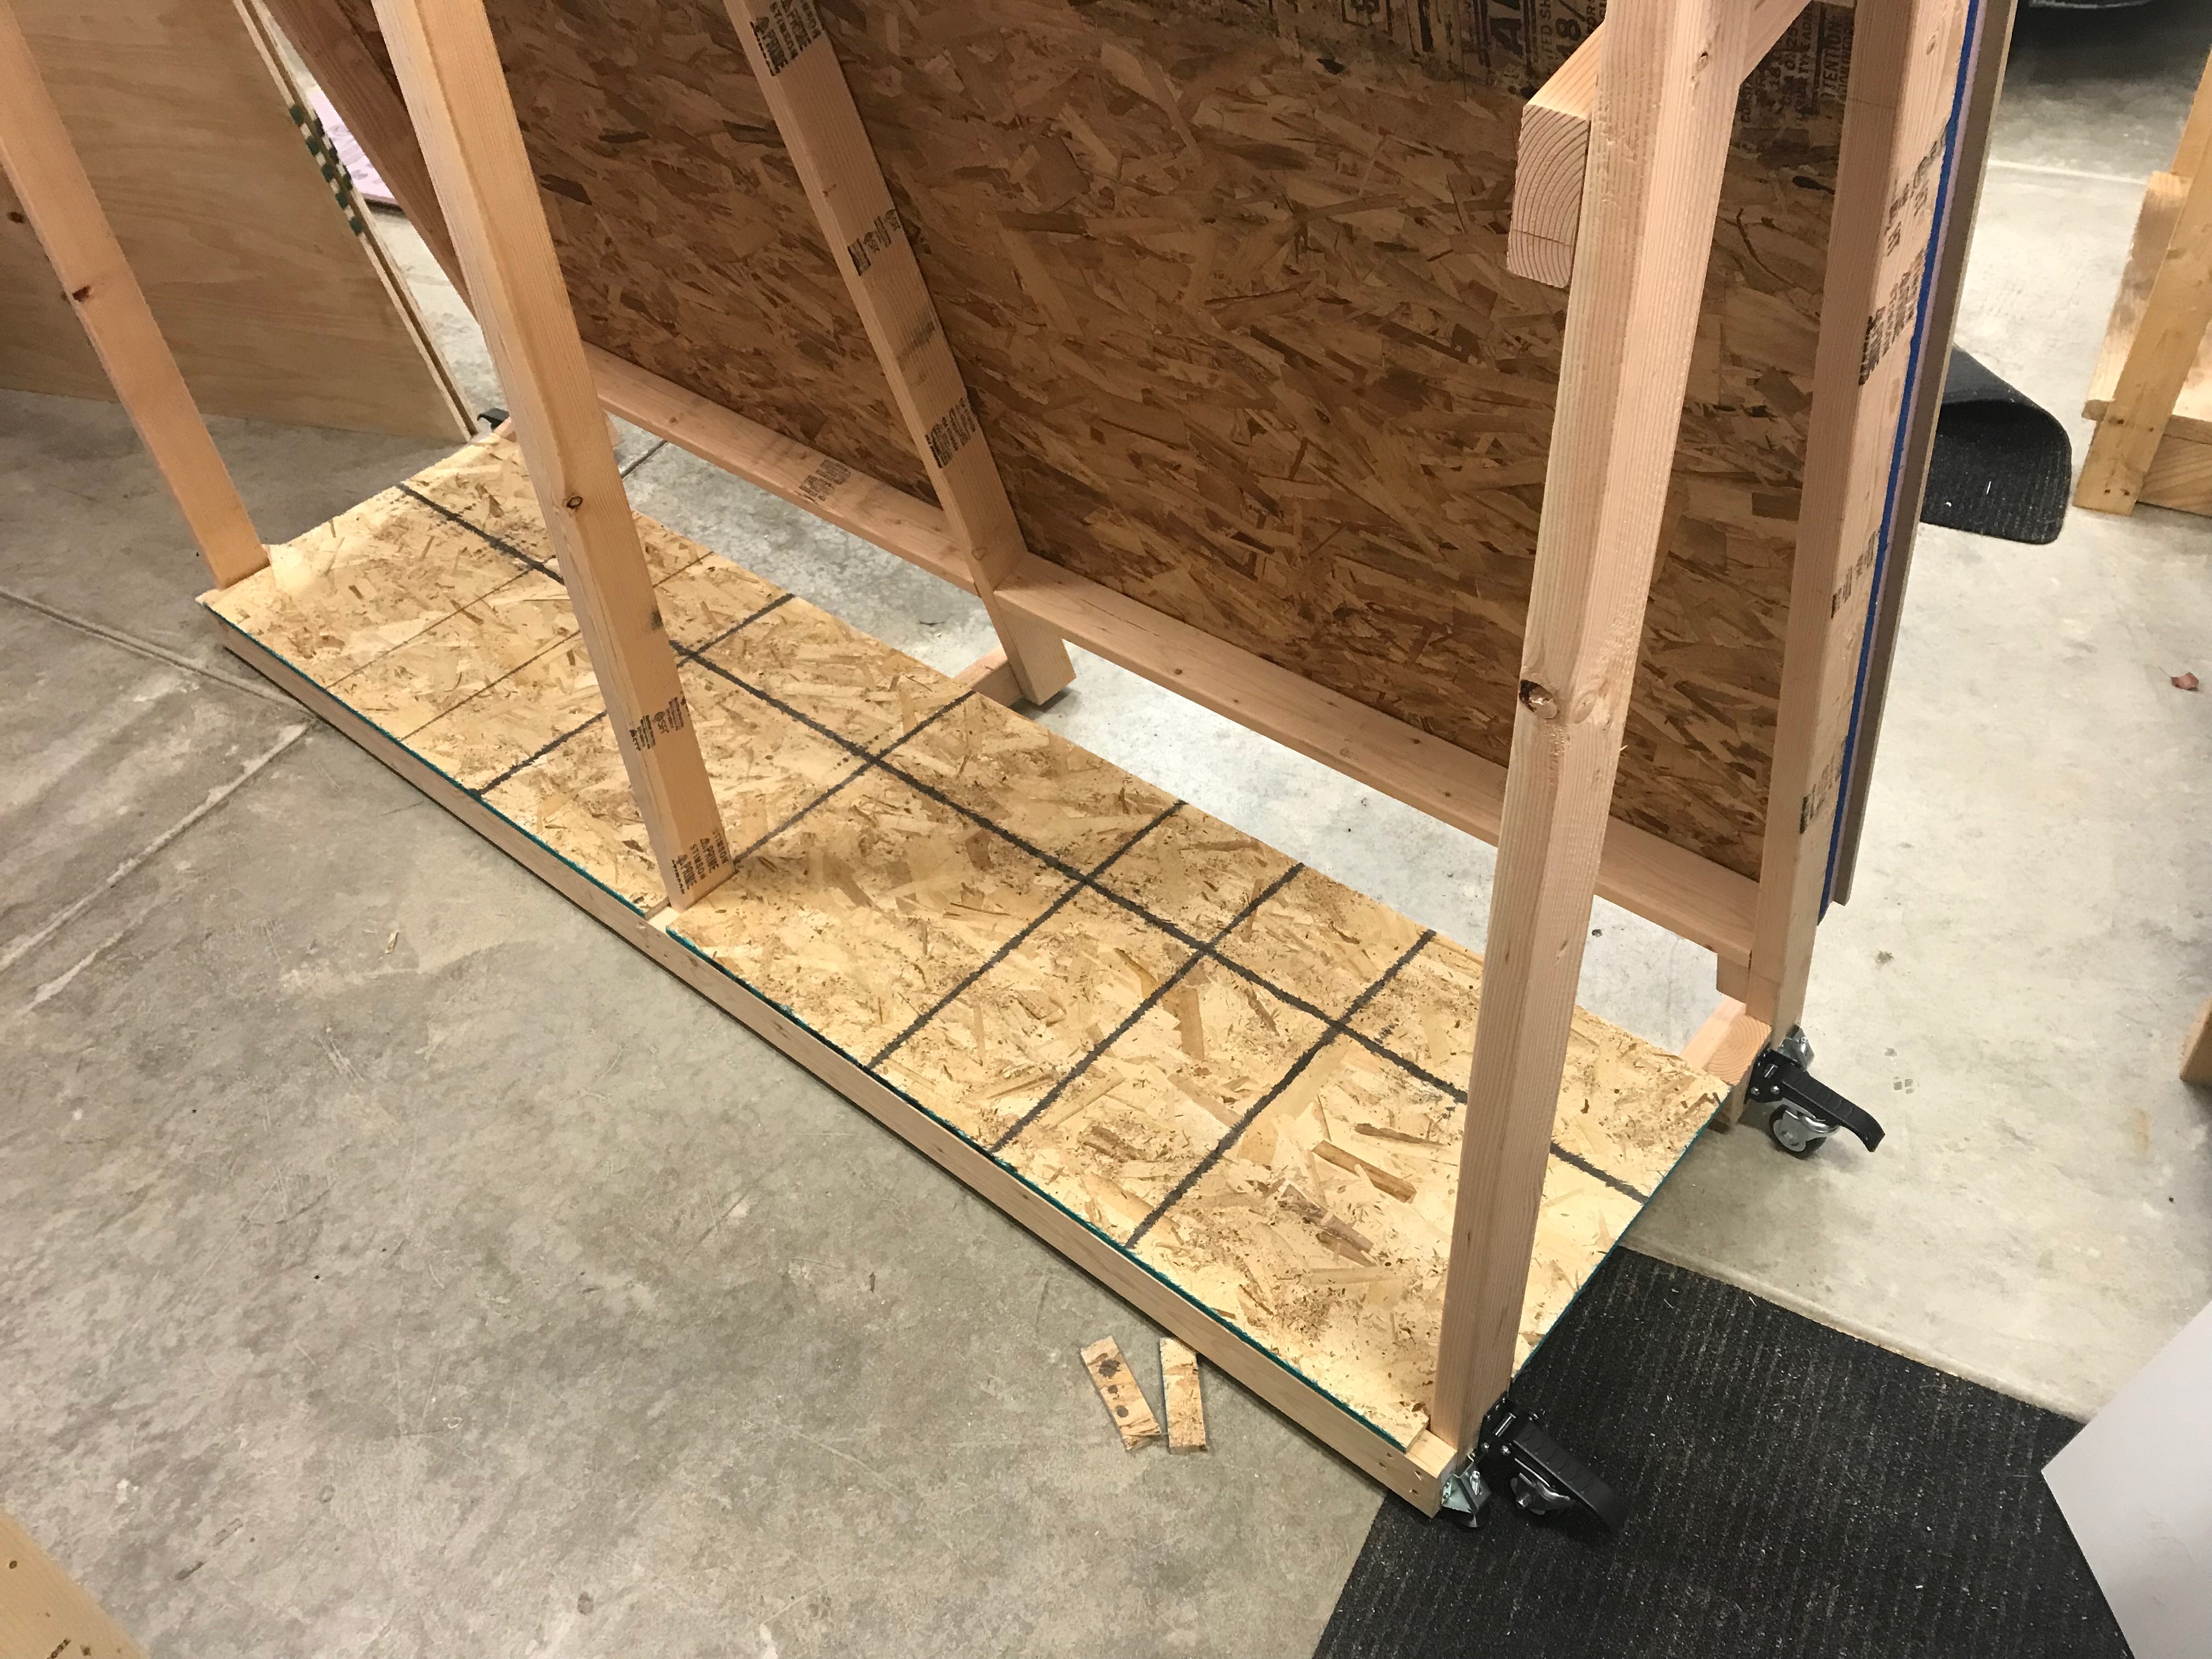
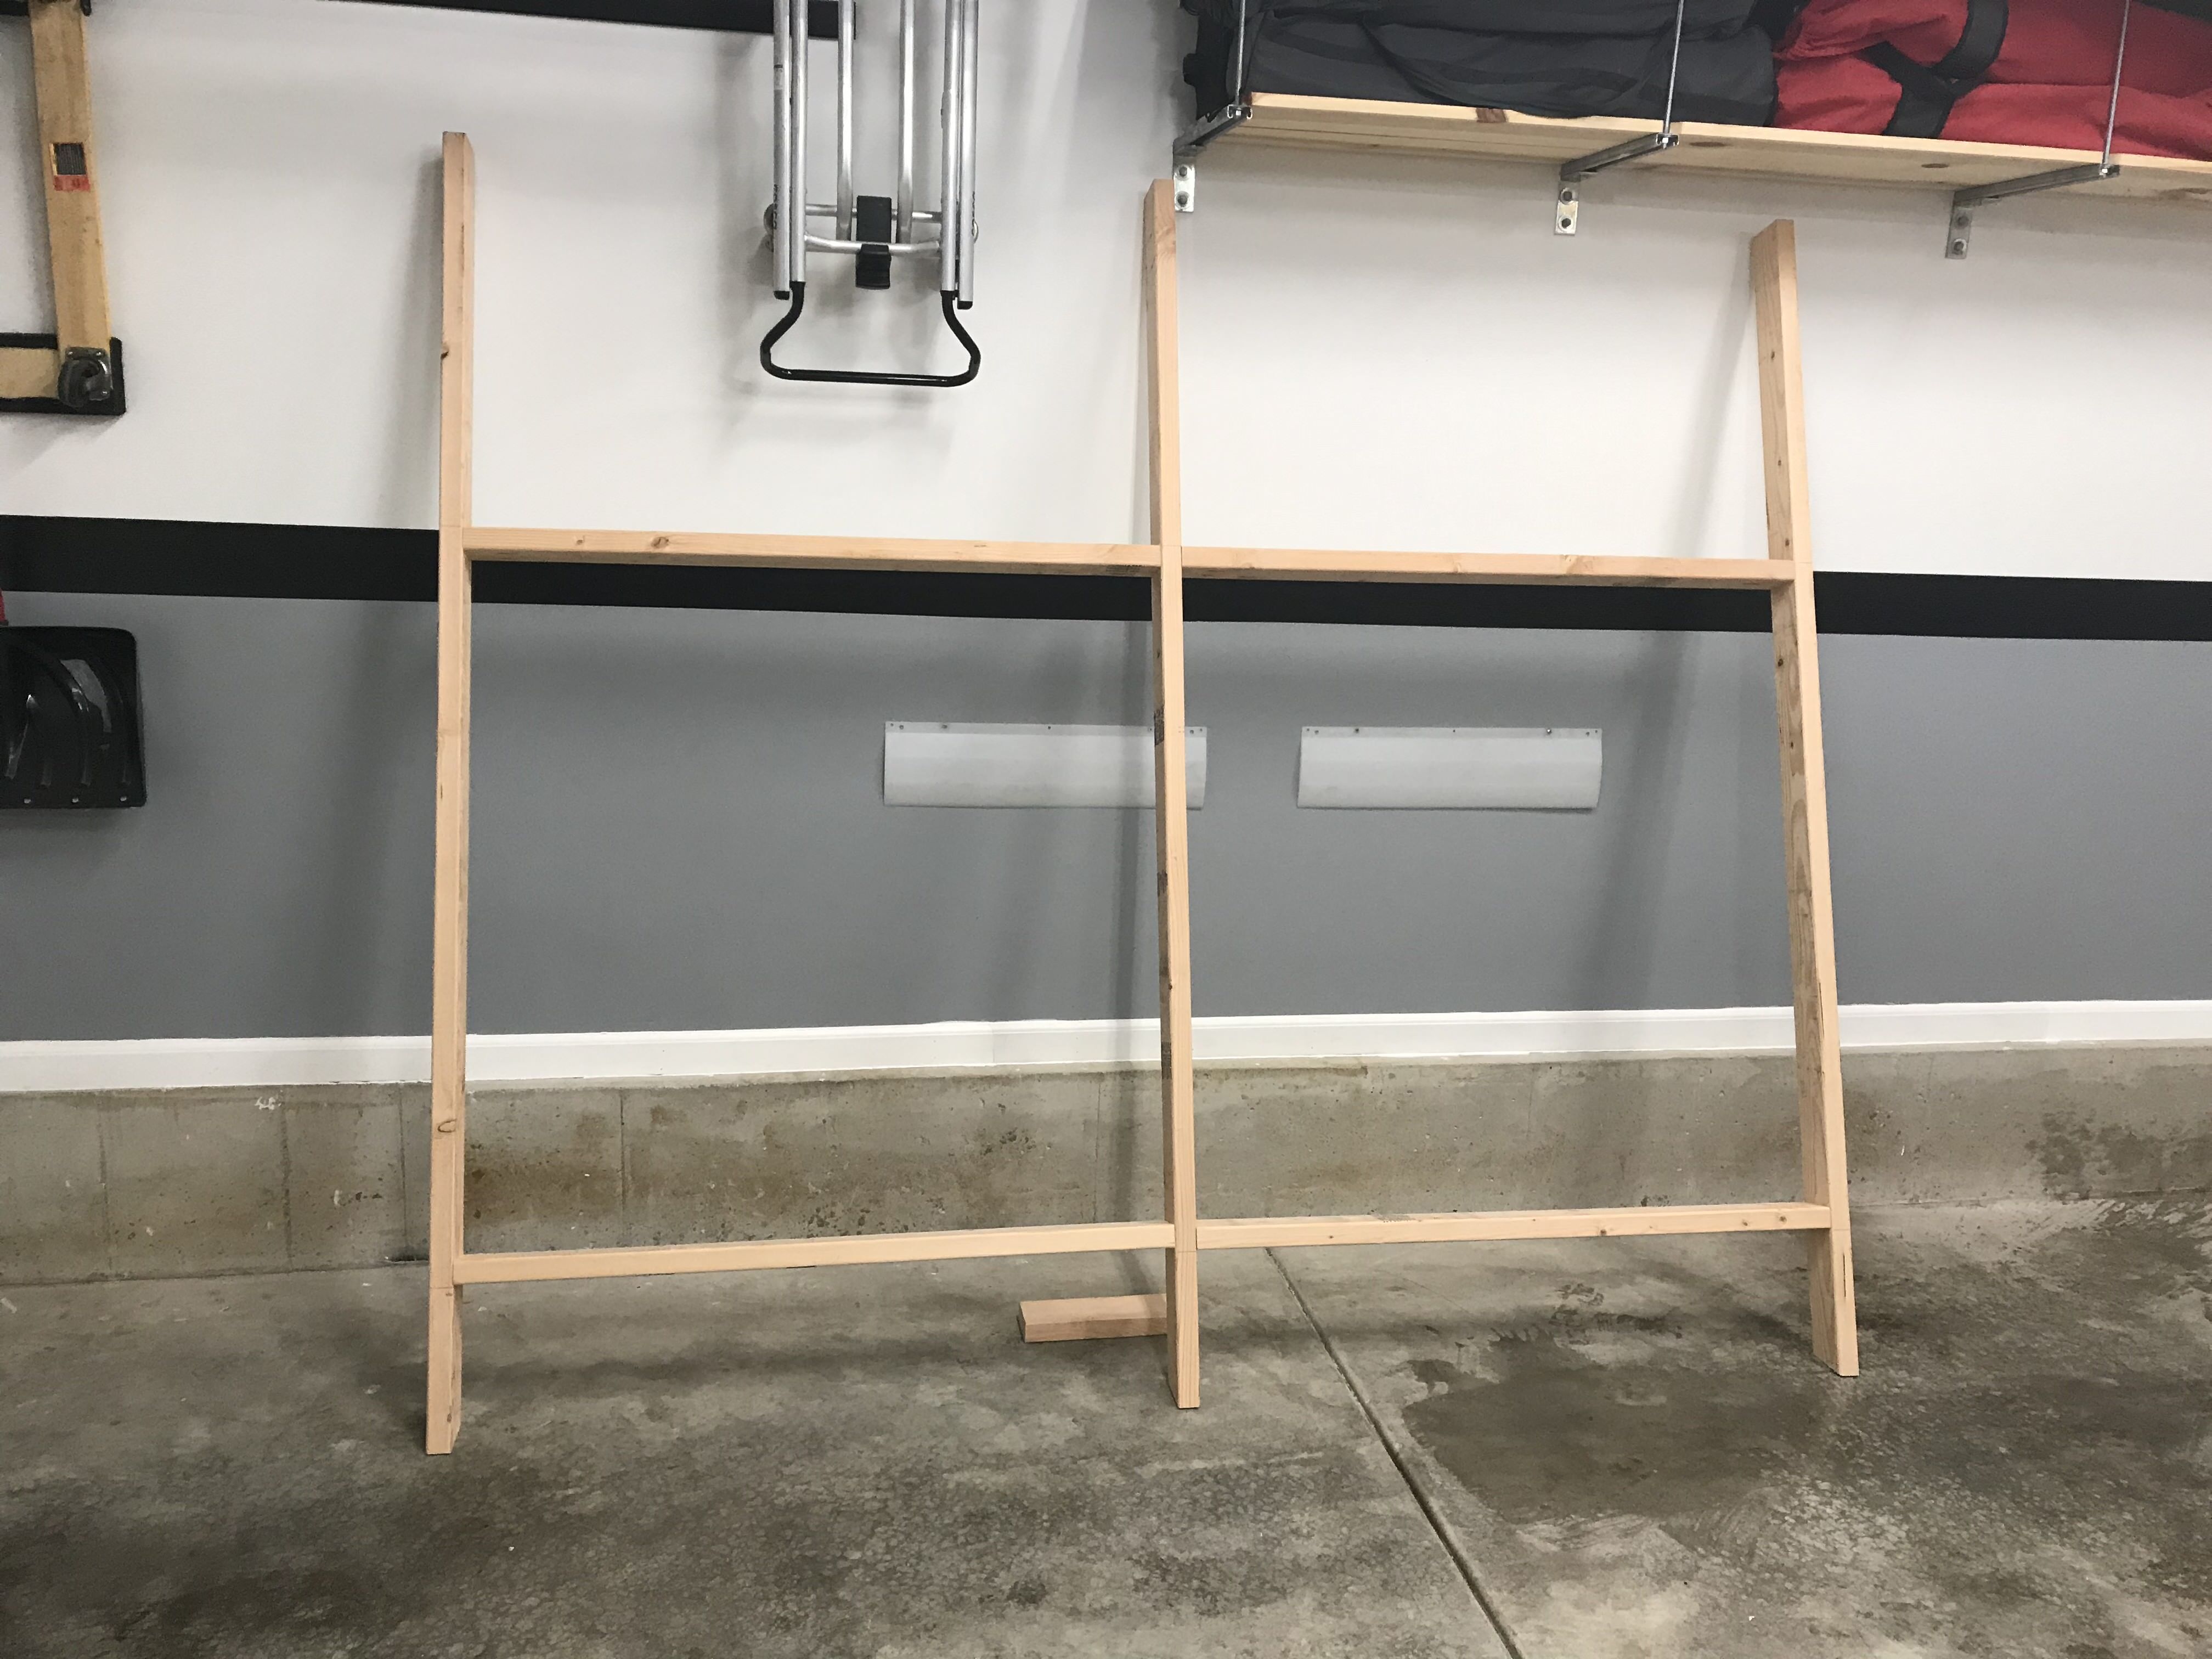
Then I added my bottom supports.

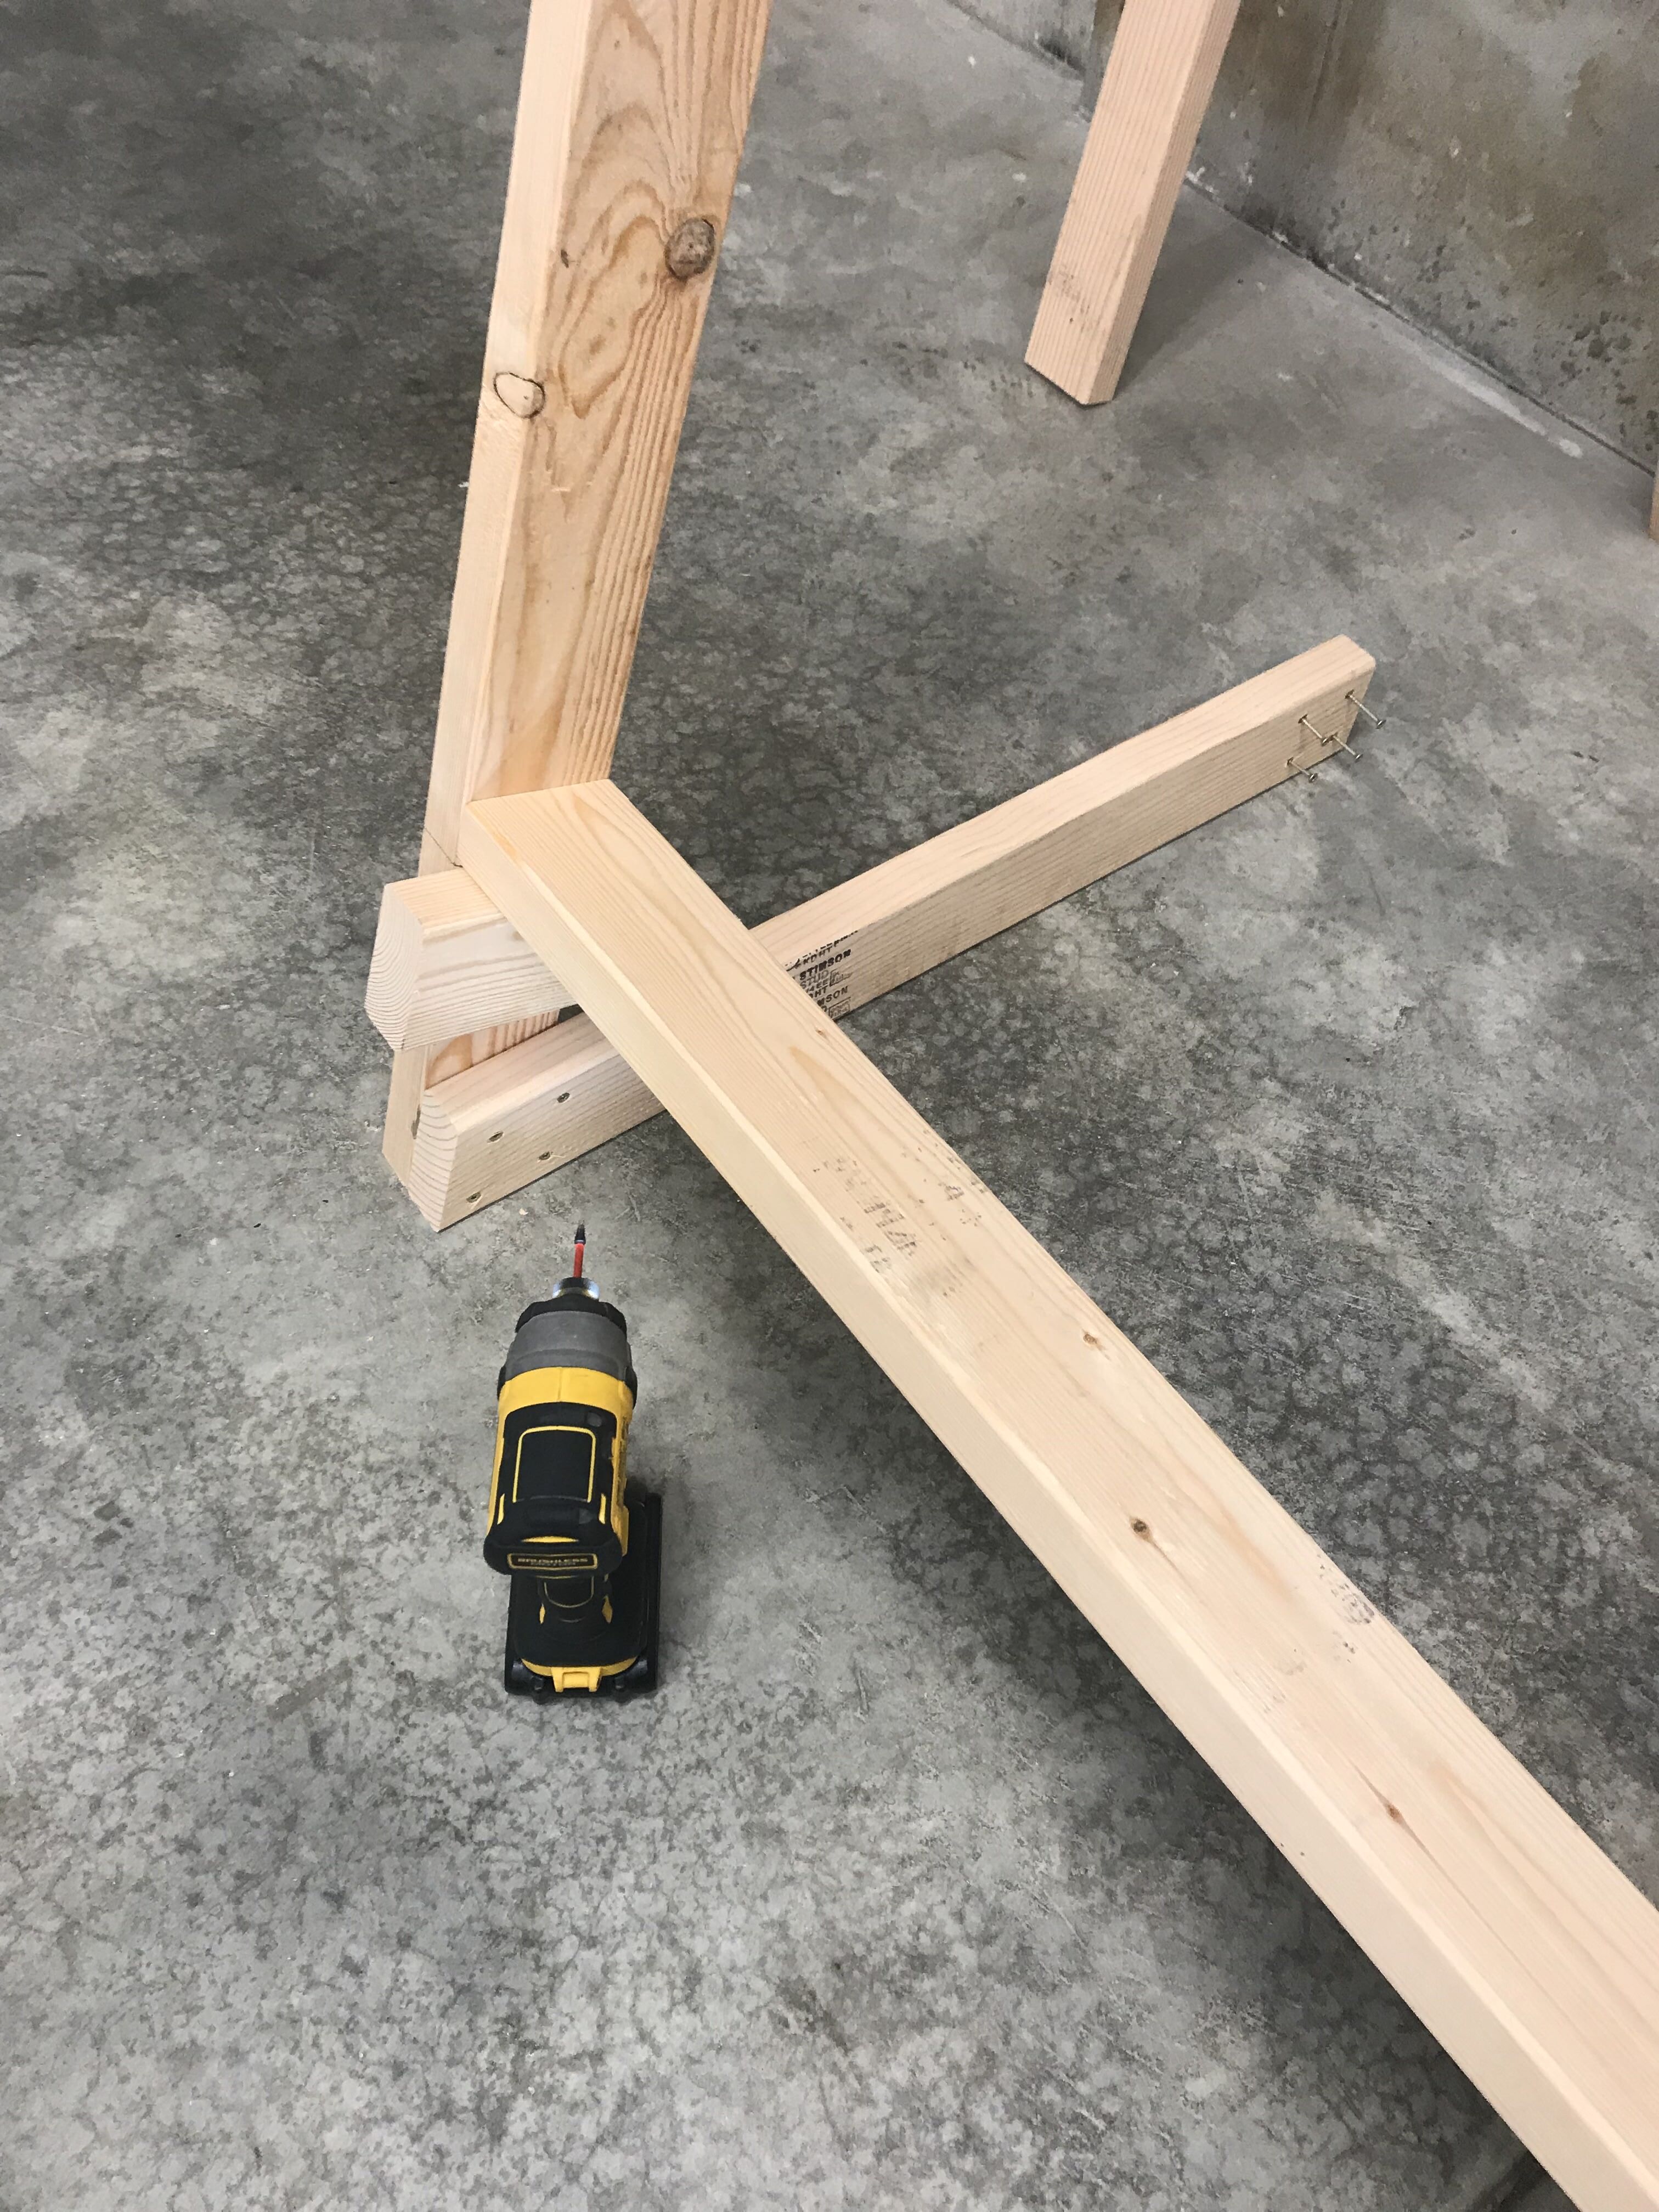
Then the vertical back supports and another cross member to help keep it straight.

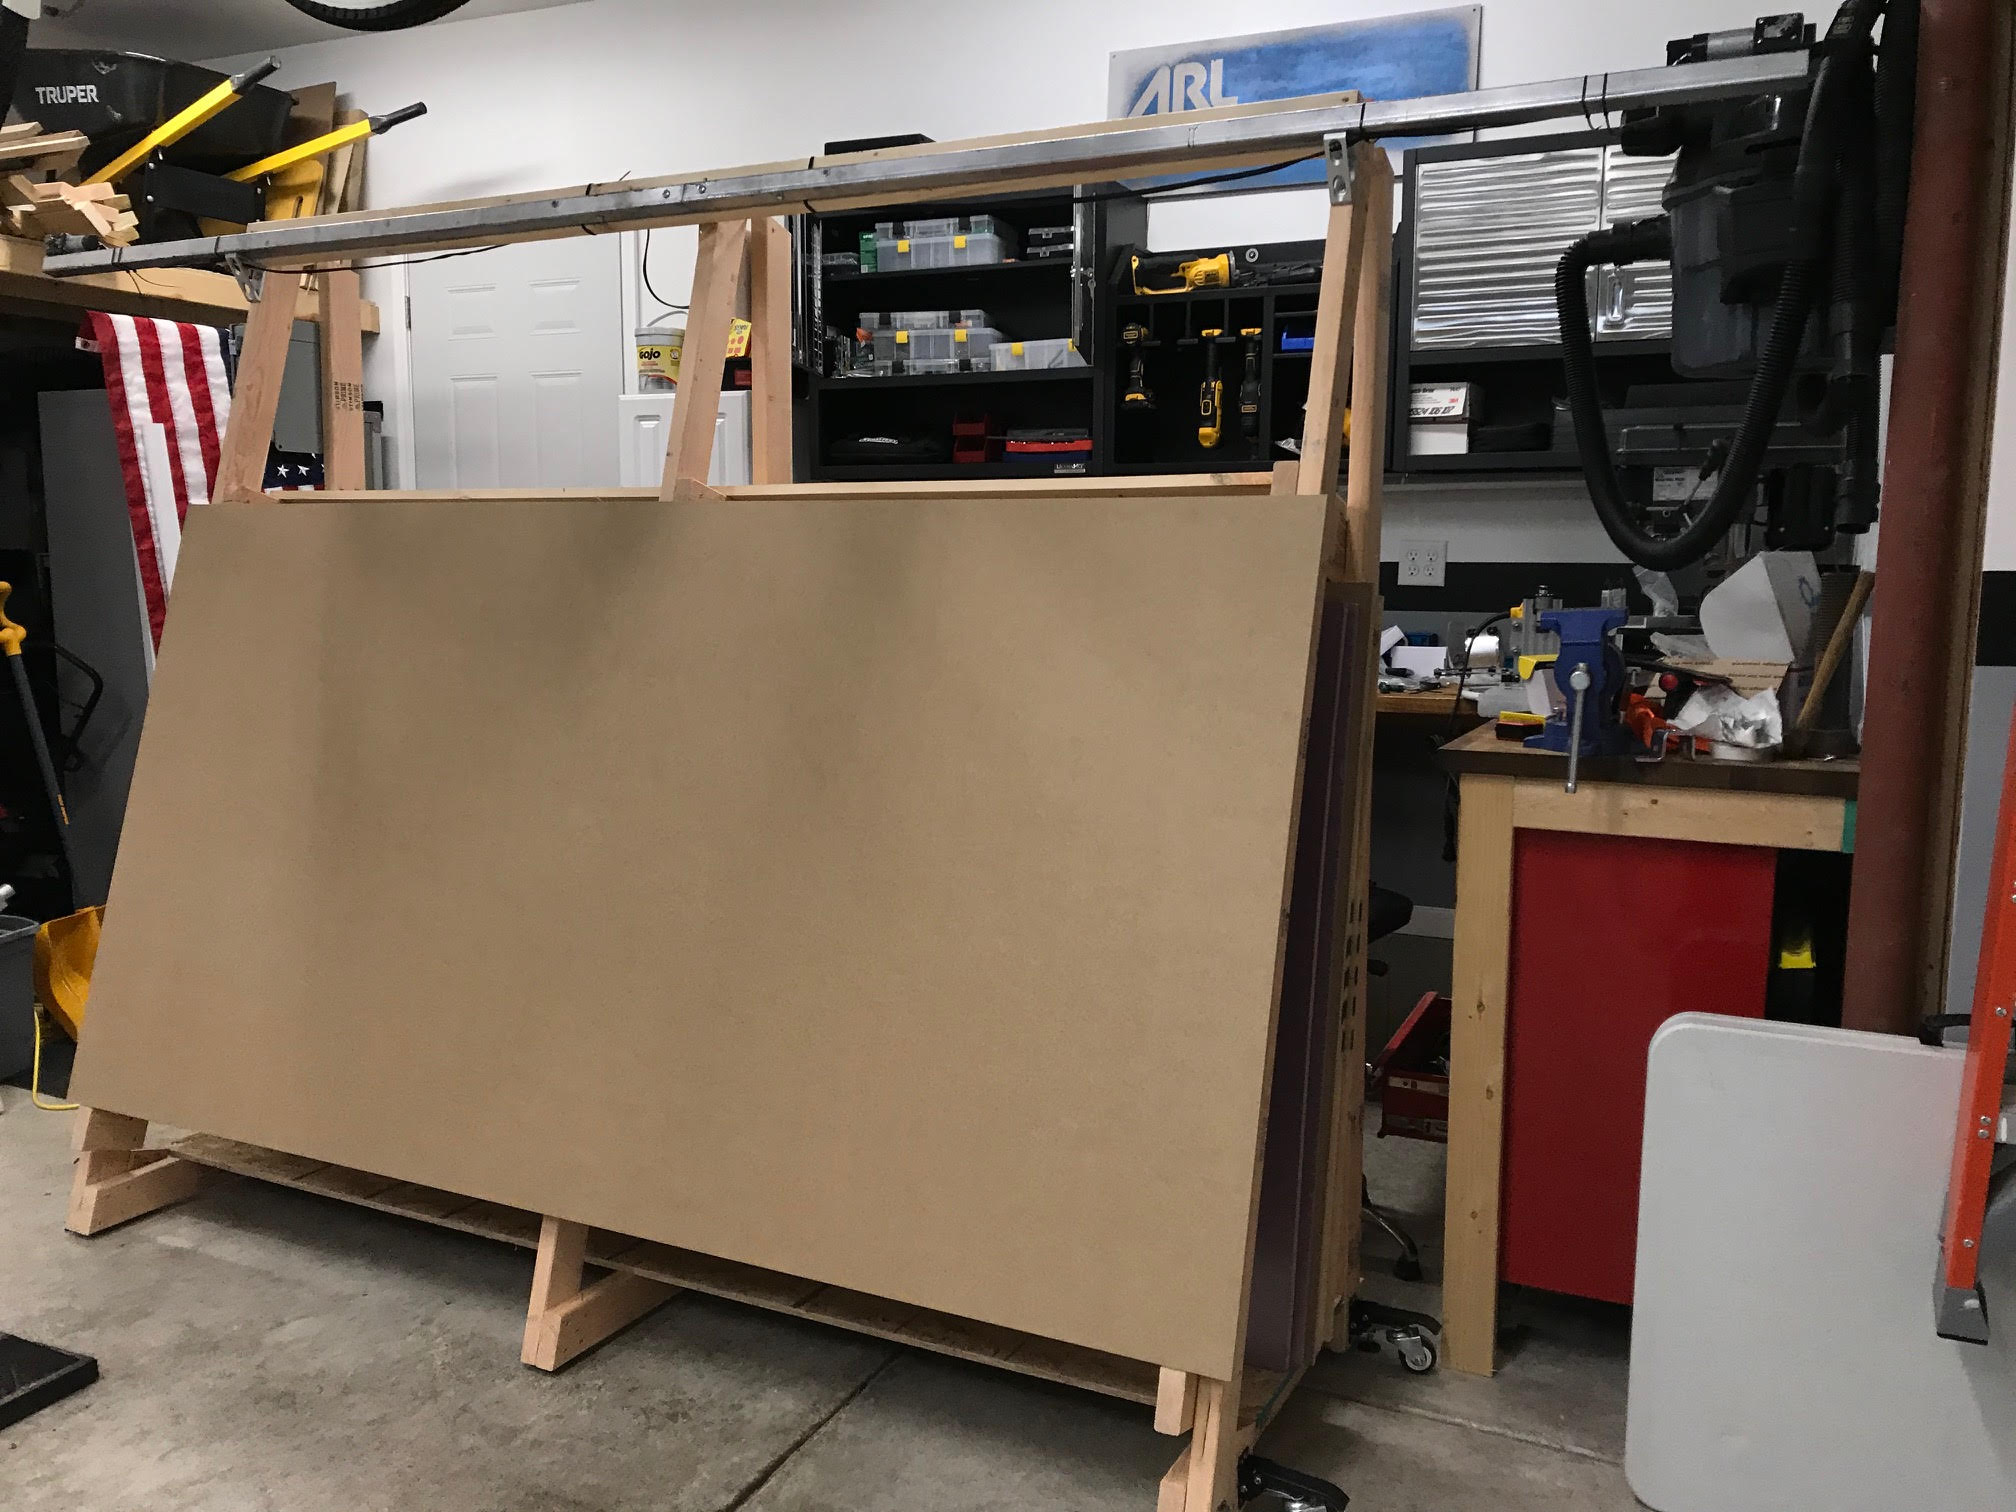
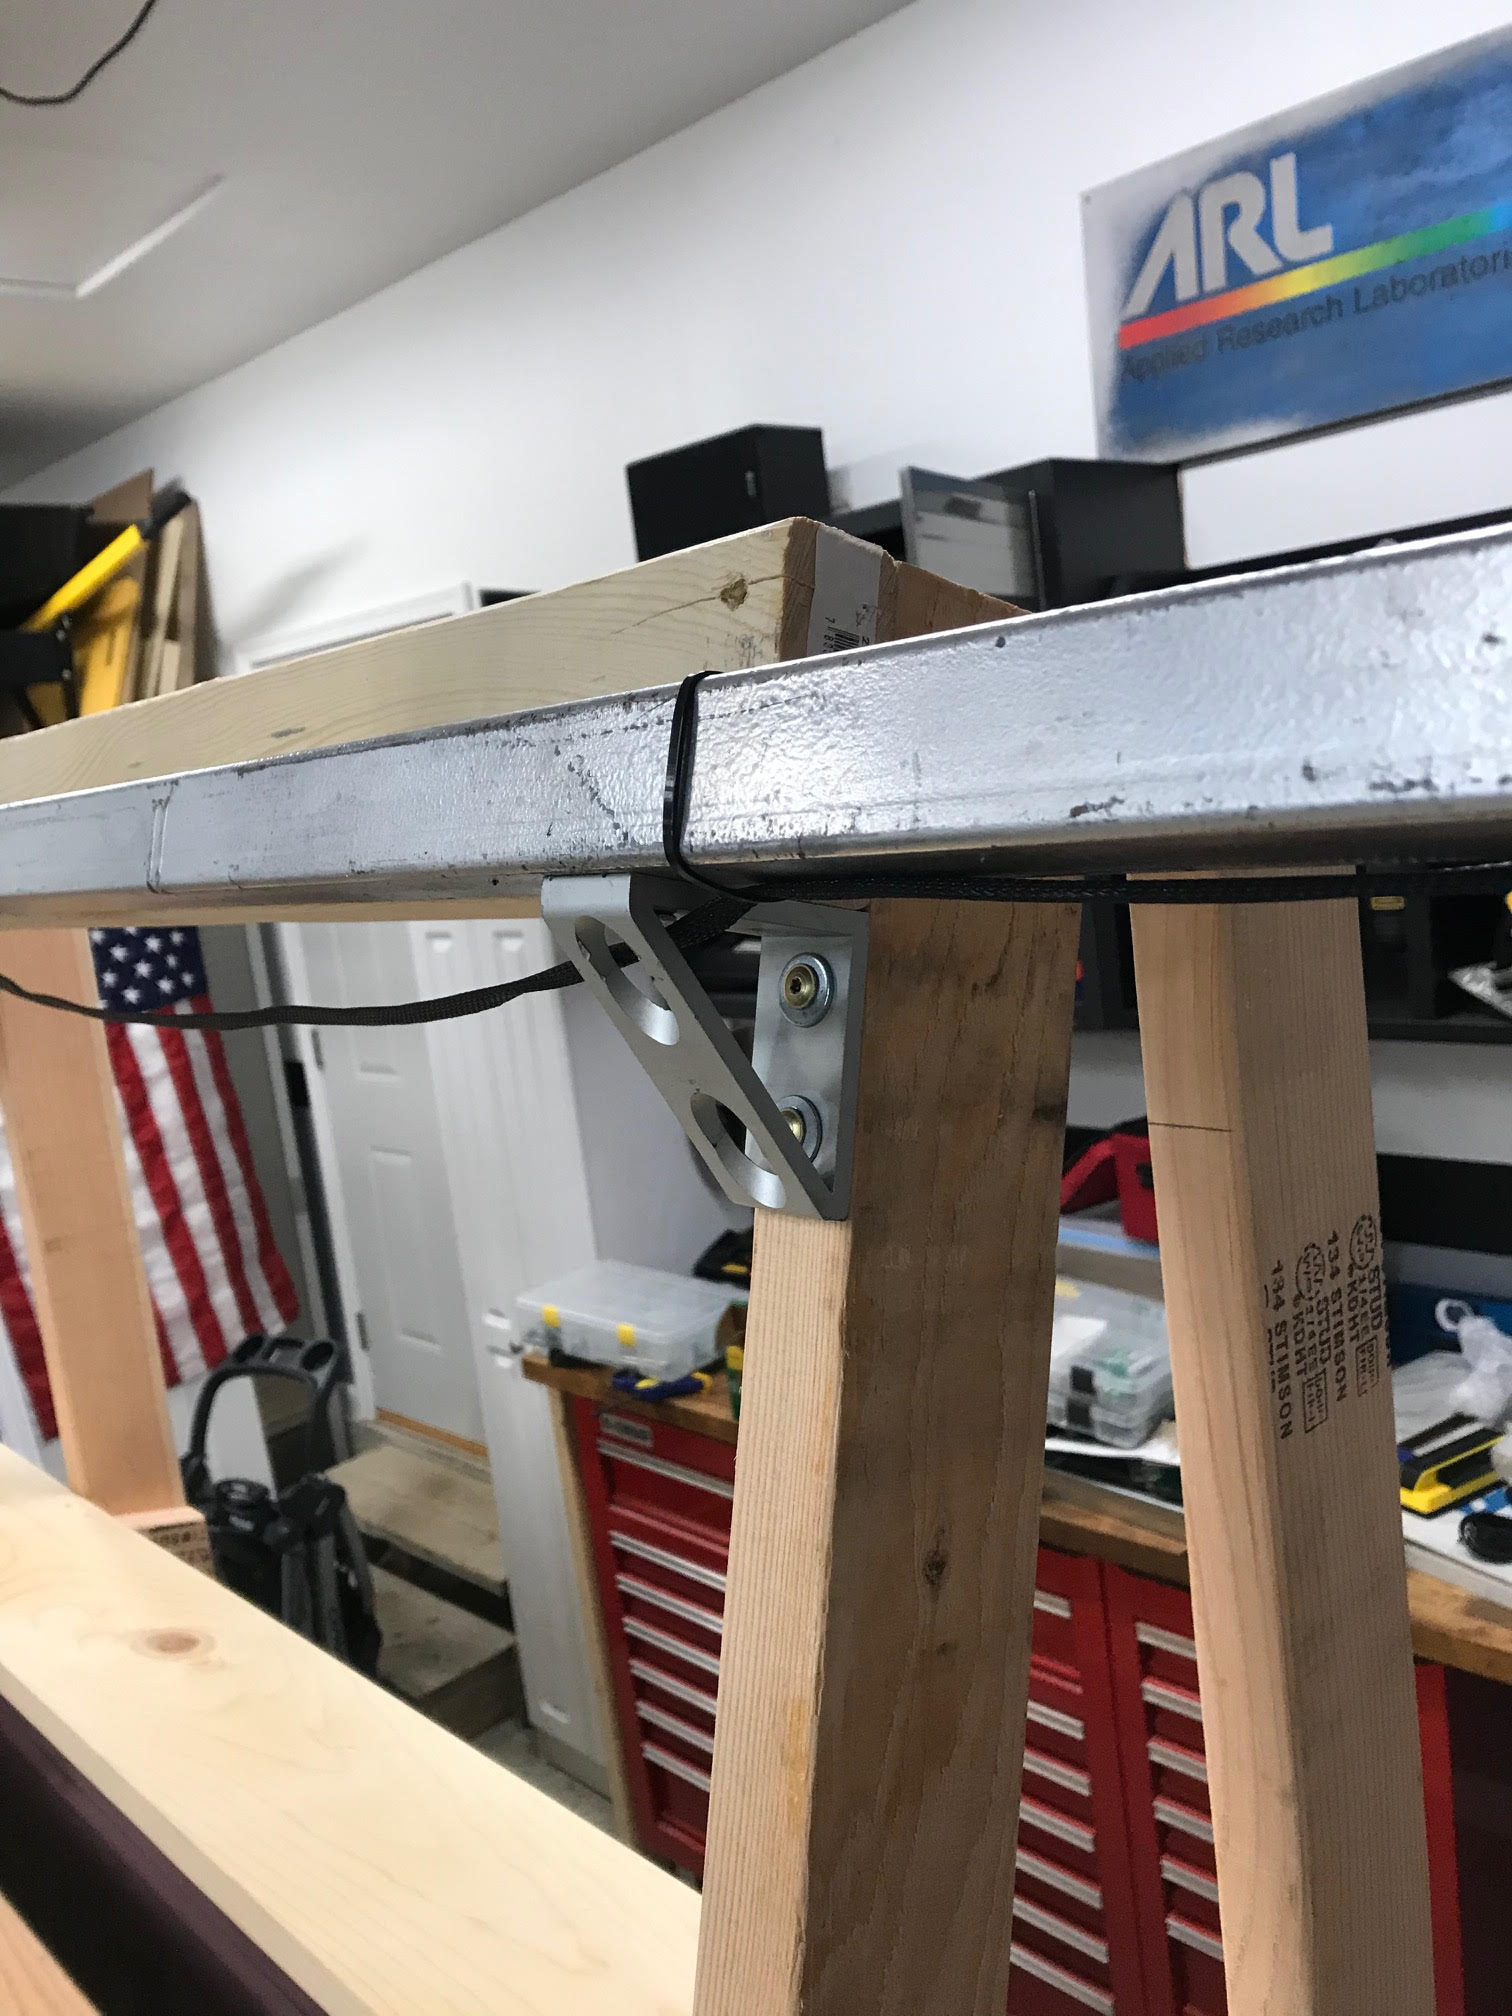
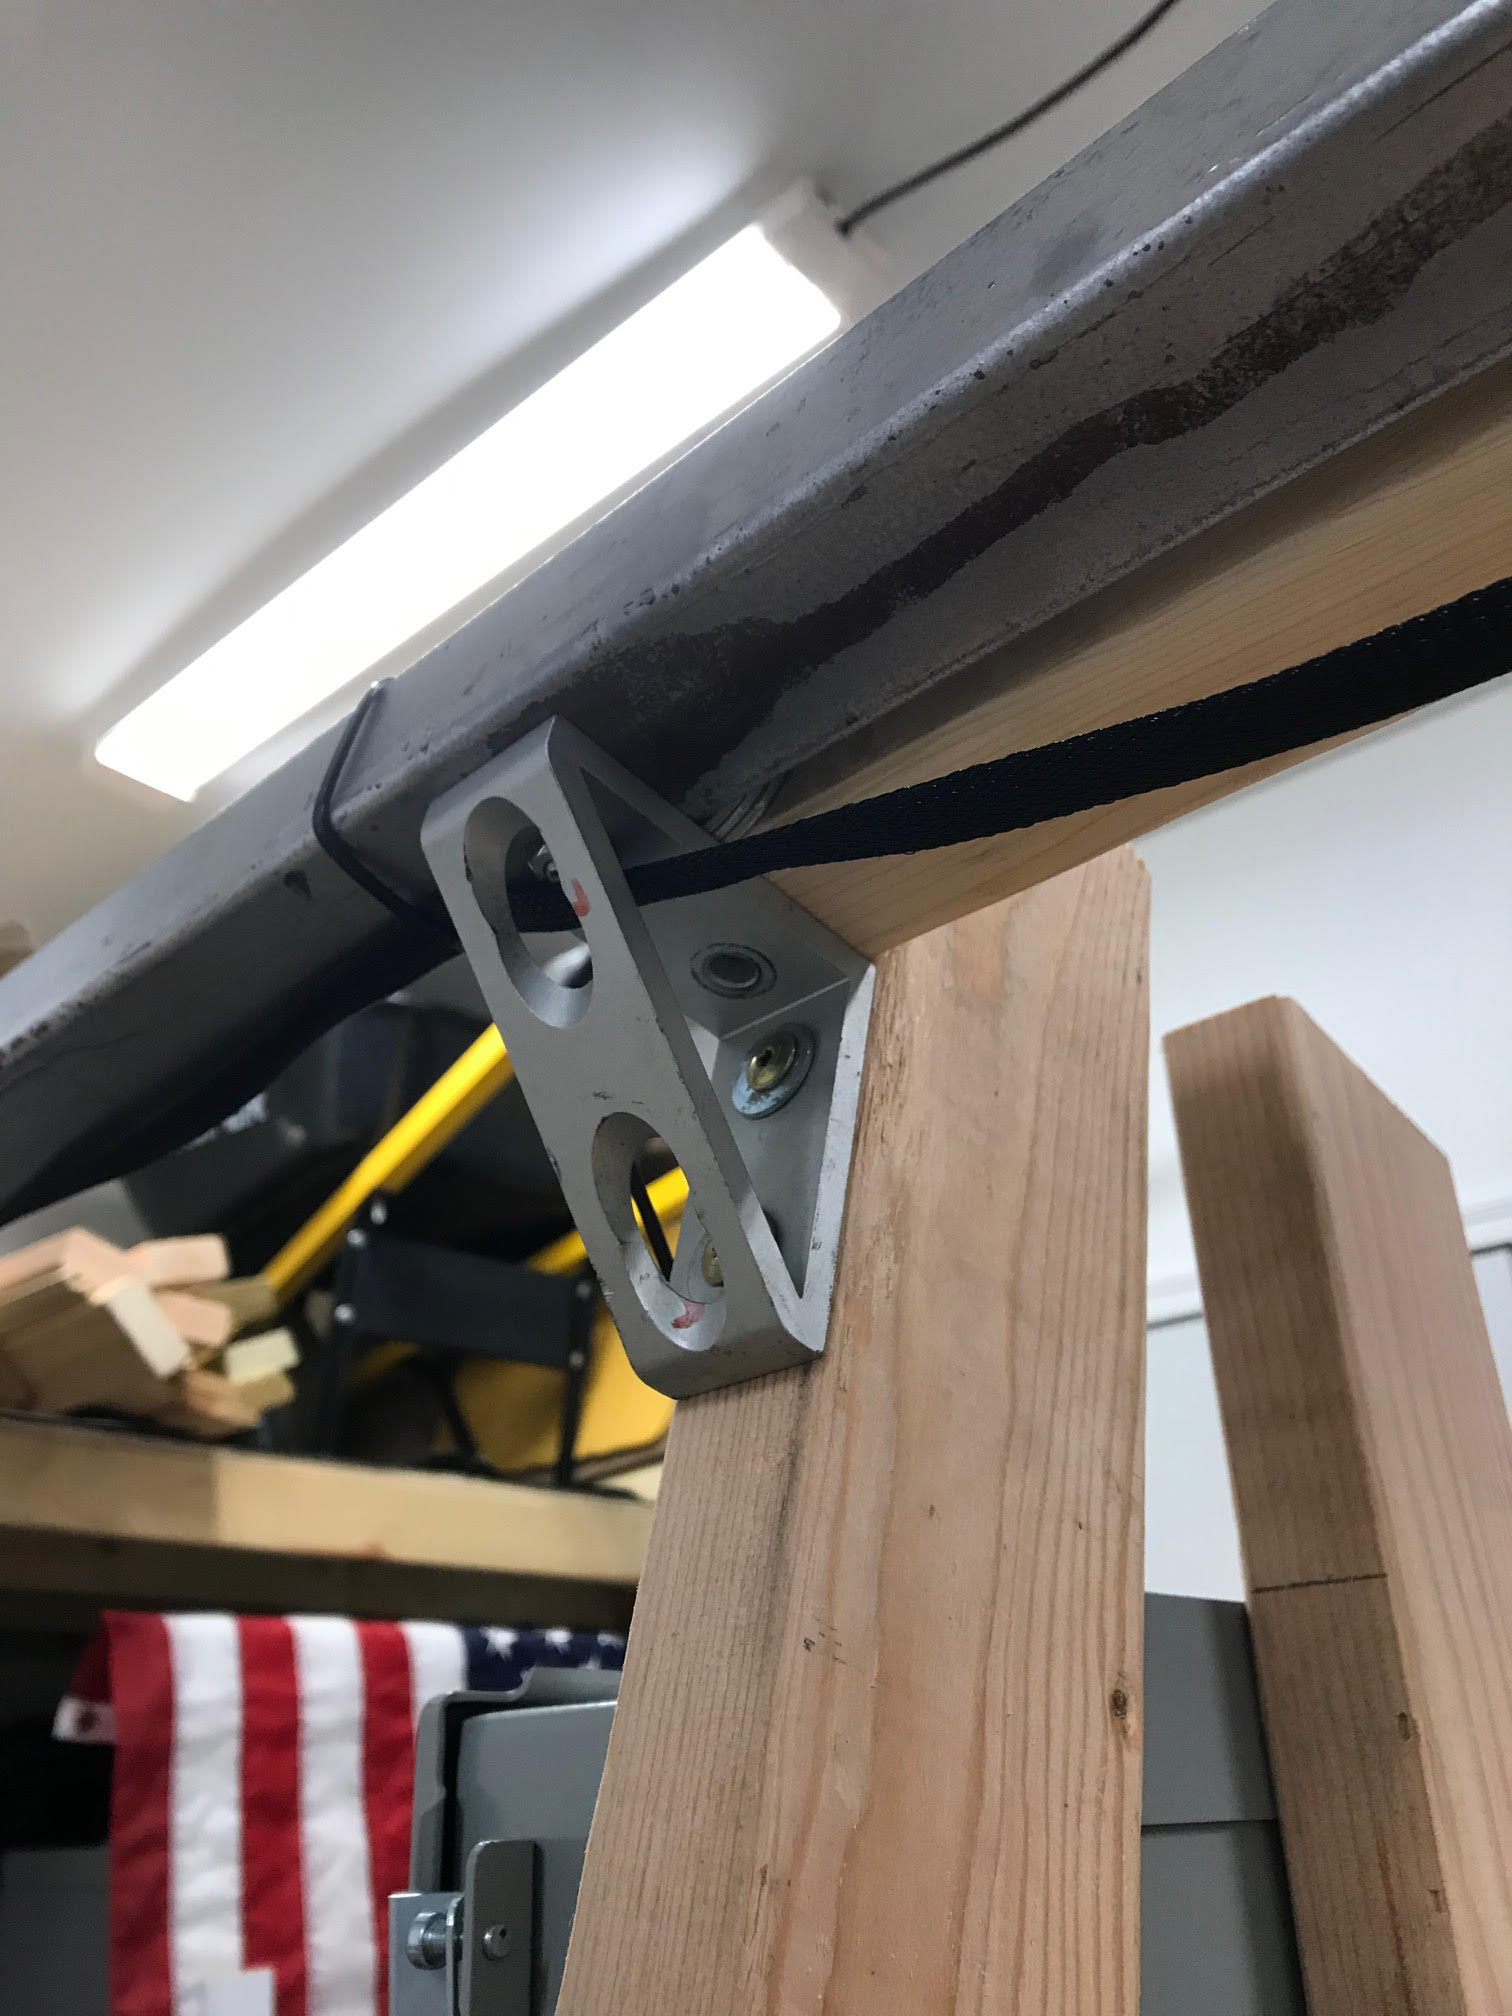
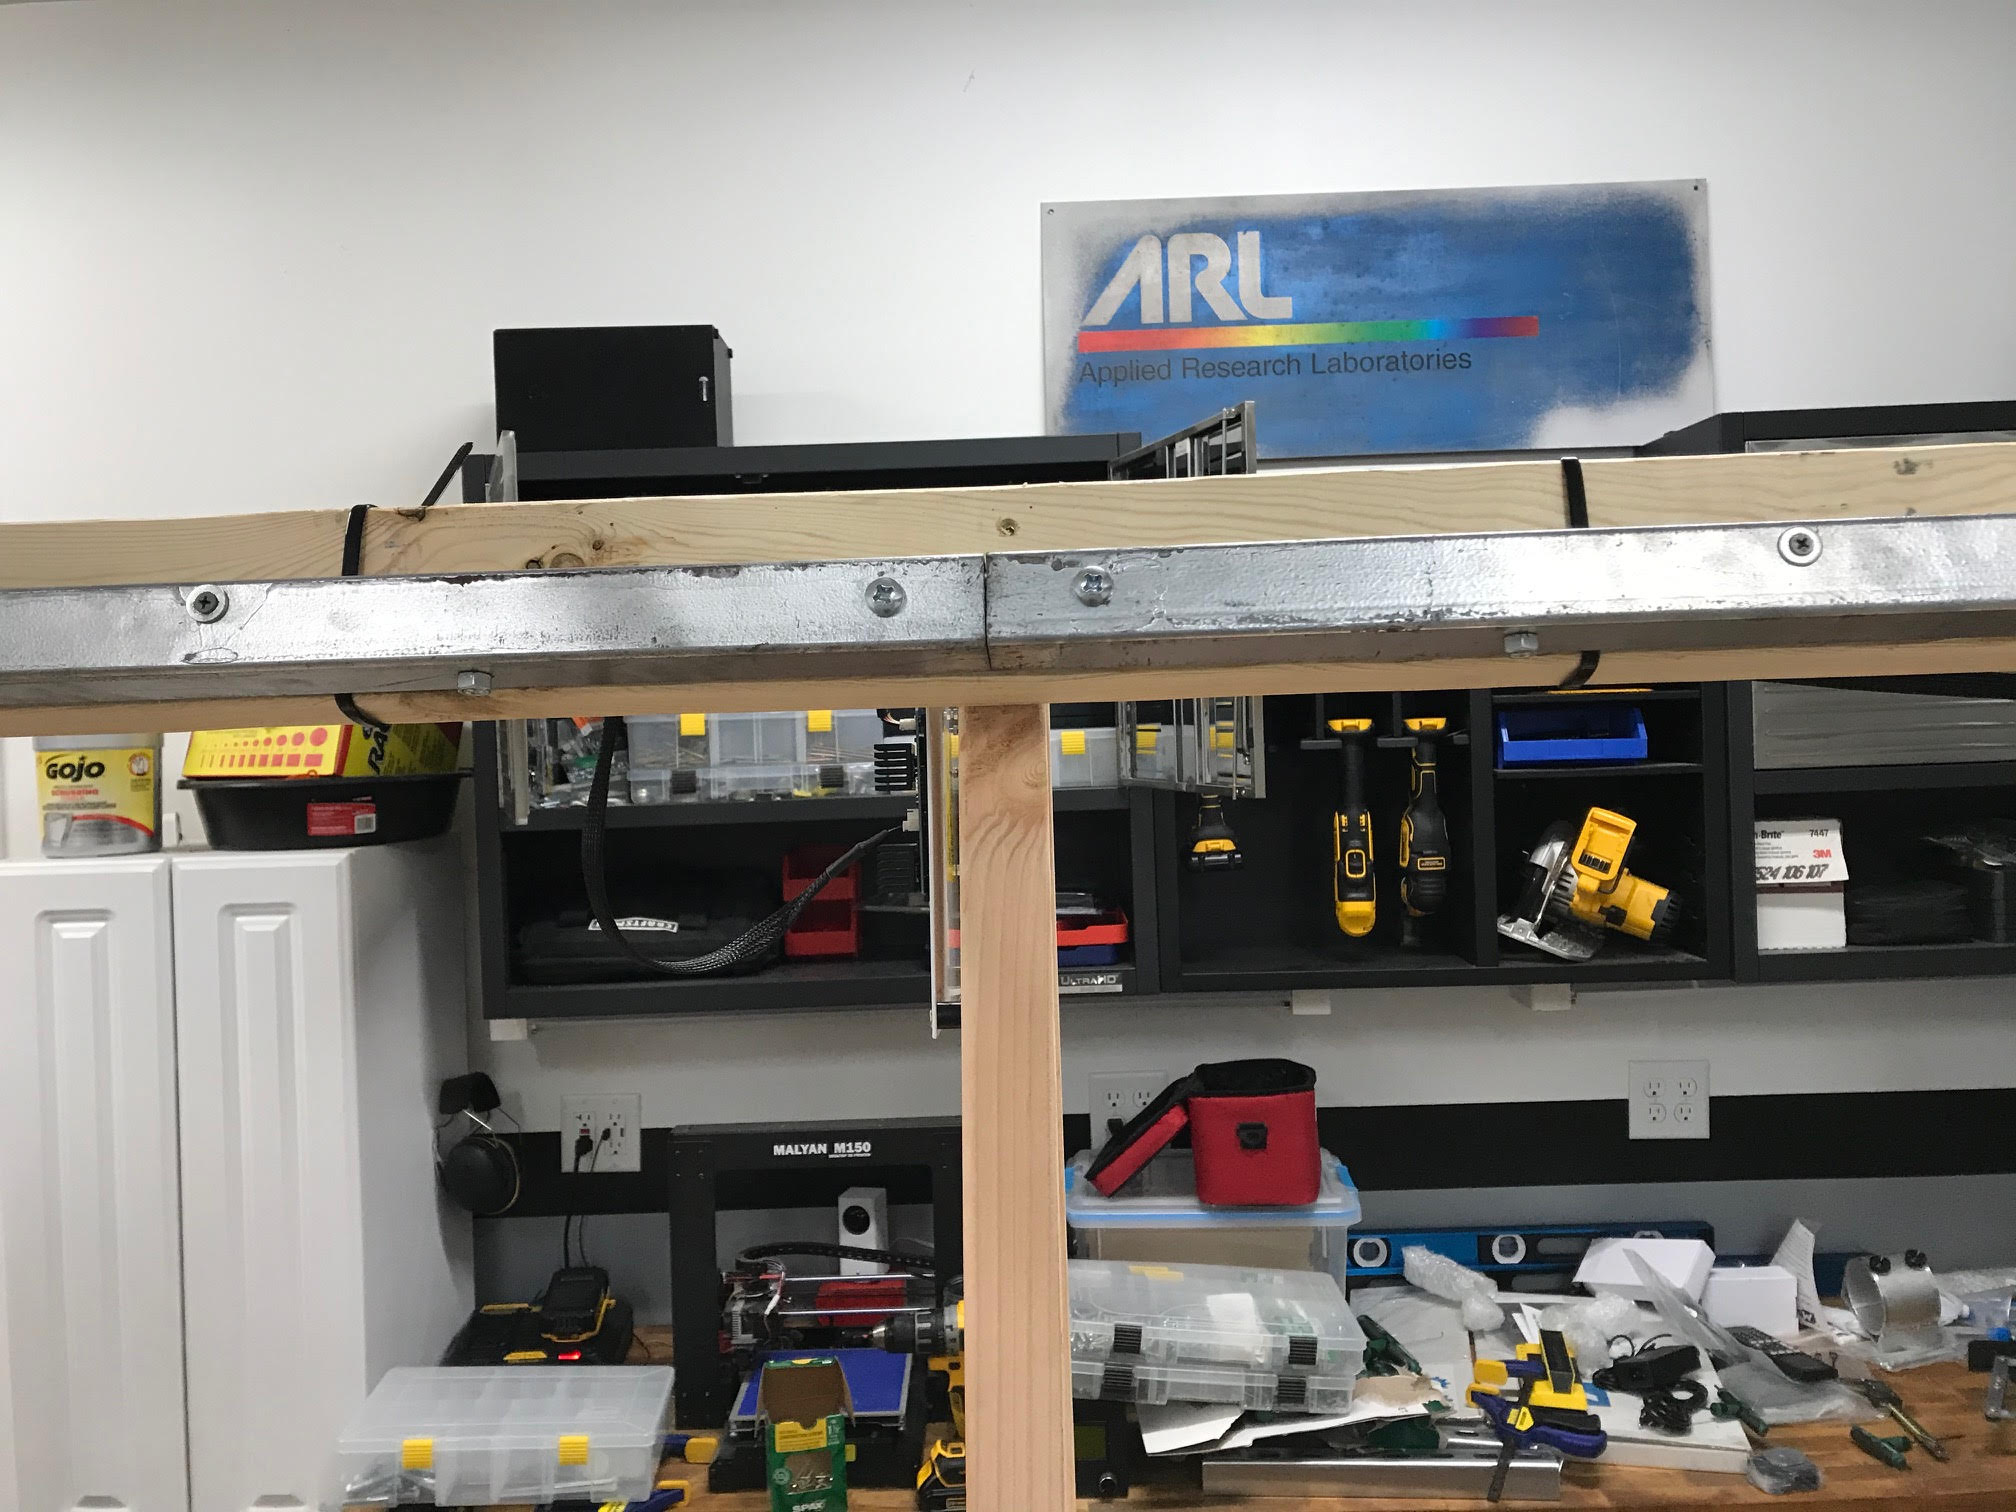
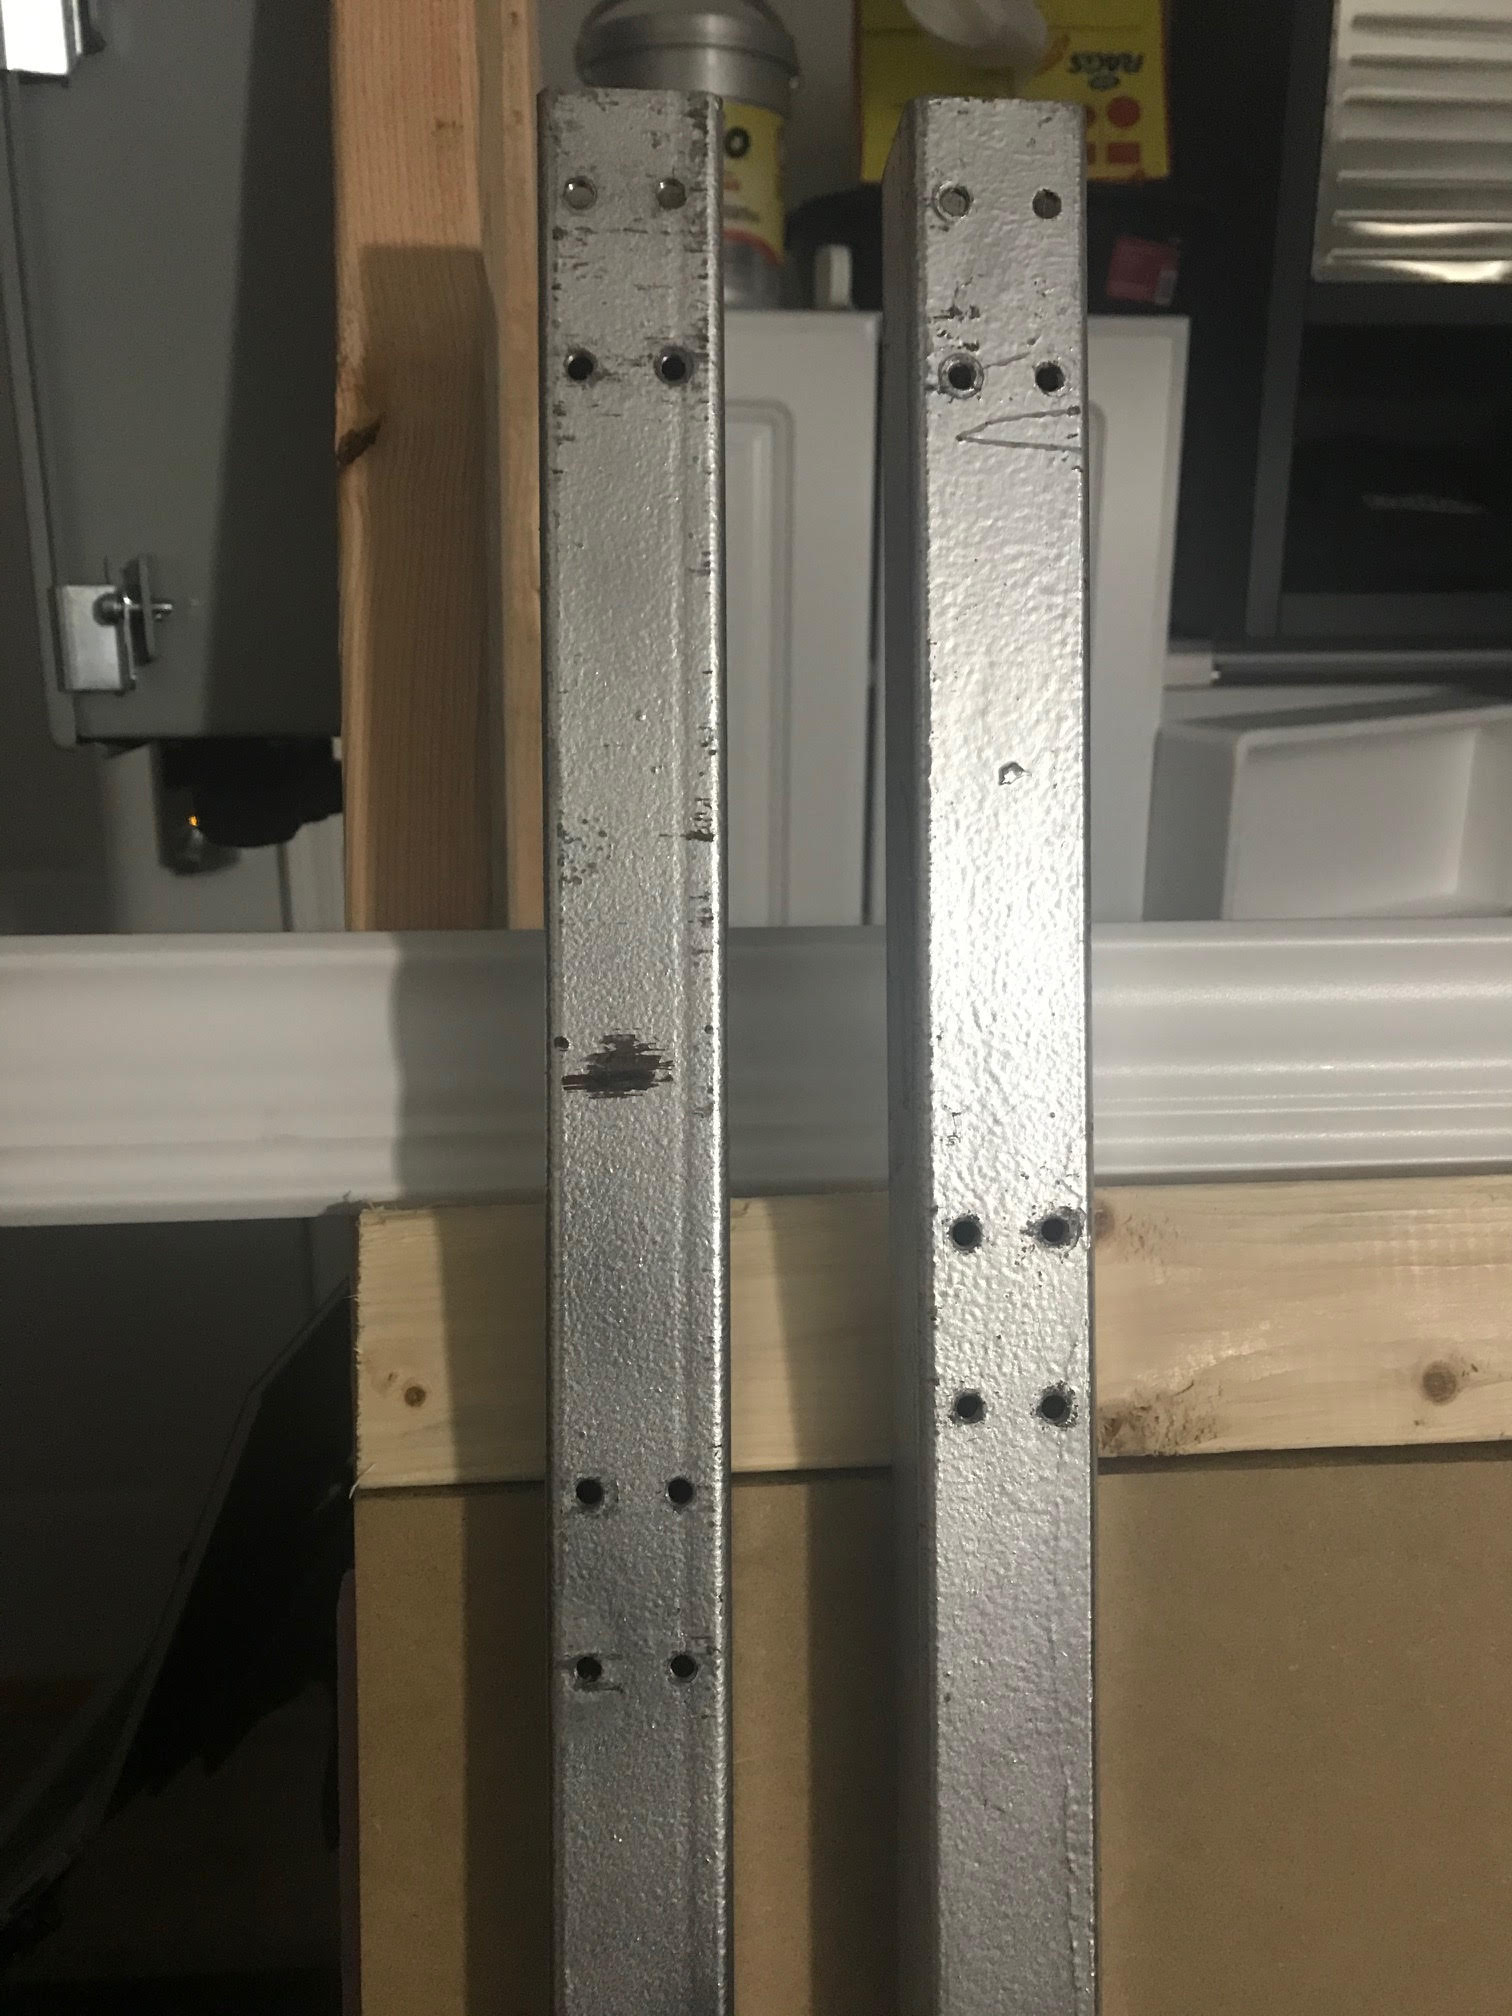
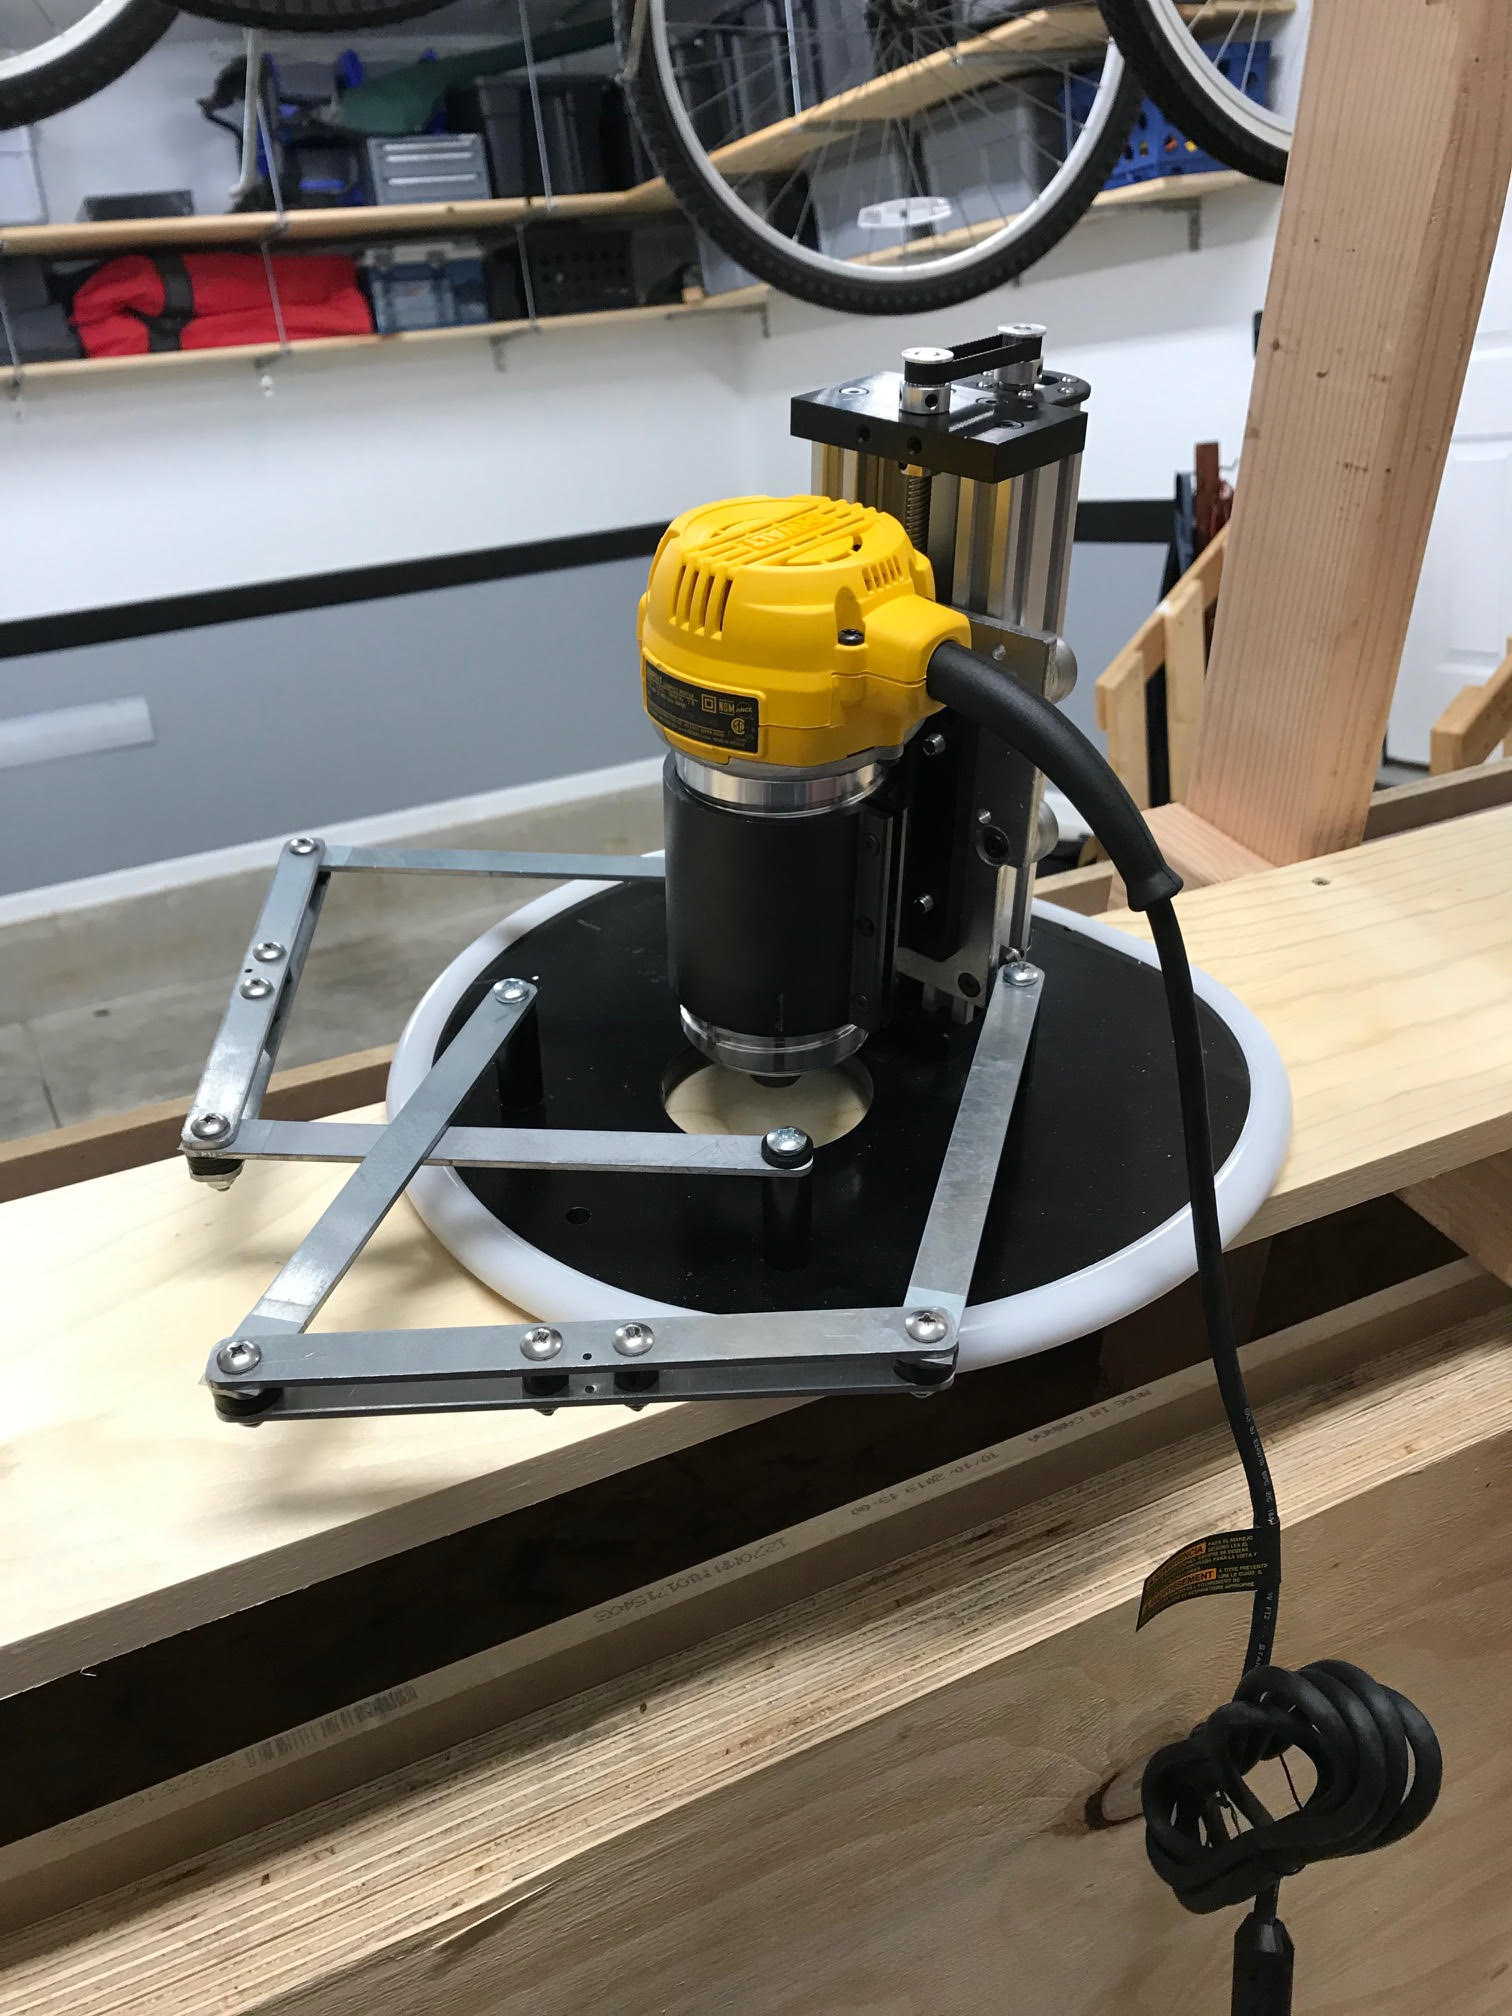
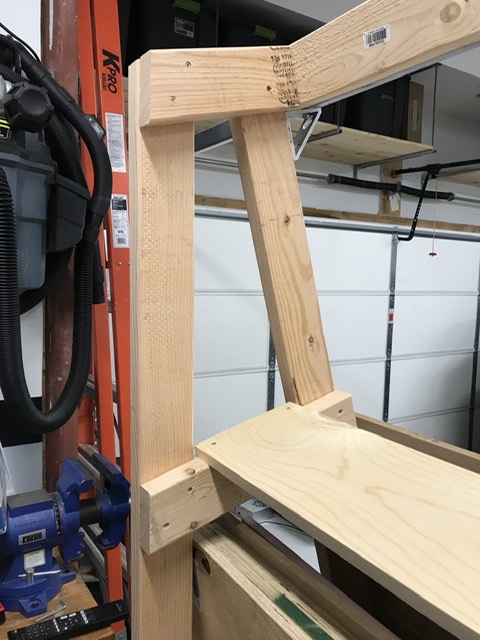
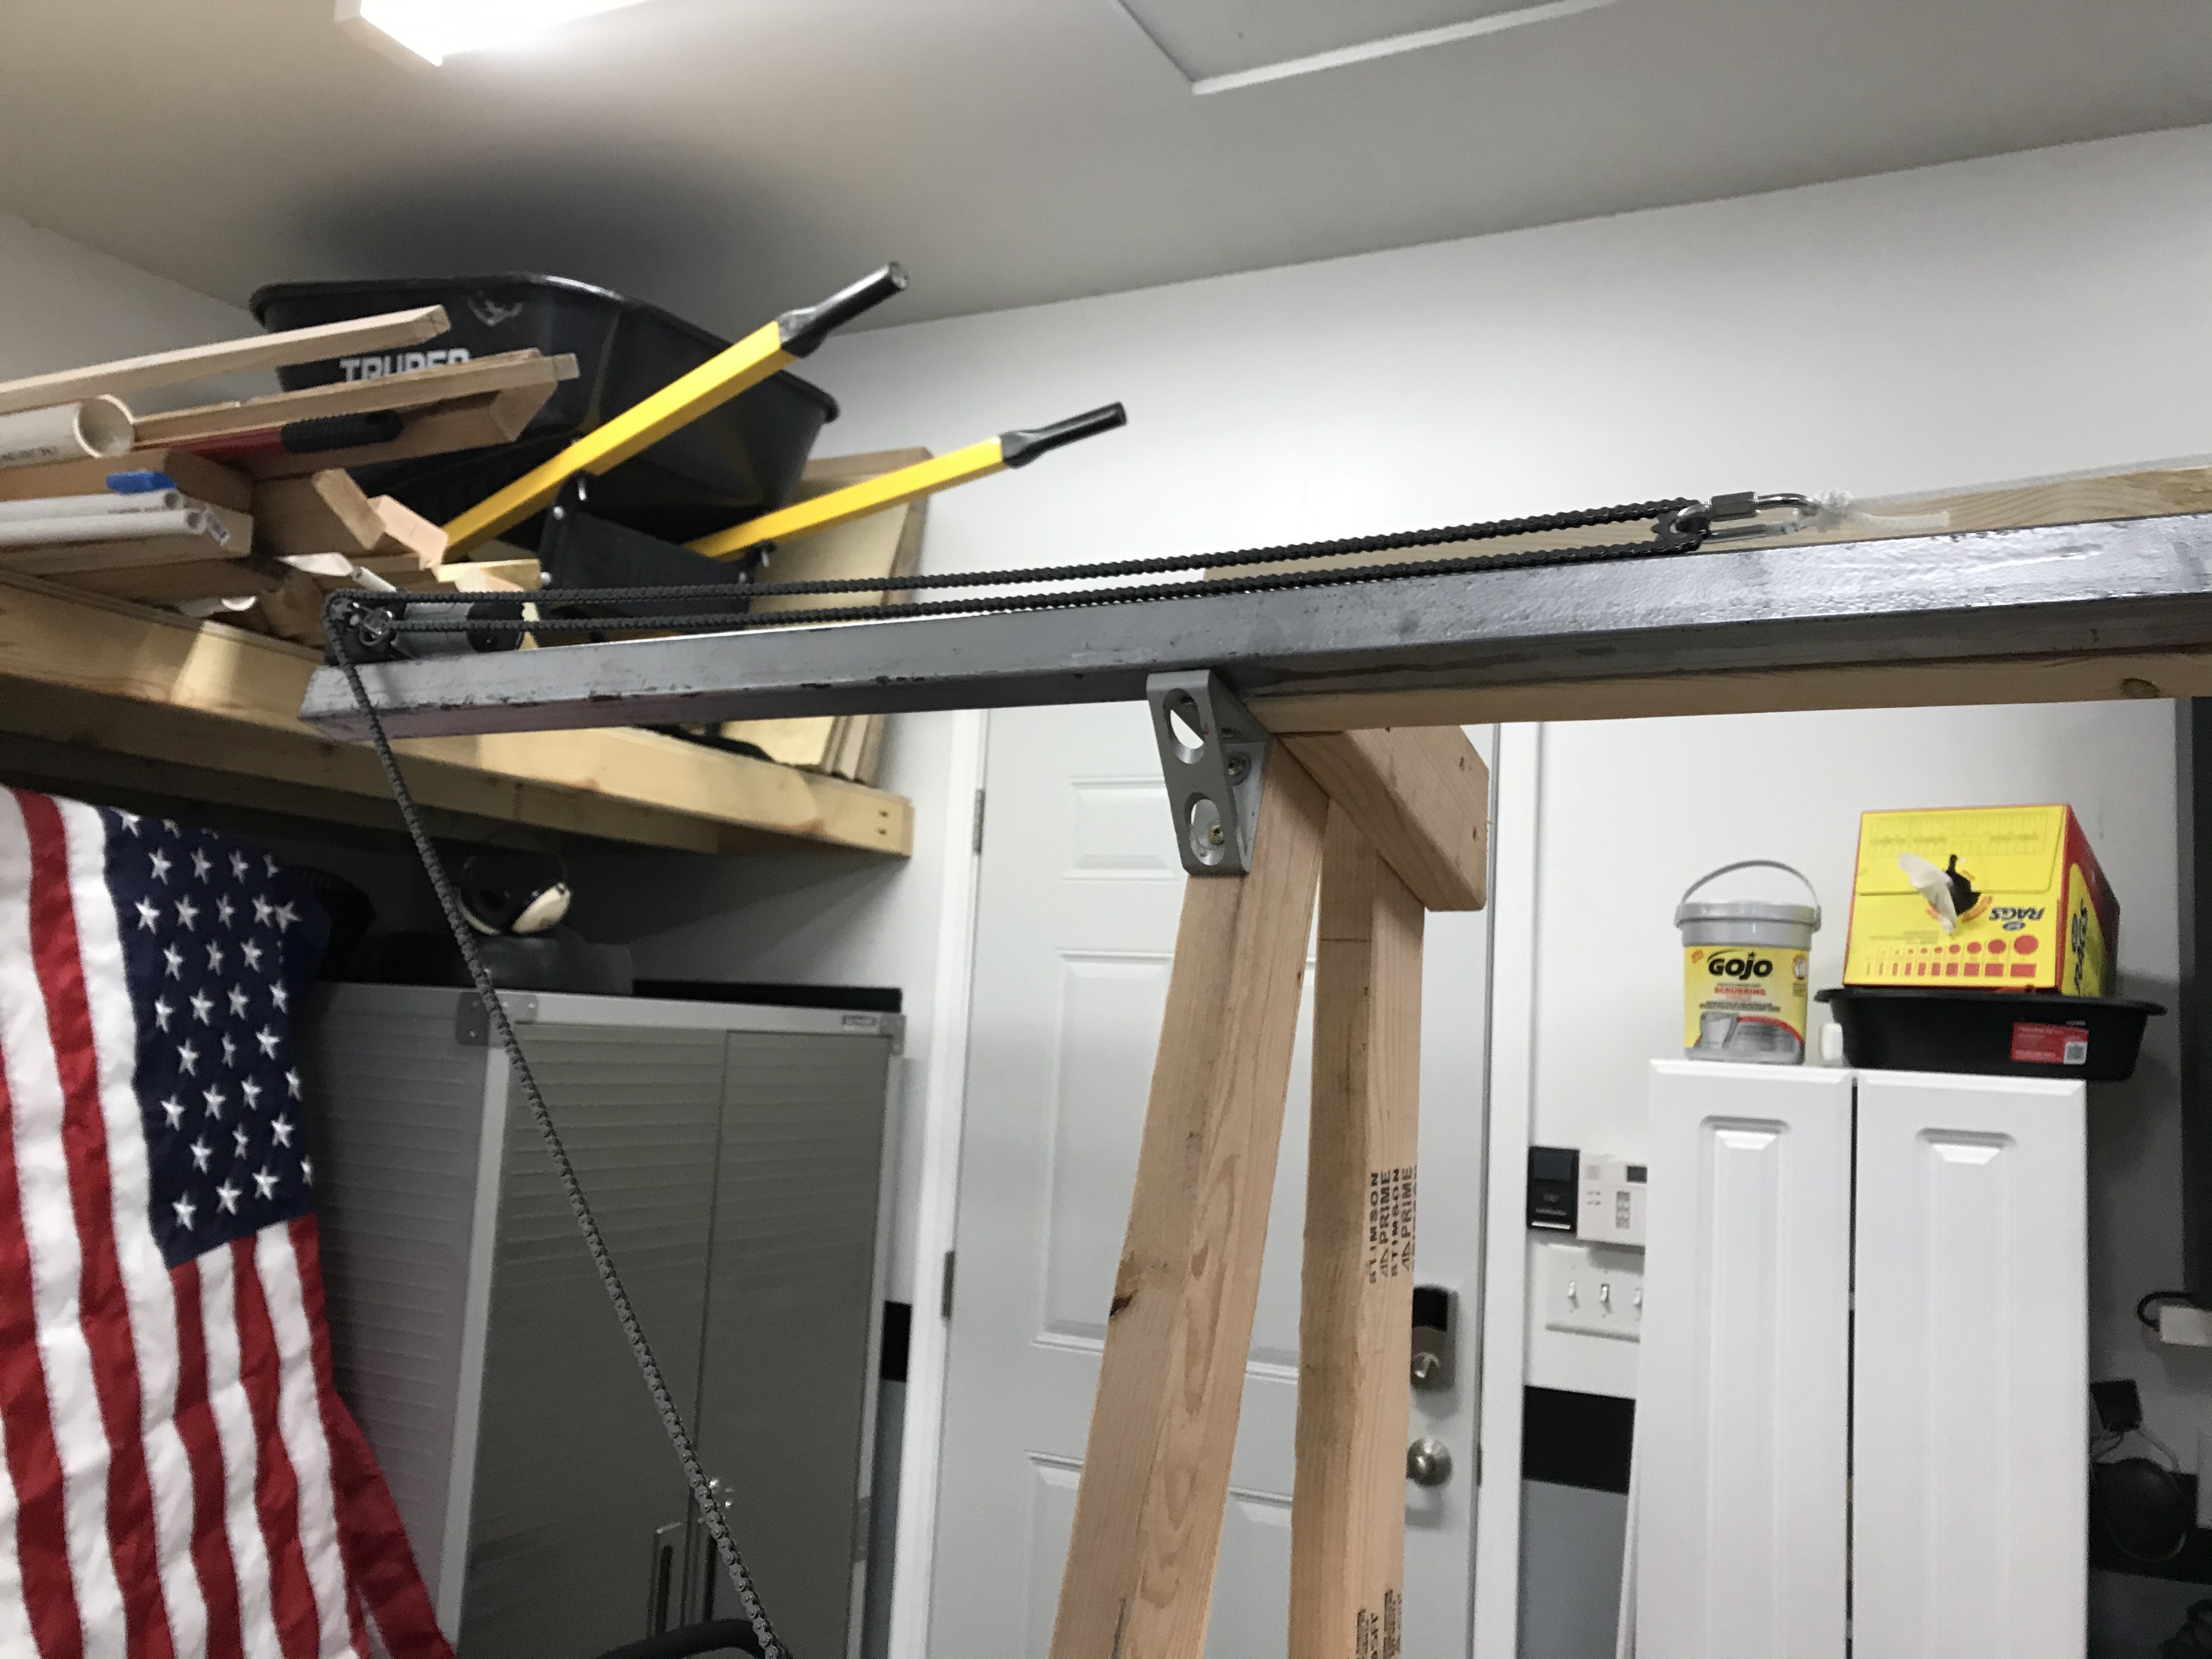
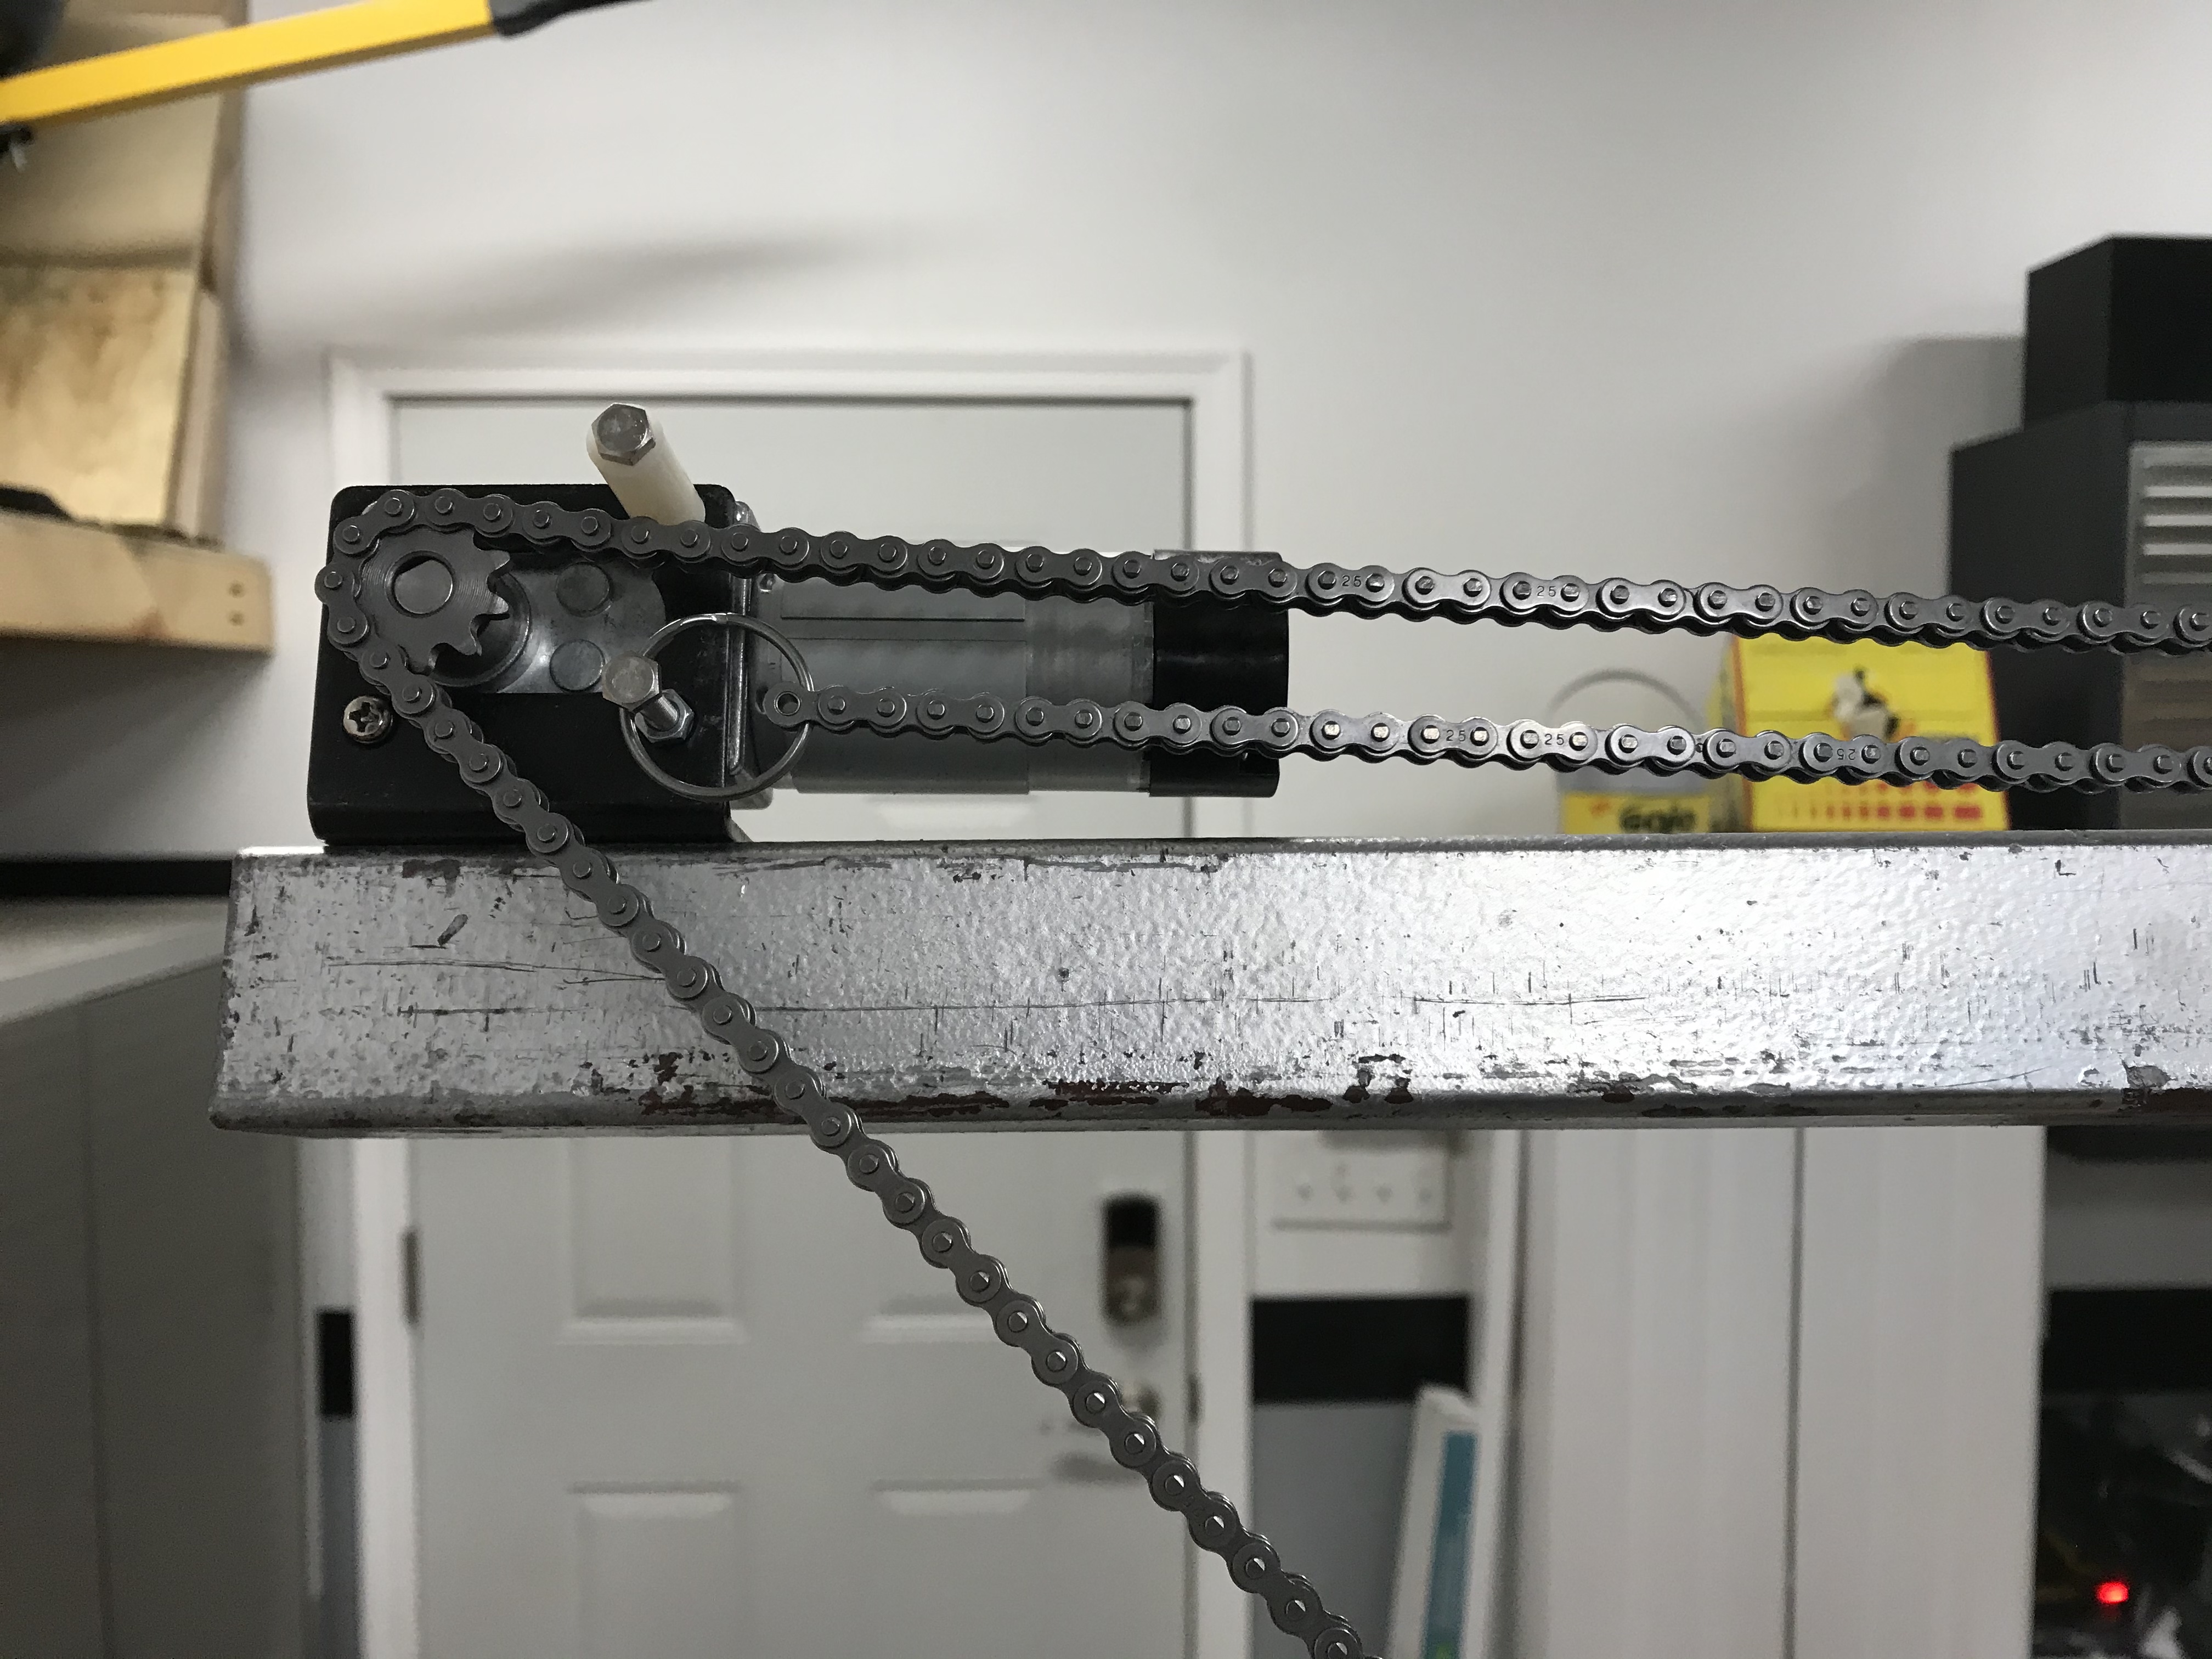
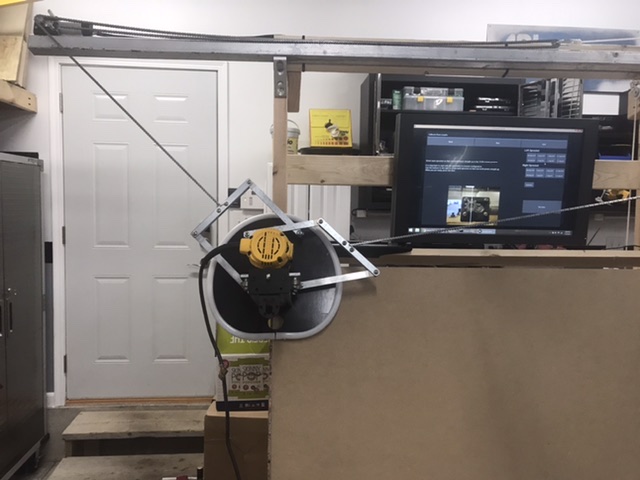
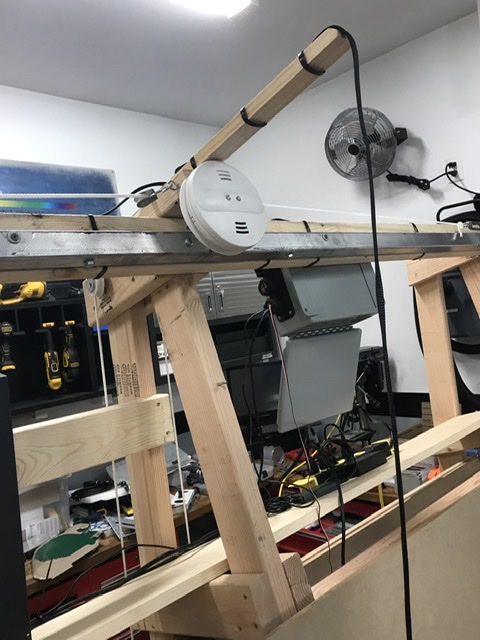
The frame is now taking shape. I will still need to add the top rail and some extensions to support it. I ordered a 12’ steel top rail from MetalMaslow, but it since it hasn’t come yet, I will wait to sort out how to do that later. It will probably be unistrut or 80/20.

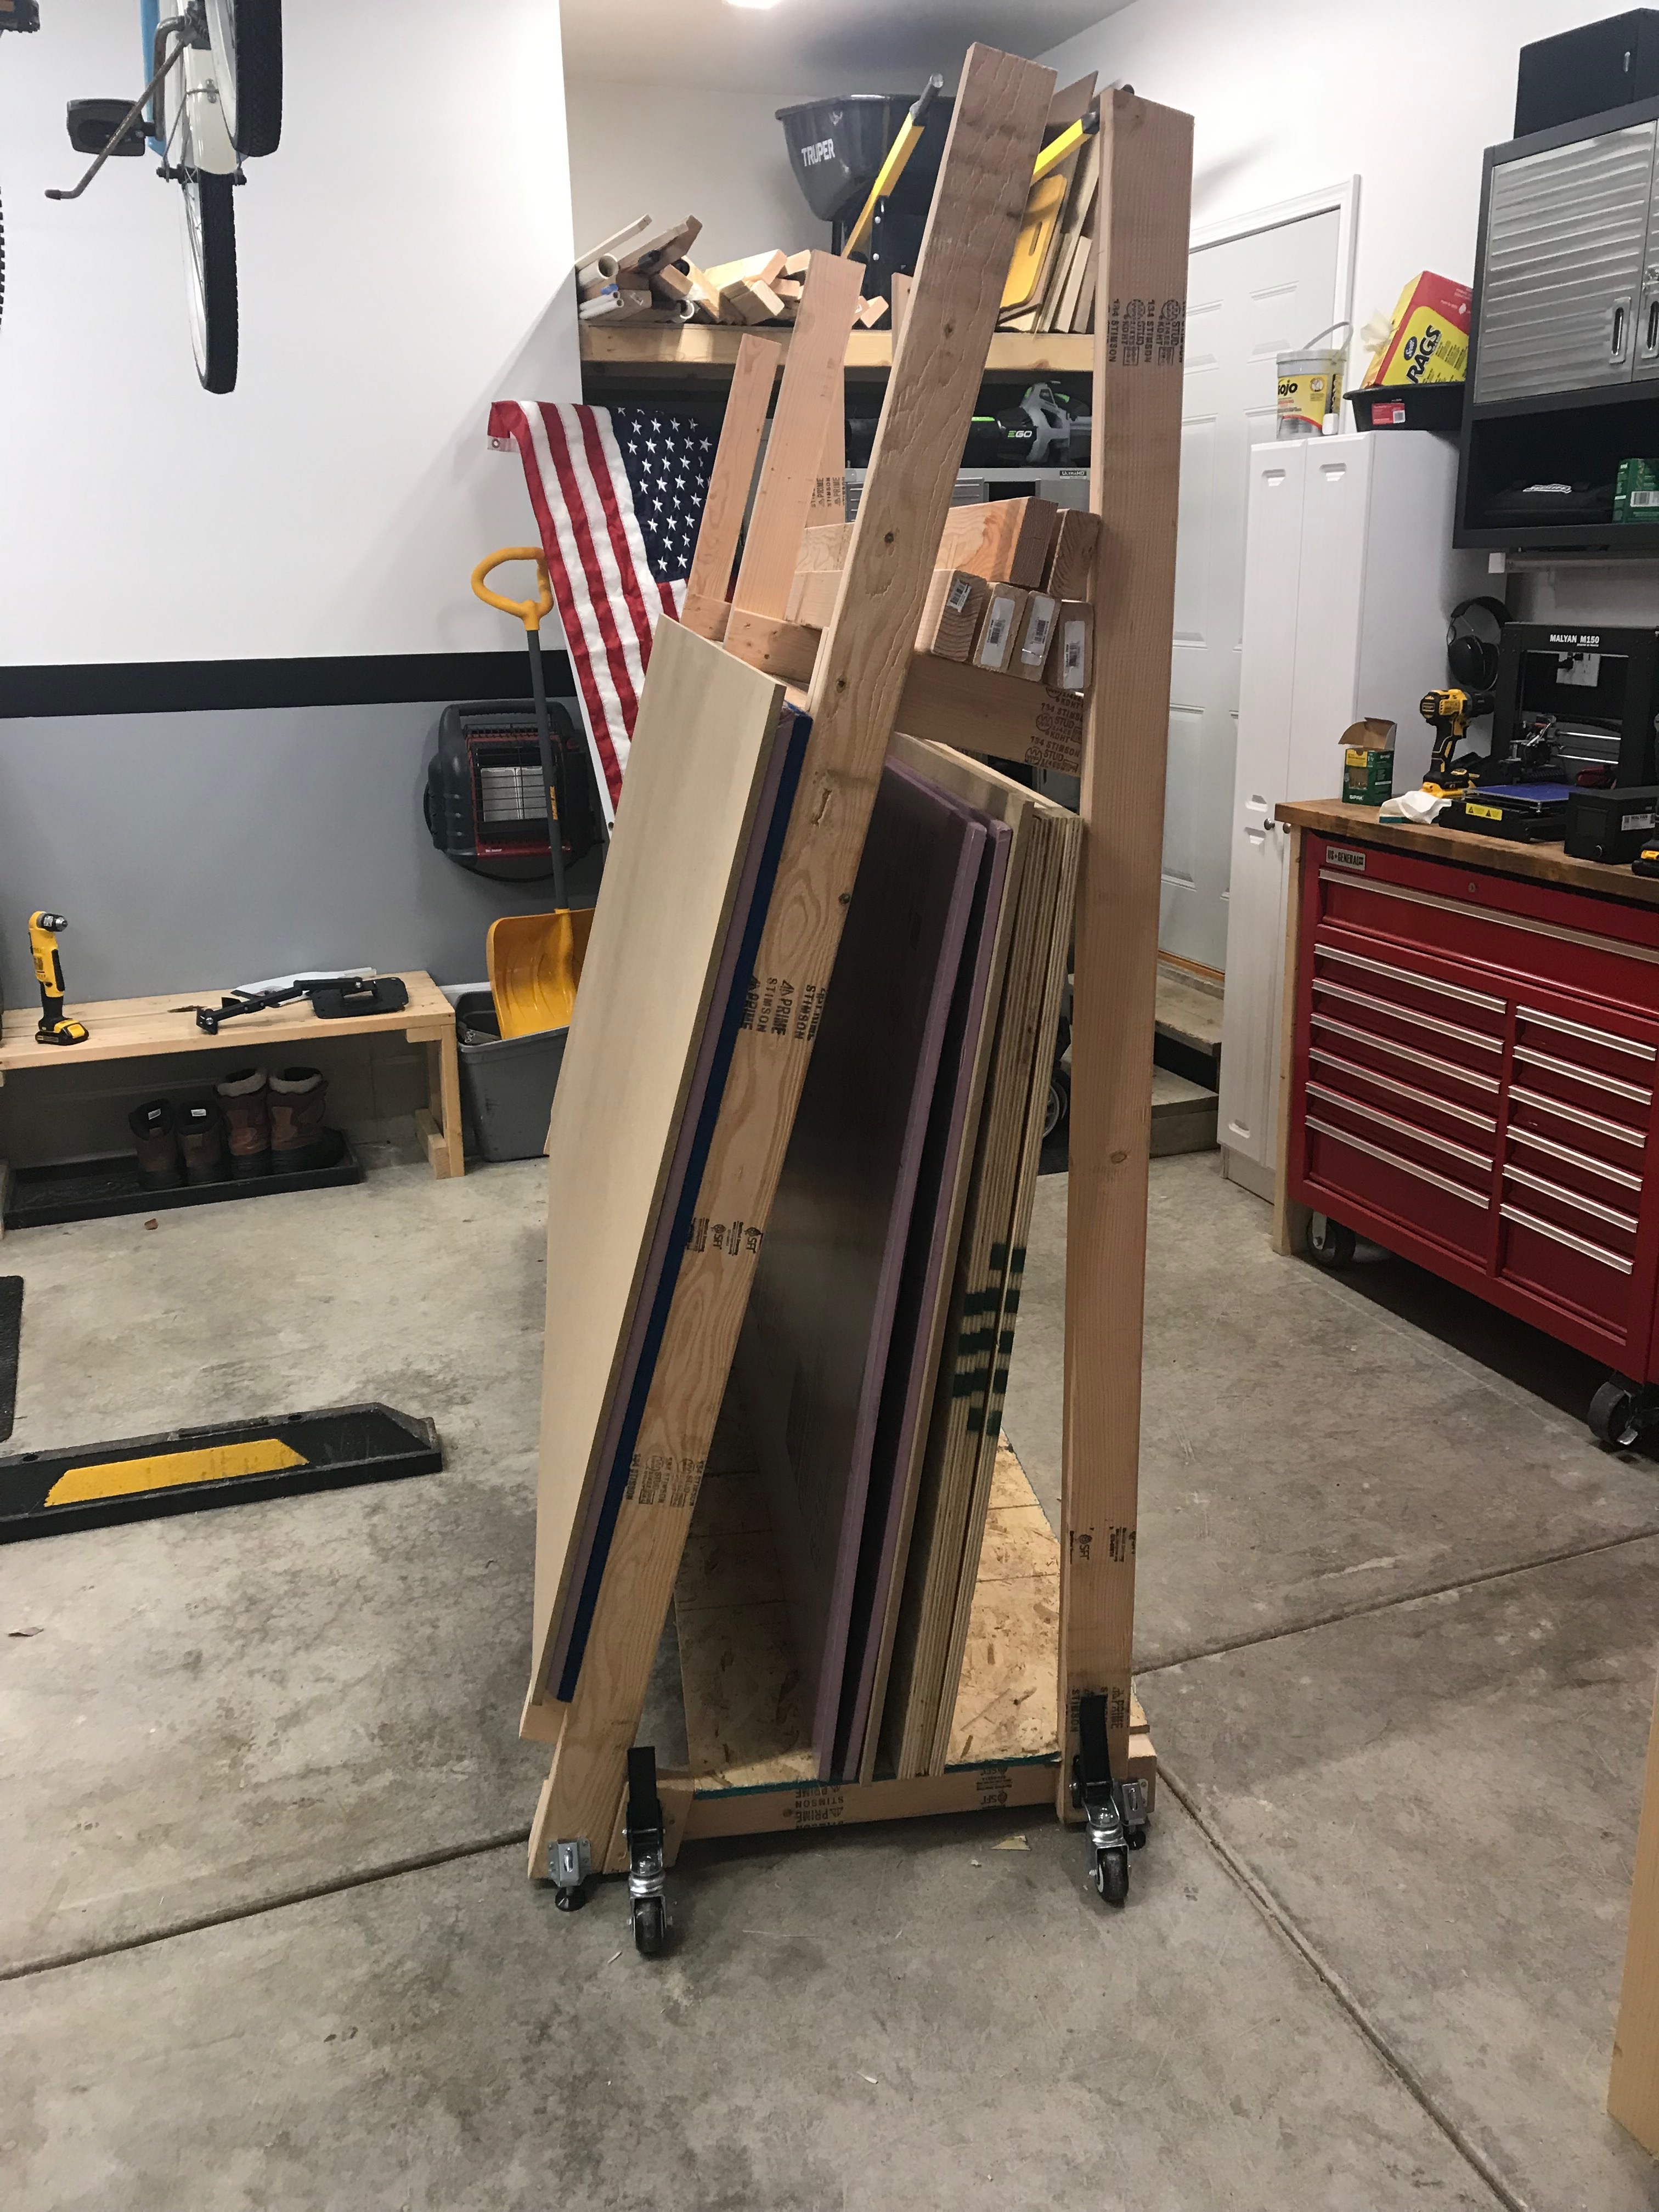
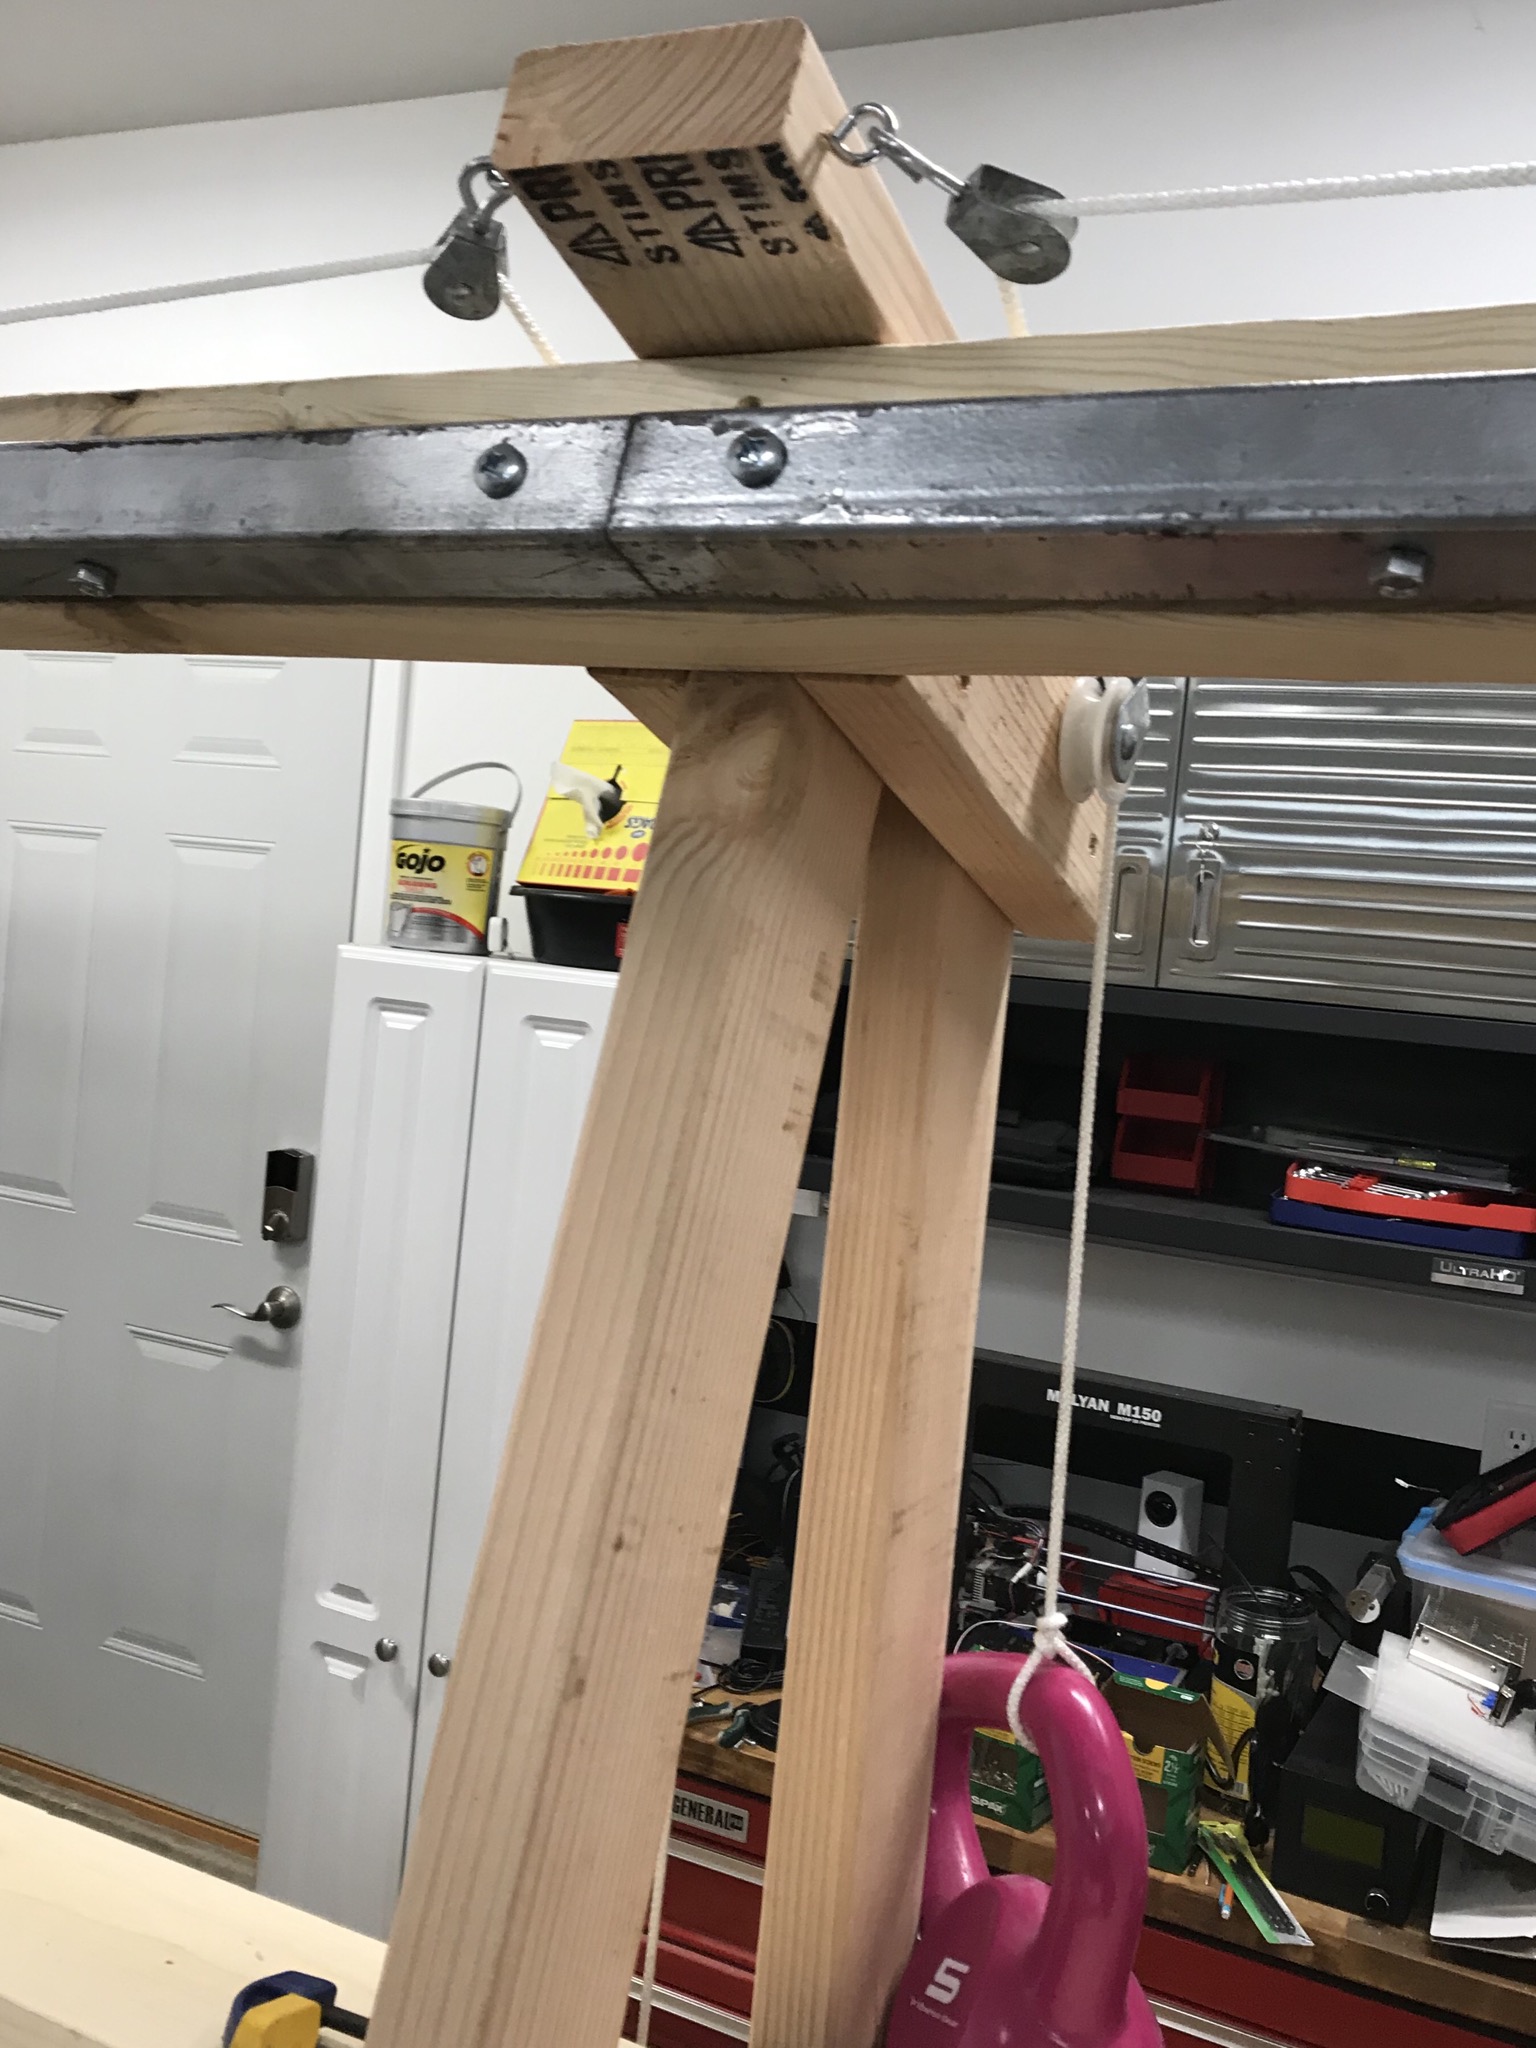
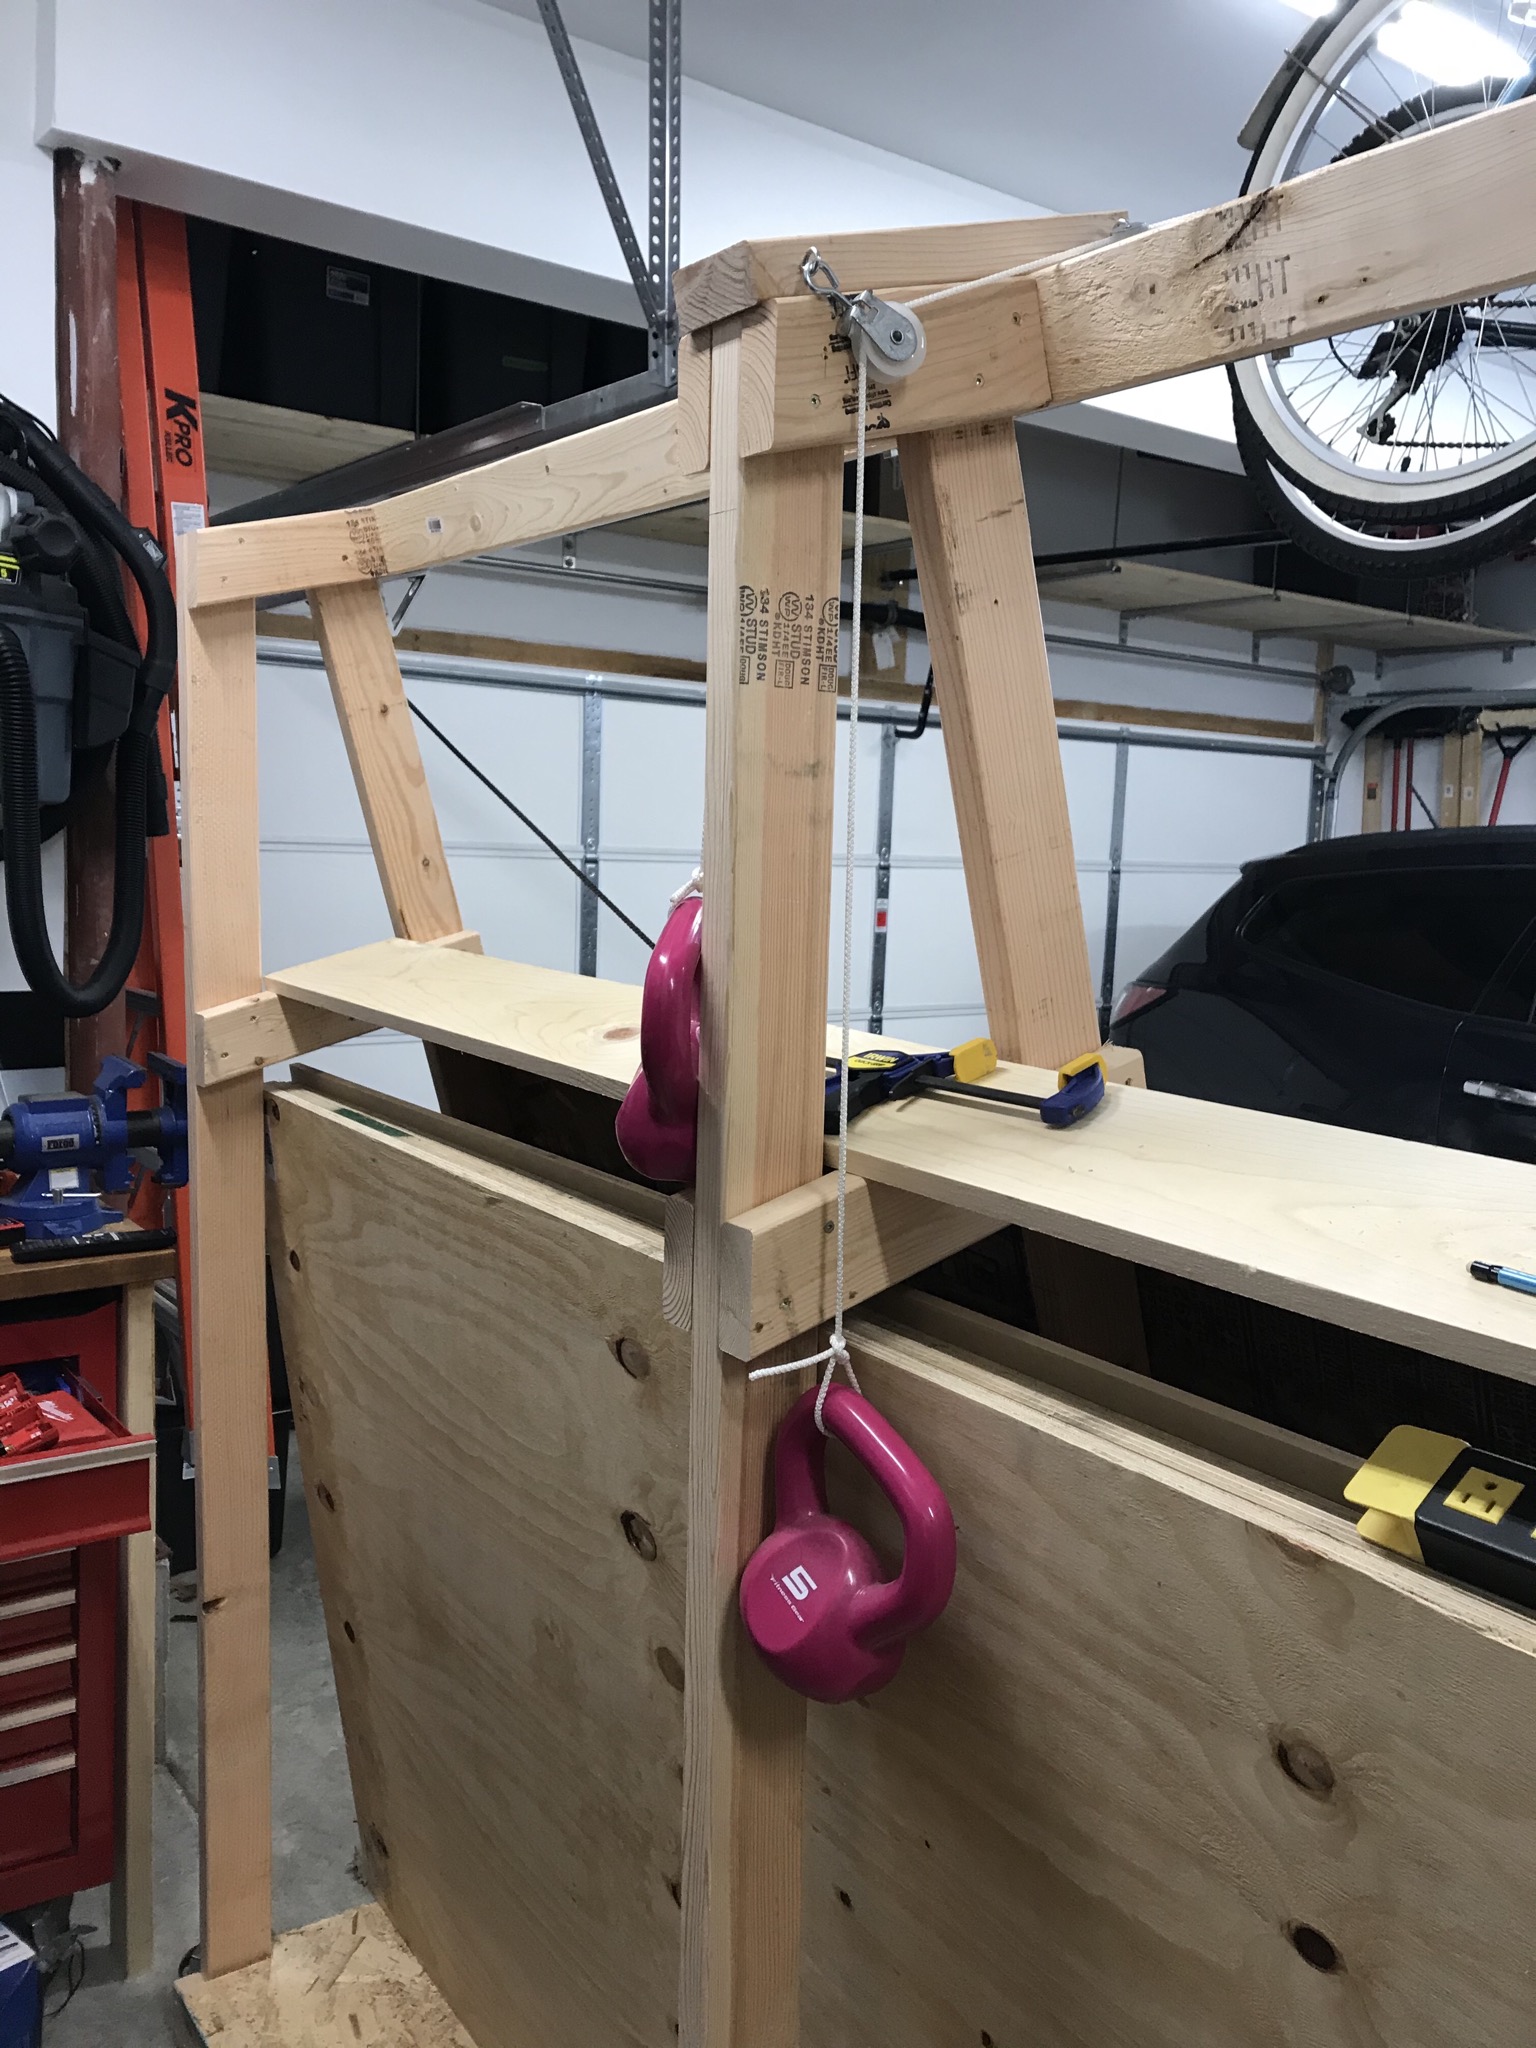
I added some leveling feet and retractable casters.

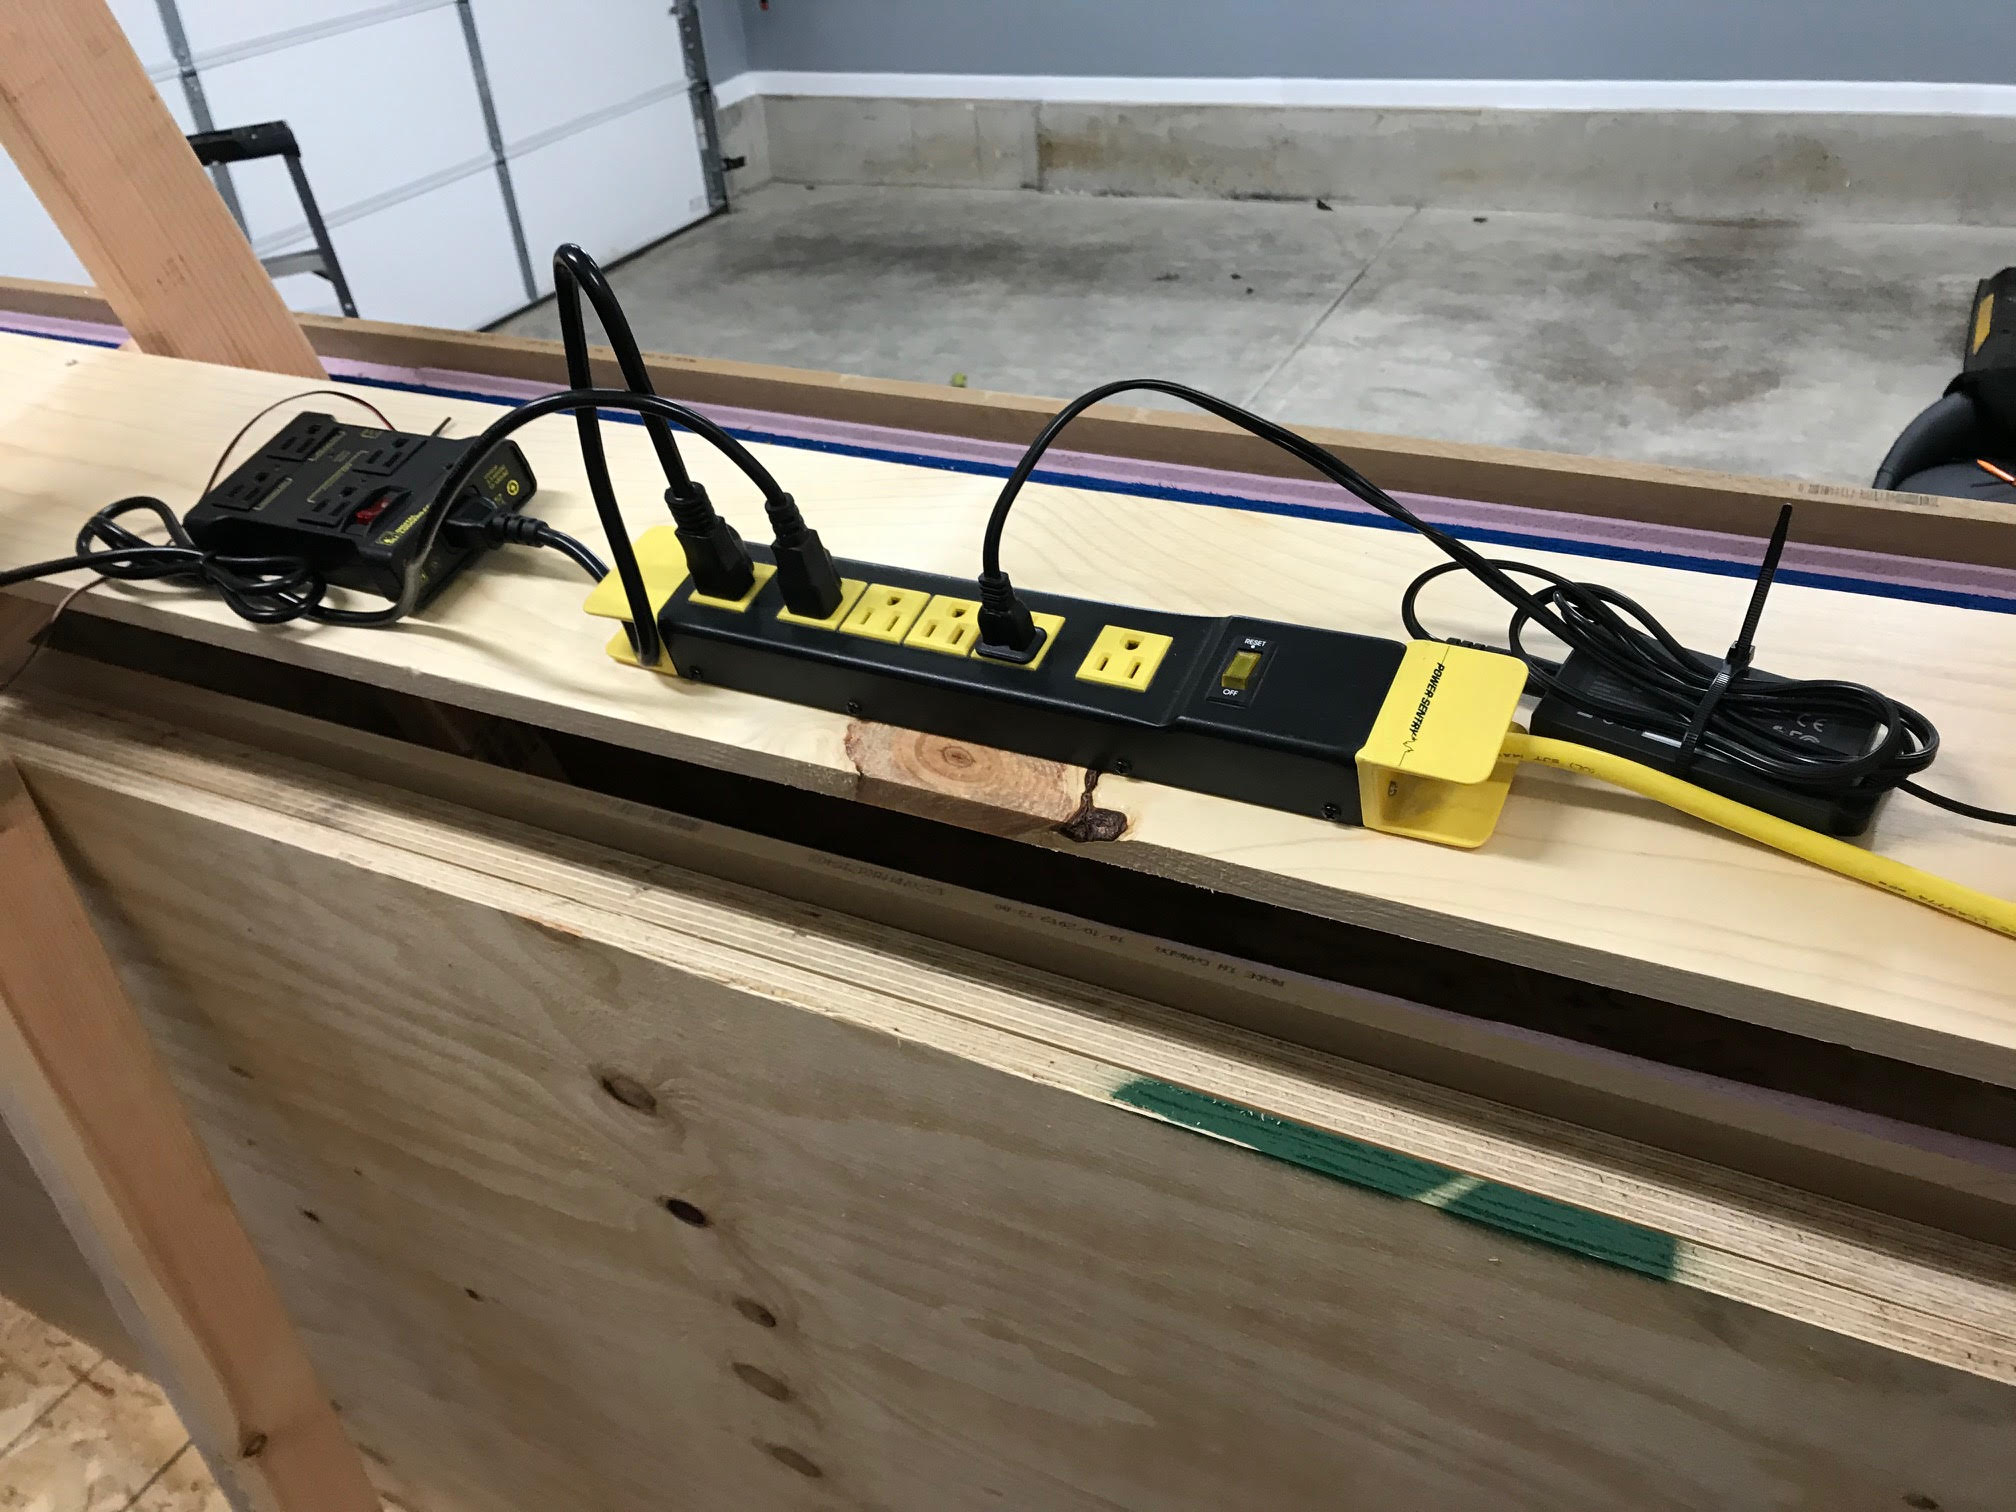
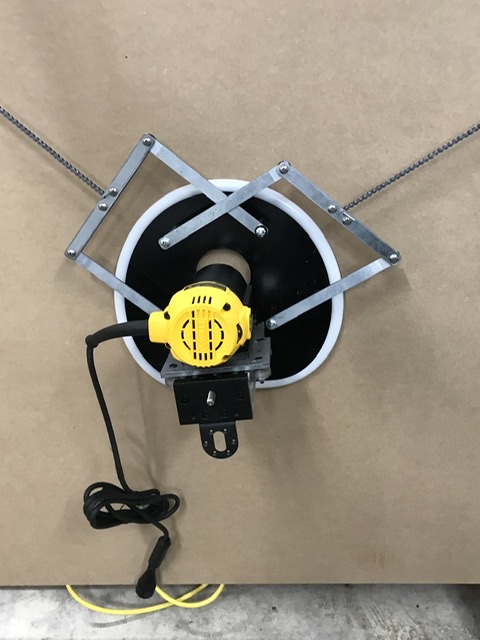
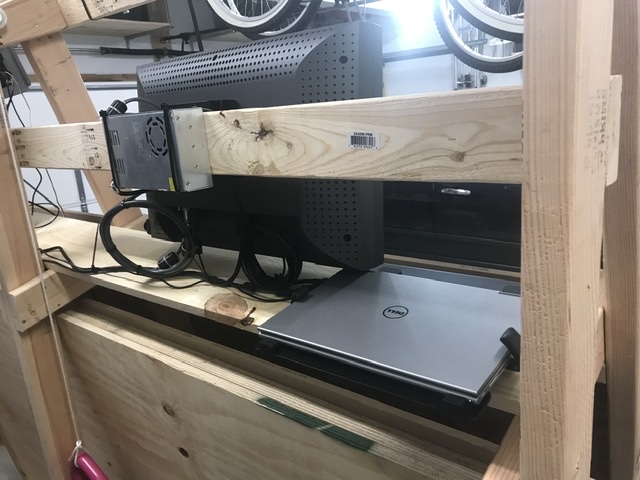
Then added a Hoffman box for the electronics bits.

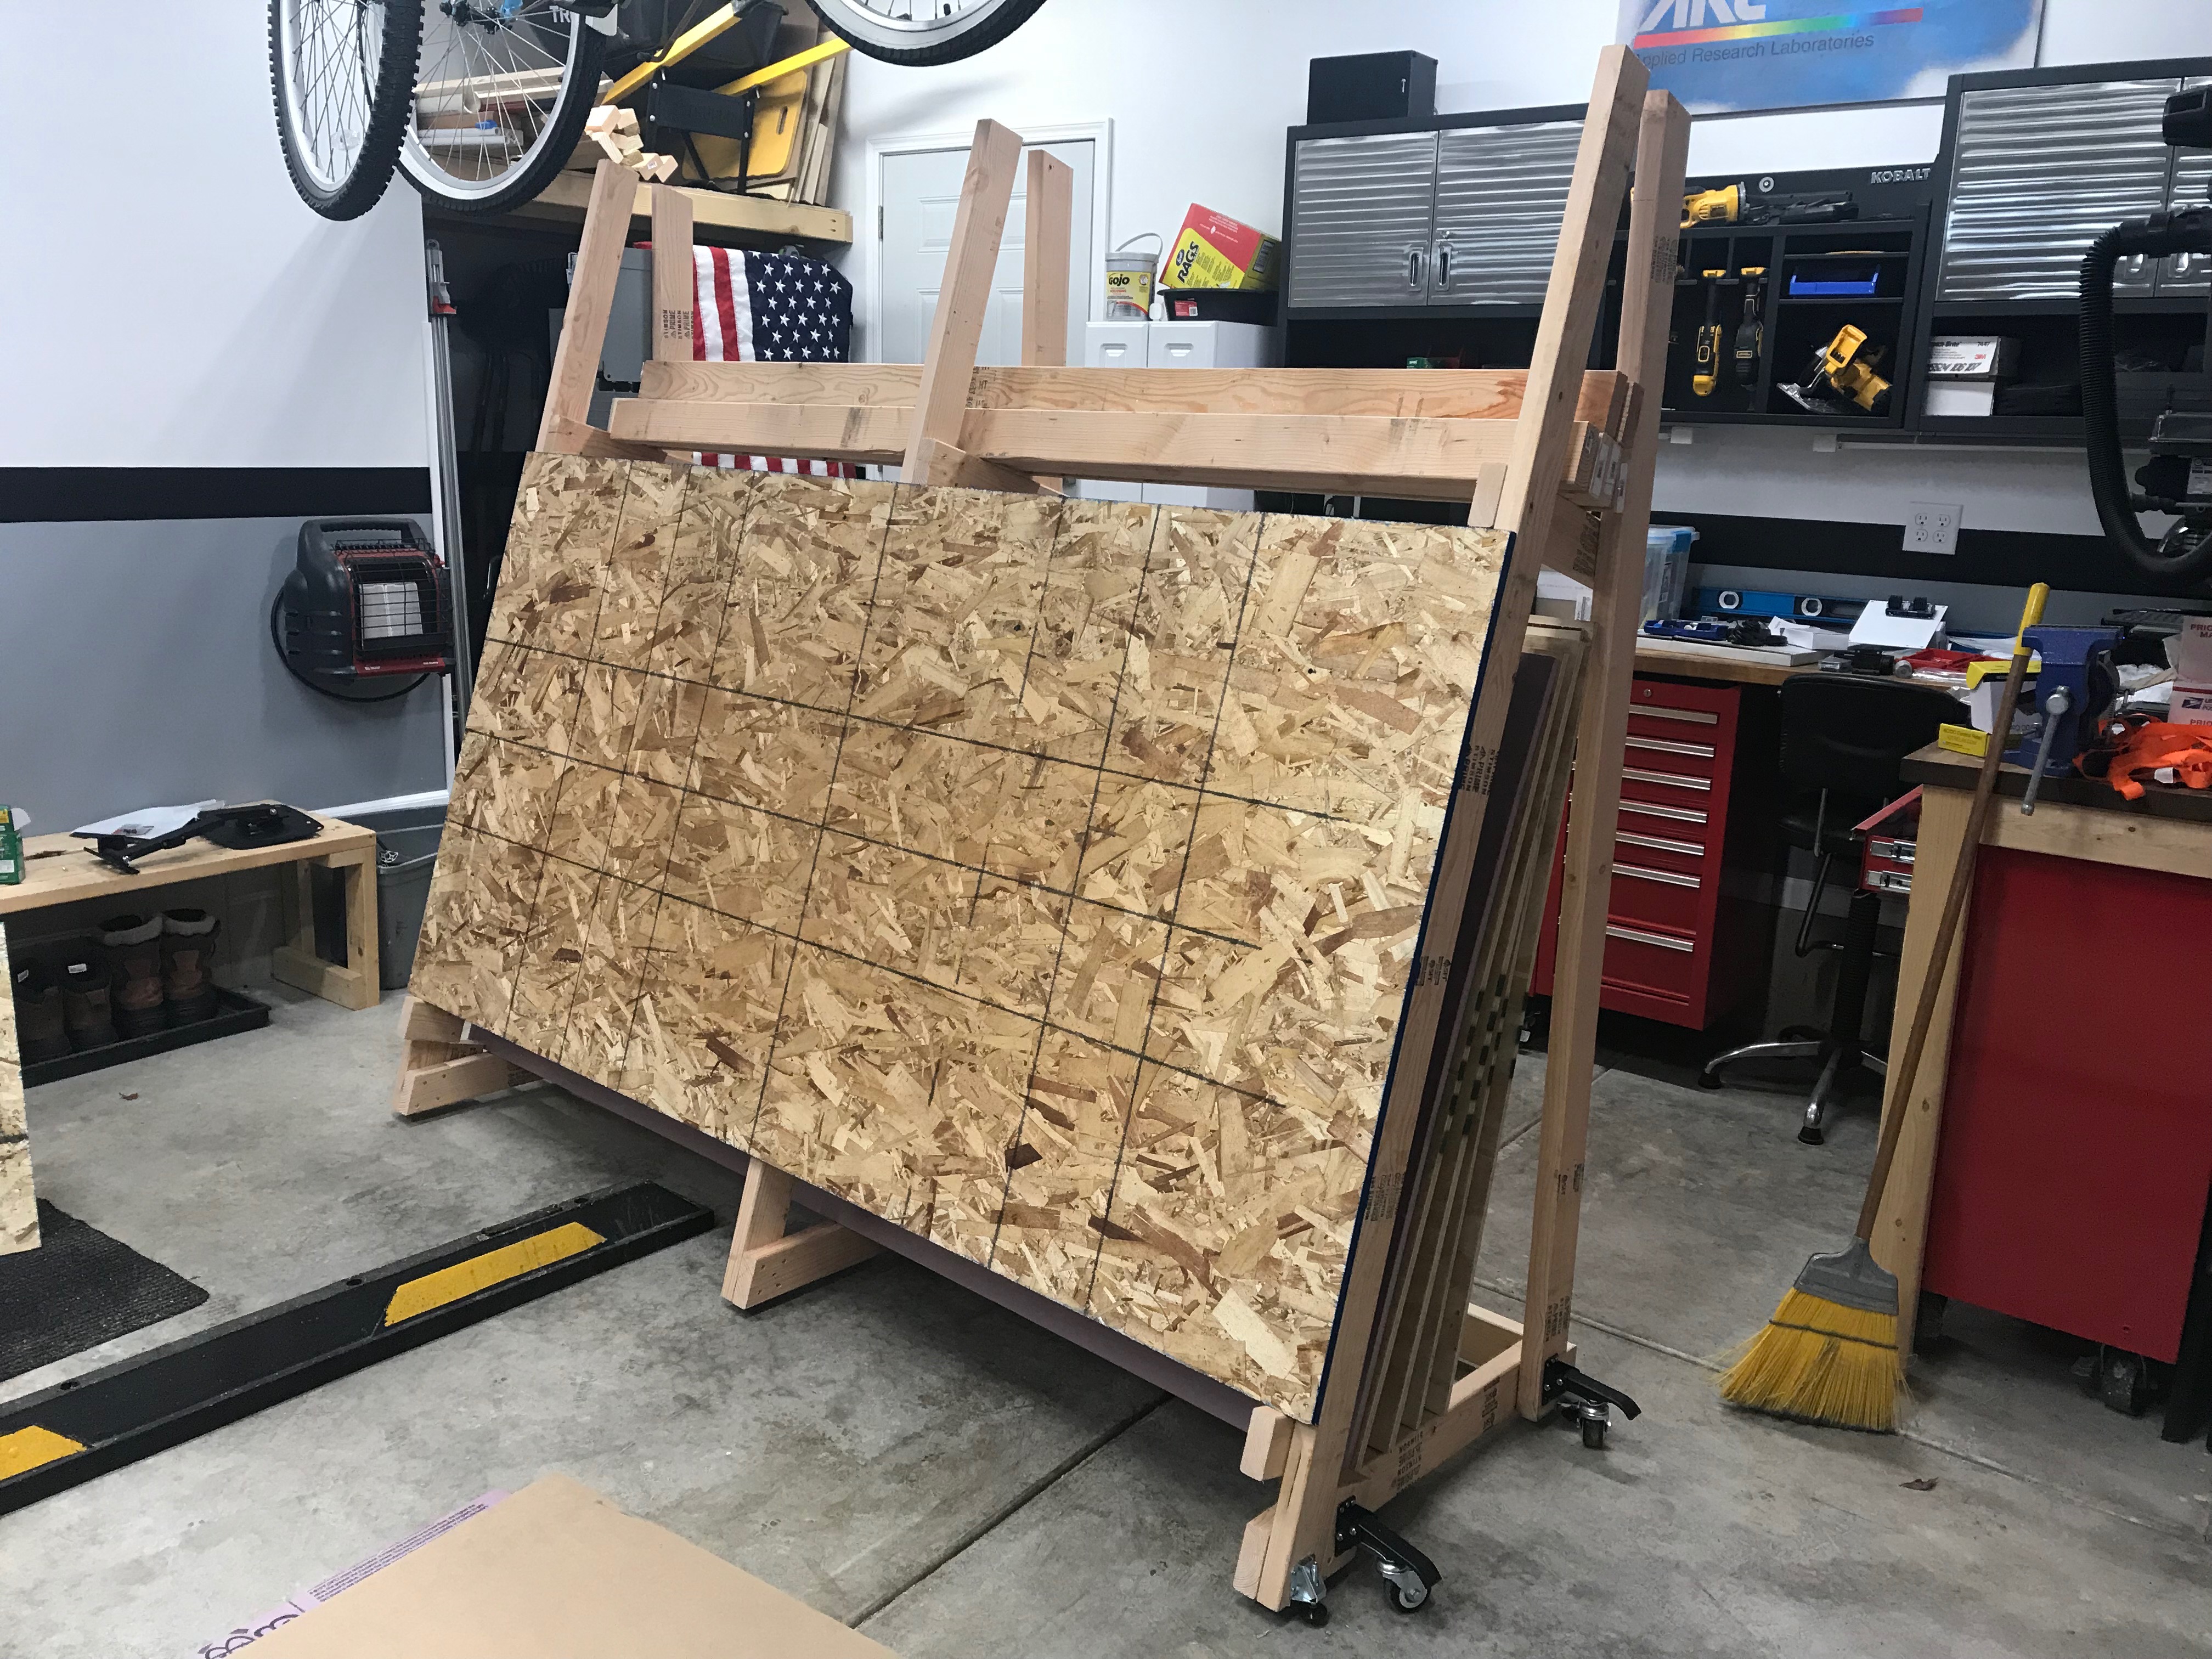
Doing (one of) it’s important job of storing extra plywood.

I have a 2.5 car garage, which already contains 2 cars, a large workbench, lawnmower, snow blower, yard tools, etc. They all must stay. What’s left is a floorspace just big enough for the Maslow CNC, and a walkway to the side door.

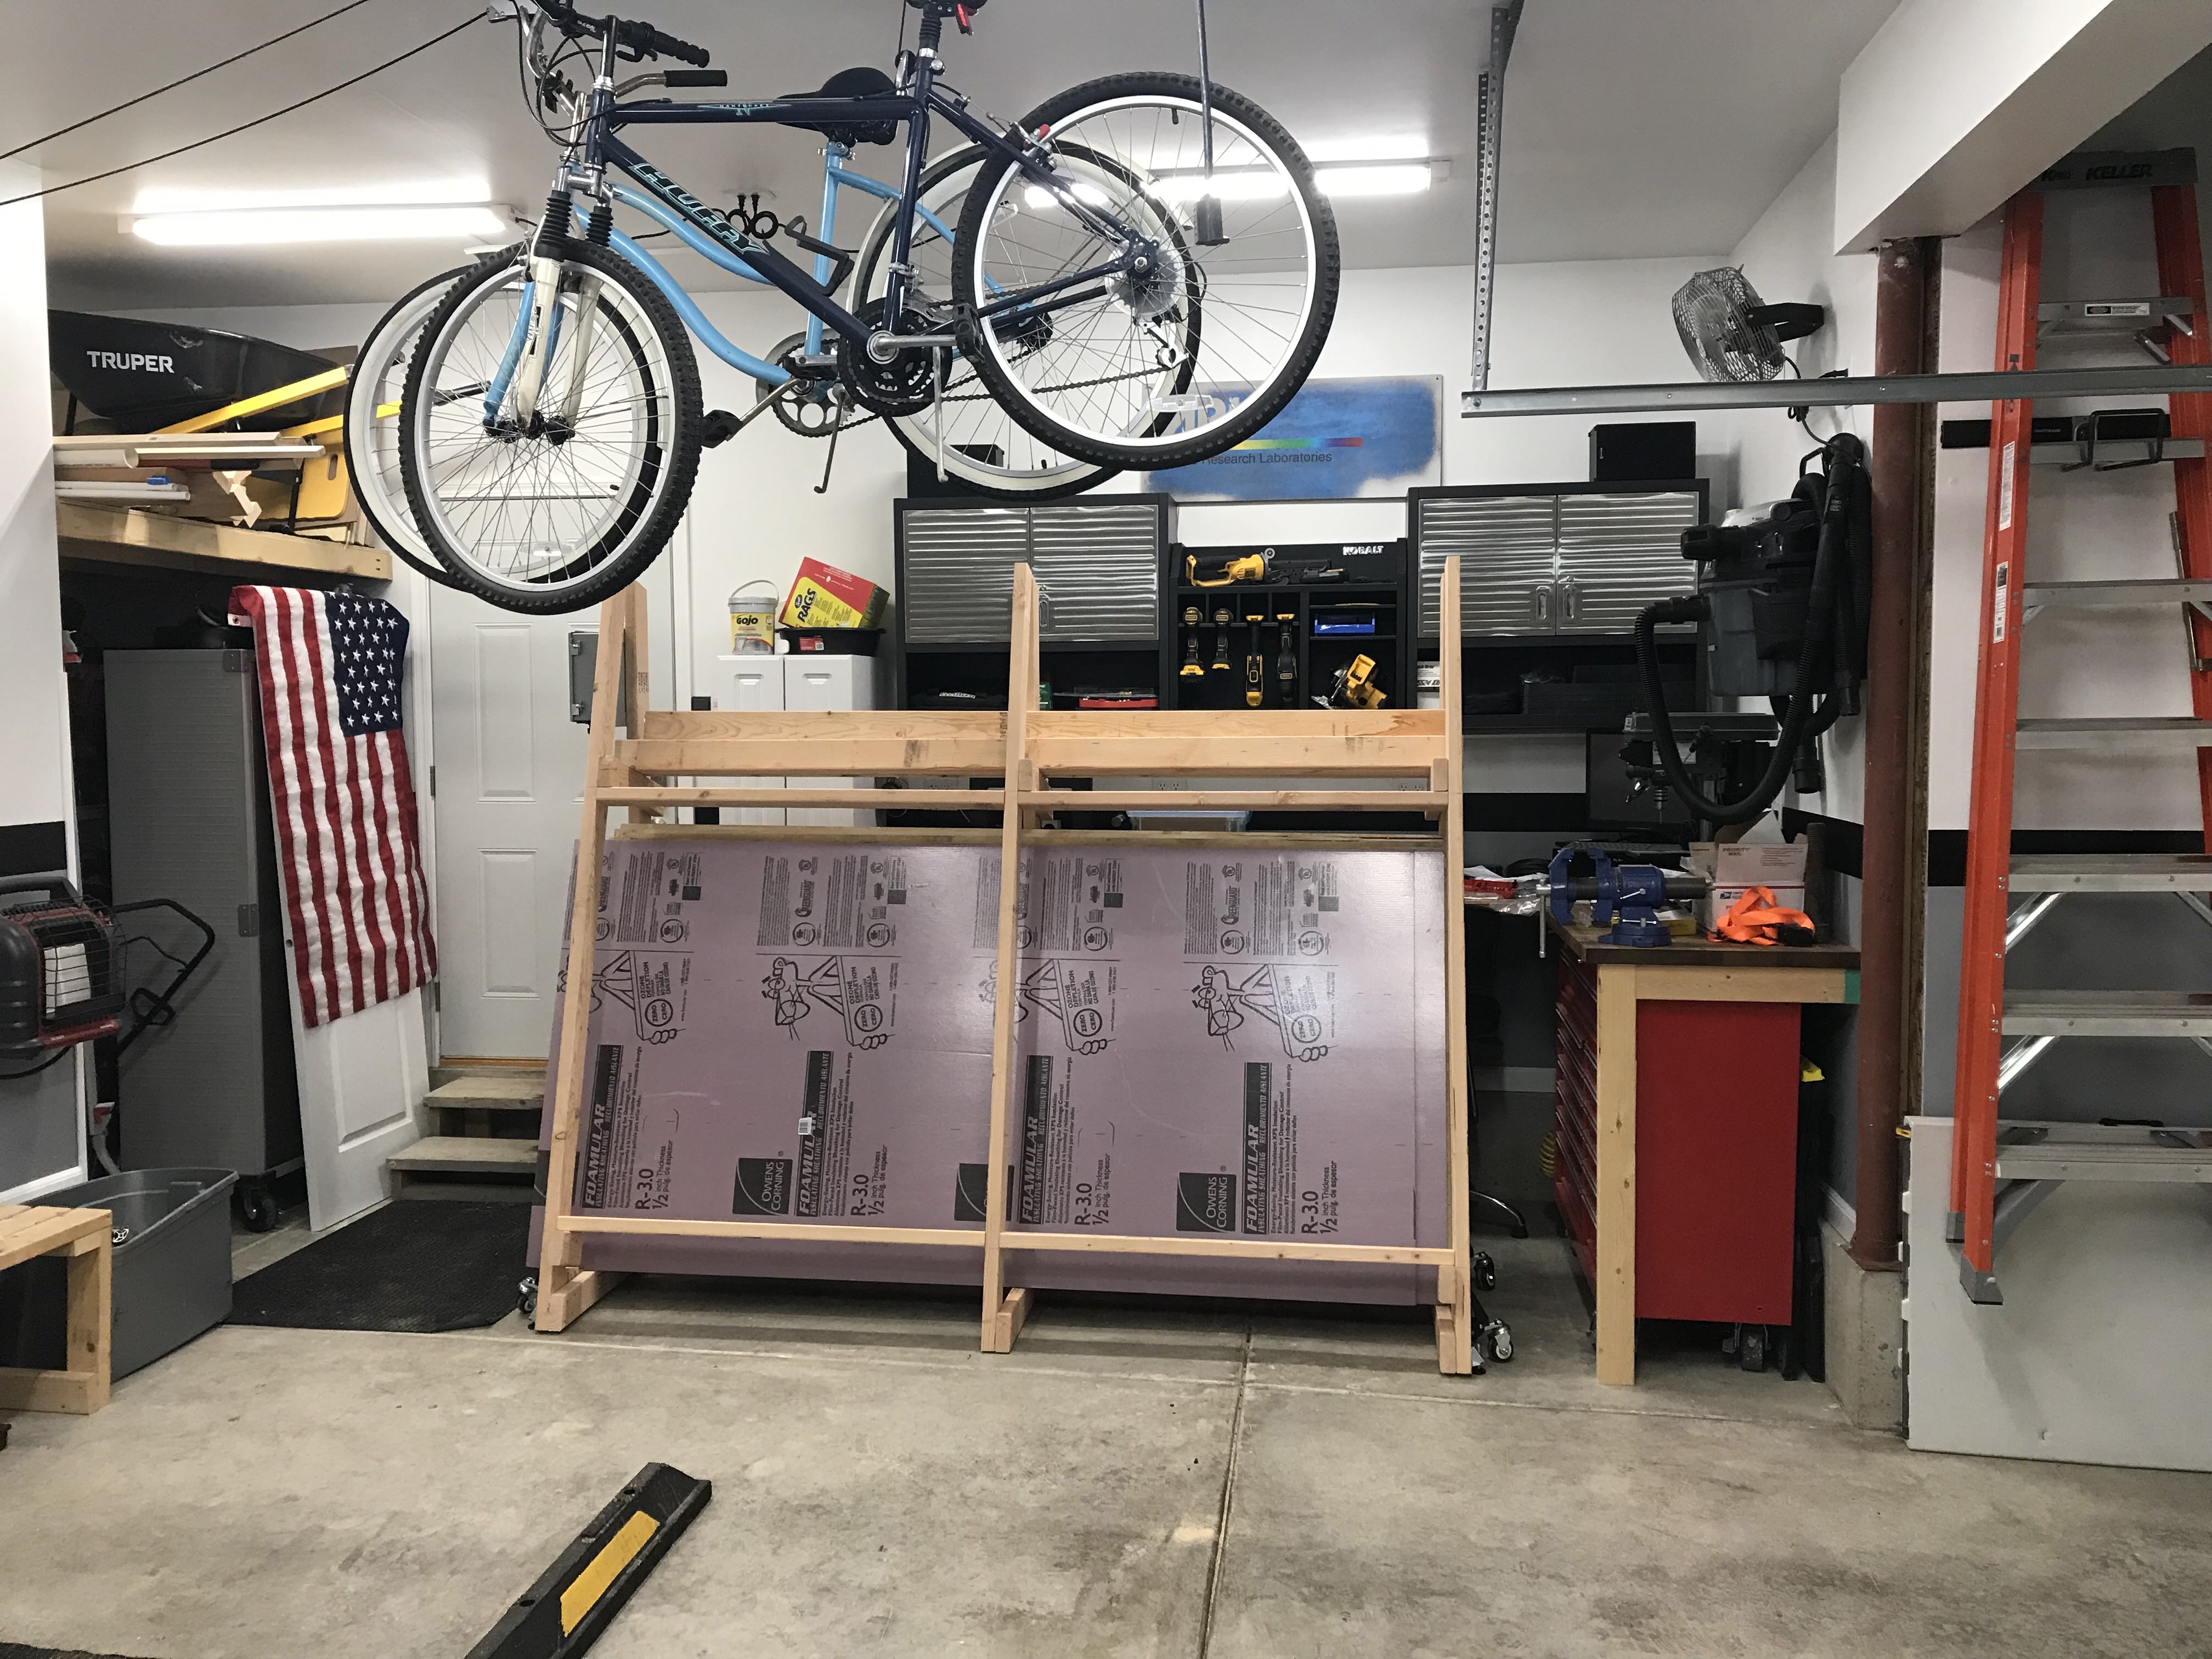
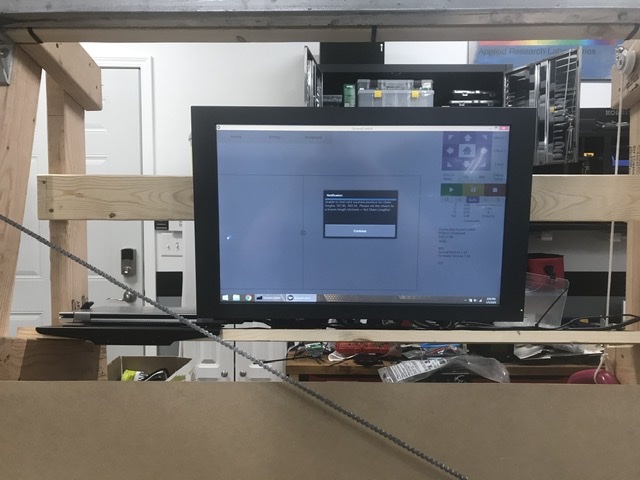
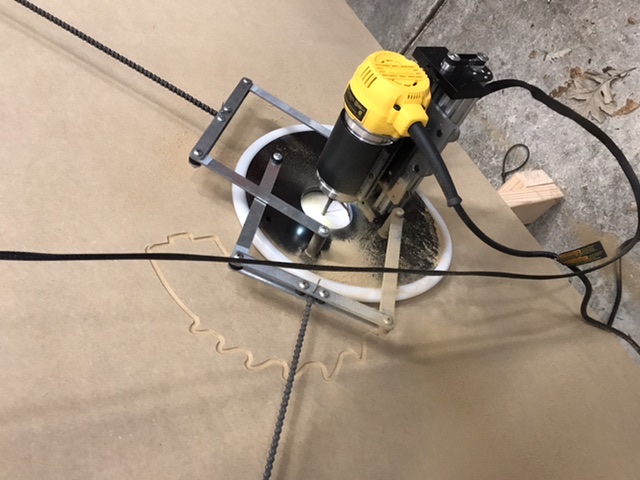
Next step will be to add the top bar, permanent OSB 4x8 sheet, assemble the motors and electronics.

2 Likes

Apparently the .heic files are not ‘universal’ and don’t show up in my web browser. I recommend trying to save/convert them as png or jpeg before uploading.

Thanks, that did it.

Short update. Was able to buy some OSB, so got the permanent board mounted, as well as a 2’x8’ sheet for the plywood storage area.

It will probably be a couple weeks more until I have my top bar, so at a stand still.


2 Likes

After over five weeks of waiting, my Metal Maslow top bar finally came! If I knew it would have taken this long I would have gone another route, but at least I can start moving forward now. My original plan was to mount 16" unistrut pieces on top of the vertical 2x4s, then mount the steel bar on top of that. But after measuring everything I only needed to mount the bar 1.75" off the face of the 2x4s, so I just added one top 2x4 and 1/4" spacers (which helped clear the hardware used to bolt the two piece top bar together).

I mounted the bar to a 90 degree bracket (from my 80/20 pile).


There was a lot of flex in the top bar when only secured at these two points, so I added a couple screws, each about 12" from center, and it seems much better.

I installed the motors onto the 12’ position. Luckily I did not plan on using the 10’ positions…

The motor cables are barely long enough to reach the center, let alone where I had my Hoffman box, so I moved the control board to the very top center of the frame - the only place the two cables can reach. I don’t like having is so exposed, but will have to wait until I build new motor cables to clean it all up.

I also secured a power strip to the shelf above the plywood storage, and a power switch for the router and shop vac, to be controlled by the aux 1 output on the control board.


And installed an arm to hold the laptop.

1 Like

As I have read the default z axis is a very common failure mode, and knowing I would want to upgrade that anyway, I decided to just start from the beginning with the Metal Maslow sled kit. This was another long frustrating wait for something that was supposedly in stock, but again, lesson learned and I can finally move forward.

Like others, my linkage rods were upside down, some parts tight, some parts loose, so I put it together how (I hope) it should go.

A major selling point of this sled was the dust chute. Unfortunately it doesn’t fit. I am debating either modifying it or just doing without. I guess first I will try to check the balance of the sled and decide how much I want to move the center of gravity. However, dust collection in some form is mandatory, as this is the main entry/exit for the house, and the Maslow is sharing the garage with two cars.

Next steps will be to check the center of gravity and see if I need to make any adjustments to the bar position (maybe should have done that first, but got frustrated with the dust chute not being made correctly), and to try to measure the radius of the linkage arms, as I believe this is critical for the calibration.

1 Like

Minor updates, but time is scarce around the holidays.

Added a few cross pieces to the top. These were going to be connected by unistrut, meant to extend out for the top bar, but using the metal Maslow sled the chain sits low and I did not need a lot of extension on the top bar, so these wood pieces add a little extra stability the unistrut originally was going to.

Finally the sled is hanging! Still waiting on parts to make the sled functional.

Also built the counterweight system. I will call this a temporary system because I am not thrilled with it, but it should work for the time being. I also need to add extensions to my chain, but I haven’t measured how much to add yet. Later I also plan to find better counterweights, and install two vertical PVC tubes as guides.

All the electronics came off because I really need to fix the cable length issue before moving forward. It is very easy for the motor cables to disconnect.

1 Like

Finally some time back in the garage.

Maker Made was kind enough to help get me some parts to extend one of my motor cables, so the electronics were remounted. I mounted it behind the top beam near the center to maximize the length of the Z axis cable available.
image

This 22” touchscreen monitor from Bmwsyc is an excellent addition to the Maslow, as the touchscreen on my laptop is defective.
image image

Got some spacers for the Metal Maslow sled, and hoping it will finally be aligned after this. Also added 20” of chain to each side since I am using a 12’ top beam.
image

Had a number of issues with motors not turning and sled can’t keep up errors. Rebooting or reloading ground control seems to fix it (at least temporarily). I still get failures on the motor test, but at least they move (except Z, haven’t figured that one out yet)

1 Like

Hi,

i am planing on using this vacuum adapter with the metal-maslow.

Did you manage to calibrate the metal maslow sled?

vacuum-adapter

1 Like

Not yet. I have been ready to run the calibration for quite a while now, but free time is hard to come by. Maybe this weekend.

Finally some progress.

I installed an support for the z axis cable, and a smoke detector.

After running the calibration, it is finally cutting!
image image

I have doubts on a few measurements from the calibration. I’ll make a few cuts to check accuracy soon.

Oddly, even after calibration and making a successful cut the motor test still fails.

2 Likes

that smoke detector is an awesome idea. gives a little more peace of mind. the maslow is designed to be cheap but it’s definitely not something i’d like to replace :joy:

My garage is attached. Saving the Maslow would be nice but I’m mostly worried about the house!

1 Like

Yeah I’d say that be pretty important too. Mine’s in the middle of a high ceiling garage with concrete floor so id probably just be saving my maslow and a tearful cleanup lol

A smoke detector is an excellent idea. Filing that one away for future use!

-Jeff

Hello @JWoody18,

i would like to ask how your setup did work out and what accuracy you roughly get. Then i am pondering to change my top bars to unistrut too. I live in indonesia and i can only get unistrut in the dimensions of 40x40mm (1,57inch x 1,57inch). Max load is 960lbs. Would this be sufficient?

cheers,

Arnd