I’d wanted a CNC machine for years. I have more time than income right now—and a cabin to decorate with my partner in the middle of quarantine—so I decided to pull the trigger last month. We didn’t expect how enjoyable of a shared activity this would be, combining her graphic design skills and my engineering (I started this cabin project by building a bunch of custom IOT with Arduino and Raspberry Pi).
Week 1: It took me a week of pretty consistent effort (~5h/day) to get past the test cut.
[sheet#0]: test cuts didn’t go exactly perfectly at first. Once I got my z-axis fixed, though, things got a lot better.
[sheet#1] For my first real cut, I used this popular night stand from the community garden using simple 3/4" particle board. The local Ace Hardware had interior paint on sale, so I threw some green & white on it.
Week 2: At this point, I was able to take a SVG from my partner and import it into Easel. The first thing we did was use the rest of the material from sheet#1 to try our own design. I ran into some more calibration issues, but by the end of the cut I felt I knew what I was doing.
Here’s the two pieces of furniture made from sheet#1. I’m just using particle board and haven’t tried very hard on the finish yet… that seems like a whole new skill to learn 
Week 3 Right now, I’m printing a game we invented that’s a mix of corn hole and skeeball. Seems like a fun thing for 4th of July to keep practicing my cuts with 
Started digging into tools; I’m now using the WebControl docker container in my Kubernetes cluster, along with MotionEye for video monitoring of cuts, all running on the Raspberry Pi controlling the Maslow. I spent a few days building improvements to the z-axis, but got into the habit of re-zeroing the Z-axis regularly. I need to learn Fusion3D.
Monitoring the cut with MotionEye (recognize the dog etching?)
12 Likes
Nice work. I look forward to more progress!
Week 4: investing in perfection. I moved the Maslow to a permanent home and built wiring/enclosures for the Arduino and Raspberry Pi. I also set up a servo pan/tilt HAT for the Pi, so I can remotely control the camera and turn it around the room. This is because I also set up a new, small CNC on the table, also controlled by the Raspberry Pi.
[MDF sheet#3] I watched Fusion 360 tutorials and re-created this flat-pack bookcase. Aside from learning a lot of Fusion 360 skills, my intent was to try to maximize the amount of material I can use and the efficiency with which I can run the Maslow. Upgraded the Maslow firmware to Holey and re-calibrated. The print didn’t quite go to plan. I ended up tracing over the cuts and re-calibrating an embarrassingly large number of times. Learned the hard way to change my drill bit more often. I debugged a lot of things on the way, though, and now I’m able to cut within 4" of the edge of the material with less than 1/8" of an inch of drift between top/bottom or left/right.
TIL about Chip Load. I had my RPMs cranked up to the Ridid’s max, which explains the tool dullness. Now I’m looking into how to optimize tool settings with Fusion 360 and try to get even better results.
1 Like
Week 5: The bookshelf was basically scrap wood, barely salvageable. But prep work is finally paying off on the newer cuts. I built a LIDAR-based automatic z-axis correction tool. My accuracy is now high enough to do things like this:
[sheets 4-6]: I’ve designed a bar cart for our home. It is meant to enclose a minifridge, hold wine bottles, etc. I already cut some hidden pieces out of one 3/4" sheet of MDF. My first plywood piece (sheet#5) is also cut (I used the edges in the above image).
I bought a bunch of bits and have been experimenting with them. So far, I think the 2-flute spiral downcut is my favorite. It can run at a relatively low RPM and is relatively cheap, yet leaves a nice top surface. However, I’ve found that the upcut or compression bits seem better at holes.
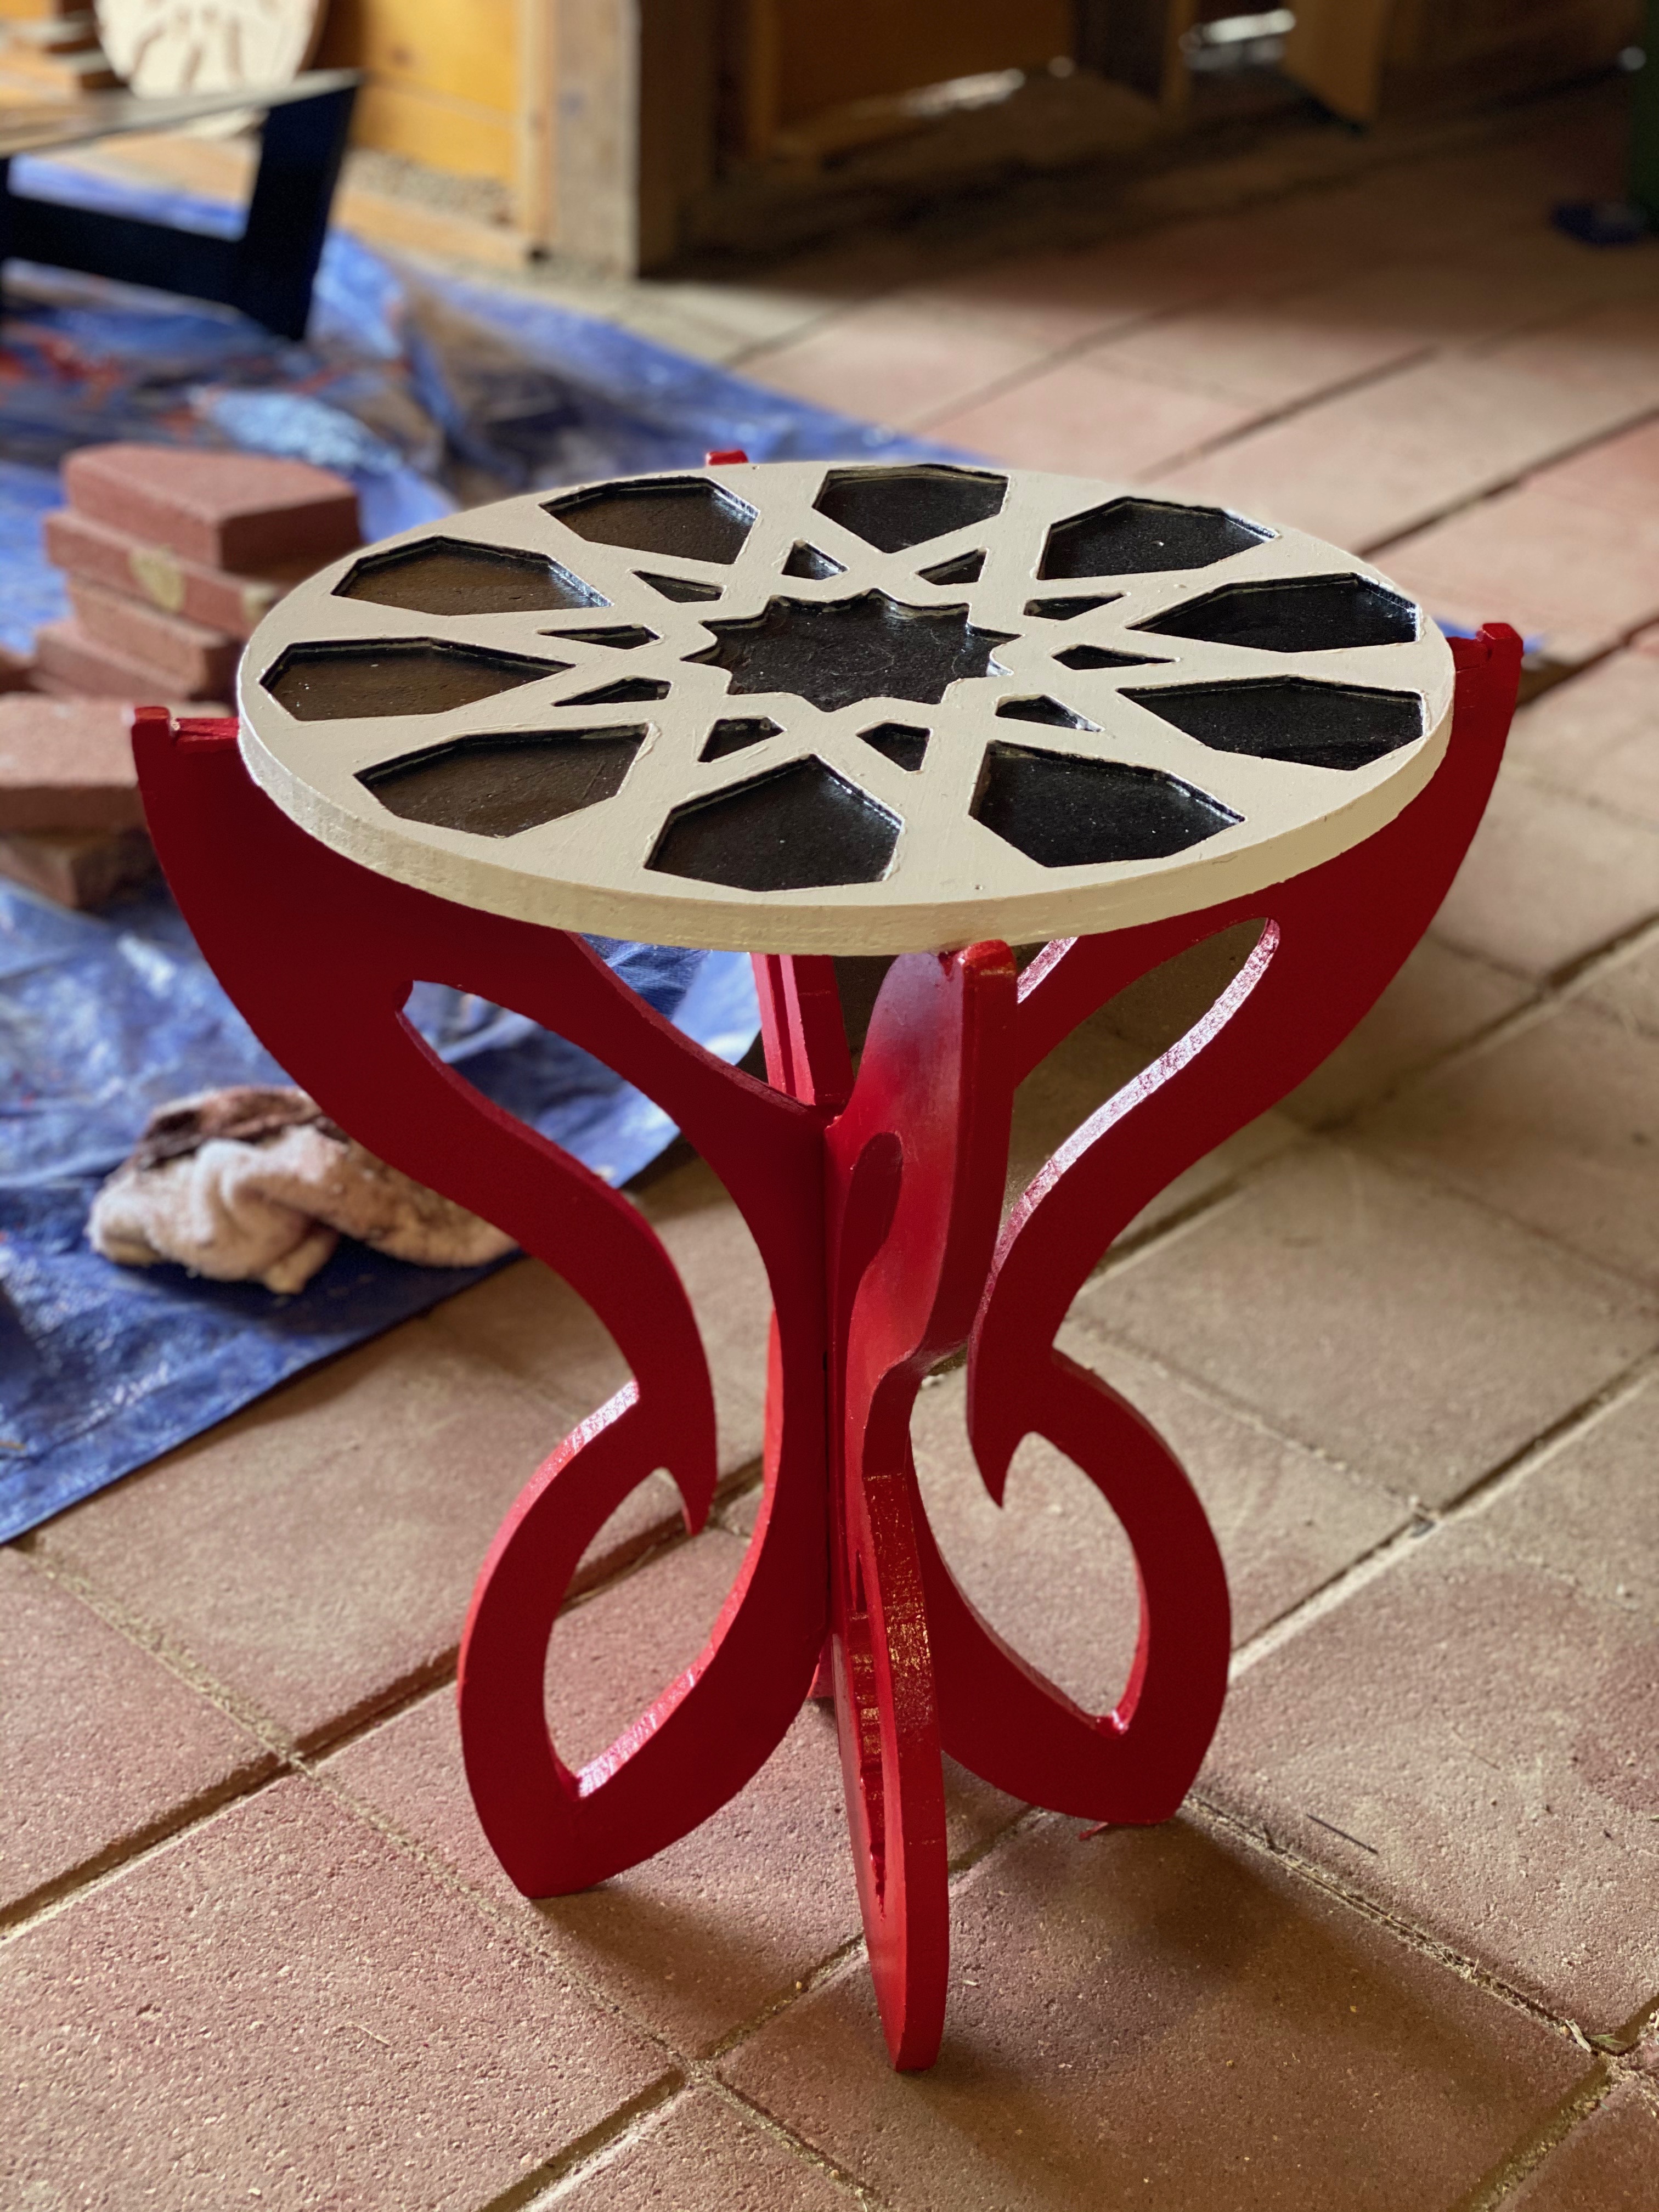
My partner has started to learn the sanding/painting process. Her painting background translates well, but she’s learning to work with new materials. She’s humble, but I think they look great:
3 Likes
I’ll likely wrap up this journal, as we’re now past the learning curve and making things regularly…
But, the bar cart is done:
6 Likes
Great work!
Regarding RPMs and tools:
You’ll want to always use only 1- or max 2- flute tools and always use the lowest possible RPM, i.e. 10K.
Given the slow horizontal speed of the maslow that is still a bit fast, but it’s the lowest you can go.
1 Like