Pretty quickly after building up my Maslow I built a sintra sign for my coffee and bike shop which some of you may have seen on here. Since there seemed to be a lot of interest in it, I figured I’d try to make a sort of build log of my latest sign. This one is being built for a good friend of mine who an ice cream shop in town. This winter they temporarily changed concepts and have become a ramen restaurant. We wanted to design a cool outdoor sign that would be easy to take up and down as needed. Please excuse the photo qualities, we’re building it in a poorly lit basement.
These first few photos are where the Maslow really did the work.
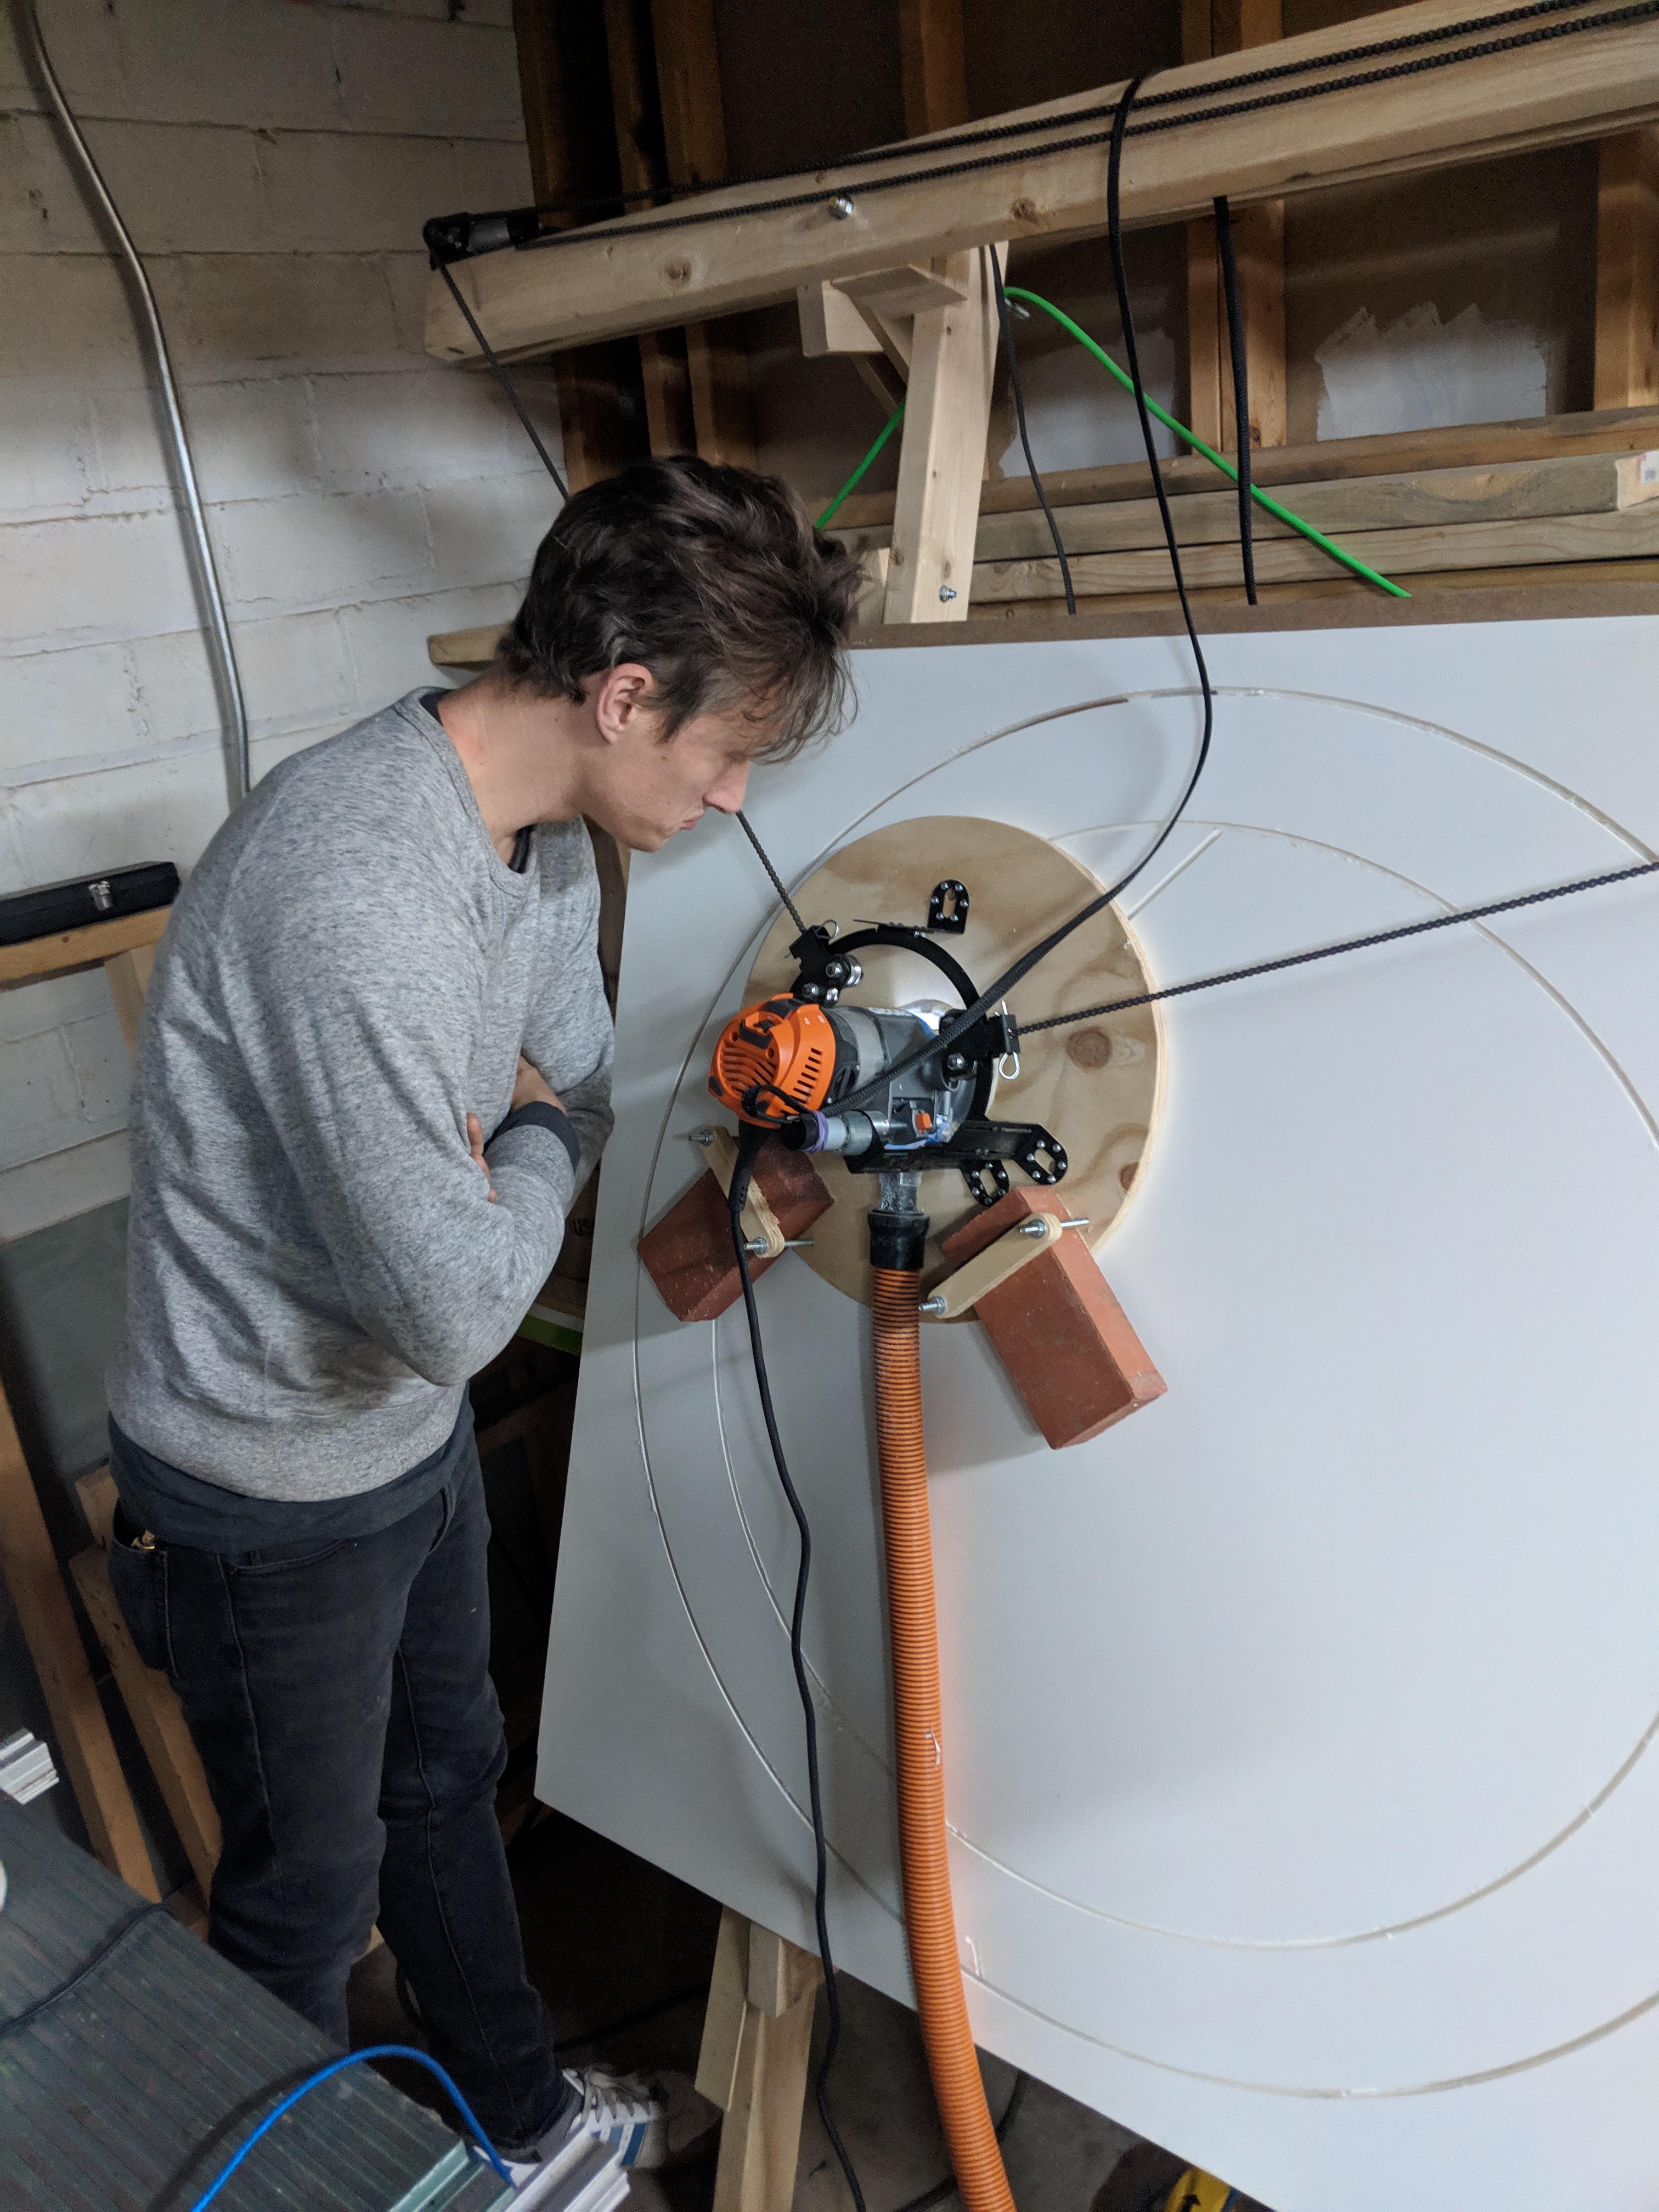

The sign is actually 3D and is essentially a 3" tall by 48" wide cylinder. You can see we used small squares of .25" sintra to create supports on the inside of the sign. CA glue made these nice and strong. After those were set up we wrapped a strip of FRP around to create the side walls. There was a plan to use .25" sintra for this but it seems to be a seasonal item at Home Depot.

Once the frame was assembled, we drilled out holes under the floating letters and logo and slid in .25" carriage bolts from the back. These act as very stiff stand offs for the letters. Once the glue on those set, we mounted a bunch of faux cherry blossom plants to the interior. You can see we set the outer ring in place for this photo so you can kind of see what we were going for.

With the flowers installed, we mounted waterproof RGB led strips to the edge of the frame. We originally tried just gluing it to the support pieces but the silicone housing of the leds wouldn’t stick to any sort of glue. We ended up drilling holes into the supports and threading the leds through.

We had a slight miscalculation when creating the CAM operation for the logo. Instead of cutting on the lines themselves we accidentally cut on the outside of the stroke. This left the proportions a bit out of whack. We considered hand painting the stroke in to make it look right but actually one upped the original plan and used gold leaf.

We were able to use the negative space from the original cut to help us layout the positions of all the floating pieces more accurately. If we had planned a bit better, I would have actually just the reverse of the logo and letters and drilled holes in from behind to line up with the standoffs.

This is where we are at currently. Its 90% assembled, just needs a few finishing touches on the wiring. Hopefully we’ll have it installed by the beginning of the week. Ill add an updated photo of its final installation when we mount it.

Quick final note, the exciting part about this build is that the leds are actually controlled by a raspberry pi and phase 2 is creating a website to allow public control of the led color. It should be awesome when that part is finished.

