In the stock design the motors are ~9.7 ft apart, a little longer would be
better, so if you get a 10-11 ft length, or a couple pieces that bolt togeter
solidly to get that length, it will work well.
While looking at the frame rollers my brainwaves added a block

In folded upright position the block does not tough the floor, allowing the frame to roll
when pioted to the back the block touches the floor lifts the roller off the floor. and prevents it from sliding
This allows for cheaper rollers (without brake-stop)
2 Likes
Yes, it would, but you may want to angle cut them to allow for more ground surface area to reduce shifting. As well, you would have to use fixed rollers rather than swivel rollers, so the movement direction would also be limited.
The block could also be mounted with slits and wingnuts, allowing it to ride up and down, which might resolve both of the earlier mentioned issues.
1 Like
Yes, it would, but you may want to angle cut them to allow for more ground surface area to reduce shifting. As well, you would have to use fixed rollers rather than swivel rollers, so the movement direction would also be limited.
I was planning on fixed castors, the machine should be light enough to lift one
end to scoot it sideways to turn, and trying to do swivil castors on something
that tilts is a bad idea.
I was figuring that the back legs would keep it from rolling side to side, and
the fixed castors would not move front to back
My only concern about these stub legs would be how little clearance you would
have to have for the slight amount of tilt.
Please excuse the drawing… wasn’t in a position to take the time to do a full, fancy thing ![]()

I used:
1 - 10’ full depth unistrut (this is the top bar the motors are mounted on
4 - 10’ half-depth unistrut for the rest
- one piece cut in half for the two 5’ sections
- two pieces cut at three feet for the bottom, 10" for the upper beam offset and 74" for the front - repeat on each side
- one full length piece across the front
1 - 10’ half-depth - this is what I still want to add at the back between the legs… they try to fold “in” when I’m pulling plywood across (I store spare in the triangle
Here’s some pictures of what I did at the joints…
I have the top bar “offset” to the front to adjust for material thickness… honestly, so far I’ve never changed it, but…

Where the back support attaches to the front leg

Bottom front… I have a 2x4 stuck between the bottom unistrut and the backboard to hold up the workpiece. I’ve got to find a better solution here, as it sticks out way to far and obviously will snag the sled.

The bottom with casters… this is the weakest/most problematical part so far… this pictures is looking down on the bottom front to rear piece. The angle bracket is boleted to a piece of 2x4 with casters lag-bolted to the bottom of the board. It works, but they try to “twist” too much.
I intend to mount another piece of unistrut (or a 2x4) across the back of this piece between the two legs to hold the angles “apart” at the back. I think this might help the twist if I do it right, and will definitely help with the angled legs trying to collapse “in” when I’m shoving wood into the void space.
And the front assembly…

10 Likes
I’ll be building a unistrut based frame tomorrow. Excellent work so far, I’m happy to follow in your footsteps, stand on shoulders, etc!
I’m wondering if you could post a close up of your motor mount attachment to the frame?
I’d like to work together on sorting out the bottom lip (work piece stand) if you’re inclined, and any other fiddly bits of the Unistrut Frame design.
I noticed that the bottom unistrut (those mounted to 2x’s) might benefit from facing the other direction (with the turned over channel facing outboard of the machine) so as to use the unistrut channel-nuts to lock that strut to the rest of the frame.
I also thought that maybe rather than a long 2x4 on the bottom, 2x ~6" long pieces of 2x4 would allow you to use 2 L-Brackets on each pad, and prevent the tilting you describe, if those pads were placed as close to the vertical connection as possible.
Hopefully by this time tomorrow I’ll have some shots up in a new Unistrut Frame thread, with a detailed wiki page to follow shortly after.
cheers,
mrfugu
1 Like
![]()
Nothing fancy here… just a couple of flathead bolts with some big washers on the bottom… Let me know if that doesn’t show what you want/need…


Sure thing… would love to swap some ideas. I would really like to have some kind of “pull out” or “removable” dogs instead of a constant board… I think that would make it easier to support various sized pieces. I may be wrong, but usually we’re cutting decent sized sheet goods and you don’t really need support all the way across.
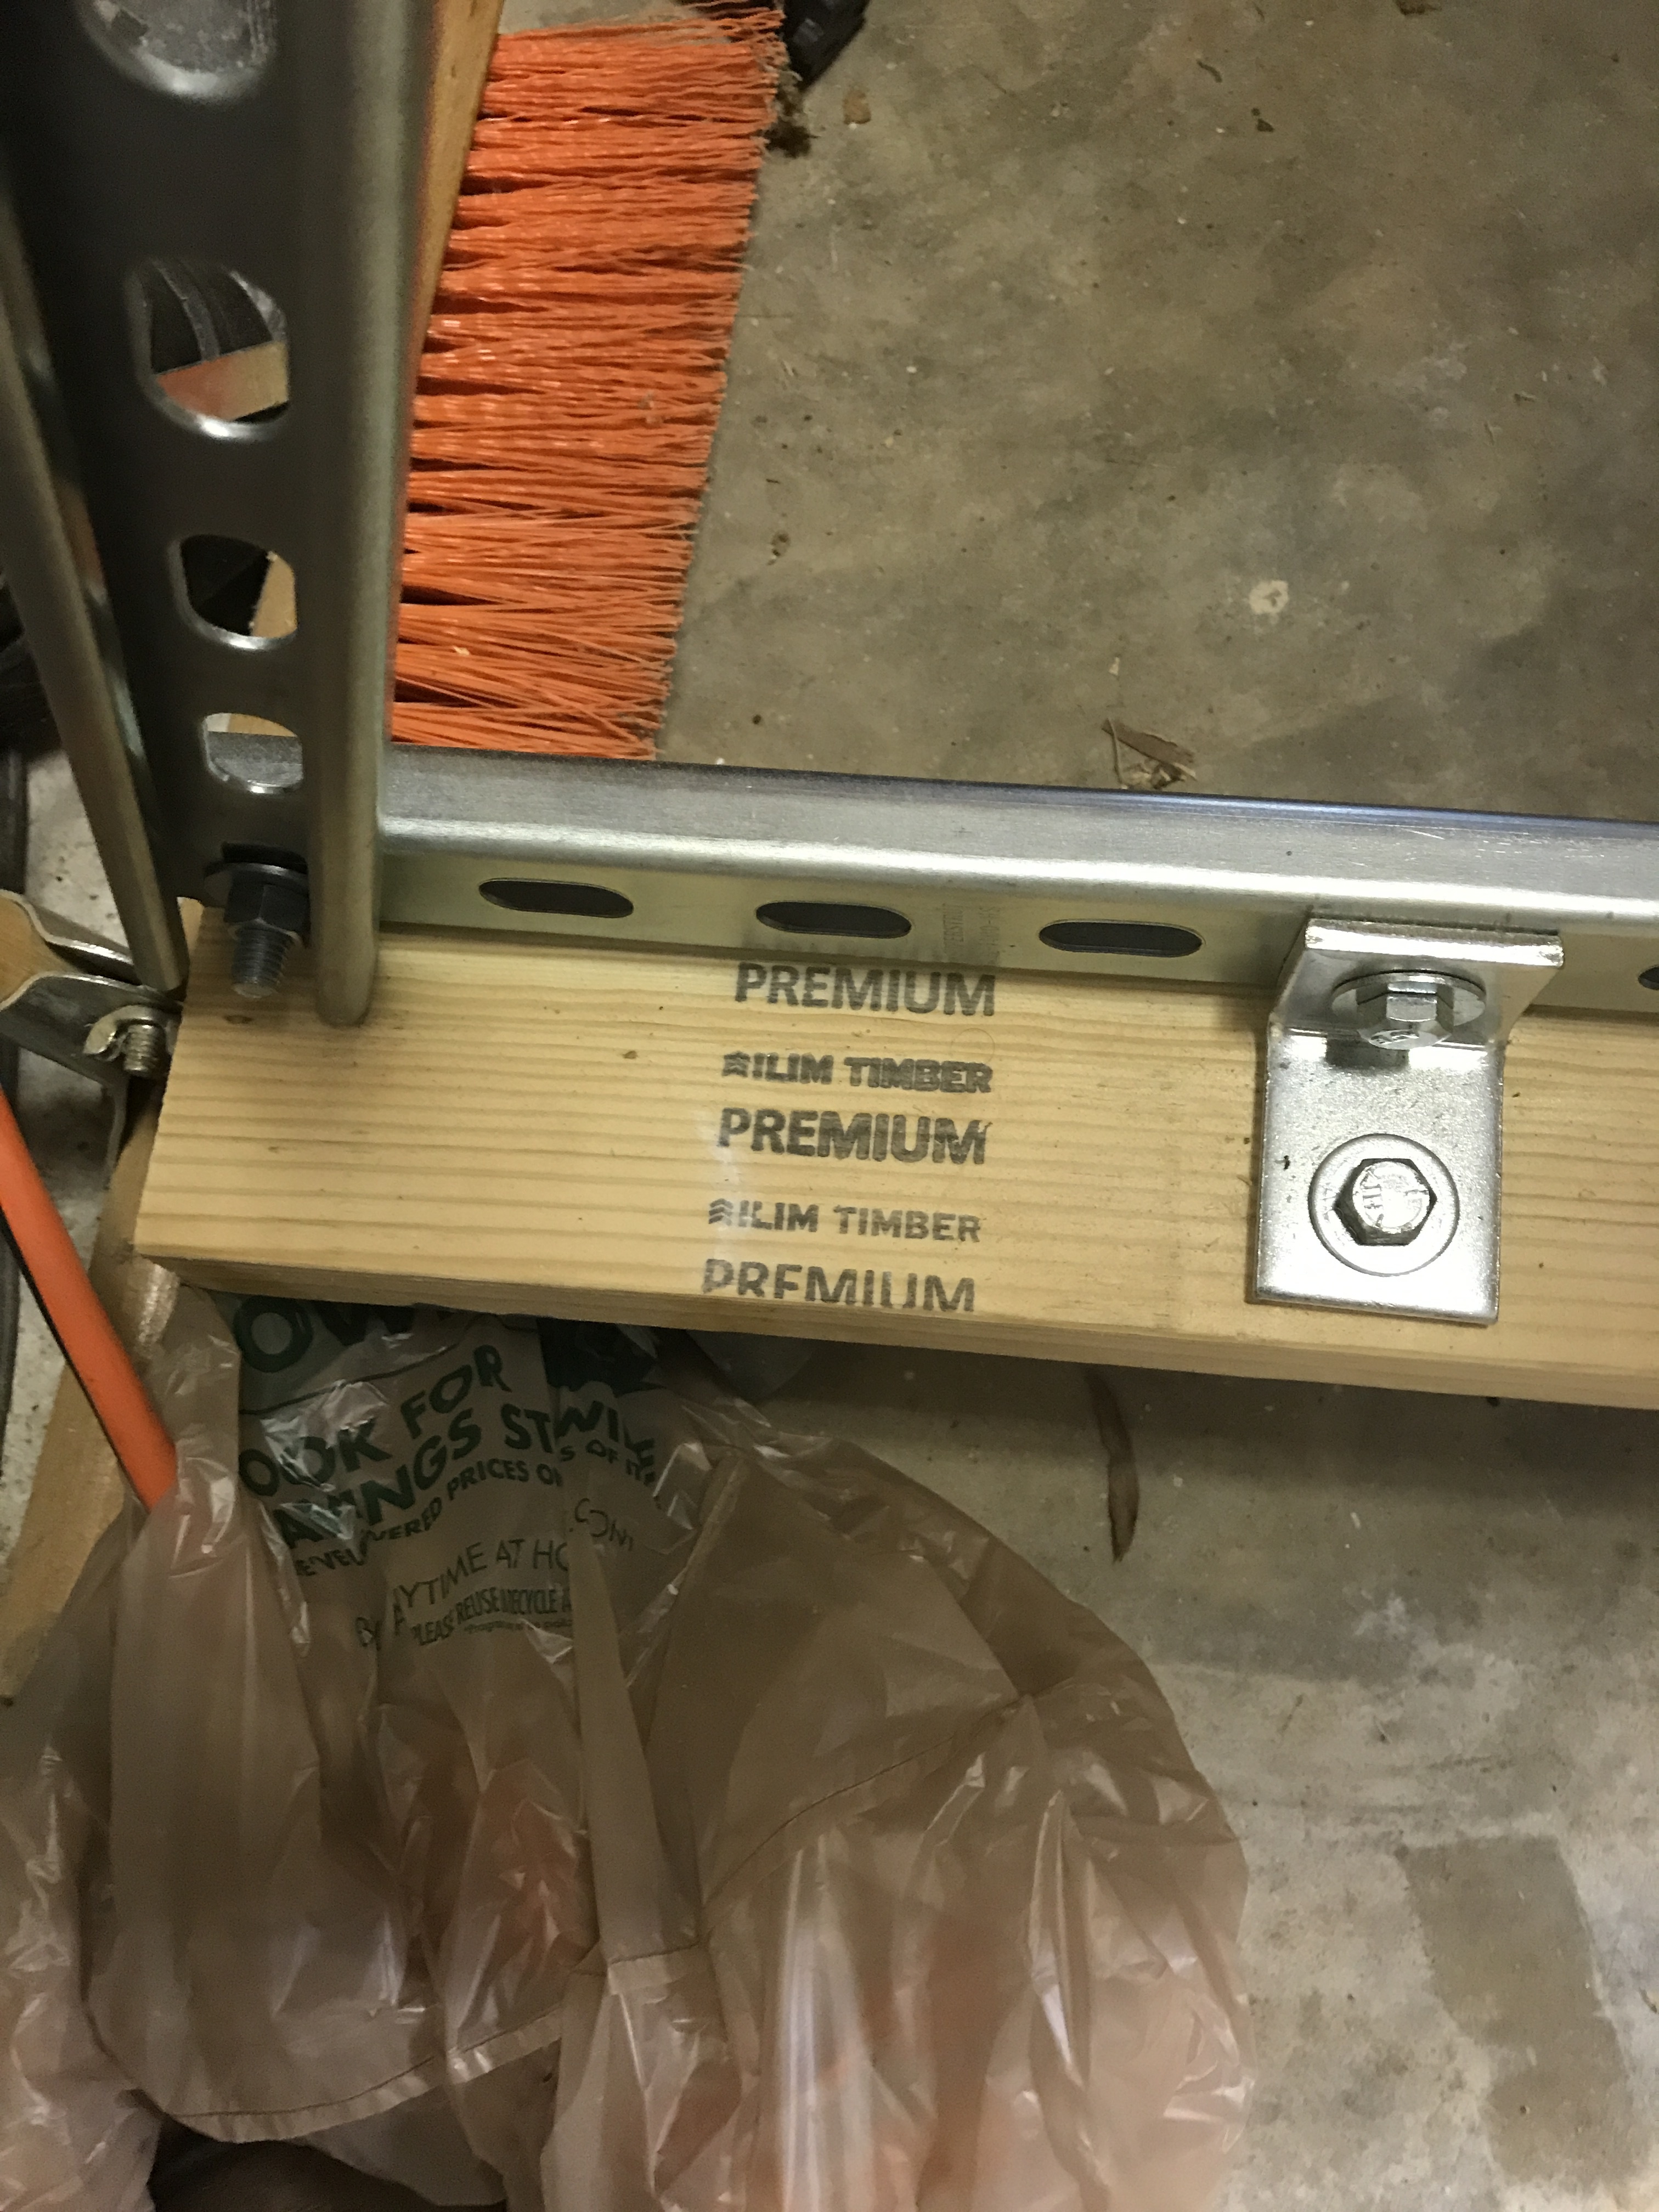
There are several places that I’m not using the unistrut in the “right way” with their fasteners, mostly due to my reluctance to buy a channel nut when I could just buy a cheap bolt (for this application that was strong enough in my opinion). So don’t take what you see as the “best way”.
Not sure breaking it into sections would help, although having a L-bracket on each side of the bottom unistrut might help.
Sorry, I’m not sure I’m understanding your description… may have to have a drawing/picture on this one.
My 2x4 is tilting some, but I’m really twisting the entire unistrut. Might should have the heavier full-height kind here, but not sure that would help that much.
Looking forward to seeing it!
One nice thing about Unistrut is that when you come up with a better design, I can undo some bolts and copy you ![]()
My other (eventual) goal is to have a panel saw/track saw mount on this… that’s part of the reason the bottom crosspiece is turned as it is - to mount the track there… we’ll see if I get that done eventually.
Bruce
4 Likes
Excellent, I’ll see where I get to tomorrow and check back in.
I’m going to try to build my frame using whats available at my local homedepot, in keeping with the MaslowCNC design goals, but its worth noting that there’s a large number of ‘non-standard’ parts available (for a pretty price) on McMaster.com here: https://www.mcmaster.com/#strut-channel-systems/=1ag0mtu
An alternate source for lower priced bits and pieces will need to be found, but a number of additional solutions exist in those parts for stiffening the corners and joining struts with more than just L brackets.
Anyway, not to get ahead of myself, more as I have it.
cheers
I got about 3/4 of the way there. No picts yet, I just ran outta time this afternoon. I gotta say, the unistrut parts selection at both my local HD and Lowes is pretty shit.
My design is ~80% the same as yours, with a few tweaks.
I see what you were saying about it getting wobbly, I haven’t solved the base/casters/twist yet but I think I’ll have it steady tomorrow.
I’ve added 2 lateral members (10’ thin unistrut), one to the middle of the (5’) rear struts, and one behind the 2 main vertical struts.
Both are attached with 2 L brackets on the vertical struts, and a 2" bolt sandwiching the horizontal strut.
After adding the ‘L-bracket Sandwich’ the whole thing stiffened up and getting the everything aligned after that was pretty straightforward but the twist you mentioned seeing on the (3’) floor strut remains unsolved for tomorrow.
Anyway, more as I have it. Thanks for the jumpstart!
cheers,
1 Like
You are awesome! That’s more than I could have asked for, but really helpful. So the unistrut ( Home Depot sells a alternative brand superstrut) the top should be the heavyweight but the thinner is fine for the bottom and vertical post. I was going to buy all the heavier, 1-9 of the 10ft are $19 each, but buy 10 and they are all just $16. I would have extra unistrut for other projects or to build a 2nd frame. I think I’m wanting a easel like design that can hinge and let the system fold flat OR that I go solid as a cart design that moves like a shops 4x8 sheet cart and stores plywood on the back. I don’t have a lot of space in my garage, so I am stressing wanting to lock in a solid design.
1 Like
Yeah, I used the Home Depot brand… just called it the more “generic” Unistrut.
As @dlang pointed out, the only place you really need the stiffness for the Maslow is the top bar… for the rest the smaller stuff was OK to me, but of course if you are doing folding/cart/whatever functions your needs may vary for that.
I understand how you have that lower lip with a 2x4 or 2x6, but doesn’t that mean the Maslow has to stop once the bricks bottom out? And I want to use the back to store 4x8. Not sure how to tweak the back to best support extras back there.
I am pondering making the 4x8 sacrificial out of peg board, then boxing it, adding a vacume to hold the sheets flat and reduce cuts popping out.
I am pondering making the 4x8 sacrificial out of peg board, then boxing it, adding a vacume to hold the sheets flat and reduce cuts popping out.
Maybe I’m wrong, but I would think that all the cuts in the board the router would make would result in a loss of vacuum pressure on the pieces you are trying to hold still.
Yes, that lower lip is a 2x4, and, although it holds the wood fine, it does get in the way of the sled. I’ve got to find a better fix for that, but it was quick and easy 
The bricks clear, actually, but the sled itself doesn’t.
I’ve been using the back to store things, but need a crossbrace between the two “legs” to keep them from trying to fold in/out when I slide stuff in… otherwise it works OK (for full sheets… I guess I could put a bottom piece across as a brace and a “bottom” to hold up partial sheets)
2 Likes
I was wondering what was the preferred sacrificial board material is?
I was using a 1/4 piece of Masonite and finally realized it was causing my bit’s to prematurely dull up when I cut all the way threw the material.
something relatively soft and cheap.
How soft you can get away with depends on if you are fastening your workpiece to
it.
plywood, OSB, and MDF are common materials, someone here posted about using
foam.
FYI - Bar is using a foam insulation sheet.
Thank you
2 Likes
A 4x8 sheet of .5 inch soft partical board can be had for $6 to $10 a sheet at home Depot or Lowe’s. Cheap, but more firm than foam.
1 Like
The problem with OSB, plywood, and particle board is that there are various amounts of glue in them and this is what will prematurely dull the bits. I am planning on using foam insulation.
Reading threads in anticipation of getting my kit. This is one of the threads I come back to because the lumber I can source locally tends to be very not straight. I finally found unistrut at Lowe’s locally as HD doesn’t carry it here. Given the price for a length here ($18cdn - thought it would be a lot more) I will be using it for all frame parts I need to actually be straight. So the top rail we’re all discussing to improve accuracy, and the portion of the frame where the plywood attaches.
I don’t want to go completely unistrut, I just need to compensate for the quality of the lumber I have available.
1 Like