While trying to run the Calibration, I am unable to control the Z-Axis.
The Z-Axis motor lowers (plunges) the router bit, but I cannot seem to raise it.
Then when I attempt to run the test cuts for calibration, the bit drags over the ply and scratches it.
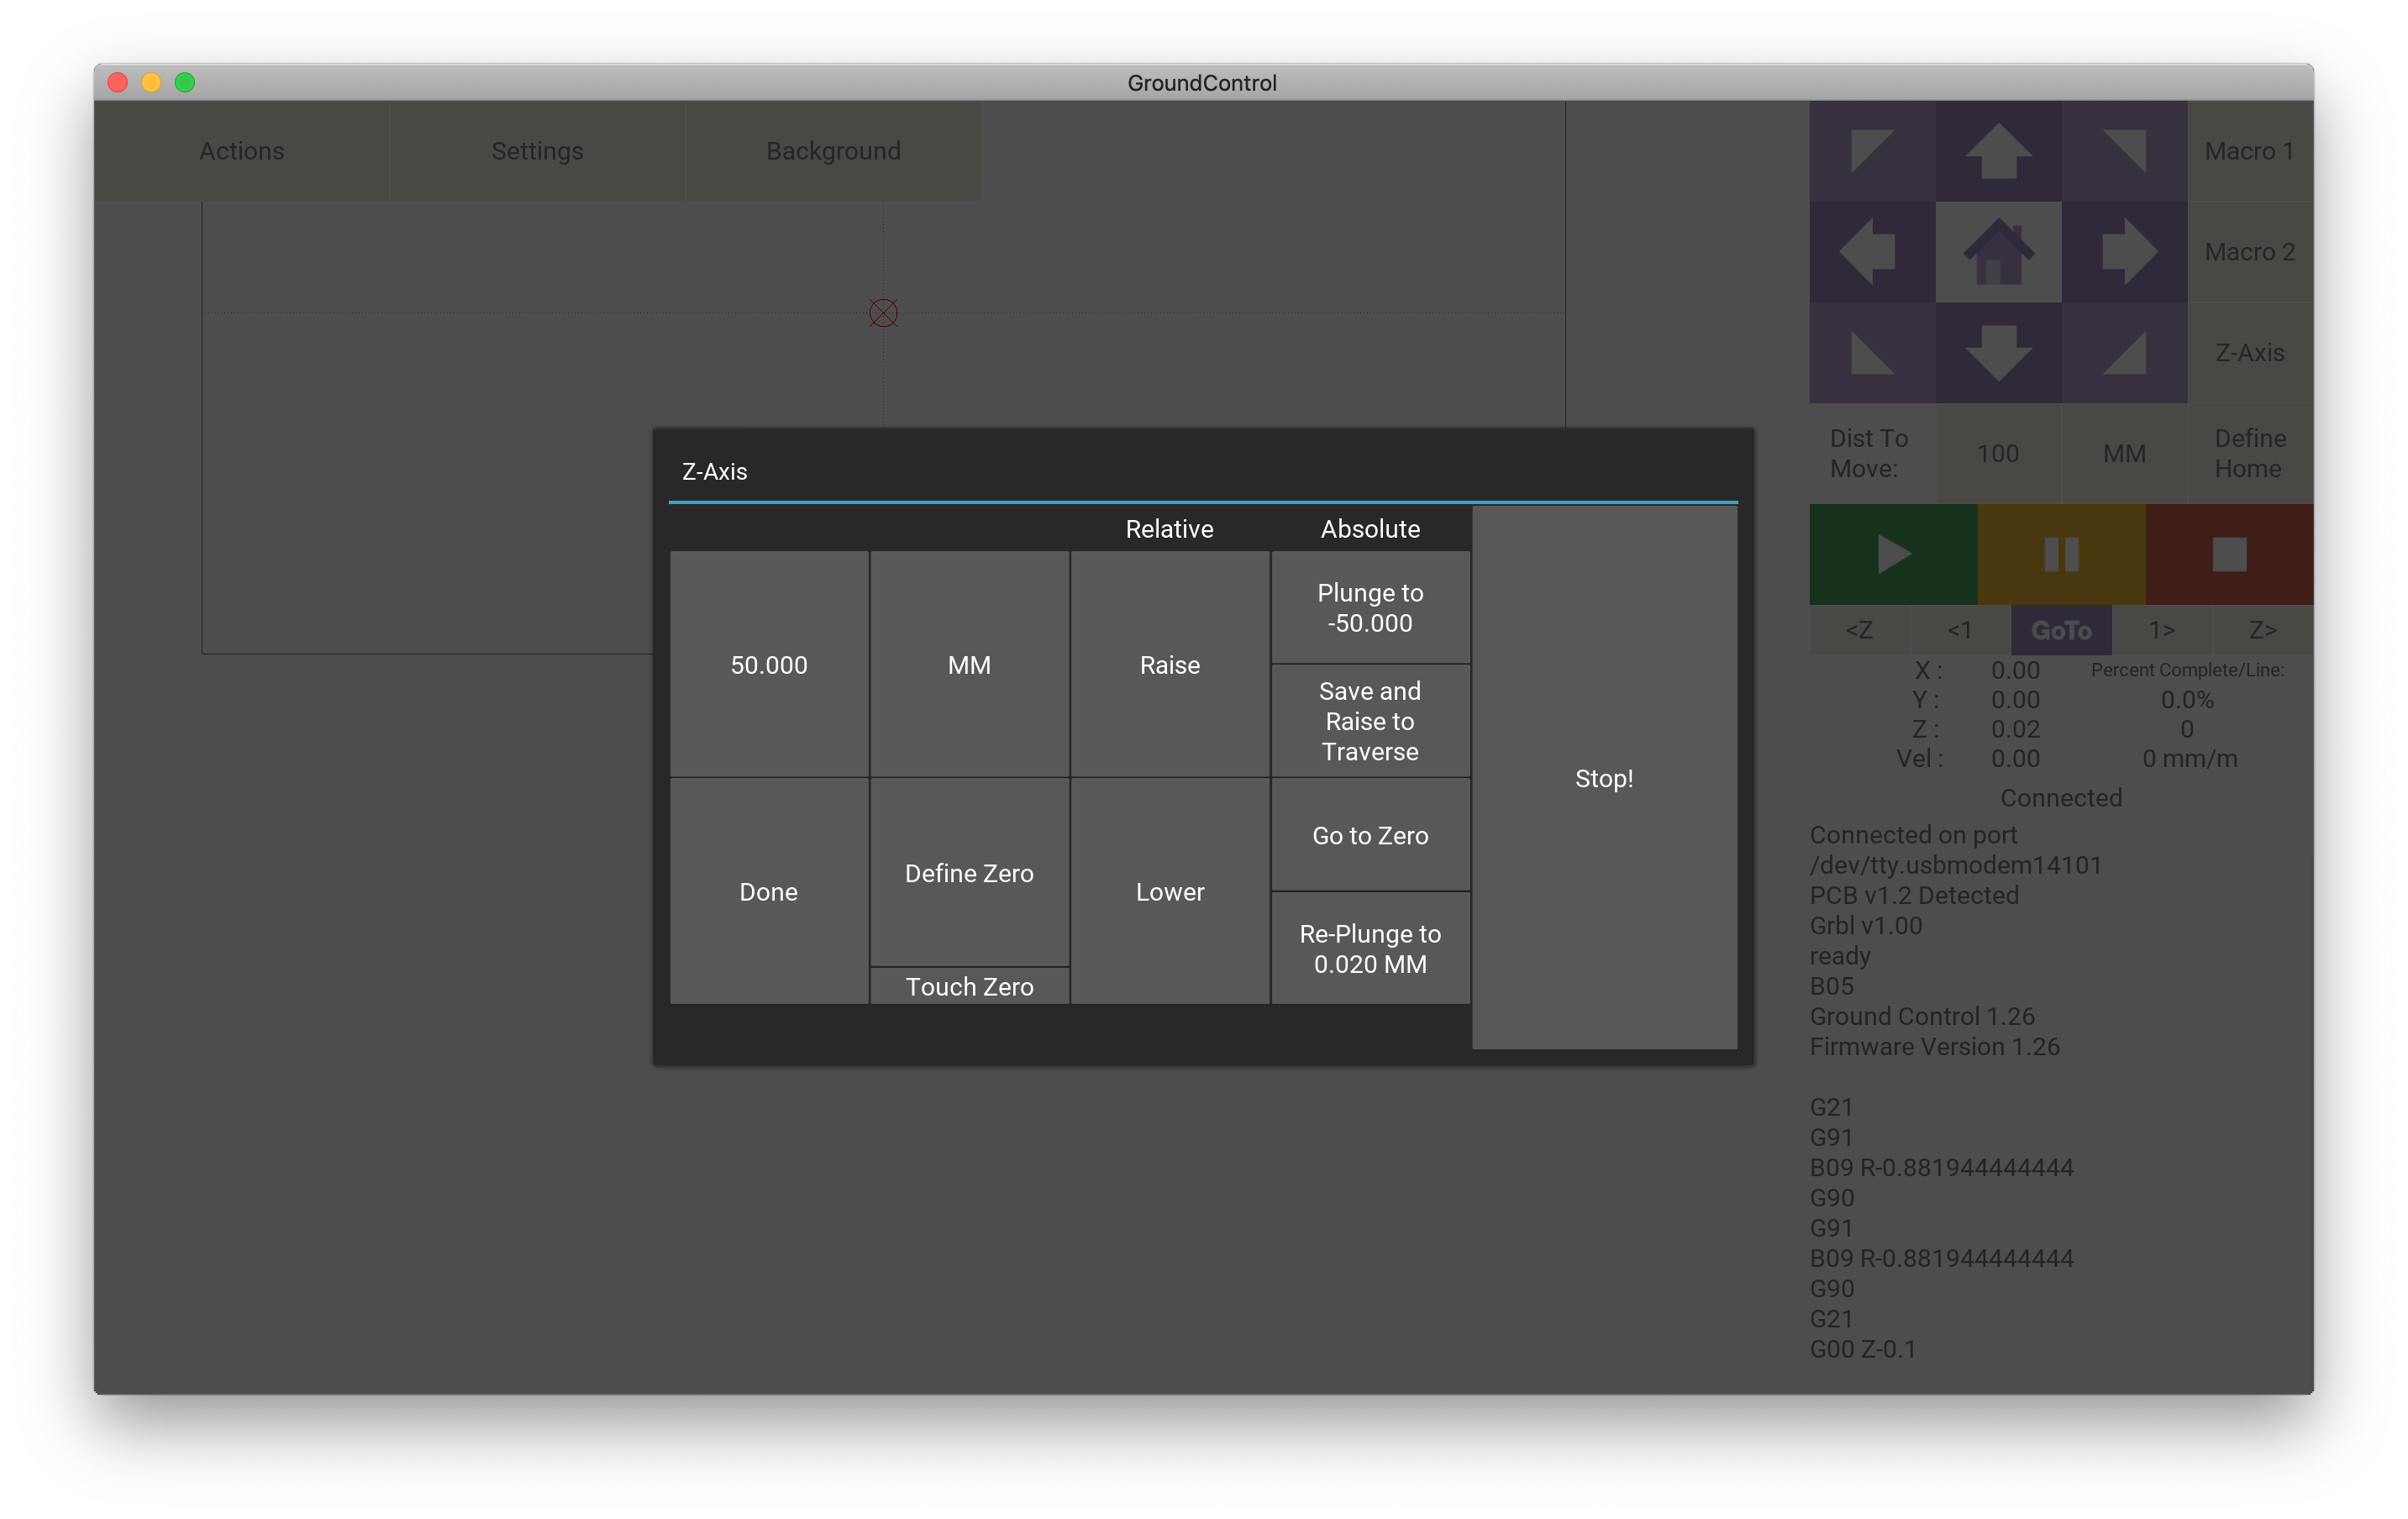
I’ve tried everything I could think of in the Groundcontrol Z-Axis UI
“Raise” just lowers the sled (in the X-axis toward the floor) and does nothing with the Z-Axis.
I tried simply removing the Router from the housing to raise the router bit,
but that seems like an unnecessary workaround given that I’ve installed the Z-Axis …
Question
How do I control the Z-Axis using GCode or Groundcontrol UI and specifically how do I raise the router bit so that it does not drag on the work surface?
Technical details:
Original Maslow (kit from Bar & Hannah) with Z-Axis and ring (2018 model)
I’m going to need help understanding that. You said the sled was propped up by bit, dragging on ply, so it seems like lowering the sled down to workpiece is what should happen when you raise the bit. For clarity, does the bit ever under any circumstances even try to retract into the router under program control even just a tiny bit? If you try to move the bit height adjust knob manually do you feel much more resistance in one direction? The first step is determining if this is a mechanical problem, or electronic problem.
When you say “raise, lowers the sled” you want to just do more of that. I assume you mean lowers the sled towards the plywood and does not mean that it makes it go closer to the ground.
If it makes it go closer to the ground then I would say that you need to make sure that they z-axis cable is plugged into the middle plug on the shield.
I think this sounds like a calibration thing. The motors are only powered on when one is moving, so if the calibration is off (check the distance between the motors) the sled might move down every time the motors power up.
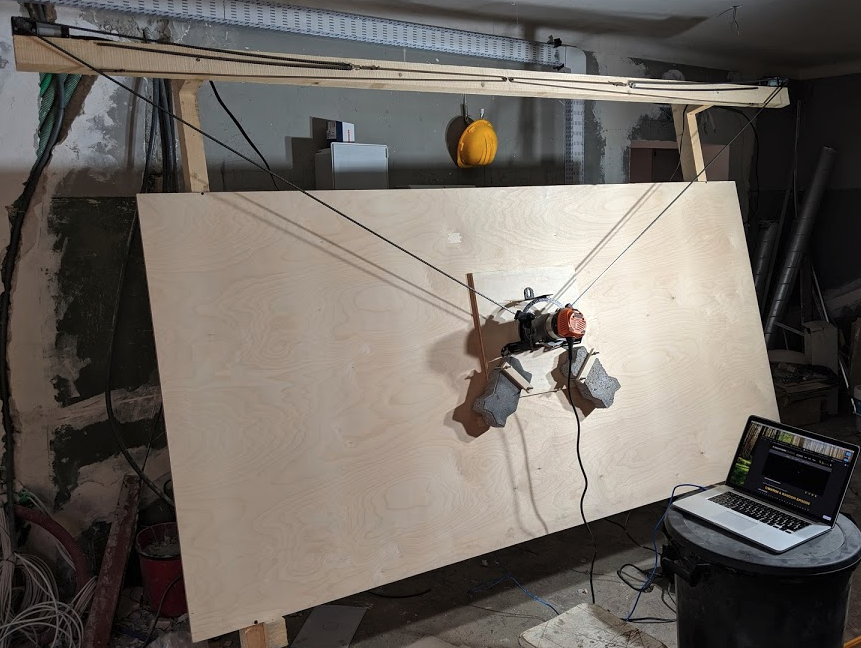
@slomobile thanks for helping to debug. To answer your questions: Yes, the sled was propped up by the router bit as shown in this close-up photo of the top of the sled and the gap between the sled and work area:
Sadly that’s not what happened, instead when I clicked “Raise”, the sled moved downwards (in the X-axis) toward the floor and nothing happened to the Z-Axis.
There appears to be some resistance when attempting to manually move the shaft coupler of the Z-Axis. Should I be able to rotate the shaft coupler by hand?
While retracing my steps through the Z-Axis assembly guide, I noticed that in step 11 of “How To Assemble The Z Axis” there is a sentence that reads “allow the router to move in and out” …
Should the router be reasonably loose in the mounting? (mine is quite firmly griped by the Ridged mount. Could that be the problem?
Hi @bar, thanks for taking the time to reply and help with debugging this.
I have re-done the calibration from scratch several times (removing the sled from the chains and performing the steps to measure the distance between motors (feeding the left chain on the left motor till it reaches the right motor, tightening and measuring) etc. (I have video of myself doing it, if it’s helpful)
These are the current values:
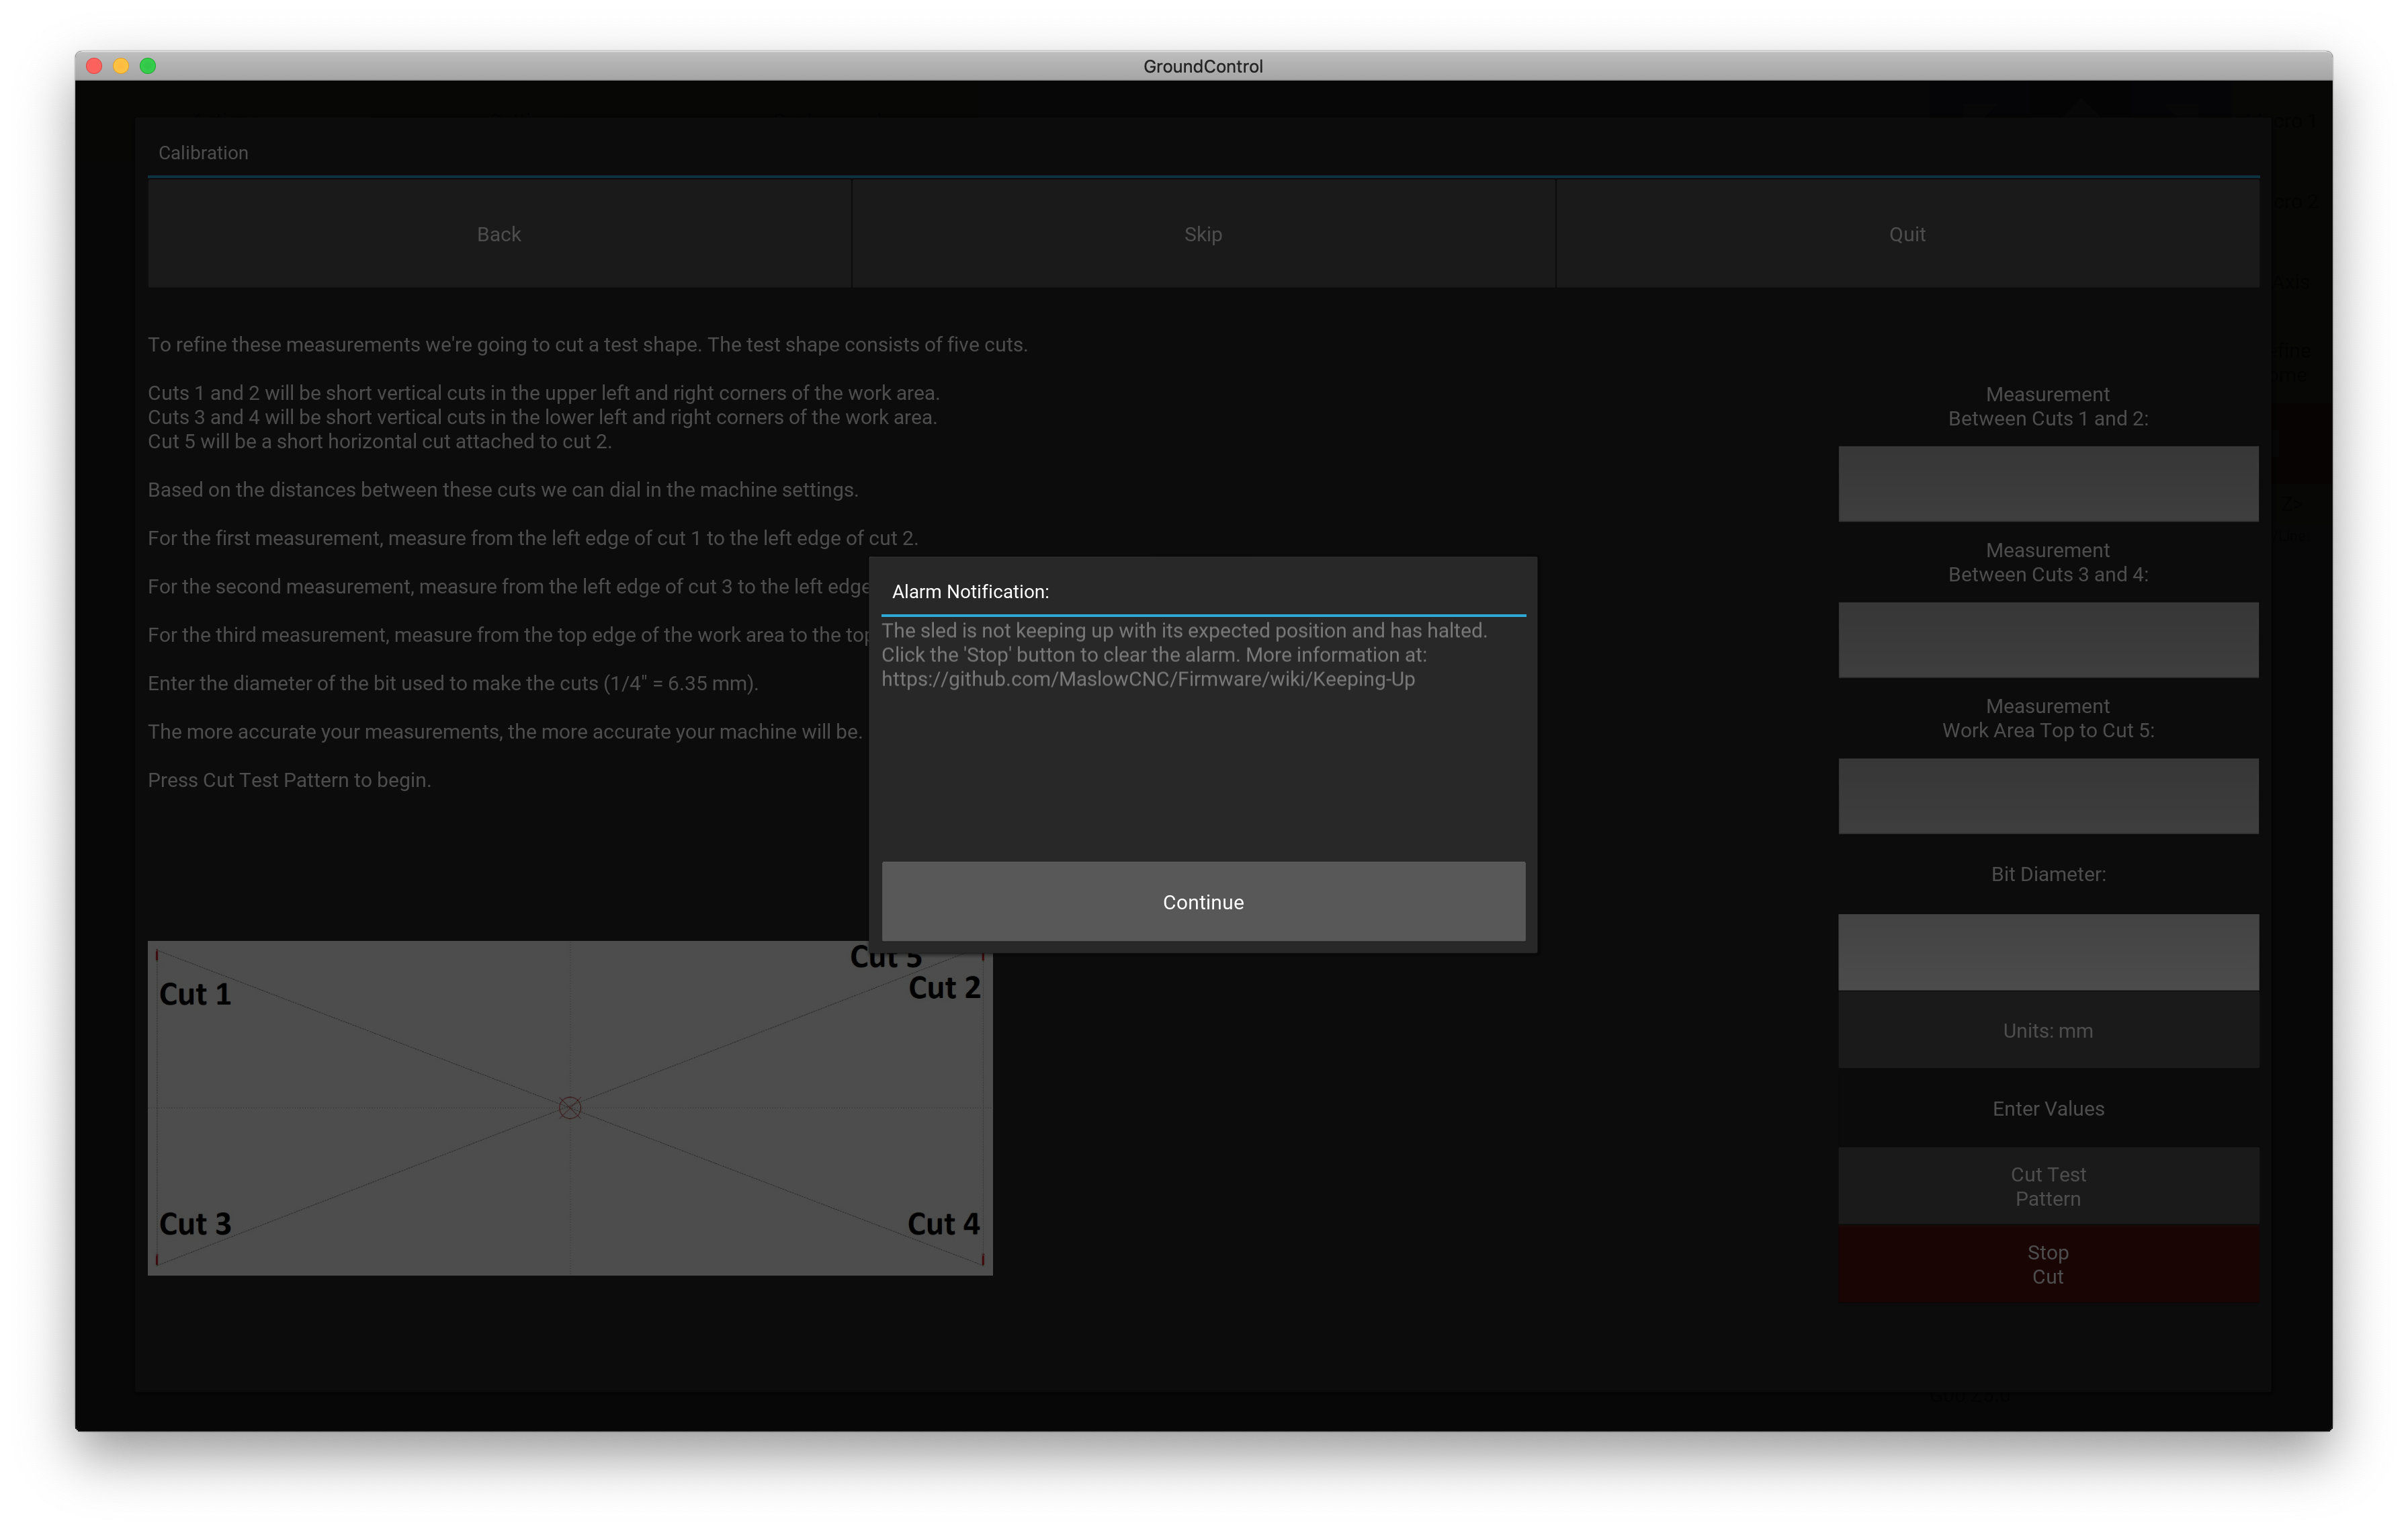
After re-attaching the sled to the chains and attempting to complete the calibration, when I attempt to do the test cuts I get the following error:
“The sled is not keeping up with its expected position and has halted.
Click the ‘Stop’ button to clear the alarm. More information at:” Keeping Up · MaslowCNC/Firmware Wiki · GitHub
I read through the “Keeping Up” trouble shooting guide and noted:
“Using a lighter sled or cutting slower can fix this issue.”
So I went out and bought lighter bricks in case the sled being too heavy is the issue …
Still no luck. Any further advice much appreciated.
it needs to be loose enough to move, too loose (like when the latch is open) and
it will wobble around and possibly pop loose and plunge down all the way. But if
it’s too tight, it won’t move and is likely to strip the orange button.
After loosening the router mount, the Z-Axis motor appears to be moving the router.
I made a quick video showing the “Test Motors/Encoders”: https://youtu.be/3bLxrKhNJmc
After re-attempting the calibration, I (still) get the following error:
“The sled is not keeping up with its expected position and has halted.
Click the ‘Stop’ button to clear the alarm. More information at:” Keeping Up · MaslowCNC/Firmware Wiki · GitHub
I re-read the “Keeping Up” trouble shooting guide and the only other thing that I could try is substituting the power supply. I am using the default one supplied with the Maslow. It’s connected to a stable power source.
try lowering the feed rate. the firmware thinks the machien can go from stopped
to full speed instantly and because it can’t, too high a feed rate lets too much
error build up.
the other thing you can do is to change the amount of error allowed before the
cannot keep up alert triggers.
@dlang Lowering the feed rate seems like solid advice when it comes to cutting shapes. (Thanks)
Right now however, I’m still stuck at the calibration stage and I don’t think I can change the feed rate for the test cuts (at least I haven’t found the setting in Groundcontrol …)
I’m still seeing “The sled is not keeping up …” error.
Something else is going on and causing the problem (not feed rate). What’s happening is that as soon as you go to the calibration page for cutting, it errors out with the “sled not keeping up error” even though you didn’t tell it to do any cutting.
I wonder if when you skipped the step at the 0:43 second mark, it through the system into a tizzy. Maybe click “return to center” instead of skip and see if that solves the problem.
A little more info… when you press ‘define zero’ on the z-axis page, it sends a command (G10 Z0) to tell the controller the z-axis is at 0. Then it sends a G00 Z.25, if in imperial units, or G00 Z5, if in metric. I haven’t seen an error cause by the z-axis not keeping up before and not sure it’s monitored. So, I suspect it’s a sled issue and even though the sled isn’t moving, the check is probably still happening. I think the problem might occur when you ran the test motors/encoders. I suggest resetting the chain lengths and trying again.
Did you mark your chains when you fed them out initially?
Can you go to Advanced Settings and report what the “Position Error Limit” is set for. It defaults to 2 mm, but could have been corrupted. If it’s set for 0, then it will error every time.
Wow … The “Maslow Settings” looked like the title of the dialog window … (hadn’t thought to click it)
Feel like I’ve been shown an epic (yet hiding in plain-sight) easter egg!
Those are typical values and I wouldn’t expect you need to change them. First try wiping the EEPROM (under actions menu somewhere)… maybe something is corrupted on the firmware. If that doesn’t work, reset the chain lengths (follow the directions in the wiki link I posted).