It does slack, but it’s not bad, that’s why I put the nylon rollers up top. At first I had them farther away from the pin chain this was a mistake. I will take a picture later today and post when the sled is at the top of the work surface.

Hi! The only potential problem with where you put your chain-end nails is that when the sled gets to the highest points in the corners, the drive chain might hit it, changing the geometry and affecting the sled path. Might not ever be a problem if you never work with full sheets.
Happy cutting!
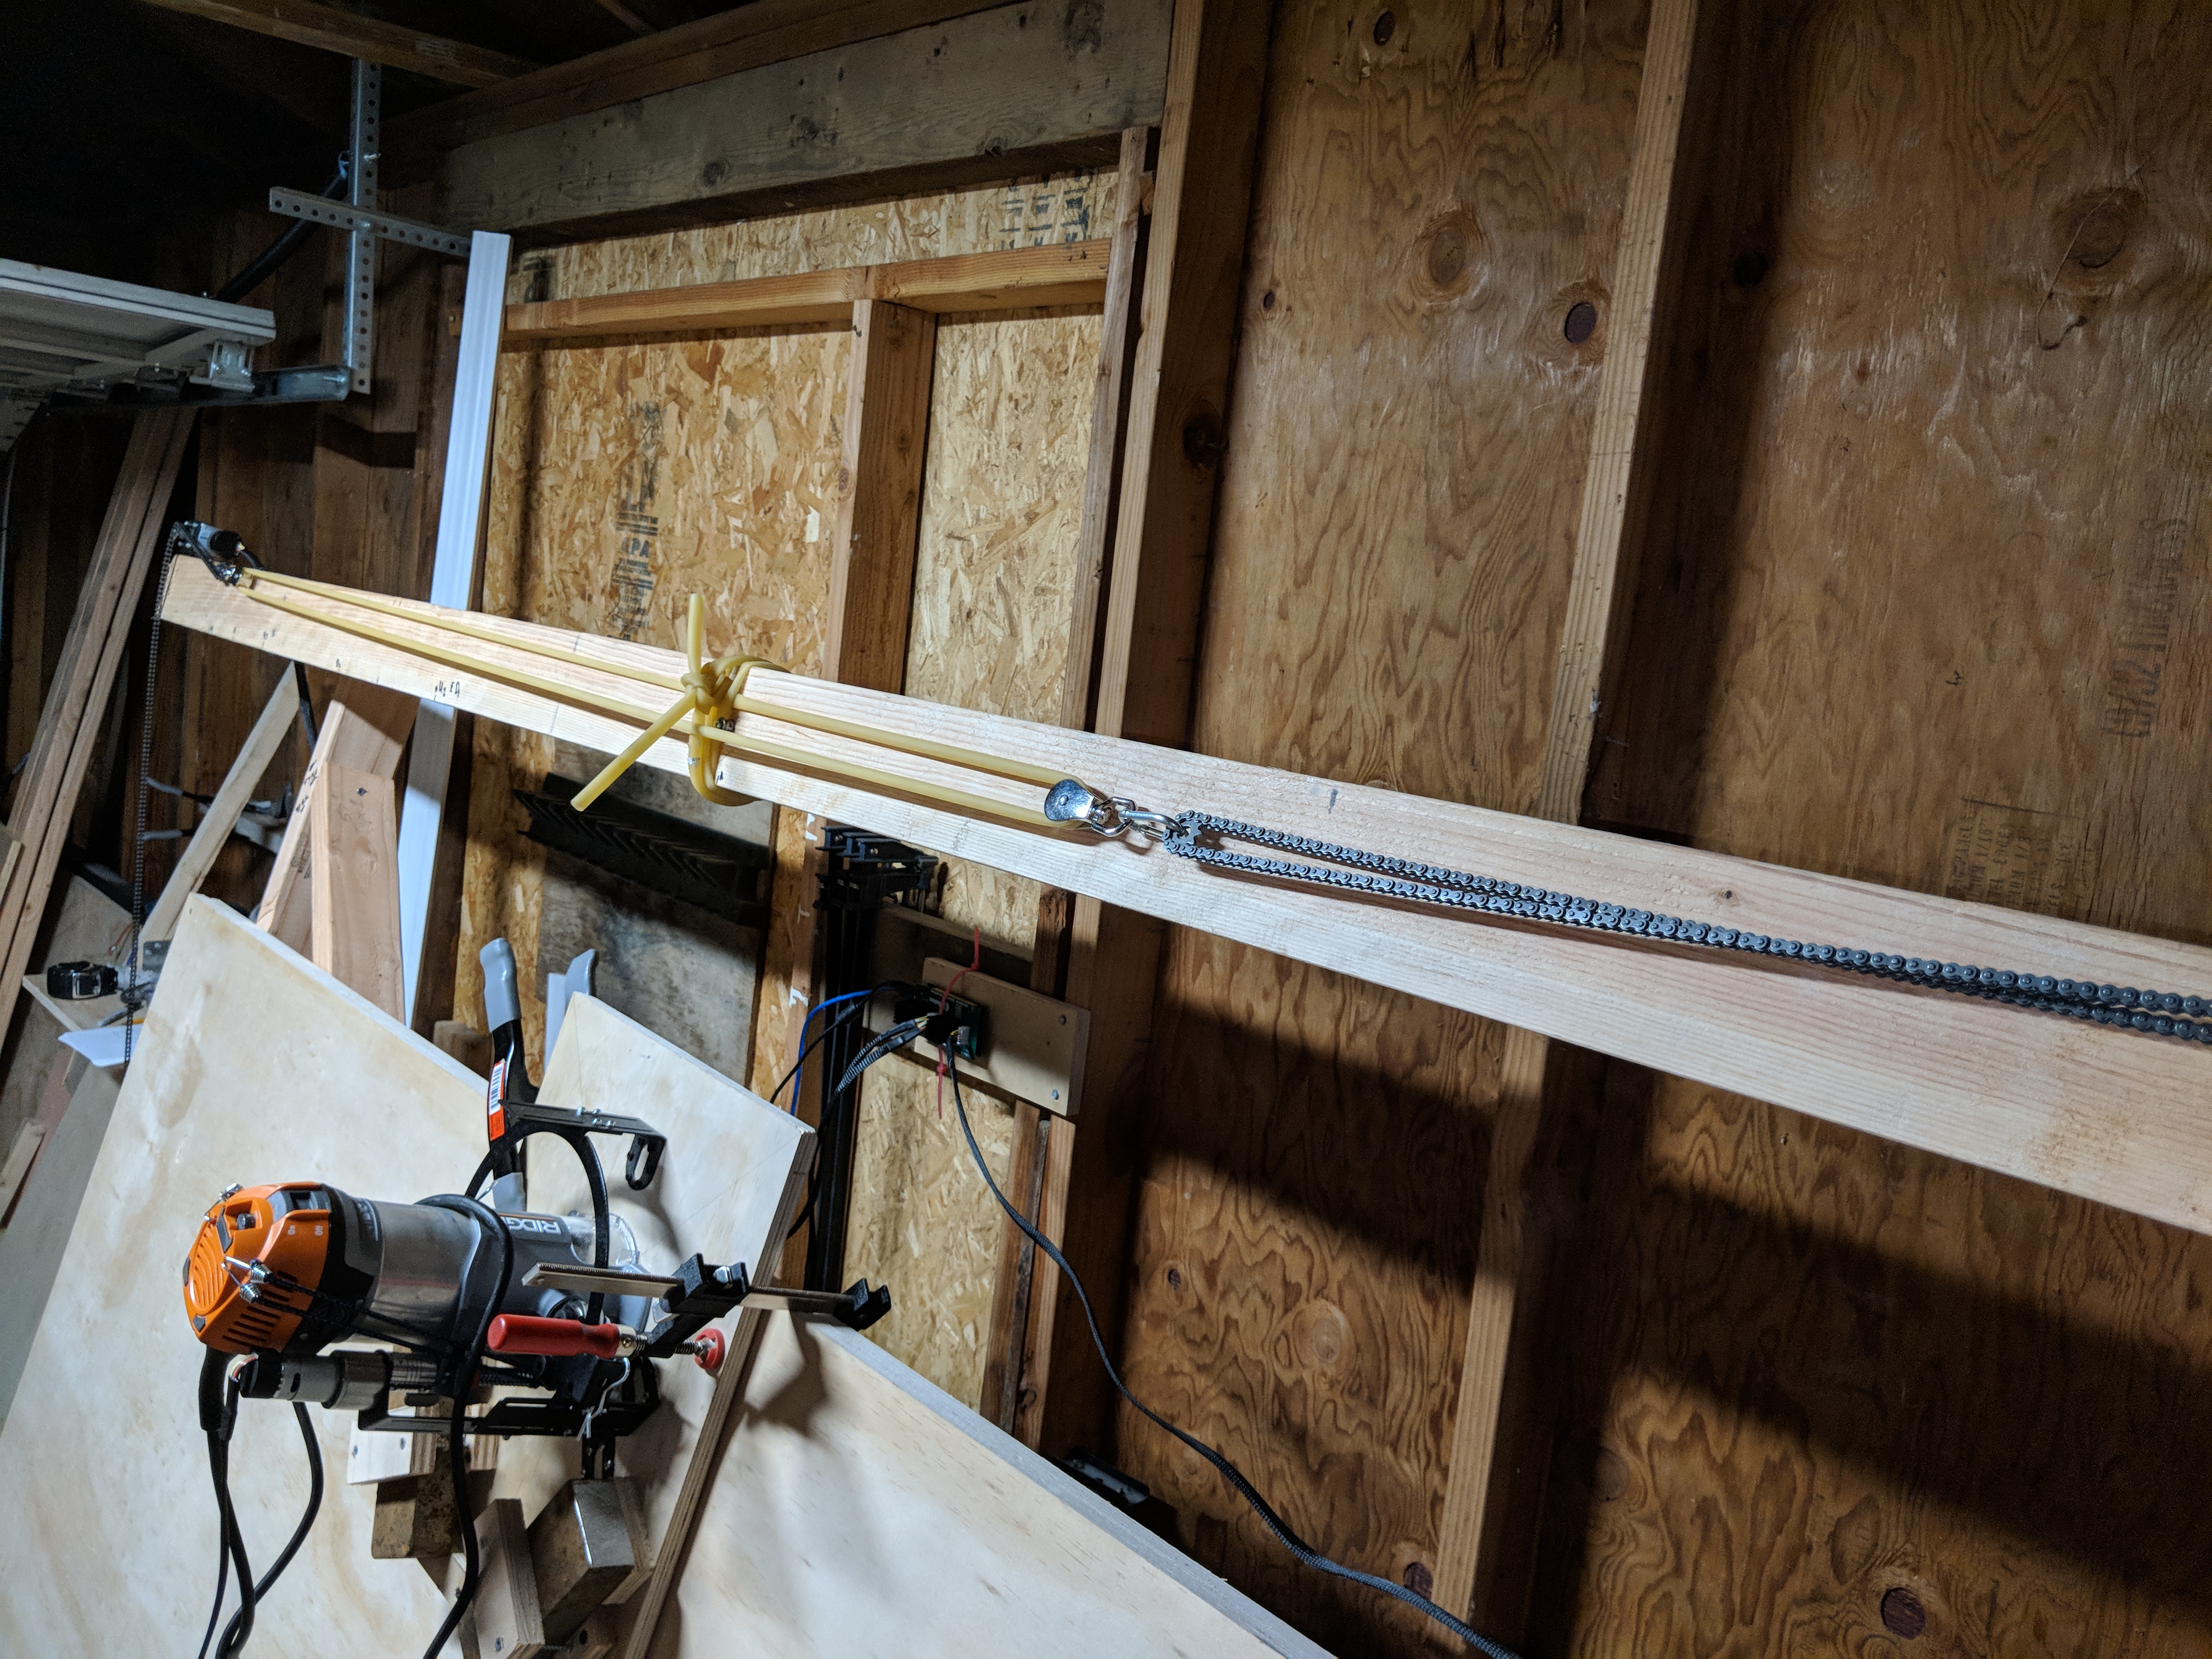
Hi All! I used the surgical tubing. Here are some shots of it in the base form. I am going to adjust the center section so it is not a big knot.  The idea is the tubing will form a closed loop. I will attach one side to the back board and the pulleys will allow the tubing to to spit the load to both runs. I used a small d-ring in place of the s-clips because I was getting tired of them flying off if adjusting the bands shipped with Maslow. If the sprocket jumps, everything will still be contained, although this has not happened to me during operation. This is my first run. I took some measurements of the chain idler sprockets center to center distance at all positions of the sled and came up with a minimum and maximum distance the two idler sprockets would be to each other. I then made a loop and tied it to the back 2x4. So for it is working great and I plan to move the slack side end of the chain to something other than a finish nail soon…just in case that pops off for some reason.


6 Likes
If you are using pullys to direct the effort, just switch to weights. anything
elastic produces the most force when it’s needed the least, and the least force
when it’s needed the most.
David Lang
I get what you mean about elastics but that might be of a big deal in other situations but not so much in my case. I considered using wieghts but I don’t like the idea of flexing the chain so much as it passes around to top 2x4 and give any chance of misalignment with a drive sprocket. I see many others being successful with weights so it must work. This setup, the swivel pulley makes sure any chain twist is natural. This is on the slack side and does what it needs to do to keep the chain off the work surface at both min and max chain lengths. With some fine tuning, this will be optimized soon and perfect.
I only saw this now. I was going to do something very similar, since I have had issues with the two chains bumping into eachother.
1 Like
Joining the party: today I added a 30 inch bungee from Harbor Freight. Moved nail higher up to a block to get out of way. Added middle block with long hook to keep tension cable outwards, which helps keep outfeed chain in alignment with infeed chain. Co-planar for the win! Will put in some hours and report back here.

9 Likes
The 26 inch HF bungee (not measuring hooks) idled at 38 inches and was pulled to whopping 58 inches at the farthest point - bottom middle. I wore safety goggles and face mask because this is past safe operating conditions, so I will replace with something else soon. However this bungee and moving chains to be co-planar resolved my issue. Two failed cuts in same area with chain bunching and wrapping. But this third cut was great! The top right gear “rode up” a little, but the chain never jumped. I just used a “pitch and angle locator” device and measured left to be 14, right to be 18. So my top beam is likely twisted. I feel like I should go buy a new one, and a 4x4 at that. Thoughts?


3 Likes
Here is the result: All the red circles were failures. Right side circles was chain bunching. After bungee, instant fix and perfect square cut. Love it!

6 Likes
For the price of a 10 foot 4x4 you could get a 10 foot piece of unistrut (or the big box store equivalent). No worries about twisting, much lighter weight.
4 Likes
Yeah I guess that makes the most sense. Looked at a few of the uni strut designs on here. Appears easy to mount motors with bolts and washers as most people have it in a configuration with slots on the top and bottom.
But I didn’t see any wooden frames (let alone Bar’s Bolt together) with just a metal top beam. If you have seen pictures of any on here please share. Otherwise I may just have to hash this out with a bunch of L brackets
You can check out mine here
It’s wall mounted, but it would certainly be easy enough to adapt to have legs
1 Like
What I am planning to do is to use a pair of 2484 bracket attached to the legs
with short (1’ or less) lengths of unistrut across the top of these, with the
unistrut top beam attached to the short lengths.
This will let me eaily adjust how far out from the frame the top beam is to
handle different material thicknesses (I want to be able to work on both sheets
of aluminum, and the edges of 2x4s)
1 Like
You guys are much further along than me, so thank you for sharing and giving direction. I used a washer to shim up my right motor. Checked both motors and sled angles, all measure 15 degrees. No noticeable chain Riding or Skipping when moving. Sidebar: Previously cut circle on top left measured 13 3/8 by 12 3/4. Today’s circle cut in bottom middle measured 13 1/4 by 13 1/4

5 Likes
You sir, are a genius. That is exactly what I needed to fix the flex issue on my top beam. I ran out this morning and picked up a length and installed it.
1 Like
You are so right. Cutting in the very top middle, my ~30" bungee that resolved lower issue was now not tight enough to keep tension. Not sure if @bar is still using new paracord so I will be switching this maslow to pulleys and weights like our other maslow, except routing behind in middle.
I am still using the new thicker cord. I haven’t had any issues, but I will keep a closer eye on it at the top center
ChuckC, If you are still looking for a timber frame with unistrut top bar, check this out,
I copied it and it works really well, Handy to have some sheet storage behind!
https://www.summet.com/blog/2018/03/03/long-board-sheet-storage-maslow-cnc-frame/

14 Likes


Used a bit of bungee, cut and just zip tied to length.
And a couple of idle cogs.
No chain skip.
Works perfect (for now) ha
4 Likes
for those people using weights, how heavy do you need to go to get the chain under control?
you really don’t want to have to go heavier than the tension on the chain (around 3 pounds), is that enough to keep the chain under control?
1 Like