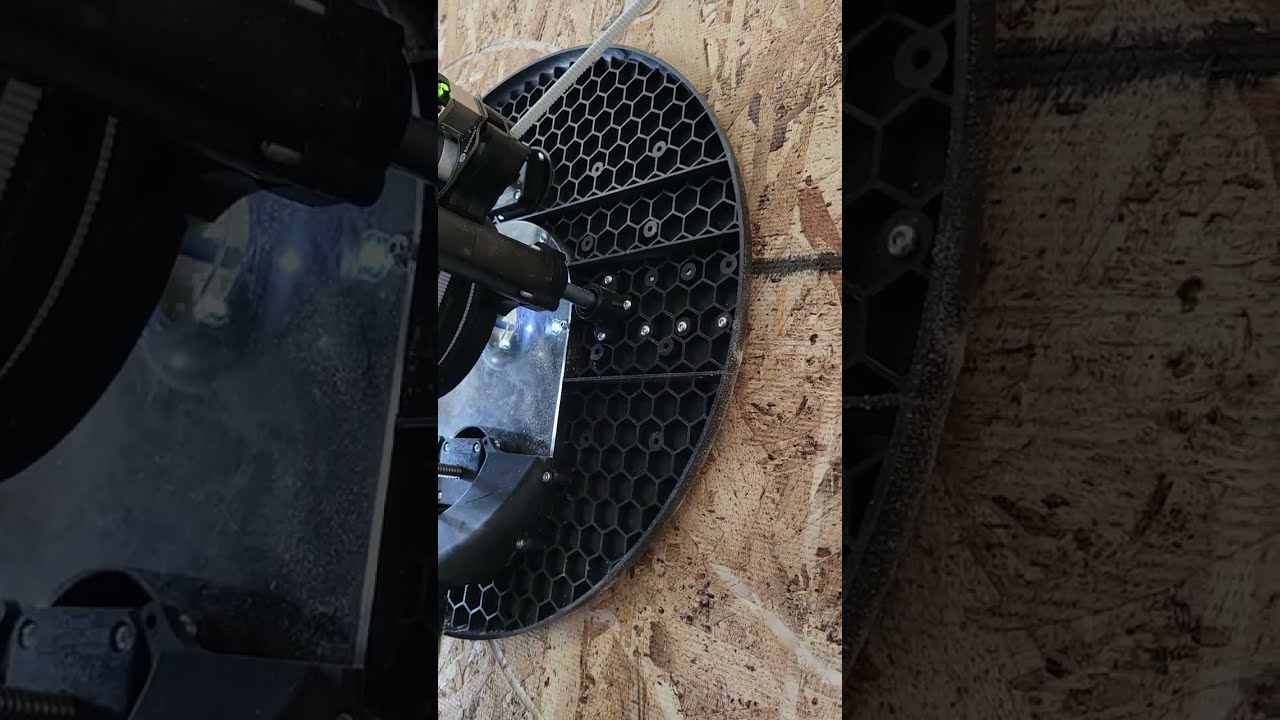
I think that there is still one bug (that I know of) in the new calculations system so use those with caution. I’m going to be working to get those all ironed out and into the main software this week.
The numbers made sense with where my anchors actually are in relation to one another in reality, so I’m hopeful. I will be cautious and probably just cut the spoilboard a very small amount with a v bit to test that things are more or less right now.
An aside / other question… If I understand things correctly, if I unplug or lose power I must retract and extend again, yes?
As I’m digging into it I’m not so sure that the bug that I was seeing actually exists so you might be good to go
That is correct. We can change that behavior down the road if we want to though. Right now when the machine powers up it doesn’t assume anything about it’s position.
I thought that was the case. This may be something to put (provisionally) in the user guide?
When I do put my machine back to 12’ x 8’ (from the 8’ by 8’ I have it now) having to disconnect the thing from the frame becomes pretty onerous; and even now its an exercise in juggling with a vertical frame. I’d hope we could save the current position to non volatile storage somewhere in the long run as keeping the thing on all the time may not be the best thing to have to do.
So here is a question. After we’ve done the extend-all-retract-all once, if you lose power, you should only have to do the retract-all, as long as the belts haven’t been changed in any way, right? It shouldn’t be hard to permanently store the known belt lengths. You could ask the user to verify that they haven’t changed the belts before doing the retract-all. This might allow us to use Roman’s idea of the clamp-on belt stops so we can do this all without removing the Maslow from the frame.
It shouldn’t be hard at all. The issues aren’t technical, it’s more about that if someone isn’t 100% clear on what that button does and they press it it could break the machine. I want to make sure that we get the simplest possible version of things working reliably before we make it more complex.
When I (and many others too I think) suggest things, we’re not saying ‘fix this now!’, we’re just tossing ideas out for consideration some day, and having a little speculative fun besides.
We all really appreciate the hard work you and your crew are putting into this. It’s really fun to be part of the process.
I think it’s a great idea and I didn’t want you to think I was ignoring it.
I am also 200% supportive of creating and posting alternative firmware version which might have some features sooner than the main branch. That way we can explore and get feedback on a lot of different ideas faster.
As to my calibration, I did a shallow 100mm square cut and it measured exactly 100mm in both directions! Small victory, but next I will try a square nearer the outside edges next, then a circle inside it. I’ll need to get my vacuum hooked up to give that one a try, though
Not sure whether to start a new topic or not, but the larger square had some challenges:
I was driving the software wrong, and moved it to the lower right (-500,-500), then started my cut (I forgot to re-home there)… so the maslow started heading to 1500, 0. I hit stop and it did not stop. I frantically hit stop… still no stop. I had to run over and pull the plug, so lost any log I may have had of this. I did notice that it was logging that the alarm had happened over and over, but it was not stopping.
I’ll find a way to post the video to youtube in a bit for this one; I recorded it. First, I re-set (retract all off the frame, extend all, back on the frame, take slack… move to the start (-500,-500) hit home this time! Set bit depth again, set home on Z. Then I started the cut, which first positions to 1000,0 then goes around the square clockwise. All was great along the bottom. then it started climbing up the left side and the sled was skipping dramatically . then when it got to the top and turned right and engaged again. Good cut also on the right side. Also good news is the distance / straightness was fine. the left side (upward movement) was the only issue with that cut.
I forgot I had set the jog distance to 500 and hit the button to jog a few times to reposition it, realized my error and and hit stop again. This time it did stop and started console logging that stop was triggered over and over. I will leave it there for now; enough excitement for one day
Not perfect, but it sounds like we’re making progress to me
I 100% do not trust the software stop button.
I tried to make the stop more reliable, but I think that software stop is never going to be as reliable in an emergency as the bit red button that cuts the power
with the original maslow, this is what we typically would see when there was too
much friction between the sled and the workpiece, and made worse when the chains
were too high on the sled. If you have a shorter bit (or can chuck it shorter in
the collet), you may be able to lower the point at which the belts are pulling
and get less of the nose of the sled digging in.
OSB is especially bad for the sled not wanting to slide.
With the older version, some people would get slippery tape (designed for
drawers or to make furniture able to slide better) and put it on the bottom of
the sled to improve it.
with the wood sled, some people also waxed it. I don’t know how that would work
on the plastic sled.
I’ll bet it would work great. We wax skis, and plastic parts on automobiles, so why not? Plus I’ll bet the GF reinforced PC is not very slippery. I’ve been wondering if when I get mine, I may want to glue on a piece of laminate to the bottom of the sled, to create a smooth surface that is easy to wax.
In Ron’s video I hear what seems to be RPM frequency changing (slightly) under load. See 2:21 timestamp. I am just pointing that out since the Dewalt router should maintain RPM under load. Maybe I am hearing the frequency change as the mill experiences different OSB strands.

 Small victory, but next I will try a square nearer the outside edges next, then a circle inside it. I’ll need to get my vacuum hooked up to give that one a try, though