@bar Thanks man, I think I’m nearly done!
Have you tinkered with the Makita adapter at all?
It’s a reasonable amount of filament with the support needed and I’d rather not waste it if there are newer versions or if anyone has pointed out flaws.
Could you ask the people on my behalf?
1 Like
I haven’t tinkered with it more yet ![]()
The issue that I was having was that the filament is pretty slippery and the side of the router is slippery too so it was hard to make it not spin around the router. I think that a bit of double sided tape in there might take care of that issue, but I haven’t confirmed it experimentally.
1 Like
I’ve built most of the 4.1 kit and I’m now at the stage where I need to sort out a router. I’m having trouble sourcing the DeWalt D26200 at a reasonable price and read that it has been discontinued, so I’ve been looking at alternatives. The Makita gets mentioned quite often, and I’ve seen there’s already an adapter modelled for it, which makes it seem like a solid option?
Can someone confirm the exact model number of the Makita that works best with the Maslow kit? I want to make sure I get the right one. Appreciate any advice.
1 Like
I would go with a spindle, lookup the thread router-b-gone
David Lang
1 Like
Shazam! I received my 4.1 box, in good condition, about mid-day Friday at my home in Marysville, WA (a bit north of Seattle). So, I’d expect to see some other reports Real Soon Now…
Given that I’m located near Seattle, getting down to Smith Tower for a build session wouldn’t be all that difficult. @bar, would you like me to start flailing about here or wander down there so that you can look things over, etc?
1 Like
Hi I’m assembling the thing and figuring how to use it with a Makita.
First, The Makita body is shorter than the space dedicated in the maslow. It should work but the tool changing could be a little bit harder.
Second I bought a cheaper Makita copy in order to assign it to the maslow, unfortunately it appears to be even shorter than the original so it’ll be impossible to reach the shaft blocking button.
It is a little too early to test the whole thing but it seems possible to make it work, I made a sleeve out of a PVC pipe in order to compensate the difference of diameter. hope the PVC will resist the heat.
I’ll try to post more info as I progress, but fort he next two weeks I’ll be to busy to manage time to play with my maslow.
1 Like
I’ve not done much since almost completing my build due to work, and I’ve not printed the Makita adaptor but this looks like it might be an issue?


2 Likes
The adaptor makes up the extra (Print it,it will fit)
2 Likes
Thanks, good to know
1 Like
I’m pretty slammed at the moment trying to make sure everyone gets their kits before the tariffs kick in (I don’t want anyone to get a $700 bill on arrival, that would be a huge bummer) so it might be a little bit before I’m ready to host the build party ![]()
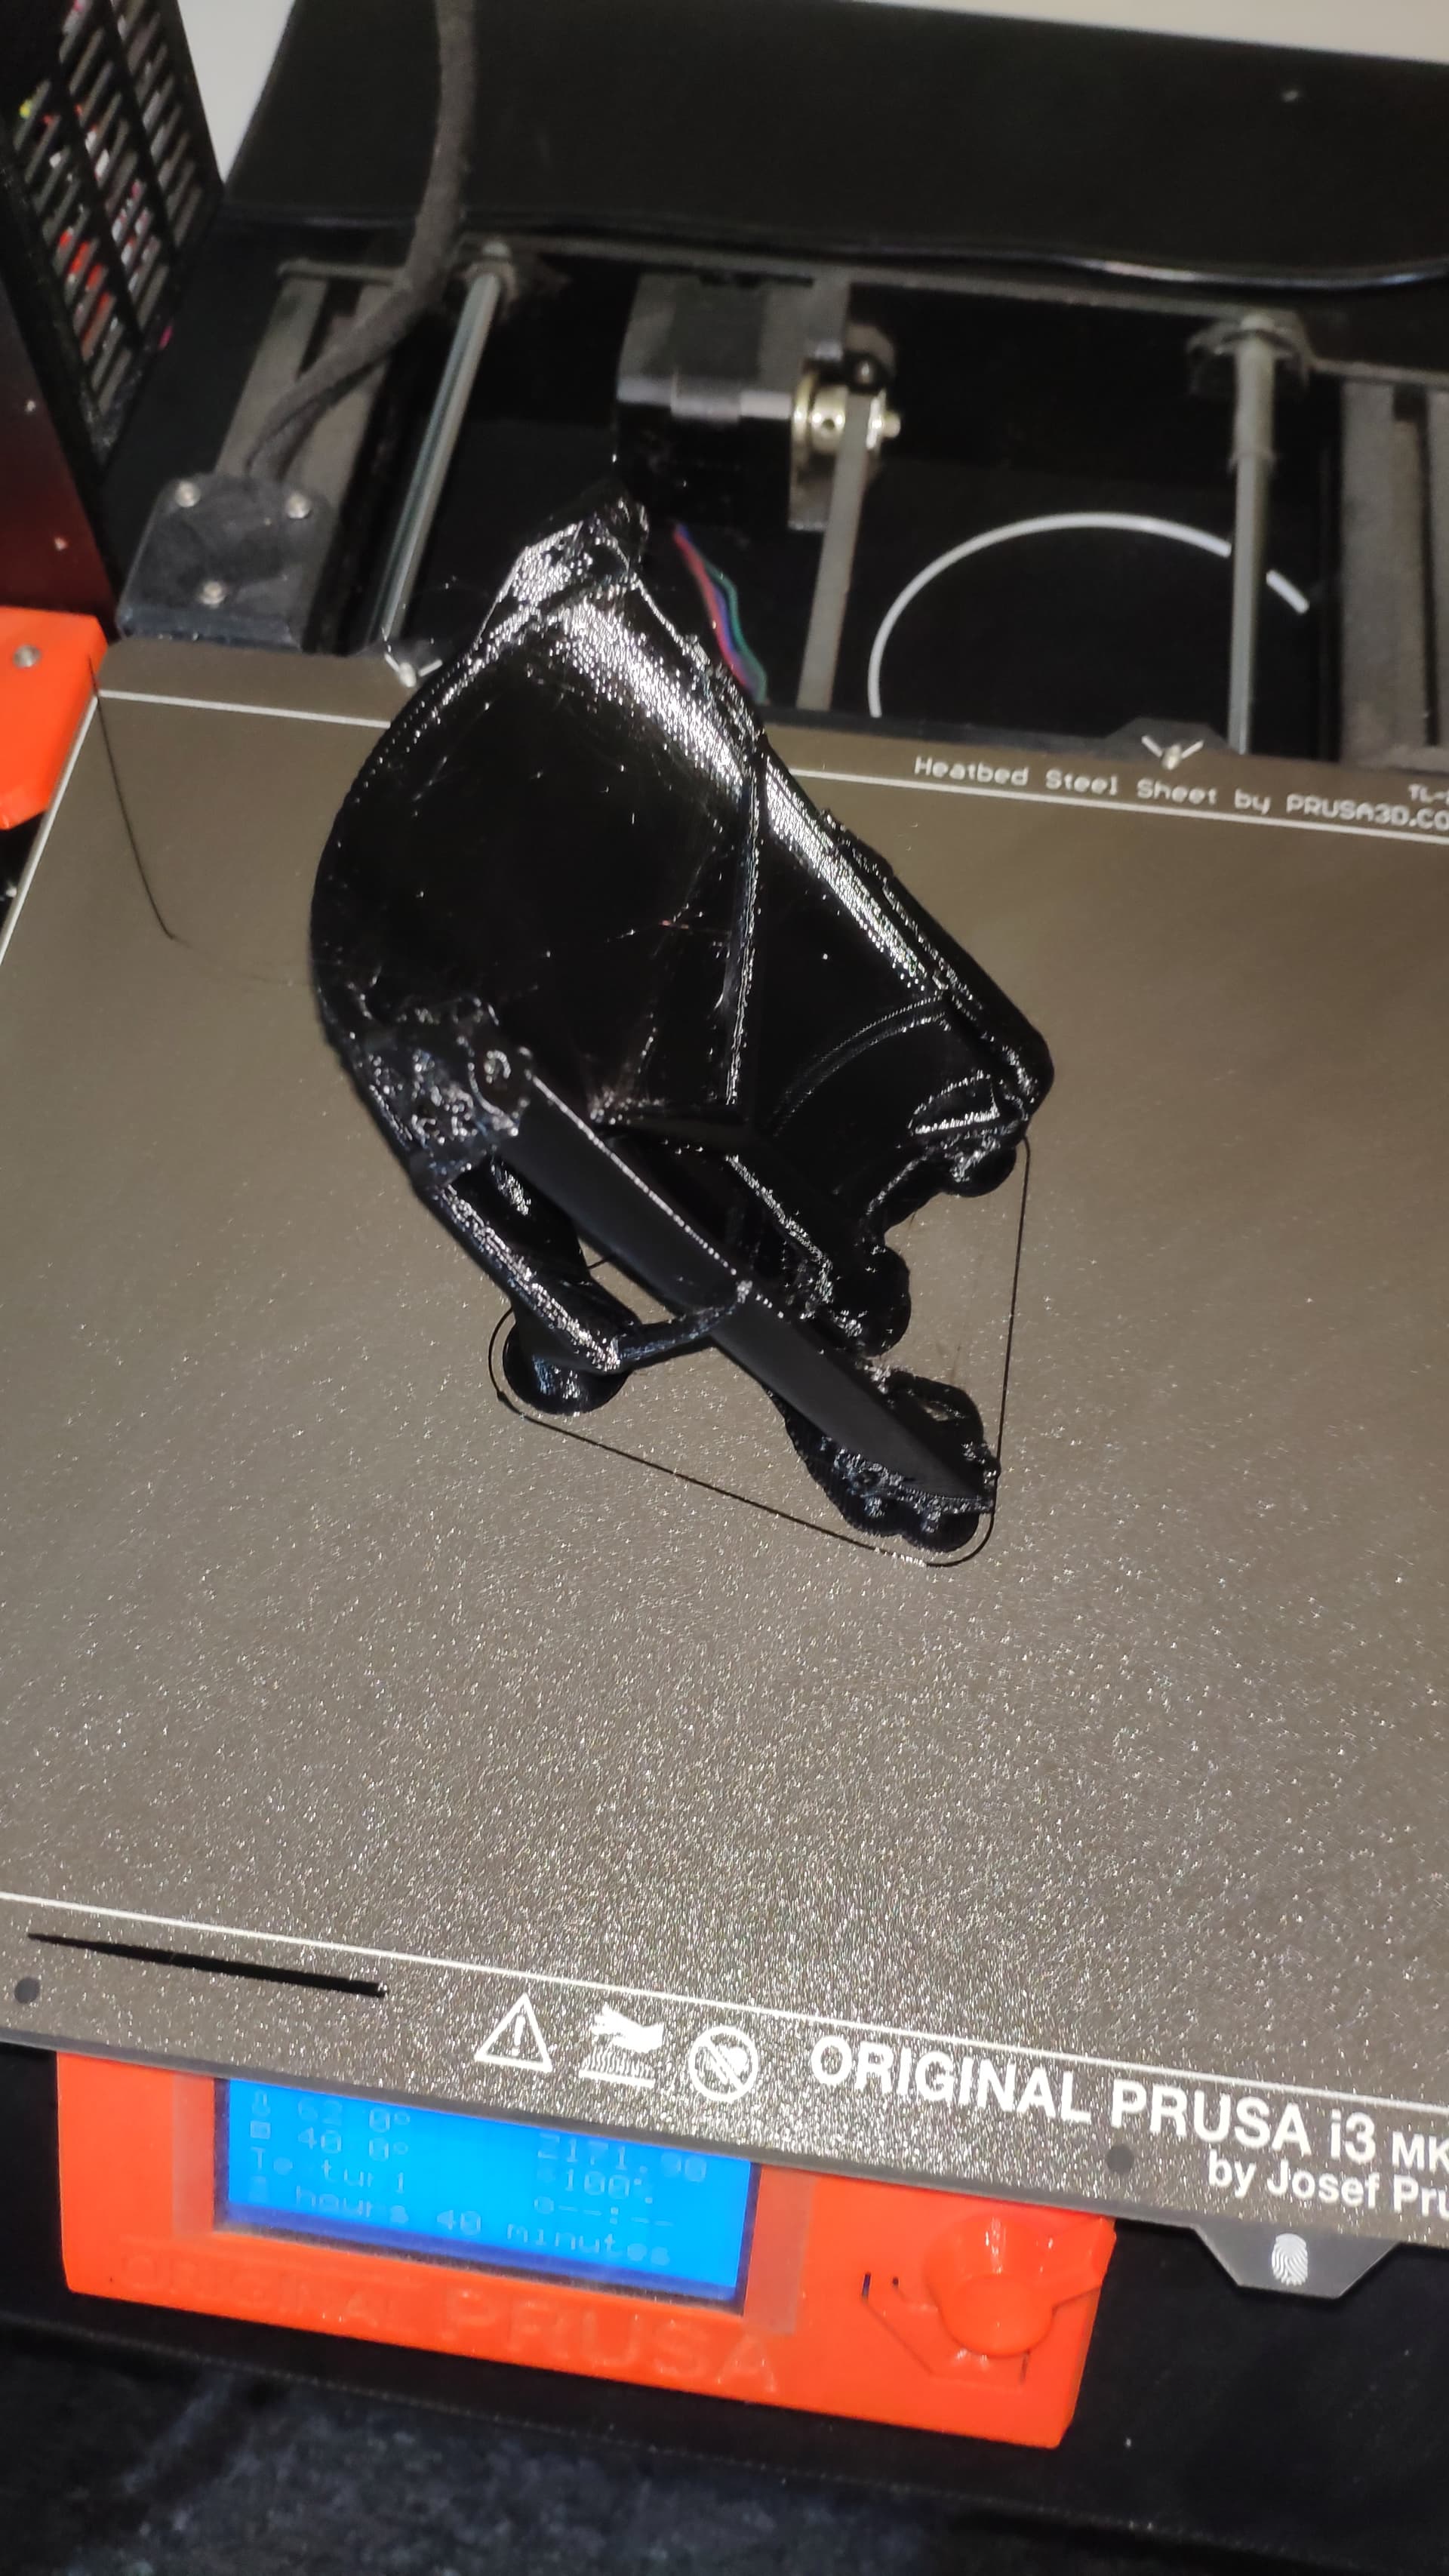
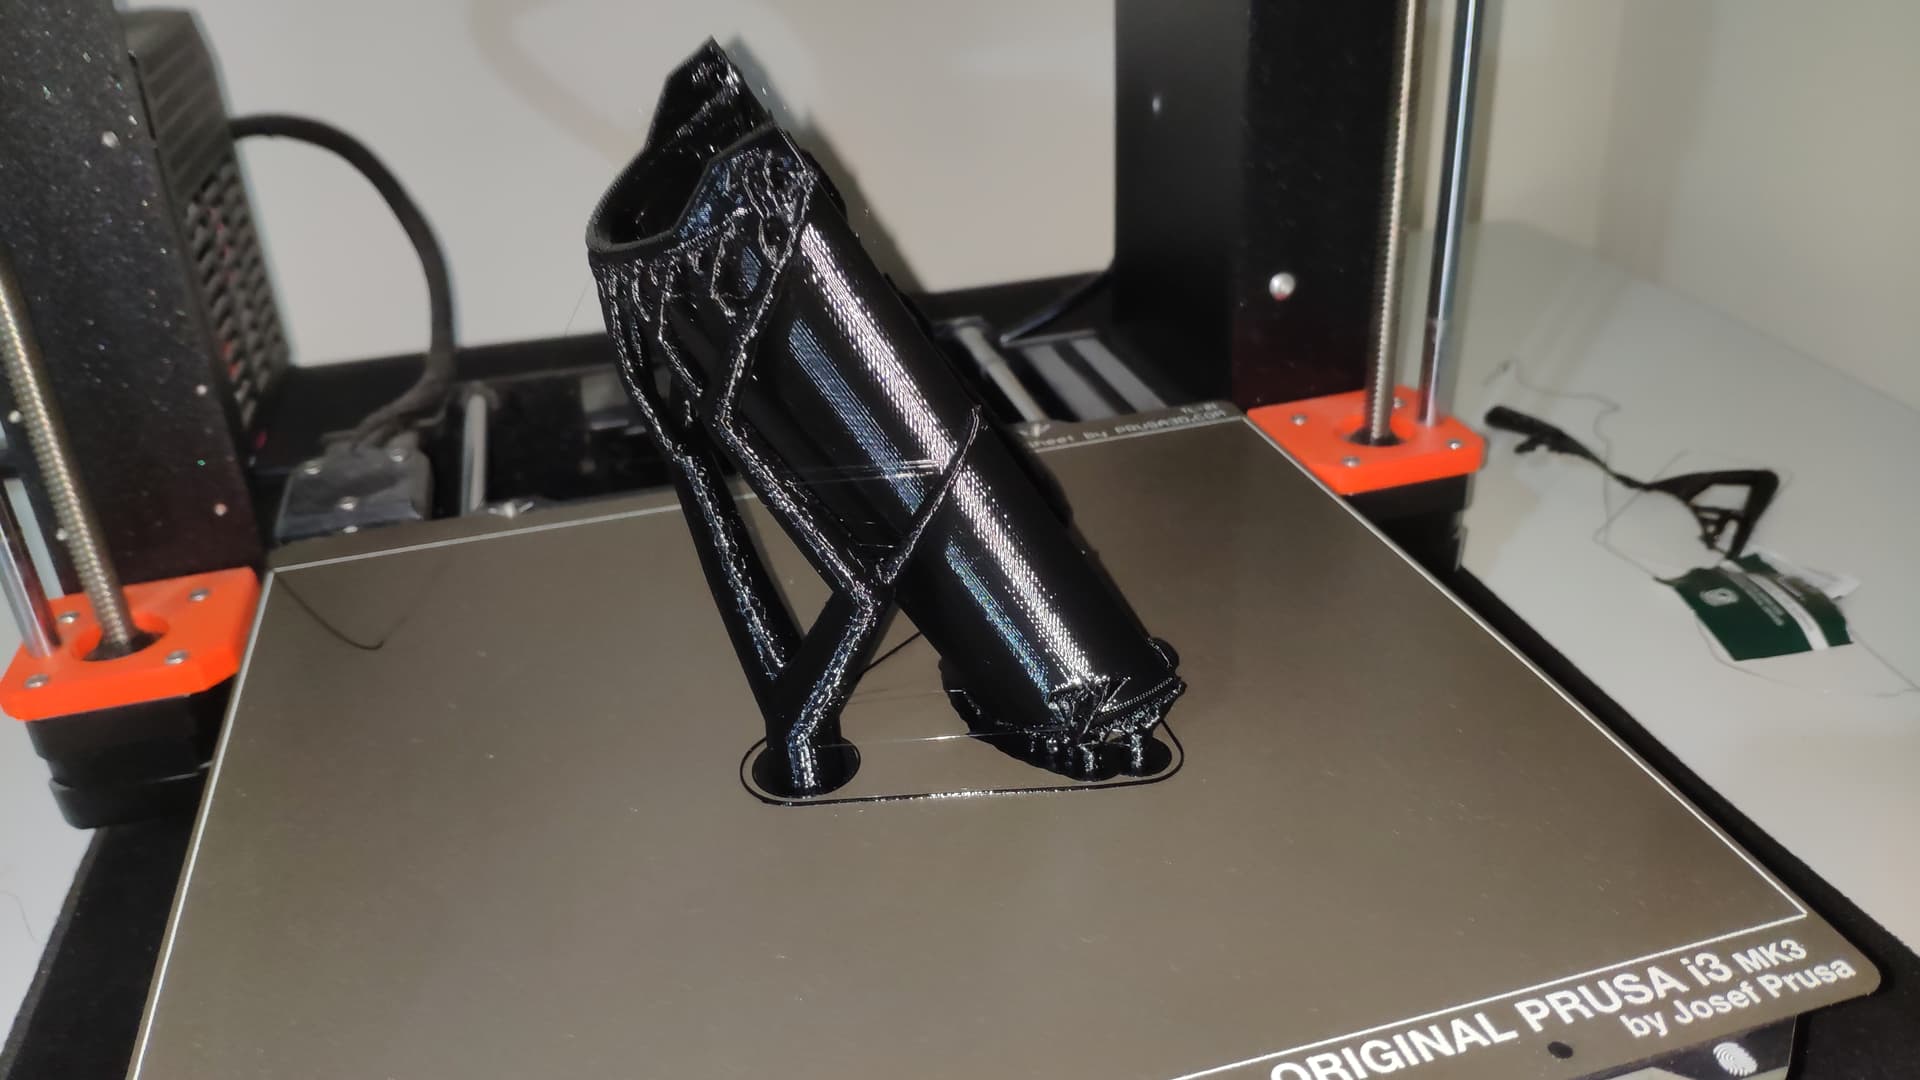
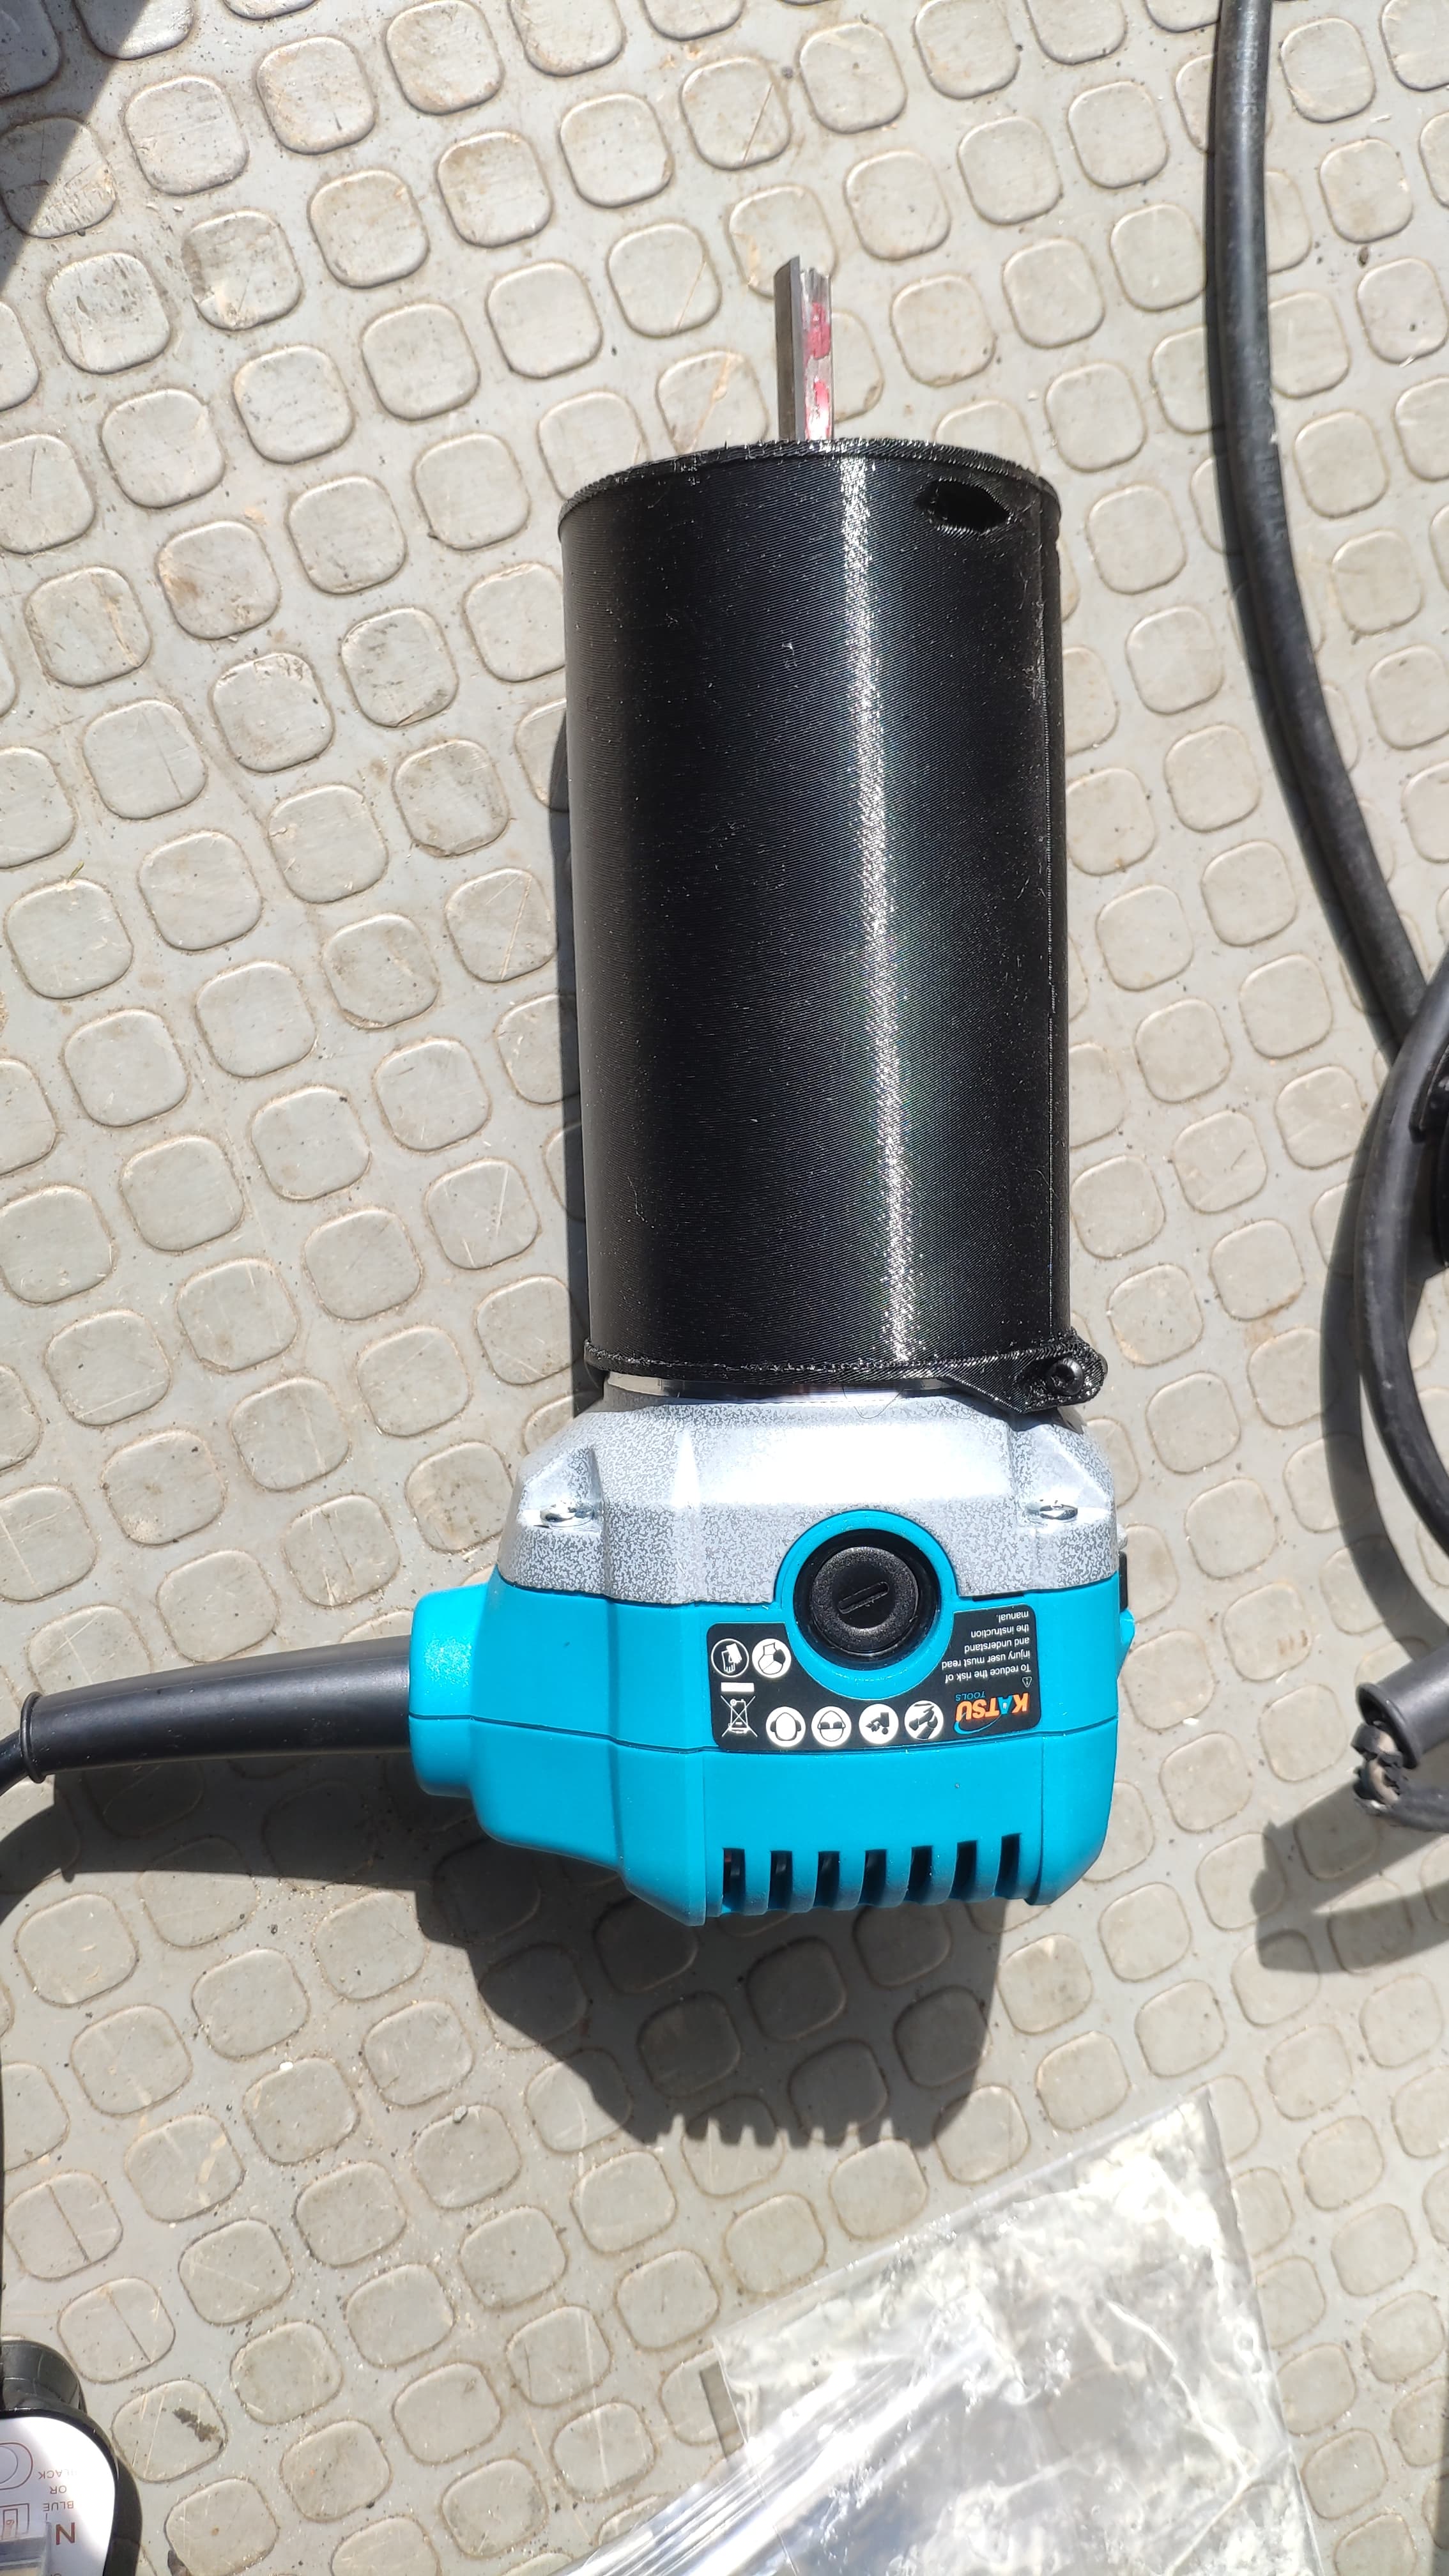
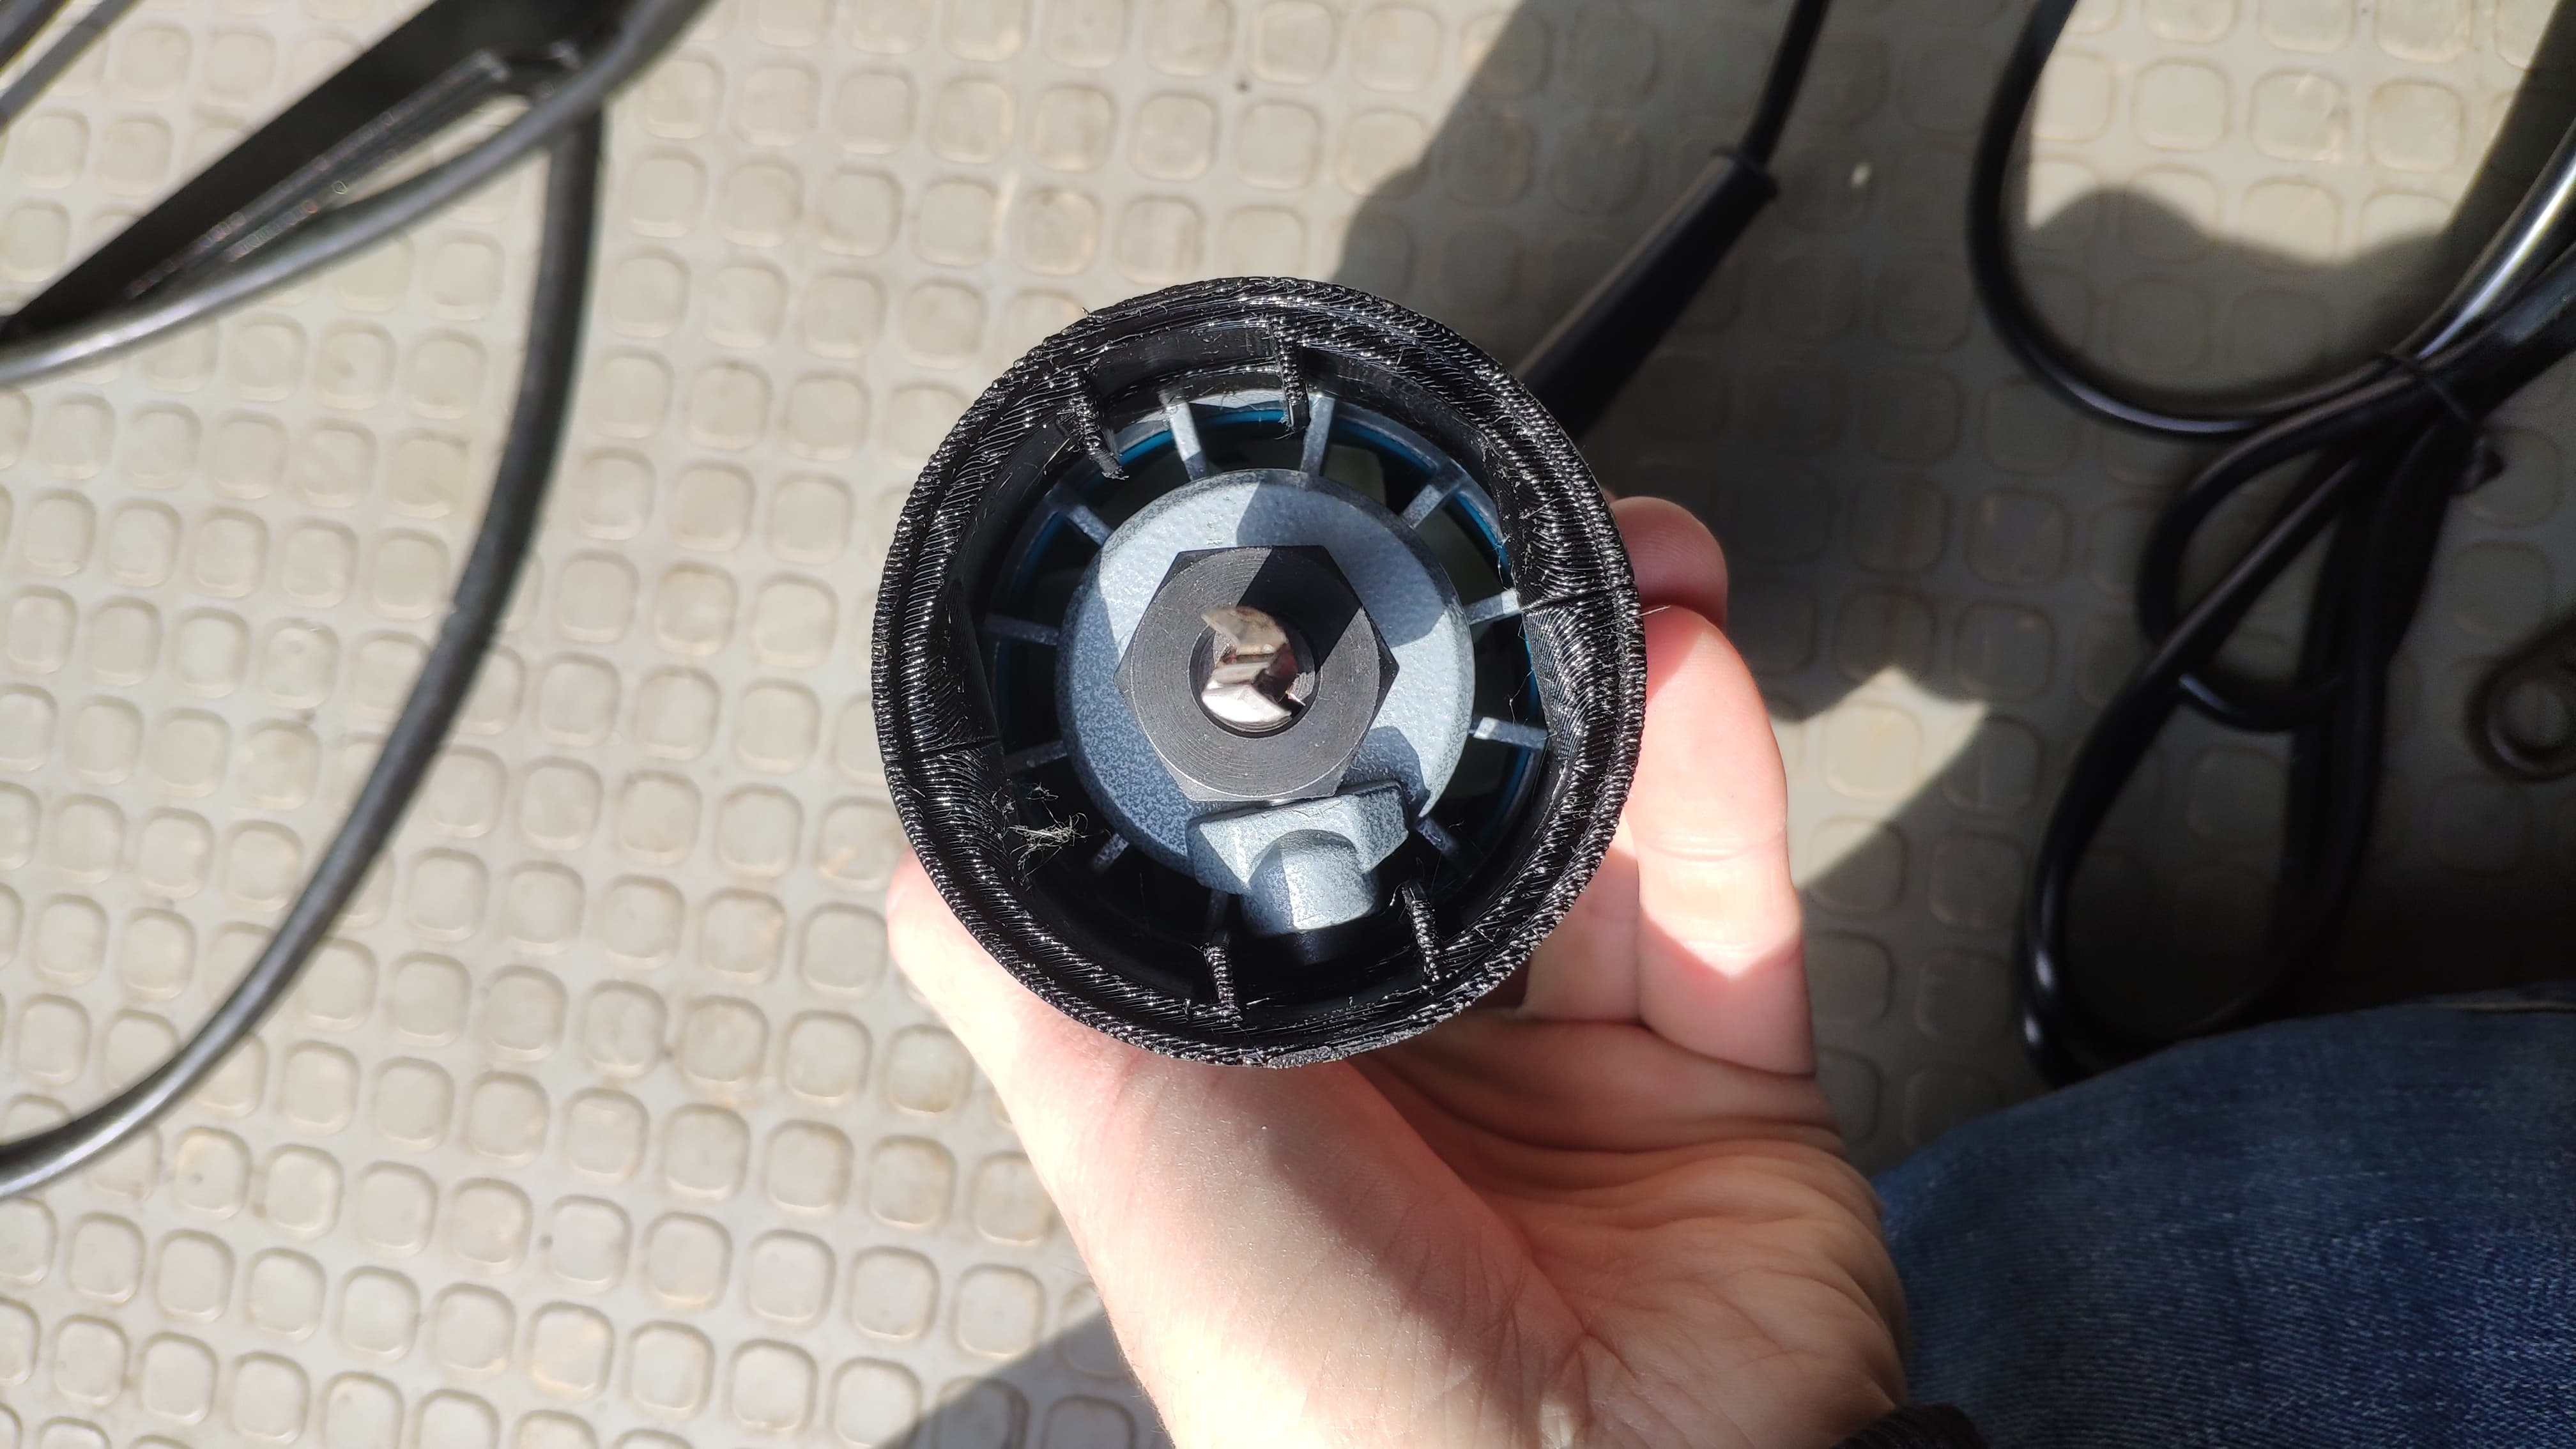
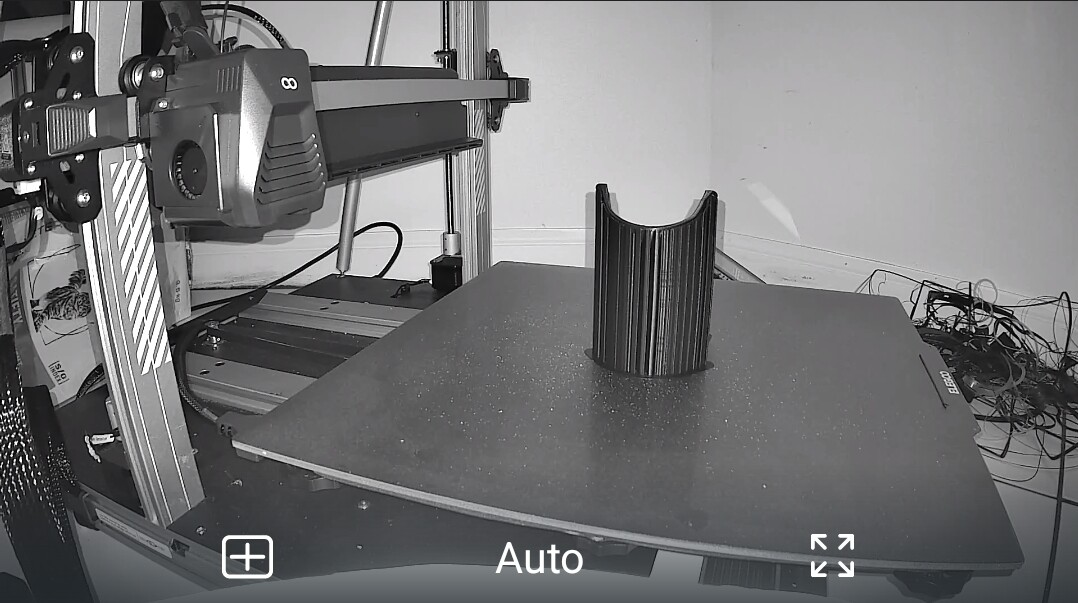
I ended up getting the Makita copy (KATSU) last week. I printed the adapter that Bar provided, and it fits really well. It does increase the length of the router, which I’m guessing is why you need to print it at an angle—to increase the strength so the extension doesn’t shear off. I finished my assembly and am now at the stage of thinking about a frame/anchors.
The router came with a locking spindle button and two spanners. I fitted my cutting bit before assembly, but I can still get the spanners in at an angle to (hopefully) change the tool.

1 Like
Nice, thanks for that.
I actually printed one a couple of days ago but haven’t been able to get to it.
1 Like
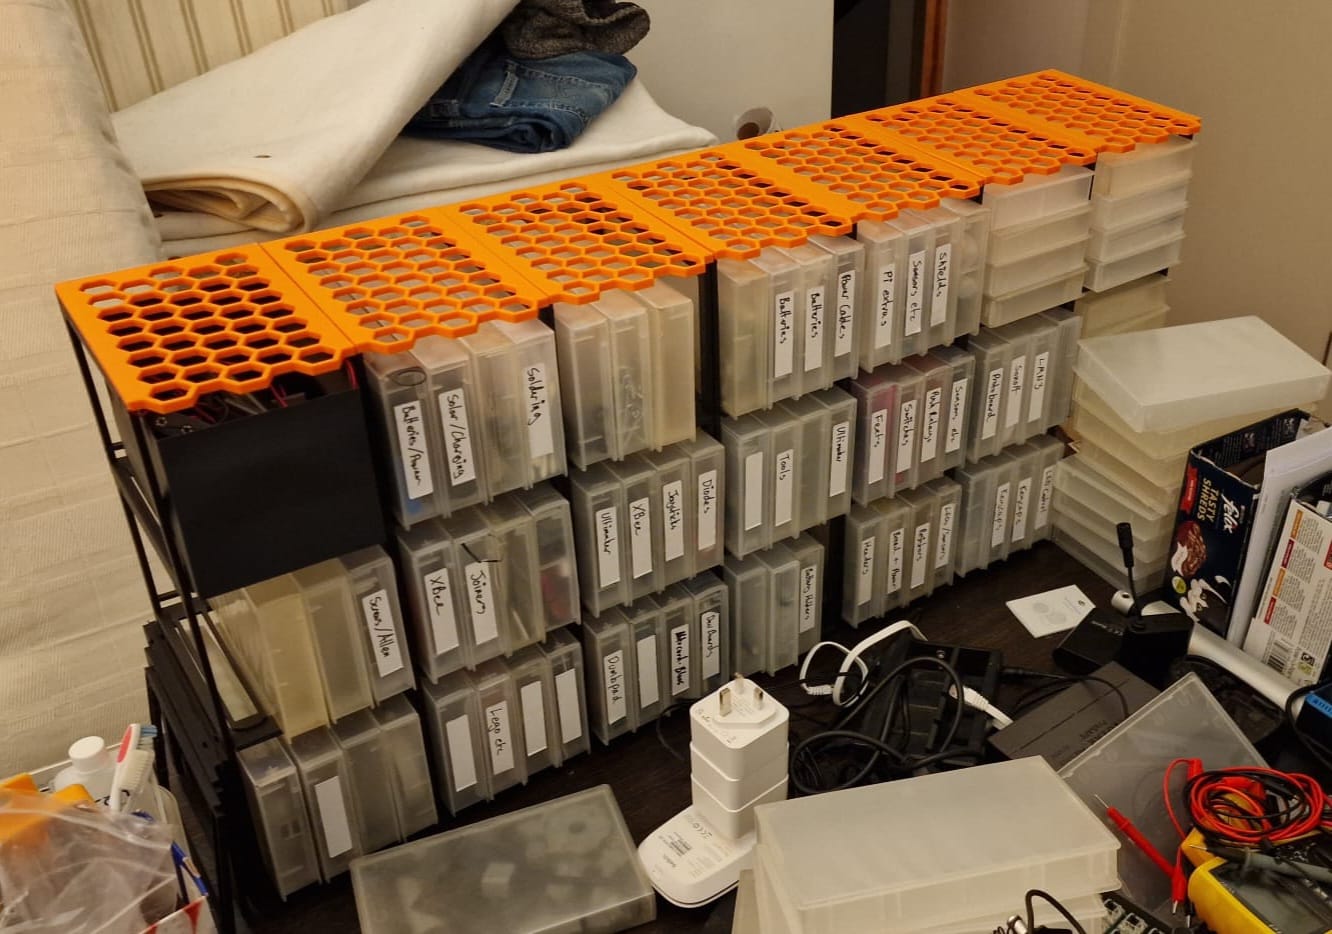
Upcycled VHS tape holders? Now I wish I hadn’t let mine go with the tapes in our garage sale ten years ago. ![]()
Going to post this assembly trick we figured out last night putting the arms together. If we have problems getting the nut and bolt to start, place another lock nut over the other, making sure they are on the bench-side, and push down when tightening from above. The extra pressure on the double nut worked every time.
To note, I didn’t pre-bolt every (any) nut, but tapped them in with a ball end Allen wrench and a nylon head hammer I use from my armorer kit.
1 Like