Maslow Home
Abundance
Maslow CNC Forums
Metal Top Pantograph kit available
Technical Details
WoodCutter4
December 18, 2018, 10:50pm
136
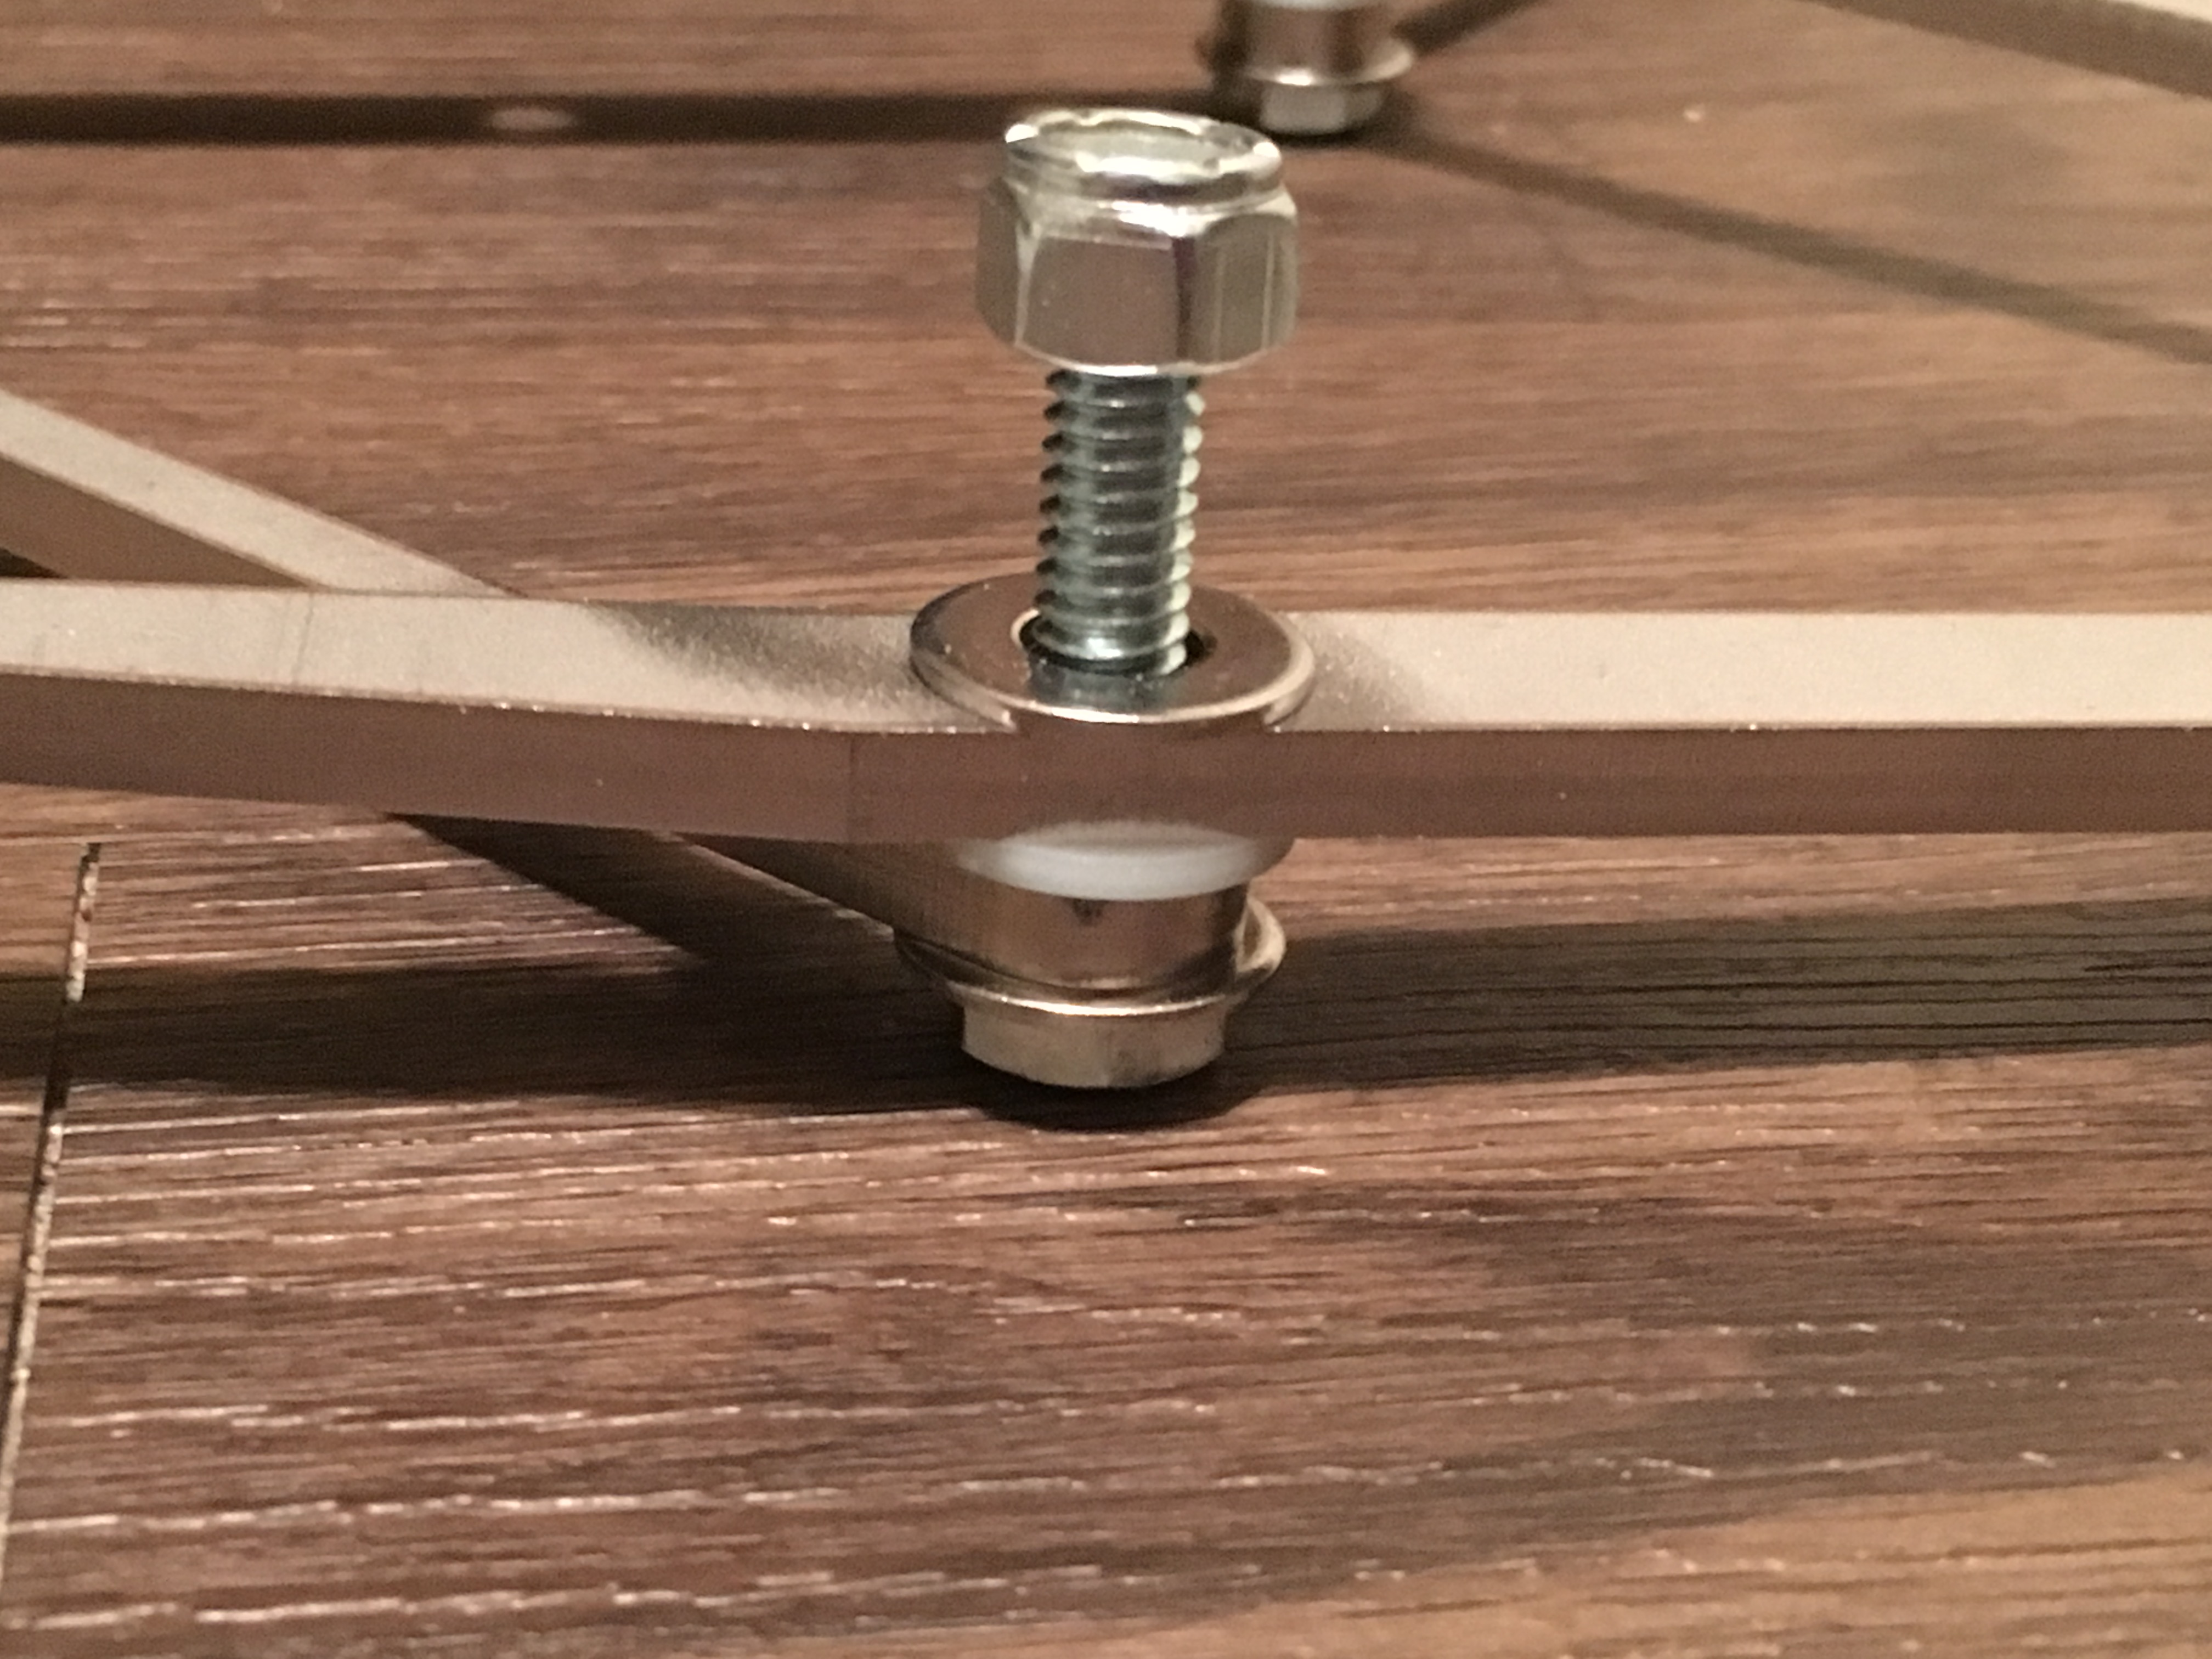
Okay, like this:
541C7F5E-B01E-434D-8947-8D781F37C066.jpeg
4032×3024 2 MB
1792E257-BBB4-4FD8-8557-E0E59664213A.jpeg
4032×3024 1.67 MB
6E6AD358-FBAC-40C5-86C8-C8CC034502FB.jpeg
4032×3024 2.03 MB
12900F81-3909-4F02-B086-24D8B59CDBAB.jpeg
4032×3024 1.21 MB
25D5FE1F-9657-45D1-9296-861063BEDB50.jpeg
4032×3024 1.31 MB
Maslow triangulation linkage kit
show post in topic
Related topics
Topic
Replies
Views
Activity
Can we switch to a linkage arrangement with the next shipment of maslows?
Hardware
37
2642
December 15, 2017
Throwing my hat in the sled modification ring
Technical Details
783
42823
July 12, 2019
Linkage kits are now available! :tada:
Technical Details
94
11125
September 21, 2018
Parallelogram chain
Technical Details
16
1979
June 1, 2018
Ring Sled Design Discussion
Technical Details
76
7771
January 10, 2018