I just finished building the frame, installing the hardware and cutting the final sled.
Here is my failures, set backs and observations
I built the default frame. Didn’t have much of a problem.
It might be easier to have the part names and measurements added to the picture of the frame.
I am feet and inches type of person. That is just me.
The hardware install.
It would be helpful to number the bags of screws.
Another thing it might be nice is have a hardware list.
I lost a couple of screws and the set screw for zdrive.
With a hardware list it would be easier to replace.
It would be nice to have the sled build and z build together.
Electronics.
They need to cover the power connection on the Arduino. I plugged the power in to it. The servo motors didn’t work. Thought it was fried.
The final sled ordeal
I had lots of problems.
1> used the wrong bit. I got 1/8 bit really a pain. Something wasn’t lined up right on the temporary sled. I broke 2 bits and had 3 come out of the collet.
2> the screw came out of the zdrive coupler. The bit never lifted.
3> z zero not set right. Did not know i could set on ground control home screen.
4> 1/8 bit dosen’t have enough length to cut 3/4 plywood.
5> I couldn’t get it to cut all the way thru. Had to cut with a jig saw and drill through the holes.
The problems I had. I just about gave up. Thought it was POS.
But l learned alot. How to use ground control.
My recommendations
Building the frame.
1)have the part names and measurements on the photo diagram.
Electronics
- cover hole for power on the Arduino board
Ground control.
- get away from Kivy for windows. Have a really nice notebook can’t use it because of open GL 1.1. Tried everything.
2)distribute an raspberrypi image of a working Kivy that boots in without a password. So you just have to copy it to a micosd card and go. I tried everything to get kivy to work on the raspberry.
Build instructions and kit
- since the z drive comes with the kits combine the instructions.
2)number the screw bag include it in the instructions.
-
have a parts diagram and hardware list.
-
sell a bag on the website with a few of each of the screws
Cutting the final sled.
- recommend bits
Web site and forums
1)Have a section for tips and tricks. So you can find a solution for a problem without having to search the whole forums
- have a few simple projects for the beginner and new user. Take them thru the whole process. Plans>>>makercam>>>gcode>>>ground control
3)have a thingiverse for cnc routers
That my 2 cent. I hope i didn’t offended anyone. I appreciate everyone hard work on the maslowcnc. You have a good product.
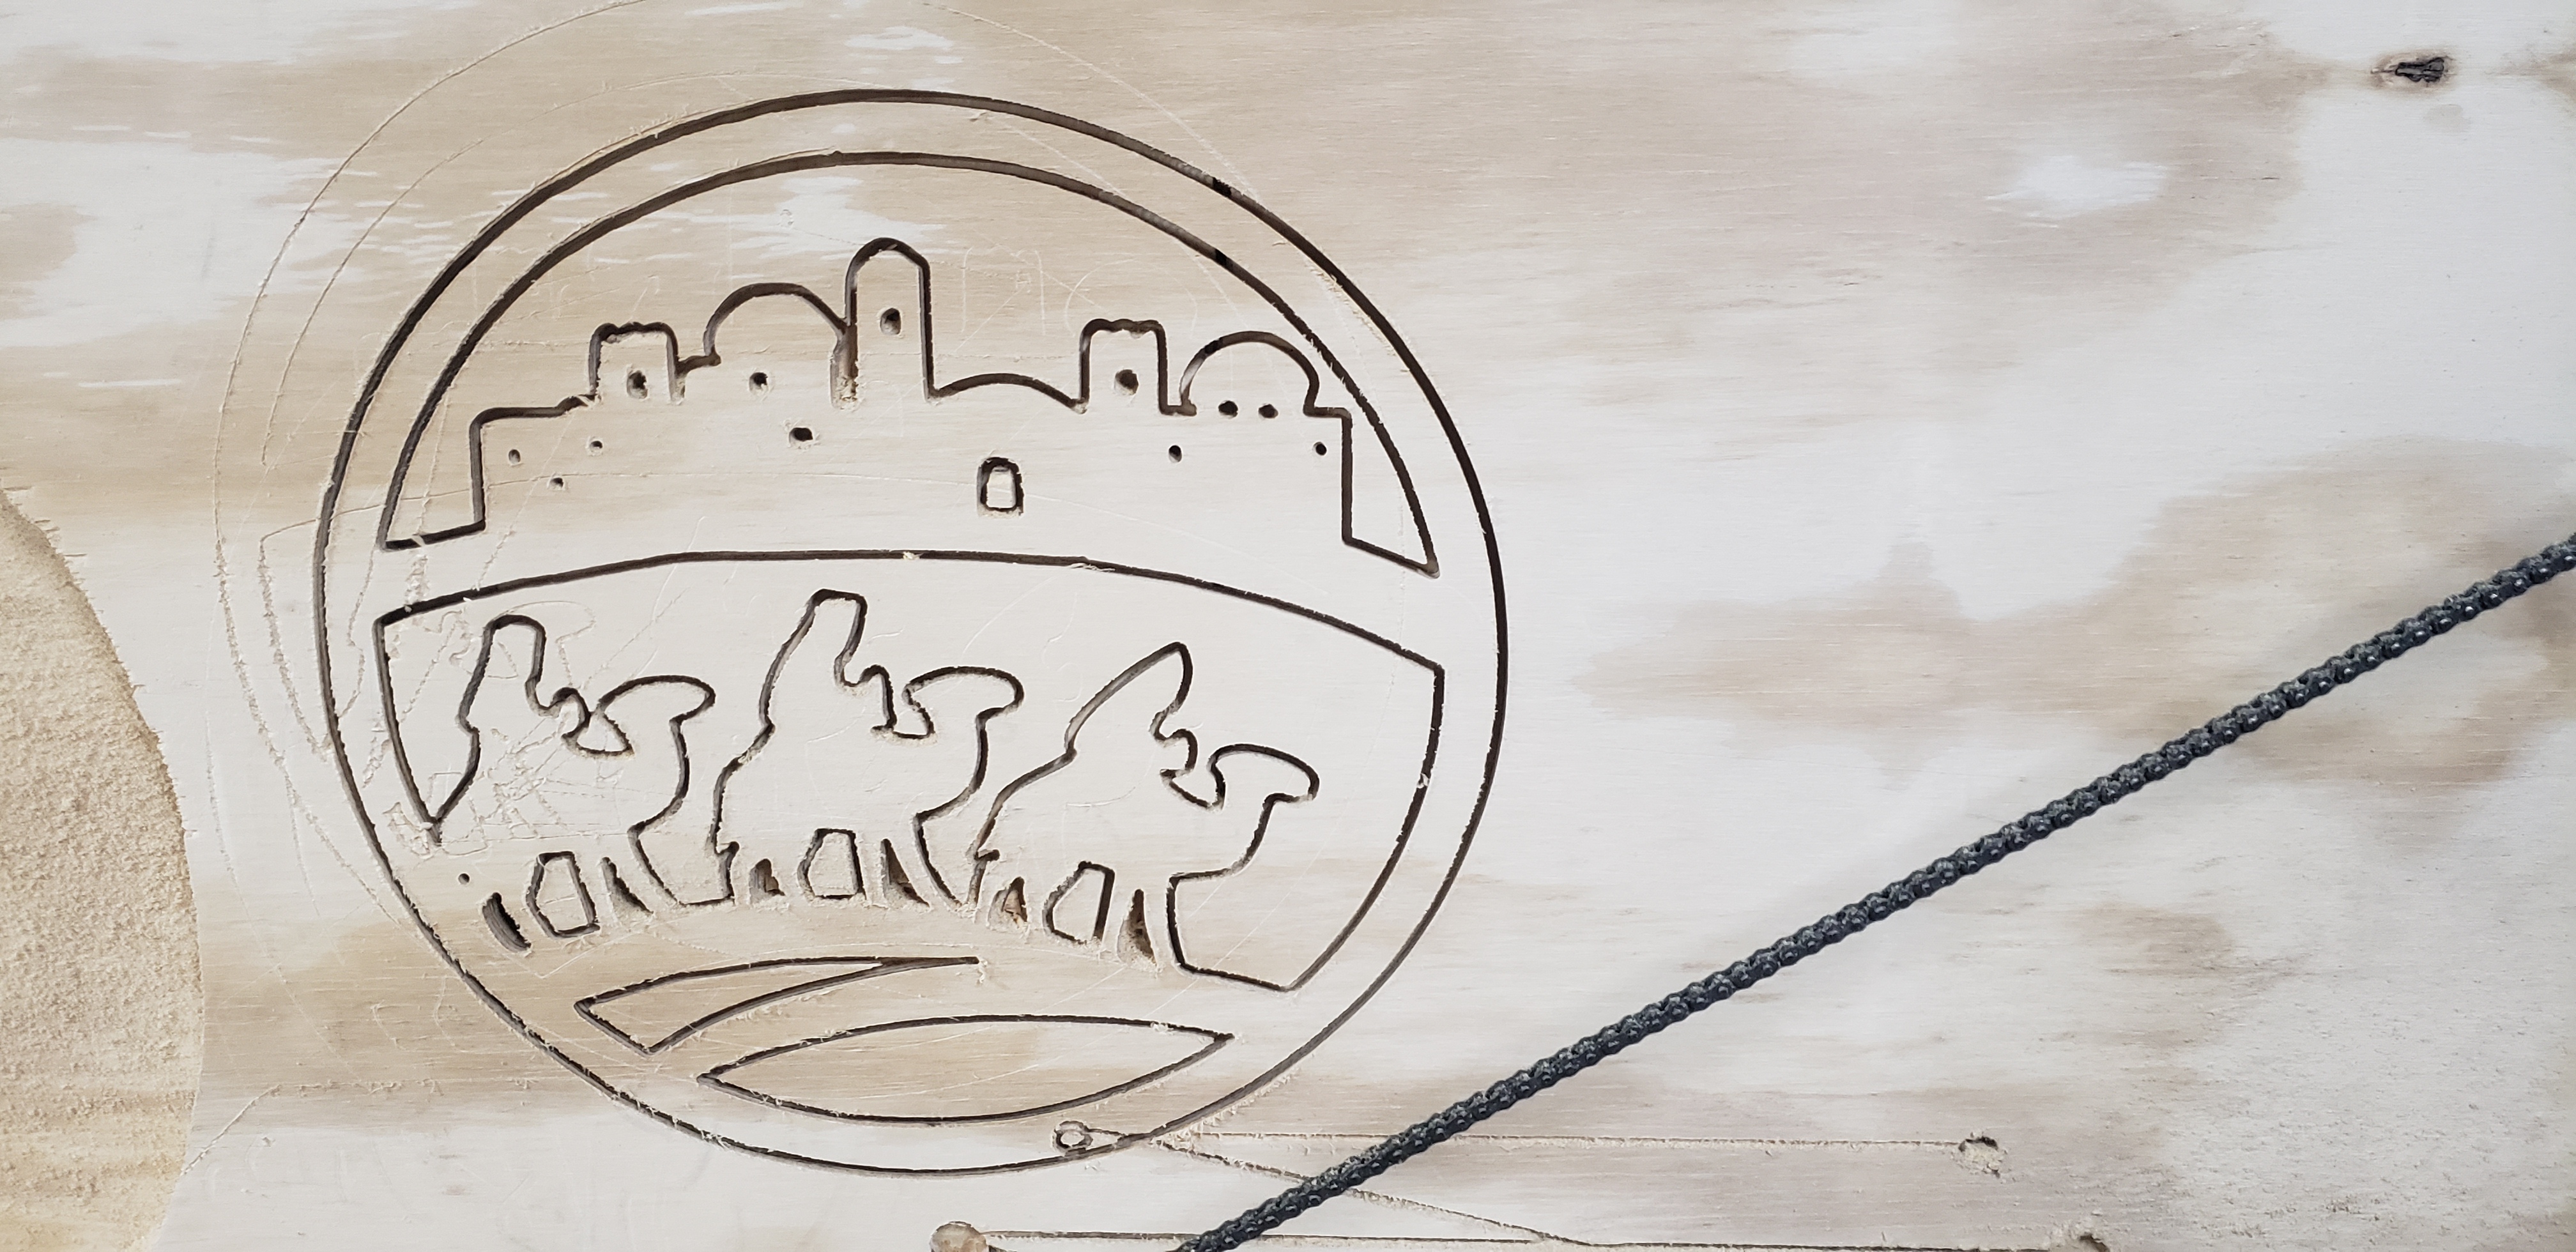
First carving