Hello everyone
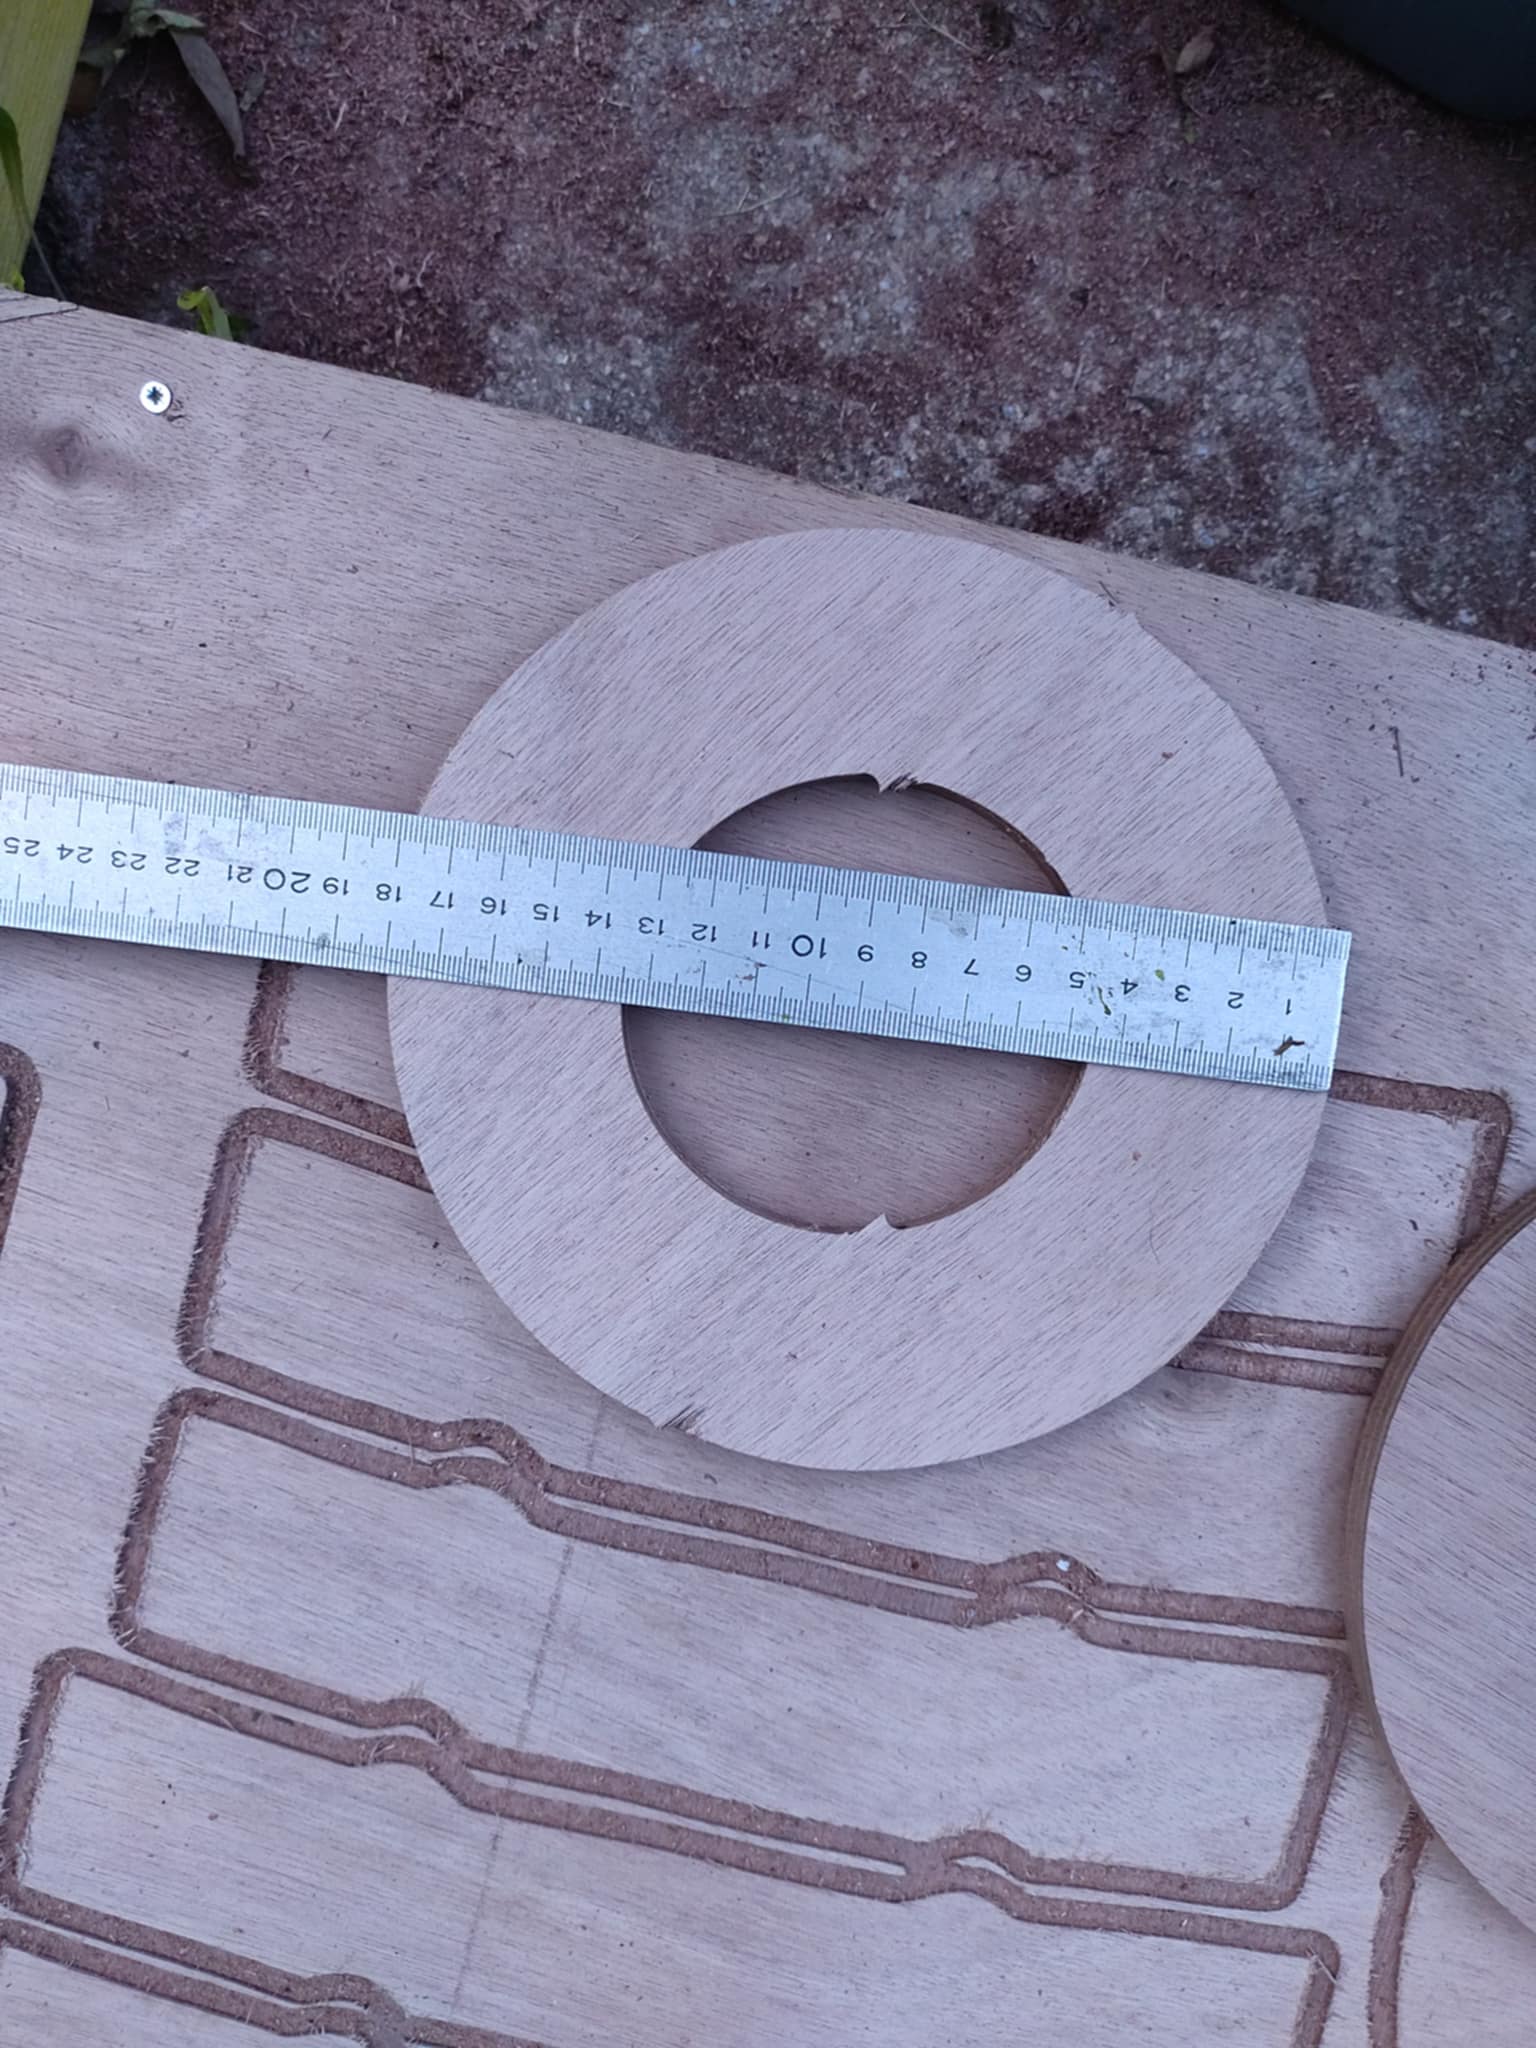
After succeeding to make the maslow ready to cut, I tried to cut a 18cm circle yesterday,it’s not perfect, it’s slightly skewed (±1.5mm) but i was happy with it!
the top of the curve is off centered, i don’t understand how to debug this
I made the path using a circular arc ( the resultinig curve should have a 27mm width, and 6.5mm height, centered)
is this a problem with the diameter of the tool (6mm) being comparable to the height of the curve?
Do you have a picture of the cutout orientation. I’m wondering if maybe some curves in the y direction and some curves are in the x direction - might explain why some are good and some others are not.
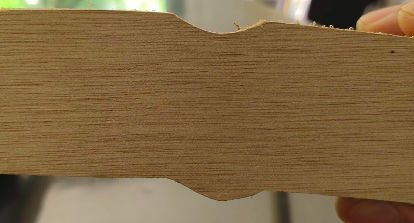
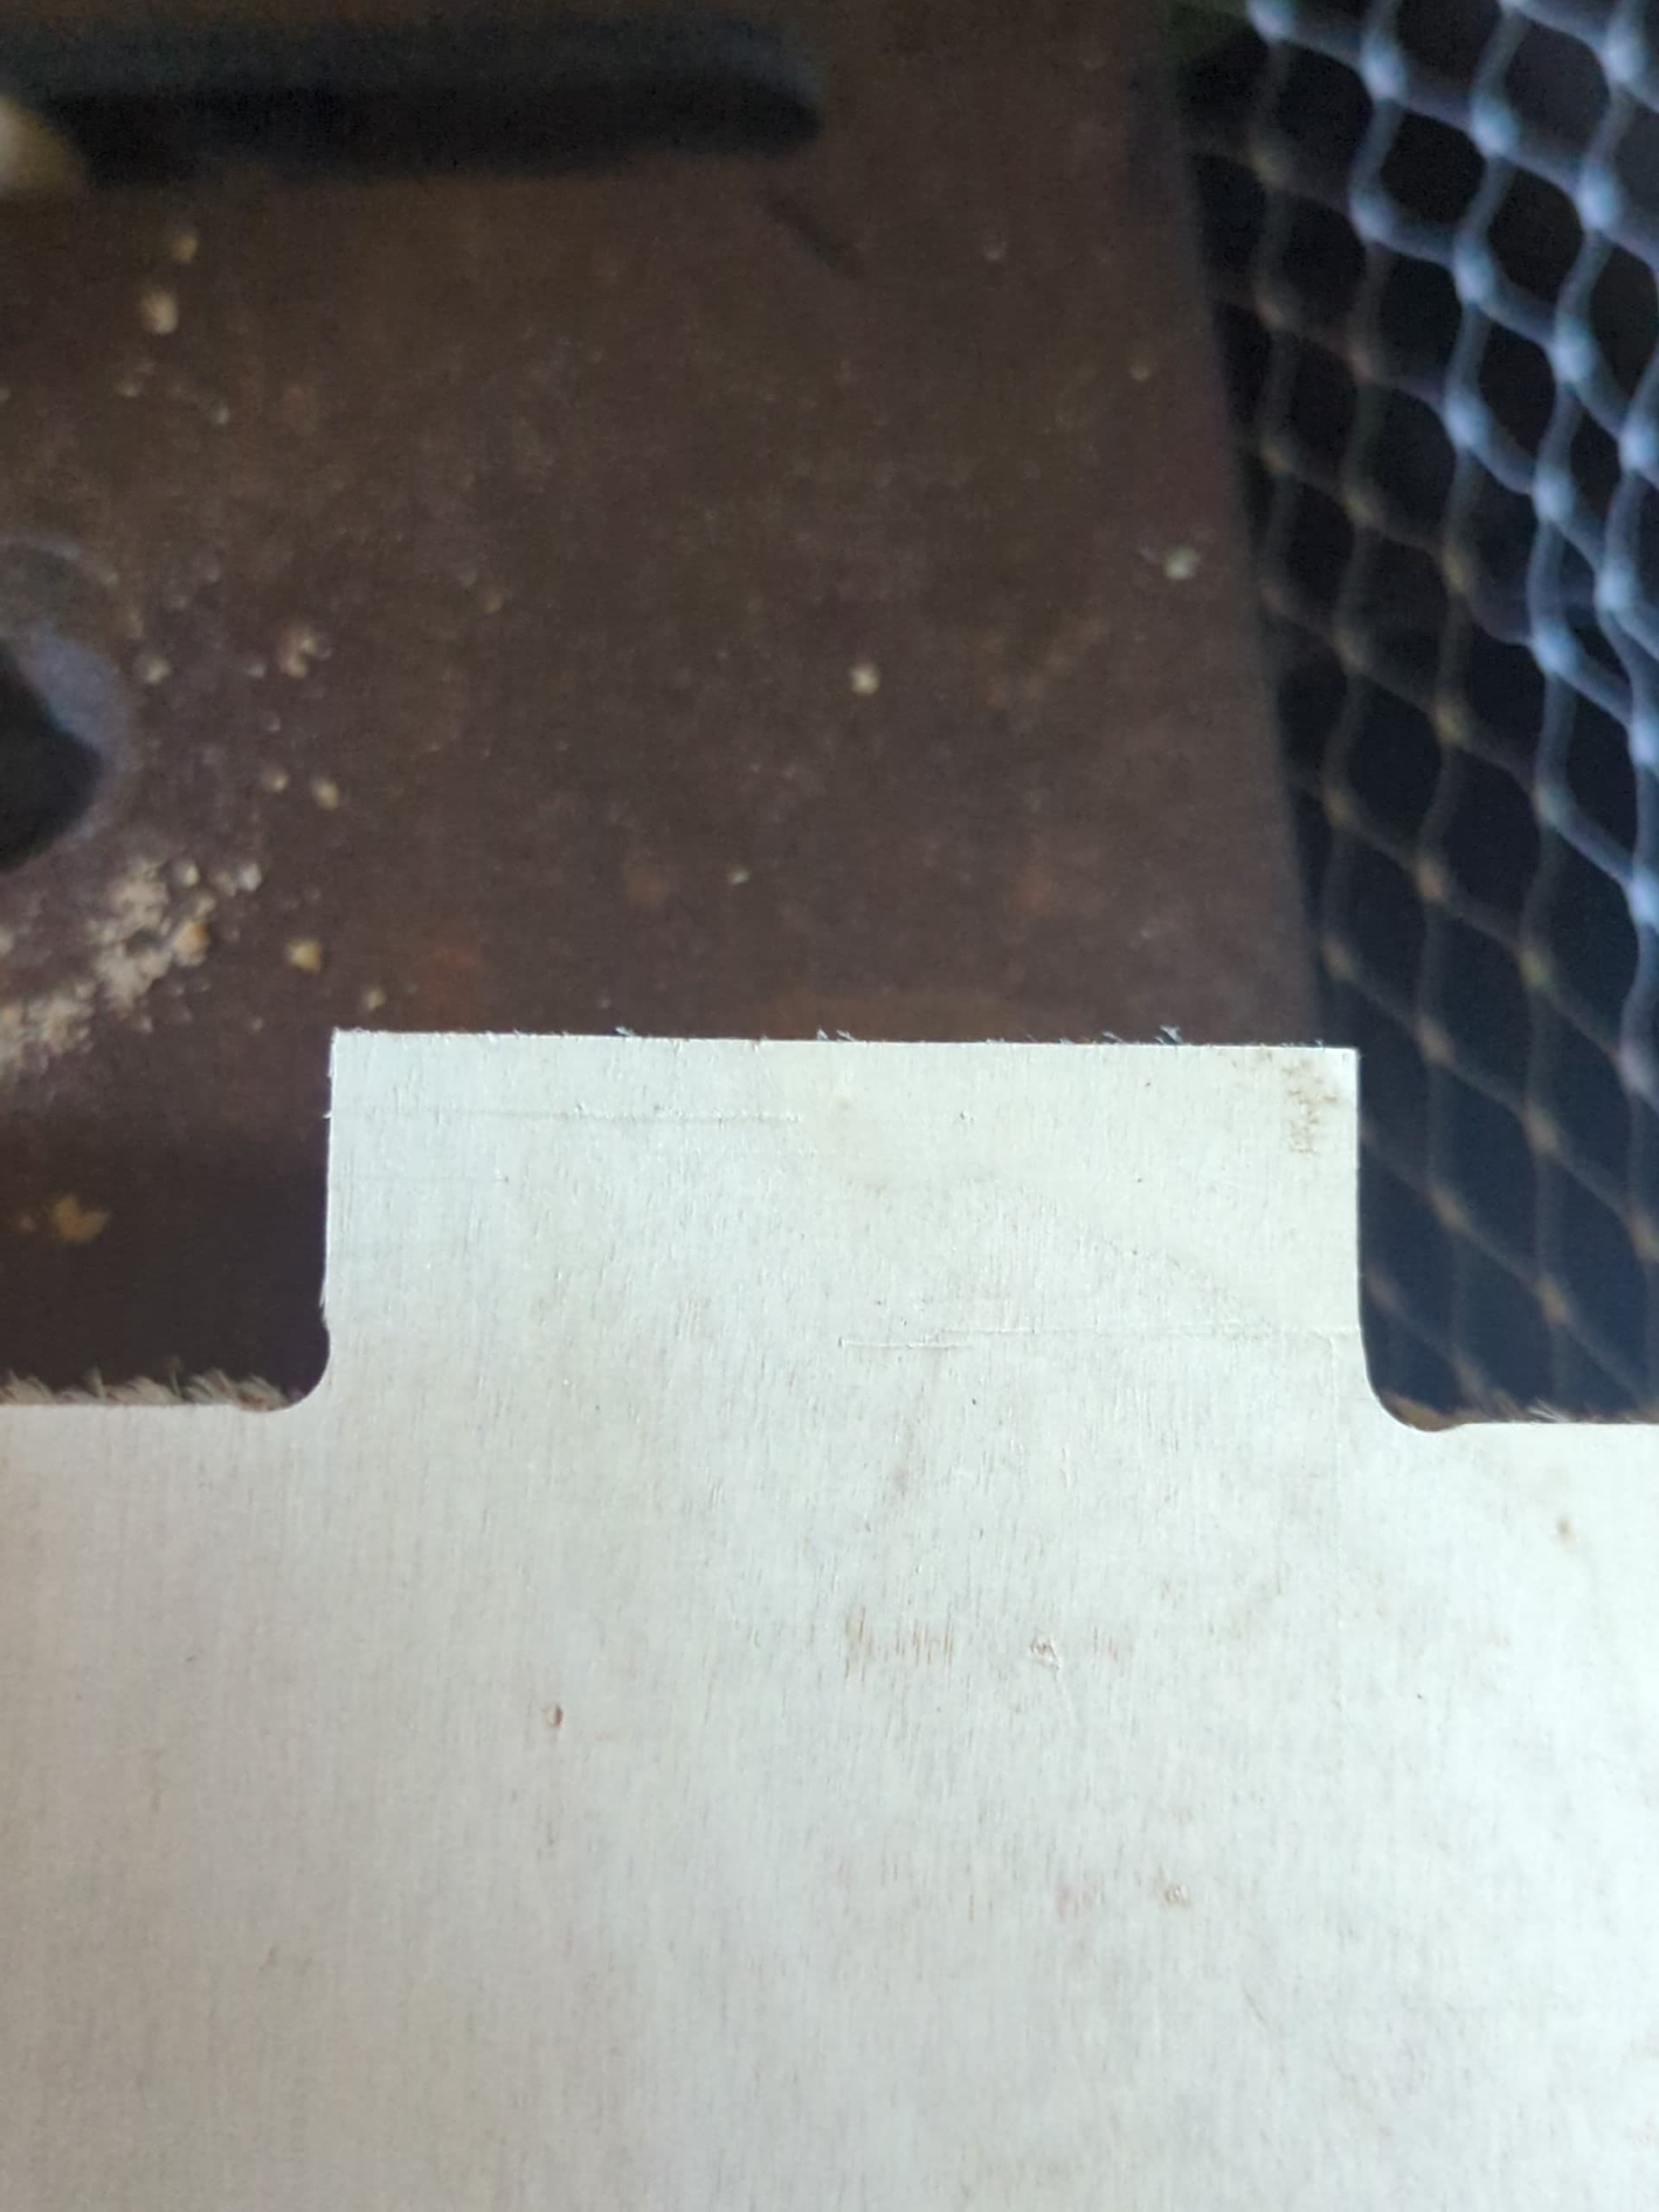
So far for me, I found that the Maslow does not do fine adjustments well in a very small area. For instance, if I am cutting box joints and it needs to cut the overcuts in the joints, it struggles.
For instance, when it is cutting this box joint you can see it probably cuts the left side fine because it’s traveling from left to right so it goes down and in to make the cut out and then back up around for the top of the joint, but as it gets to the other side for some reason as it’s coming down to make the other side of the joint it never really pulls back in, maybe this is backlash or slack or something but it’s pretty consistent on most the joints.
Hi, thank you for the reply and sorry for the delay in my answer!
The cutout is similar to the svg I shared, all curves are on the same axis. I finally noticed that the top curve is off centered, but the bottom ones are far better… Which really throw me off!
after my first project on this wooden frame, I decided to try concrete anchors, a 4400x3300mm frame, hoping for better results. I used those dimensions in my yaml file, accurate enough to get the maslow ready to cut.
(about -5mm of center point deviation on both bottom anchors)
I ran two test on this new setup:
a 20mm square grid (10x10mm)
3mm router bit, drill operation, 3mm depth target with 3mm step, 1400mm/min feed rate and 300mm/min plunge rate
accurate, indeed 25mm from corner to corner BUT see those lines…
They are not straight which is a nightmare if you need pieces that are perfectly flush
I will keep investigating on my side, but I would appreciate any input you might provide regarding such issues.
Is this an expected result? Can it do better?
i’ll try to reduce friction, now that I think of it I did have the impression the leading edge of the sled was tilting.
I will also experiment with lowering the feedrate (which was set to 1400mm/min for this test).
I do have related, practical questions:
is there a recommanded speed (physical dial) for the router? I did my first project at speed 4, and this test at speed 1.
is it possible to have too much tension in the belts? I had loose belts at 900, so I increased to 1200, 1500 and 1700 and it is now fine, but might be better to work with the lowest possible tension?
thought it might interests you What did you cut today? - #809 by dmb
it looks like going through a drilling operation in corners prior to cutting leads to satisfying results
is there a recommanded speed (physical dial) for the router? I did my first project at speed 4, and this test at speed 1.
you need to go faster with a smaller bit (search for ‘feeds and speeds’ to find
lots of resources, aimed at machining metal but applicable to wood as well)
the key thing is that you want to see chips, not powder. if you are spinning to
slowly, you can have trouble cutting enough (and with a feed rate of 1400 this
could be a problem
is it possible to have too much tension in the belts? I had loose belts at
900, so I increased to 1200, 1500 and 1700 and it is now fine, but might be
better to work with the lowest possible tension?
right now, we do not handle belt stretching well, so the lower the tension the
better for accuracy (as long as you don’t go too low and the machine doesn’t
move fast enough) those values don’t look unreasonable.
Thank you!
I used the formula and the values that are shared on this blog. As speed 1 on the dewalt is 16000 rpm, i was indeed far off the optimal speed for this test as the optimal speed I calculate for a 1400mm/min feedrate should be a little bit higher than 24306 RPM
the test were very short, and the depth was not excessive (1mm) so I hope it did not affect the router bit too much, I will try with a new one anyway.
Along with the belt tension that I can lower, this gives me plenty of leads to follow to improve the accuracy. Looking forward to test it in the coming days.
Thanks @dlang and @bar, increasing RPM was enough to get rid of those small vibrations, I feel confident that my setup is now next to perfect for the goals I have!
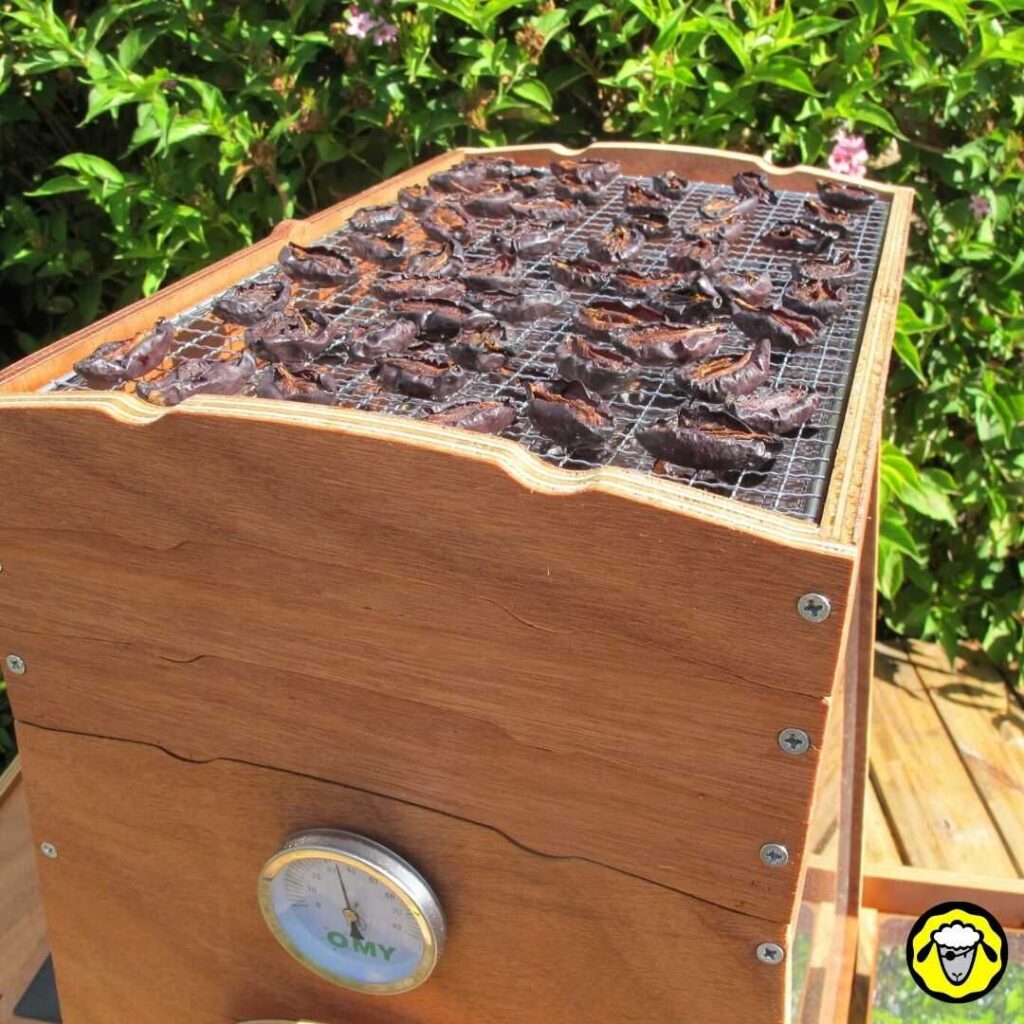
i bought a full sheet of plywood to start making furniture for my van
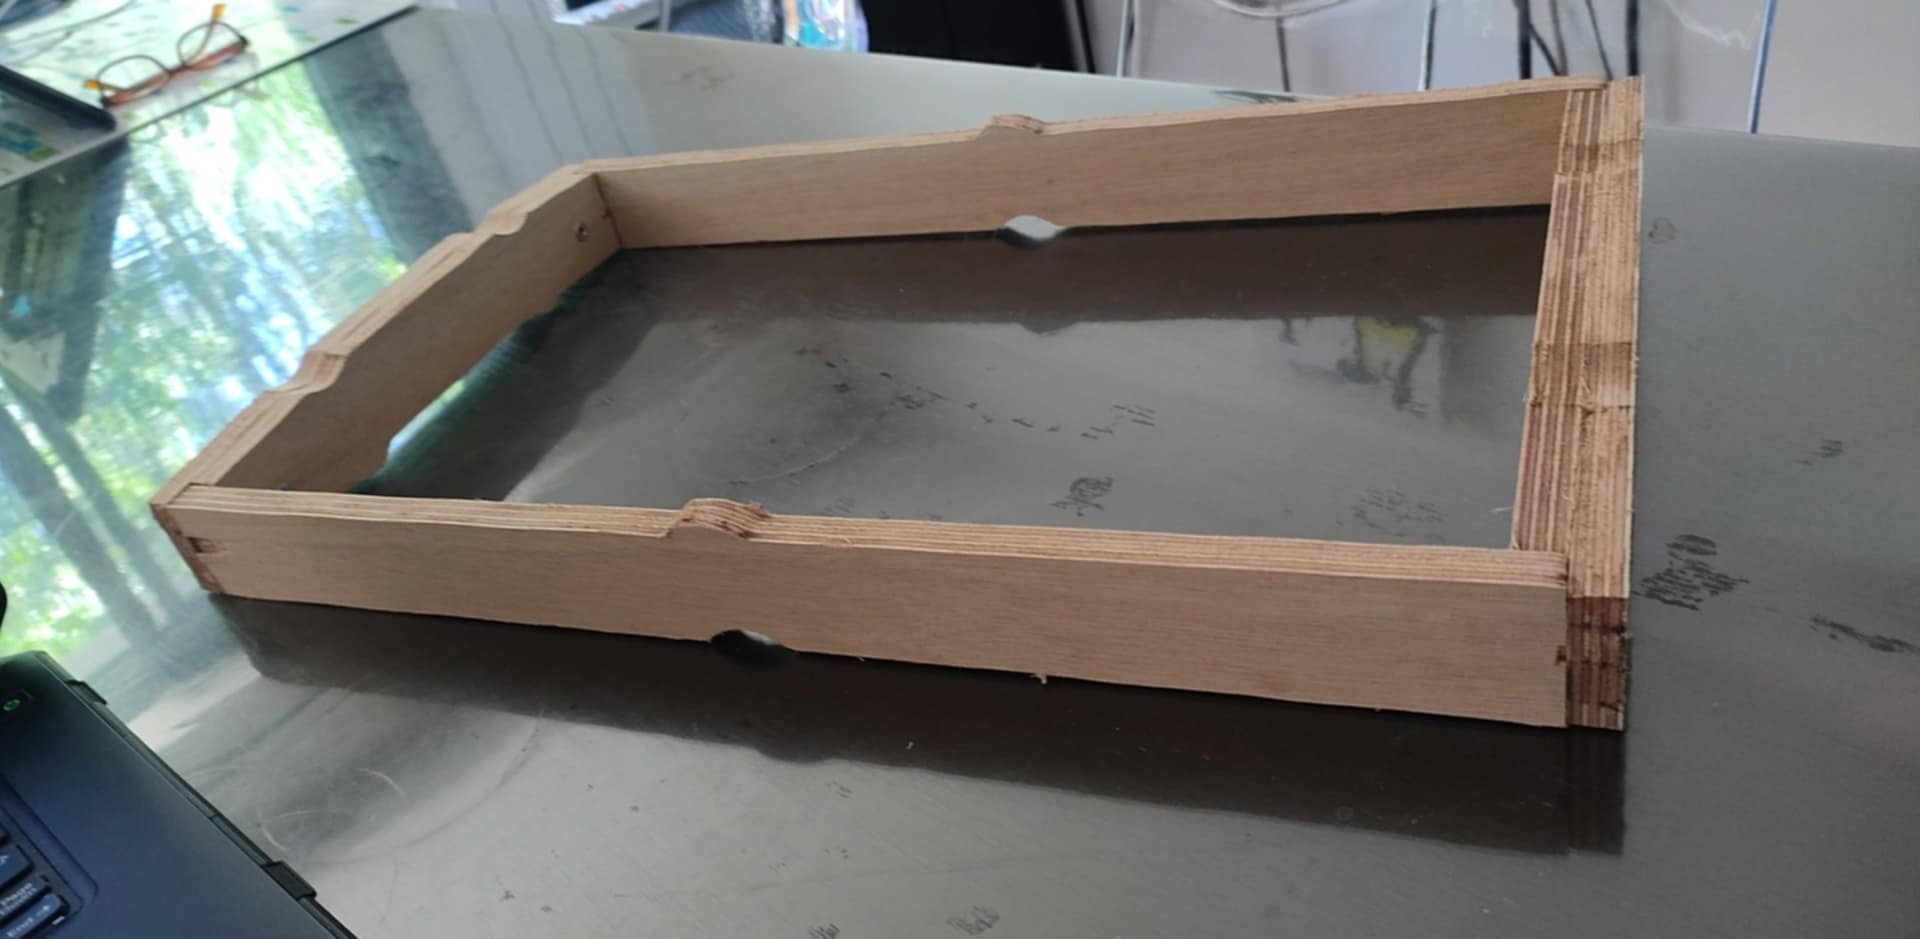
ps: I still have to add a dust collector, so i’m doing it manually for now, unfortunately bumped into the machine, explaining a small indent in the bottom left of a door.