I posted the fusion 360 files back at post 410. I haven’t had time to work on the all plywood version, but the main one should be good to go. I’ve actually had a chance since programming it to test some of my strategies and the stock Maslow can handle it. This is a good reminder that I need to post the NC files for that.
That being said, what problems are you having with your machine? Is it a calibration issue or is the stock z-axis not working for you? I can relate the the latter, about two months ago the router started binding on the base during long z moves. It’s definitely worn out.
I would offer to cut the parts myself, but my machine isn’t working right now (because of the z issues). I’ve slowly been fixing it, but house projects have been getting in the way. If you’re willing to wait a few months, I should be able to do it, but you can probably get it quicker from someone else.
my issues seem to be compounding lately. originally i had z axis issues when i t came to consistency. it had way to much play when using the rigid router. wouldn’t return to zero because it would loose distance in the play. however it was cutting ok. then it actually broke the plastic router part and i needed to wait for new ones to come in. after replacing them it had been something like 6 months and the machine was all out of wack. i ended up uninstalling everything and reinstalling everything basically like i just got it out of the box. went though the set up process and calibration and everything like i just got it.
here are my problems.
1- during calibration there are two steps that require you to align the gears vertically. the second time shows a problem where the left hand gear will not rotate CCW when i select the 1 degree. it actually rotates CW. when i select .01 degree it does nothing. however 5 degrees CCW and 360 CCW both work fine. i thought this was weird but i was able to complete the step anyway.
after installing all of the new high adjustment parts on the rigid router i got to the point where you have to set the zero location for the cutting tool. i bring the bit down to the point where it just scrapes the board and hit " define zero" then moving on to the next step it raises the bit for traversing the board. when bring the bit back down to cut the test corners it never makes it back to the board. never plunges in at all. it thinks its cutting but its not. i went though this process 4 times with no success. i can only assume its the same problem that everyone else is having.
3 lastly i think this is an issue that everyone else is having where i cant cut ( even at the beginning) anywhere near any of the corners or near the top or bottom.
all in all i think your set up would resolve these issues. but i cant cut them out myself lol.
ive had maslow for a year now and i have not cut more than a small box semi successfully. im glad not everyone is having as hard of a time as i am but i dont understand how anyone is using it.
Daniel, I’m sorry to hear your Maslow has been giving you this much trouble. It took awhile for me to get my machine set up as well. The first 6 months were calibrating the machine, testing various improvements for it, cutting sleds, and re-calibrating. I eventually got it to the point were it’s been able to make signs and cabinetry for me. Until it broke, that is.
Sounds to me like a possible software bug. Are you running the most recent firmware and Ground Control? If you are, someone else should test those conditions on their (working) machine and see if they can replicate the issue.
This has been a super common issue with the stock router base. It’s most likely due to the backlash in the router base. There are a few fixes for that issue if you search the forums. What worked for me was strapping a bungee across the top to pre-load the router towards the workpiece. This is an (older) picture of my setup.
Now, it’s also possible that your router and base are binding on themselves. If you haven’t already, you should adjust the clamp on the router base so that the router can slide in it. Too much and it will have a lot of slop, causing the router to jam in the base. Too tight, and the z-axis motor won’t be able to move the router.
As another note, the Meticulous Z-axis was designed specifically address this issue. If we can get you cutting well enough to cut out the parts for the new system, then that should solve this problem for you.
Is tricky issue and unfortunately this design doesn’t address it. The short answer is that the frame geometry has a massive affect on your accuracy across a 4’ x 8’ sheet. For example, I built my frame short (112" top beam) to fit in the only space I had for the machine at the time. As a result, I really only had a 3’ (vertical) x 4’ (horizontal) area where the machine would cut within 1/16".
This is really obvious if you just look at my spoilboard:
I have had many trials. I had success early on but it just seems to be getting more and more out of my grasp as I go on. Computer issues. Calibration problems. Hang in there. I may have time for the first time in months to try and resolve some things.
I had a chance to test out some of my machining strategies the last time I was running my Maslow, so I’ve decided to release the NC code for the main branch of the design in the Garden. I did some clean-up last night, and added in the plywood and HDPE programs from the Fusion file I posted previously.
The fully Maslow-able version will follow when I get a chance to program that. Unfortunately, my house continues to be a project, so I haven’t had as much time as I’d like.
I’m interested in hearing opinions on the best gear ratio for the Z axis pulleys. I can see myself using my Maslow for a lot of V carved signs so faster is probably better but I imagine there is a point of diminished returns.
Test how fast you can go into the material without lifting the sled above the sheet. Your frame angle and the total weight of your sled have a say in that. I’d guess that a 90° V-bit can’t be pushed it that fast due to the increasing surface with depth. If you do some test, please report back.
While I do have a whole bunch of pulleys to try out different ratios, I haven’t had the opportunity to test them out and see how well the machine works at higher Z speeds. Personally, I’d like to get my machine running at least 100mm/min in Z, as that would greatly speed up overall cut time
I do agree with @Gero, though. We’re uncertain of the other effects of changing the speed, so there is still a big question as to how well it will plunge into the material. That can be programmed around, however. If you make sure to set your plunge speed lower than it would take to lift the sled, you can still take advantage of higher rapid speeds above the clearance plane.
there is a difference between how fast the machine can move, and how fast you
can plunge into the material. being able to move faster when withdrawing would
have advantages (although I’ll bet that most CAM software won’t take advantage
of it)
Also, you recommend 18 mm ply (just under 3/4") would MDF work as well?
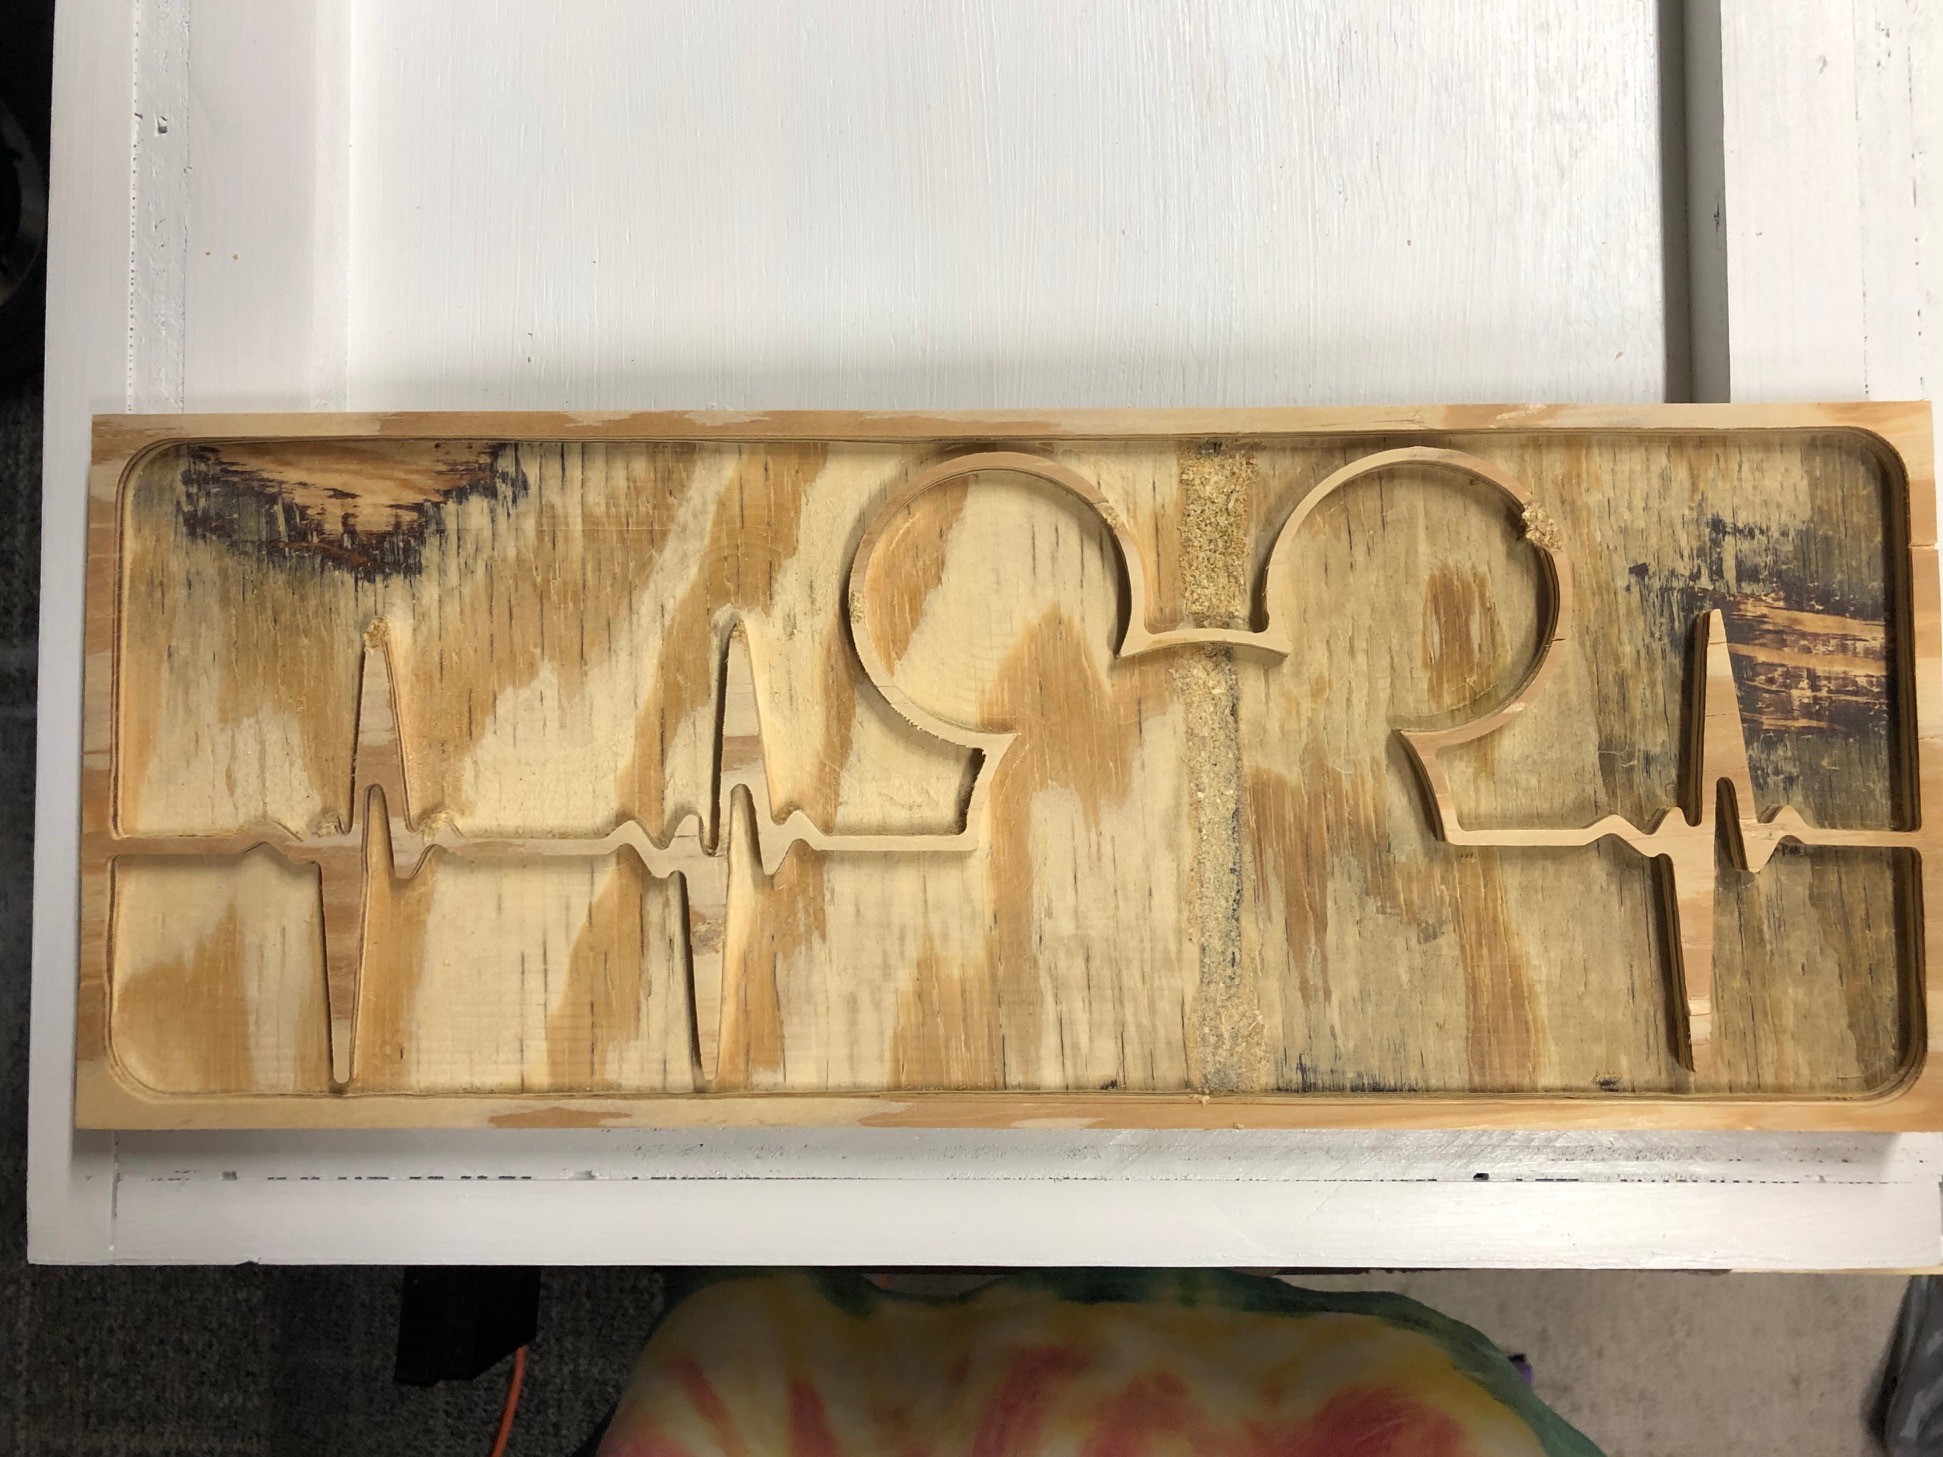
So my first cut, and it turned out ok. Only took 7 hours to cut on a second try (the first one was about 75% complete when I lost my z-axis due to the set screws on the coupler falling out. I found one on the floor and had to did through my ShopVac bag to find the other. Some locktite the next day and I was back in business so really 14 hours total work time), and I have some fixes to do (mostly because of the ply and how thin the design ended up being). I plan on painting it all white, and then using a lime green tinted epoxy to fill the pocket. I’ll post more once it is complete.
The files you’re asking about are in the nc files folder. If you look at the image below, they are circled in green. If you can’t find them in the zip file you downloaded, try downloading again.
thank you. I was actually looking for the modified sled to accept the plywood chute. After reading through the forum more, I see that it might not have been created yet. Im trying to generate that now for myself with the fusion model.
Ah, yes, I haven’t had time to program that one yet. Sorry about that. Still too busy with the house.
If you want, you can copy over my cut settings by opening the normal version in Fusion. If you go to the manufacturing tap, and go through my setups, you can right click on each type of operation (contour, pocket, etc), and select “make default”. It’s about halfway down on the right click menu, right above “suppress”. Then, when you go over to the new file and create the same type of operation, it will use the settings from my file. You should also be able to select tools in a new file as long as you have the original one open as well. You will still need to do your own setups, pick your own operations, select geometry, and all that, but at least it should save you some time getting toolpath settings right.
Sooo, I just churned out the first NC file for the Fully Maslowed version. It’s only for the 3/4" (18mm) plywood, but I’ll work on the 1/2" ply this weekend as well. Also, it’s really only designed for the ring system as well. It doesn’t have the counterbores for the linkage systems, if people want those I can add them in but it wasn’t easy to do with the way the model’s currently arranged.
MeticulousSled_FullyMaslowd_18mmPly.nc (318.3 KB)
EDIT: This is an old file that I uploaded here. New files have been uploaded to the Community Garden. Please check there for the files you need.
As to not bog up this topic, and to keep it on track for working the Meticulous Z_Axis, I have moved the project to here.
My apologies for clogging up the board, and happy cutting. Hopefully I get all my parts that I ordered tomorrow and can get the Meticulous Z cut and assembled!