Ha! can’t blame that one one my fat fingers, the buffer is full which creates garbled output!
1 Like
Picture of my sled (used the g-code files MeticulousMaynard created and 18 mm Russian birch ply). A twist is the use of the Oneida Air Systems universal router hood (available from Amazon) for dust hose connection. I routed the base of the sled and mounted it on the bottom. Swivels perfectly and you can buy extra hose connectors (clips off when you do not need the hose connected).

Is there a substitute (or an inexpensive source) for the Heat set threaded inserts?
I’ve found plenty of threaded inserts. It’s the “Heat set” that’s an issue.
I used magnets instead, works great, easy on/off and stays put otherwise.
For anyone looking for a source of HDPE or UHMW for the bottom of the sled, I just found a company called Zoro that offers a 24"x24"x0.25" sheet for $19.99+tax and $5.00 UPS ground shipping (Polymershapes 1ZAL8 $19.99 Off-White HDPE Sheet Stock 24" L, 24" W, 0.250" Thick | Zoro.com). 1/8" thick UHMW (same size) was $20.83+tax and same shipping. I haven’t ordered yet, so I can’t speak to the quality/service, but that is the lowest I’ve been able to find as a source.
Edit: For someone thinking to cut the whole 3/4" sled, they have 3/4" thick for $58.00 (black) or $69.99 (off-white) +tax and the same $5.00 UPS Ground shipping.
1 Like
@ShadyG @MeticulousMaynard I really like the design of this clamp, and I got my printer back up and running (nothing wrong just needed some TLC and a good bed leveling) and got this printed up. .28 layer height, 40% Cubic infil in PETG. Hopefully it holds up better than my last print job!


I still need to recut my Meticulous, and I’m also going to be redoing my frame (hinged mounted to the wall) and adding an RPi. Will keep you all posted. Thanks for all of the hard work in designing everything!!
1 Like
Looks great, I hope it does a good job for you! From what I have read PETG should be tough enough. Congrats!
Menard’s has 4’x8’x1/4" HDPE for about $60.
1 Like
That’s not a bad price, but the closest Menards to me is 8 hours away, and I would have to call to see if they would be able to deliver to me. (booooo!!!)
I was wondering, would this fit inside the ring and sync with Ground Control?
https://www.mlcswoodworking.com/shopsite_sc/store/html/employee time tracking/pages/powerlift_pro.html
While I can’t specifically answer wether this fits inside the ring (I have the linkage arms instead of the ring) it doesn’t seem like the best solution to me.
As far as connecting it to ground control or webcontrol, the issue I think would be that this looks to use a nema stepper motor as opposed to an encoder motor. The two are controlled differently, so there would be some programming involved.
Also, I feel like this setup would substantially increase the cost of the build over the meticulous z or the c-beam z. $550 is almost what I paid for my metal Maslow kit that included the c-beam z axis ($580).
The only benefit I see is it being potentially more accurate in the z direction, but I get sub-millimeter accuracy out of a well calibrated z already.
I guess to summarize, it could be a possible z solution with some work, but it wouldn’t be my first or even second choice.
I finally got everything put together! It was a fun build but had some snags doing it in New Zealand. Would you believe to go down to the local big box store, a single10-32 bolt costs over $5. I had already ordered the inserts and didn’t want to buy more. Thanks for all the great resources.
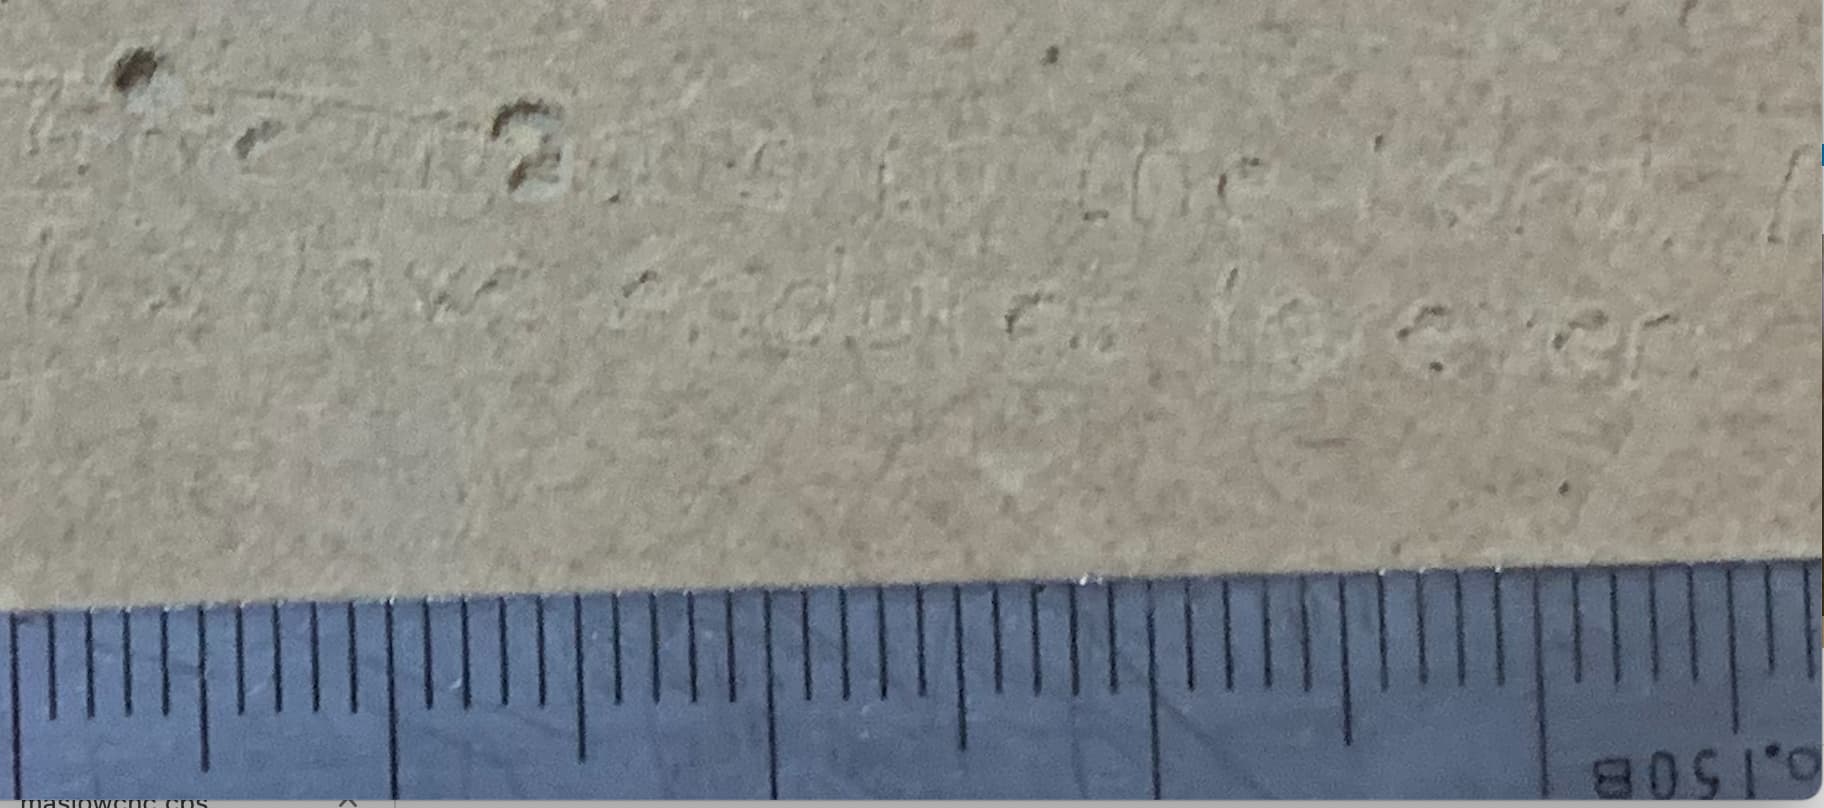
I did a test cut on the waste board because i couldn’t wait to see roughly what it could do. Also couldn’t even wait for it to finish, just stopped and moved the sled to take a closer look. I was testing a failed experiment prior to the upgrade where I didn’t realize how small the text really was (3mm tall), figured this would be good to throw at the meticulous. I know it’s not the prettiest pic, but can you see the potential! I’m very pleased!
The engraving is in the second photo too, just too tiny to zoom into.

2 Likes
So, Take #2! I have had the wood (Birch Ply bought back at the beginning of the year before prices went through the roof!) and had all the pieces. I have been procrastinating getting it cut and put together, mainly because of the abysmal first attempt, but a project I am working on forced me to get off my but and get it done.
I present to you my Meticulous-Z Axis, what I refer to as the R2-Meticulous (the color scheme just reminds me of my favorite astromech!!):


I can’t believe how nice this turned out. I went with a 30 tooth pully on the motor and a 10 tooth on the lead screw. it is amazing how fast that z-travel moves! I knew it was good the first go round, and I am kicking myself, really, for not getting this done sooner. just for reference, here is the sled/spine from the first attempt:

I have torn it apart to reuse all the bits and pieces for the new one, but if you look closely, you can see the slots for the gussets to fit into the spine are not square at all, and the current sled is. I will say that first abomination is from a router with no speed control (27k fixed RPM), the machine not being calibrated as well as it should have been, the wrong bit, and crappy ply! I have learned stuff and things, and migrated to WebControl and have run the Holey Cal a few times, and with the machine pretty dialed in, a single flute bit, and nice birch/walnut ply (had to recut the carriage plate as the block mounting holes got skewed), I have a great mod to the Maslow that I am quite pleased with!
I am very thankful for @MeticulousMaynard for getting this out there. I would have never been able to come up with something like this on my own. Superb job, and THANK YOU very much!! Special shout out to @ShadyG for his router mount that I went with. Thank you for that as well!!
Now I can get back to cutting out my 32 ft Viking ship!!..
5 Likes
Great job, I’m super happy you found the clamp useful.
3 Likes
@MeticulousMaynard I am building your super cool z-axis and have a question about the instructions. The instructions say “On the Z-axis carriage plate, drill the 16x bearing block holes out with a 7/32” (5.5mm) drill." Why are the holes so big if the bearing blocks are attached with M4 X.7 X 30mm screws? What am I missing?
Thanks!
If you read further in the instructions, it says that you’ll put the M4 x 0.7 threaded inserts into the holes you drill in that step. Machine screws aren’t going to hold in wood, so you need those threaded inserts. ![]()
Sorry @MeticulousMaynard I did not see anything about the M4 x 0.7 threaded inserts in the instructions.md. My bearing blocks are threaded so I assumed the M4 x 0.7 x 30 machine screws would go through the 16 holes in the z-axis carriage and thread in bearing blocks. Sounds like you are saying the M4 x .07 x 30mm screws should go through the bearing blocks and thread into the M4 x 0.7 threaded inserts that are installed on the z-axis carriage? Thanks again. I appreciate it!
Is that the case? It’s been so long since I’ve looked at this project. Those are probably just clearance holes for the ones going in the bearing block, then
@esteffen Those holes may be a bit oversized to allow for a little slack to be able to tram the z carriage to ensure your router stays perpendicular to the sled. 16 machine screws in tight holes doesn’t allow for much adjustment if the z-carriage is cut slightly skewed. Just my thoughts on that.
That makes sense. Thank you.