I finished the last member of the Grinch Family. I will upload the files to the Garden soon. This cut file has two small areas that will fall out unless you put tabs in the right area. Pictures below show that I brad nailed them in place. Any ideas on weather I should hold out on the cut file or not. I don’t want anybody to overlook this detail and it jump on them when that piece falls out.

9 Likes
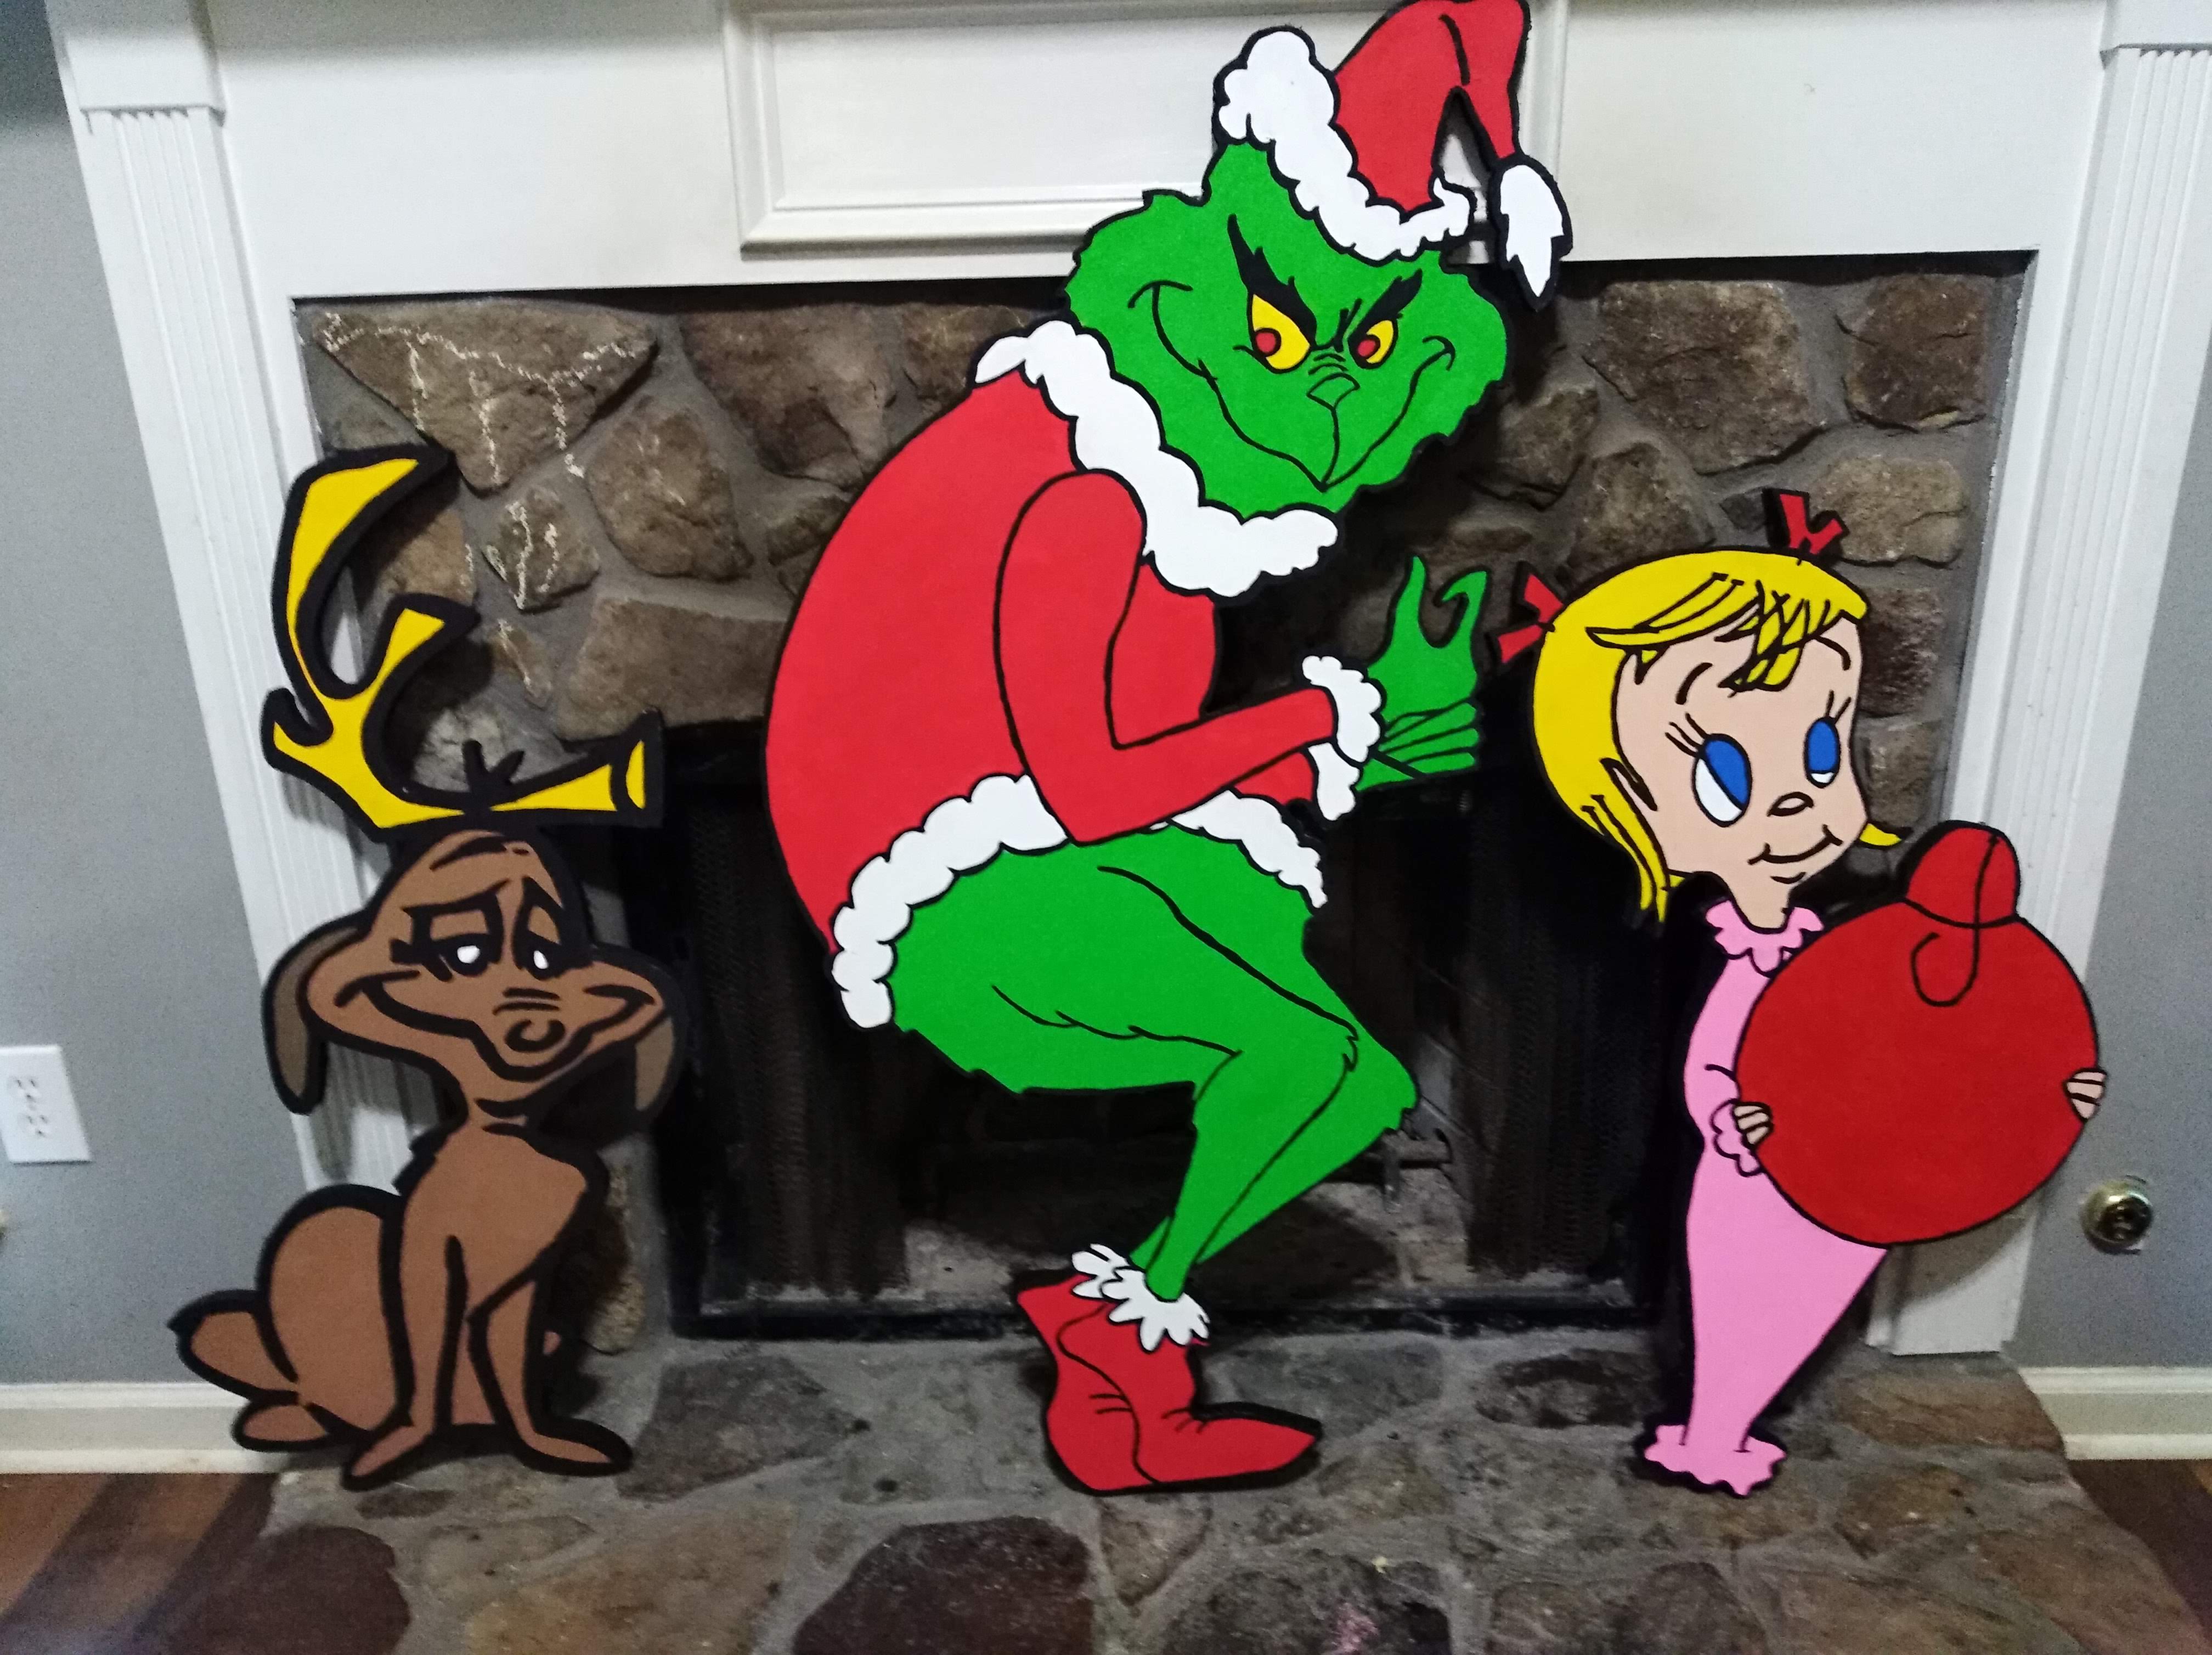
And the whole family will conclude this group, and onto the next…
8 Likes
These are so cool! I love the sharpie trick to aid in the painting.
Are these to be sold or part of your decorations at home?
Part of my decorations. I have thought of making them to sale, but I won’t be painting them. They would be cut and outline only.
1 Like
Nice. I’ve never been one to decorate for Christmas (a tree is usually the extent of it) but I love the Grinch tale. I might just cut these out!
Can’t wait to see the finished setup. Be sure to post pics!
2 Likes
I love seeing progress as these are finished! Would you share how you are doing this? Meaning, are you grabbing a PDF from somewhere and converting that to G-Code? If yes, what applications are you using and how are you making different paths for the sharpie and the router?
1 Like
I am drawing them out. I find a photo that I want to use. I load it into inkscape and put it on layer one. Create a layer 2 and trace over the image with Bezier curves. It’s a simple click to trace around all the lines. I make sure that the inside lines don’t touch the outline. I finish the drawing and remove the first photo and then move what I created to layer one. I group the lines to one group. Then I resize the svg you the size I want to cut it. Then load that svg into makercam. I create two tool paths. The first is the internal lines (features) and I set to follow path with .35 bit and clearance of .15, depth to .5 and step down to .5. The second path is the outline with .25 bit, .15 clearance, depth is whatever board is plus .2, and then .1 step down. I set my tabs to .3 deep and .5 wide. I only use about 4 tabs. Then I create g code from makercam. The actual cut is obviously done with two tool paths. The first is done with the pen holder and a marker. I hang the router from the housing to maintain the weight. ( I strap it tight to the housing with bungee straps). When that is done I put the router back in and cut the outline. As far as finishing, my younger kids paint the sides and back with black paint. My oldest daughter paints the front and she paints over the marker lines. I go over the marker lines with a fine point paint brush and black paint. It’s still a work in progress but we are zeroing in on a good process.
4 Likes
Great detail! Thanks so much and be sure to keep posting pics! love it!
I have two videos but I have only finished one. This is the makercam setup that I use. I will upload creating the svg from jpg soon. Enjoy!
2 Likes
I added this file to the tutorial, but I figured I needed it here too. Here is how I make the svg.
2 Likes