I will say this, although the CPU usage is pretty good so far, around 55%-60%, if it hits up too high once running the G-code, and def going to do this w/ 2 pi’s. I would have to figure out how to use once for just display, which hopefully my son can help me with, but hope one Pi4 8Gb can do the trick 
Ugh, both my parents had macular degeneration. I know what you mean. I see why mobile devices can be a problem then.
Yeah stinks. As I get older it’s getting worse. I had a cornea transplant when I was like 20, but as another 25 rolled by, it still gets worse. I have a wicked rare one called keratoconus, Hopefully my Maslow gets me close enough to a fine hand cut and the rest is gravy
That explains all the effort you put in to getting your PI to boot into a kiosk mode. You need it to boot and go right to web control. Even a laptop is going to be too small eventually.
As for cuts, its slow but my Maslow has been as good if not better than anything I can achieve with a jig saw or band saw. Ive been extremely pleased with it since I made the switch to webcontrol and holey calibration
Yeah my laptop, it’s the largest screen you can probably get That is why so much effort, want to make everything super visible for my self. That is good to know, if better than hand it’s going to be awesome! I am working on mounting the monitor as we speak, and tomorrow I do want to try that holey calibration. I looked into it last night, looks could dial the numbers in way more accurately than the first test I did months ago. Upgraded the firmware, downloaded Holey and the button is no able to be pressed so I assume
That means I can try it out now. More to
Come on that tomorrow, then I would like to try running some test pieces and see how accurate. Very exciting or me here I can’t wait to run her! I will
Show a pic of my
Setup once the monitor is up.
I guess it depends on the hand ![]()
Post the pics of your set-up too when you can. Im curious to see it.
A couple of suggestions on holey calibration:
-
Run it three times (including cutting test holes), not just once. I noticed successive improvements in my calibration after each time. You will eventually reach a point where there is little improvement in your calibration between cycles but three cycles should get you pretty close.
-
After you complete your first calibration cycle, cover the holes over with blue painters tape or a stiff masking tape. Depending on how quickly you bring the calibration in you will be cutting the test holes in a tighter and tighter circle at the six points of the pattern. You will get holes being drilled almost on top of each other. The tape covers over the previous holes and leaves you with a nice round clean hole to take your measurements. Otherwise you may end up having to try and measure from holes that become oval or out of round. Stay away from duct tape for this. Its too stretchy and wont leave as clean of a hole.
-
I like to take my measurements using the hole edges rather than try estimate the hole centers. The edge is easier to line up with the marks on a tape measure. To do this, picture two holes next to each other. You would measure from the left side edge of the hole on the left to the left side edge of the hole on the right. That distance is the same as hole center to center but easier to “see”.
Will do. It’s cool it more hangs off threaded pipe I got from HD and really locking in solid for absolute zero flex. Then you can flip up arms on side, and center that lock the exact angle on a board against the wall, and if folds to wall. I have it out a few inches too because have the kick wall in garage like many, so it’s perfect level when folded in. I think it’s pretty cool!
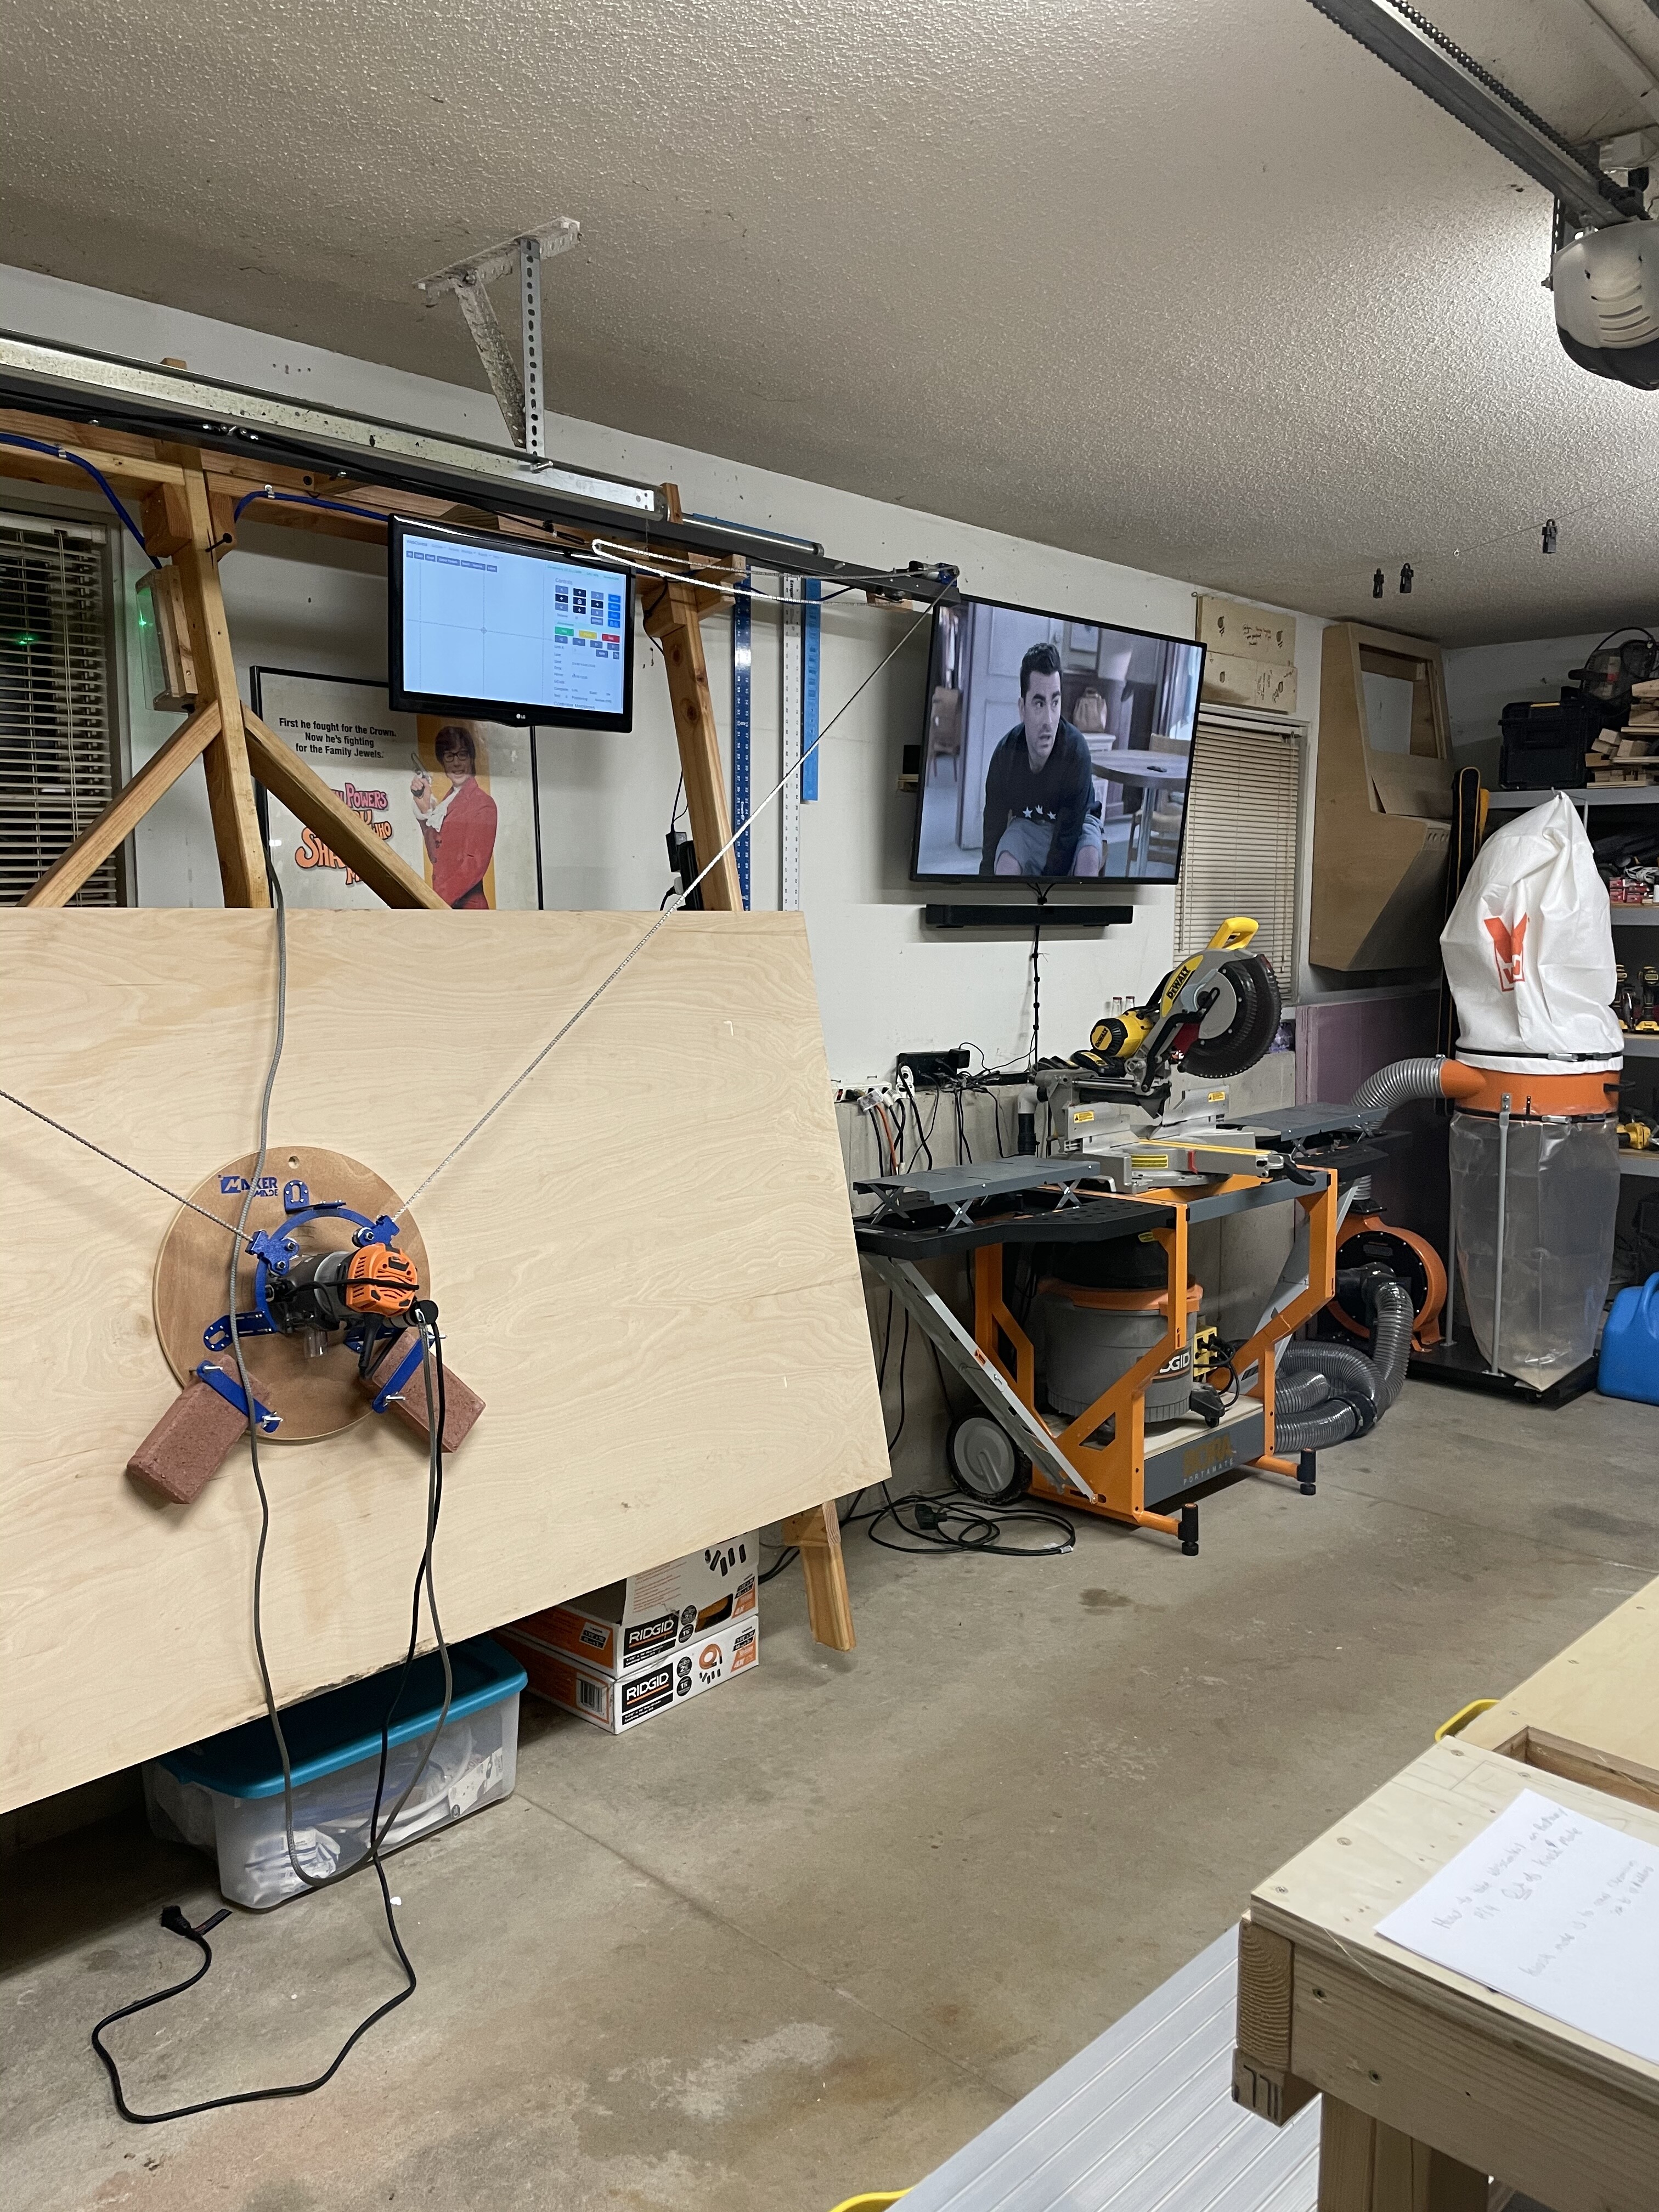
I will send some more when I am done mounting the monitor tomorrow…but you can sort of see the center of it here. That’s a case that lets air in I made to mount the arduino on the back and sturdy the frame up in the center. Yes I put helmsman into the wood, should help with potential sawdust and other particulates in the garage. I think it’s nice and clean looking. More to come.

The setup behind it lets you totally dial in the angle and make absolutely certain even if the wall is crooked you can set Maslow at the absolute degree to make it perfect. Sorry I store stuff In the back as have not fully run Maslow on a daily basis. I will send better pics once monitor mounted. Essentially the outside wood pieces lift up, the middle folds in and it’s connected in the center to make it easier to move and for strength. You see the extra angled 2x4 in the middle, strengthens the heck out of the frame…and technically I can pull the base frame right off wall and clean if I want. With measuring off wall you can easily dial in the angle without touching the basic frame. Allows you to dial the frame for squareness if mistakes are potentially made by folks that are not master carpenters like I assume on this forum. Also spreads the load in center, but one piece to pivot it. The harder you put weight on it, the more solid it gets…like a French cleat, but different, if you know what that is. The theory of how it works is how I mount my wall mount arcades. Technically NOTHING touches the ground for support, super sturdy, and allows you to swing the frame into the wall to easily park an suv in the garage for a storm or if wife wants her car in the garage :). I don’t swig in as it’s my workshop, but just in case for a bad snowstorm I designed it this way.

More to come.
Here are some pics of the monitor setup and the pi. It’s angled down and far enough setback to avoid the chain lowering.


2 Likes
Morning johnatpridesleap. This sound like very valuable tips, thank you! I plan on installing the wiring to auto turn router on/off between cuts from metal Maslow later this morning, then I am going to work on the calibration. The tape sounds like a great idea as does the measuring from edge to edge. Thanks for the tips and let ya know how it comes out.
THAT is a neat and tidy set up. I am now leaning towards doing something similar to you with a second PI and a larger display. You made me think that I might want a much larger display in the near future. So Im gonnna be putting money where my mouth is.
I have to mention though that bigger screen to the right may be a better option for you, especialy with a second Pi 4b.
By the way, If i had a tv that big in my shop id never get anything done and bonus points for watching Schitts Creek.
@Orob , You mentioned this earlier in the theead:
I had mine set up to do it at one point then made a program to display sled position and total run time on the terminal display.
How did you do this exactly?
I modified webcontrol to share data over a web socket and wrote a display script that takes that data and displays it.
Thank so much I spent a lot of time getting this just right, including building the default frame just to take it apart for my design. That is great, please do it and let us know if you run into issues. This one here just to remind you, is run sole on 1 Pi 4 8 gb ram. So far, so good but only been moving around the board with it. Maybe 50-60% cpu usage when in motion. Also thanks, yeah it is hard to go up when down here. I usually throw on a series I like (like Schitt’s Creek which was awesome!) or Star wars trilogy. Sometimes its Die Hard day, and the best is Terminator day…I let them roll and work while its on in the background. I had a much smaller TV, but the bearing went on my old saw and she shot a piece of wood up towards that shelf on the right, cracked the screen out bad. The Goldberg’s, I own every episode, another great one to have on while you work in the shop. Let me know how the build goes, hopefully works out well! Little heads up, sometimes Best Buy (if you have one close) will have open box TV’s or monitors, you can get them on the cheap if you do not care about a scratch or 2 sometimes.
Also, here is the frame so you can how it is structured. How I made a box that lets air in but protects the Arduino. The top spins (on 1 screw) so I can easily get access to it. I did remove 3 of screws so it would do that after the fact. Also shaved down the lower support mounts so they could flip up when the plywood was placed on the frame. Does not show that here. Those 2 extra supports that come to a point (triangle) and the lower support below strengthen the you know what out of the frame when folding against wall. You can hang off that thing, and I am 250 lbs!


1 Like
Use these HeadLOK 4 1/2 inch lag bolts (I think form HD), that upper support is going nowhere! The supports with the half circle notch cut out to hold the pipe of the frame, I made each carefully with drill press…and used a pocket hole jig to lock each in. Going nowhere.

ah, ok. I can do some scripting but I’m lost on the coding side. Thanks for the response.
Unrelated but I just watched your video on automating the spindle start and stop. Any recomendations on relays to use? Also, I thought I saw a post of yours to add in hardwired START / PAUSE / STOP buttons but cant seem to find it. Do you have a link to it handy?