They are widely available. And the install tool is cheap. When installed are flush or slightly recessed. One would want to thread a headless bolt into them when not being used to keep cruft out. I’d go with anchors for 1/2 bolts with an antisense just for the durability of repeated removal.
You could use those Sammy anchors too. One would just need to drill a shallow 7/16 hole for the “head” to fit into so it would be flush and rig up a driver with a bolt and a couple nuts to set them from the inside theeads instead of using a wrench on the outside.
That Tapcon video was super helpful, I was absolutely going to under size my holes for the Sammy anchors that I have
@Melvin have you used those drop in anchors? The idea of pounding them into me seems like they could end up being lose, but they do seem to be widely used and liked and the pull out strength numbers are impressive.
Also, commercial buildings with high floor load ratings too. They may only have the warnings on the construction prints. @bar where are you planning on doing this?
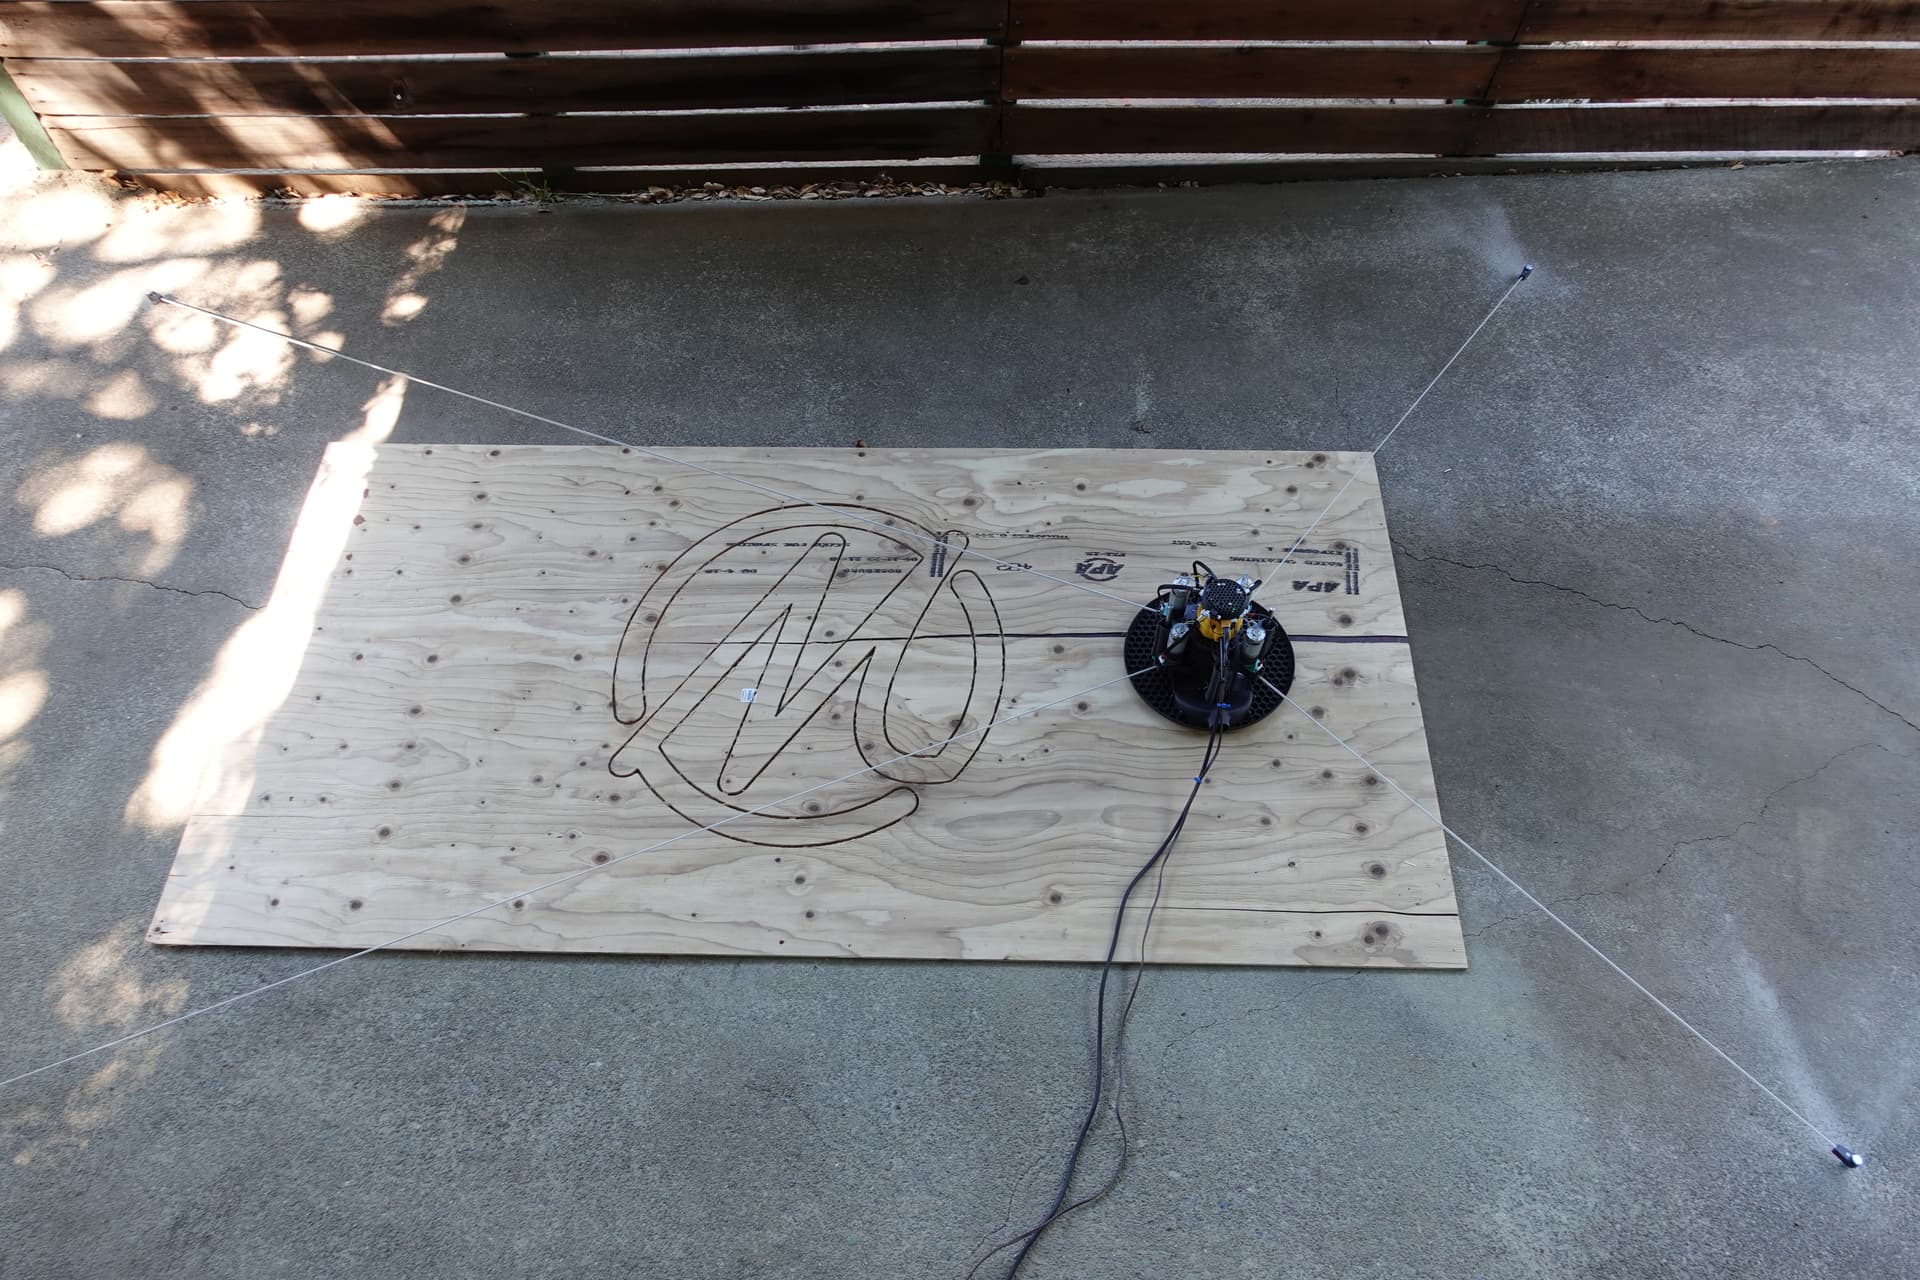
I gave it a shot today with the Sammy’s anchors that I already had and other than the fact that they leave a bump that protrudes when they aren’t in use, they work great.
I don’t have a garage right now so it was just in my driveway which I am absolutely positive is safe to drill holes in
Edit: full disclosure I didn’t cut that M outside, that was done earlier on the other frame. It was just a piece of plywood that I had laying around so I threw it down to play around on.
You may want to start with a small concrete drill, step up two times, then get to 3/4"
You WILL want a couple of 21mm diamond drills to clean up and straighten the holes. The 3/4" drill makes kinda lumpy holes.
After you’ve pilot drilled it and stepped up, diamond drill in an eighth or so before going after it will the big drill.
You may want to alternate between the diamond and the concrete drills.
You will want to clean the whole way down the hole and make sure your anchor will end up flush.
Clean, clean, clean that hole! A vacuum AND a compressed air nozzle are a winning combination! A round brush would be good too. No water! You should be able to SEE the aggregate in the sides of the hole when its clean.
I used JB weld to set mine. The Poolzilla anchors are closed on the bottom. Unscrew the screw and tape the top of the anchor to keep glue out of it. Tape around the hole to control squash out.
Smear epoxy into the side walls to make sure they are fully wet with epoxy. Put a good big blog on the bottom and push/turn the anchor in. Scrape off the excess and make sure the anchor is all the way down. Wait. 24+hours.
I think I’m going to machine some special bolts; the existing anchors will not go over the Poolzilla screws. I like the stock ones for keeping the hole clean! I’ll let y’all know when I’ve nailed down the thead size and details.
The male threads are 0.54" 12 TPI. That might be an undersized 9/16"-12 thread… They do feel kind of sloppy.
When installing, consider putting a weight on them so trapped air doesn’t push them up
They ended up not as flush as I was hoping for; 3 out of 4 are sticking up a bit. I’ll grind them off later when the garage isn’t full of half-painted murphy bed!
I’m thinking that I’ll set a few more for stock anchoring. At least two strips to locate the stock and provide anti-tip, plus maybe 2 more or camming thingies to clamp?
Next update: the threaded holes in the PoolZilla anchors are 9/16"-12, and fit bolts from the hardware store. If you have a lathe, you can buy stock bolts (say 4" or so) and turn down a section to fit the existing belt ends.
If you don’t have a lathe, you might want to look at printing larger ends that will fit over the 9/16" bolt, and also print a spacer that holds them up at your desired height.
As far as drilling concrete. I first tried to drill with a regular drill and a few new concrete bits. Maybe got 1/4". Then got annoyed and bought a Bosch SDS Plus drill and it drilled all 4 holes without any tear up in less than 5 seconds a hole. Actually went a bit deep as it was so easy. I highly recommend just getting the right drill to make the job easy as pie.
Yeah, a hammer drill really isn’t optional for a 3/4" hole! I have a Ryobi hammer drill. It did fine on most of the holes. There were some where a quartz pebble was right where I wanted to go… Stepping up from a 3/16" or 1/4" pilot to 3/8" and 1/2" helps quite a bit. Not having to take the center out really helps the big guy.
And a big-ol hammer drill… Well, that’s just cheating In der goot vay!
Just as an alternative idea here’s what I did. I concrete tap in anchor with a custom all thread bolt. The anchor is installed normally. The all thread rod is cut to length with flats cut into the top in order to tighten the rod if needed. A washer and nut is run down the all thread and tightened to clamp onto the floor. This eliminates any slop or moment of the rod. Another washer is added for a smooth landing for Maslow. Finally another washer and a loose nut is added on top of the Maslow anchor point.
Anchor snugged up to the ground (Ignore the blue tape - Parking guide line for the car)
Has been robust, cheap and effective. Was worried about the brass with the pool anchor though like the flush mounting. To make these flush I remove the all thread add just a small bolt / plastic plug to cap the hole.