That is so great! Thank you for all the pictures and sharing your ideas! Can you please share the model information or better yet - a link to where someone could buy the blind roller? The website you linked does a great explanation of what a Constant Force Spring is, but I cannot find the blind roller or “rolling shutter coil” you showed here. Thanks again!
Ahhh its a neat German device, I see now! I finally found it on Ebay by searching Belt Winder lol… I will keep searching for various terms, maybe someone in the USA sells it.
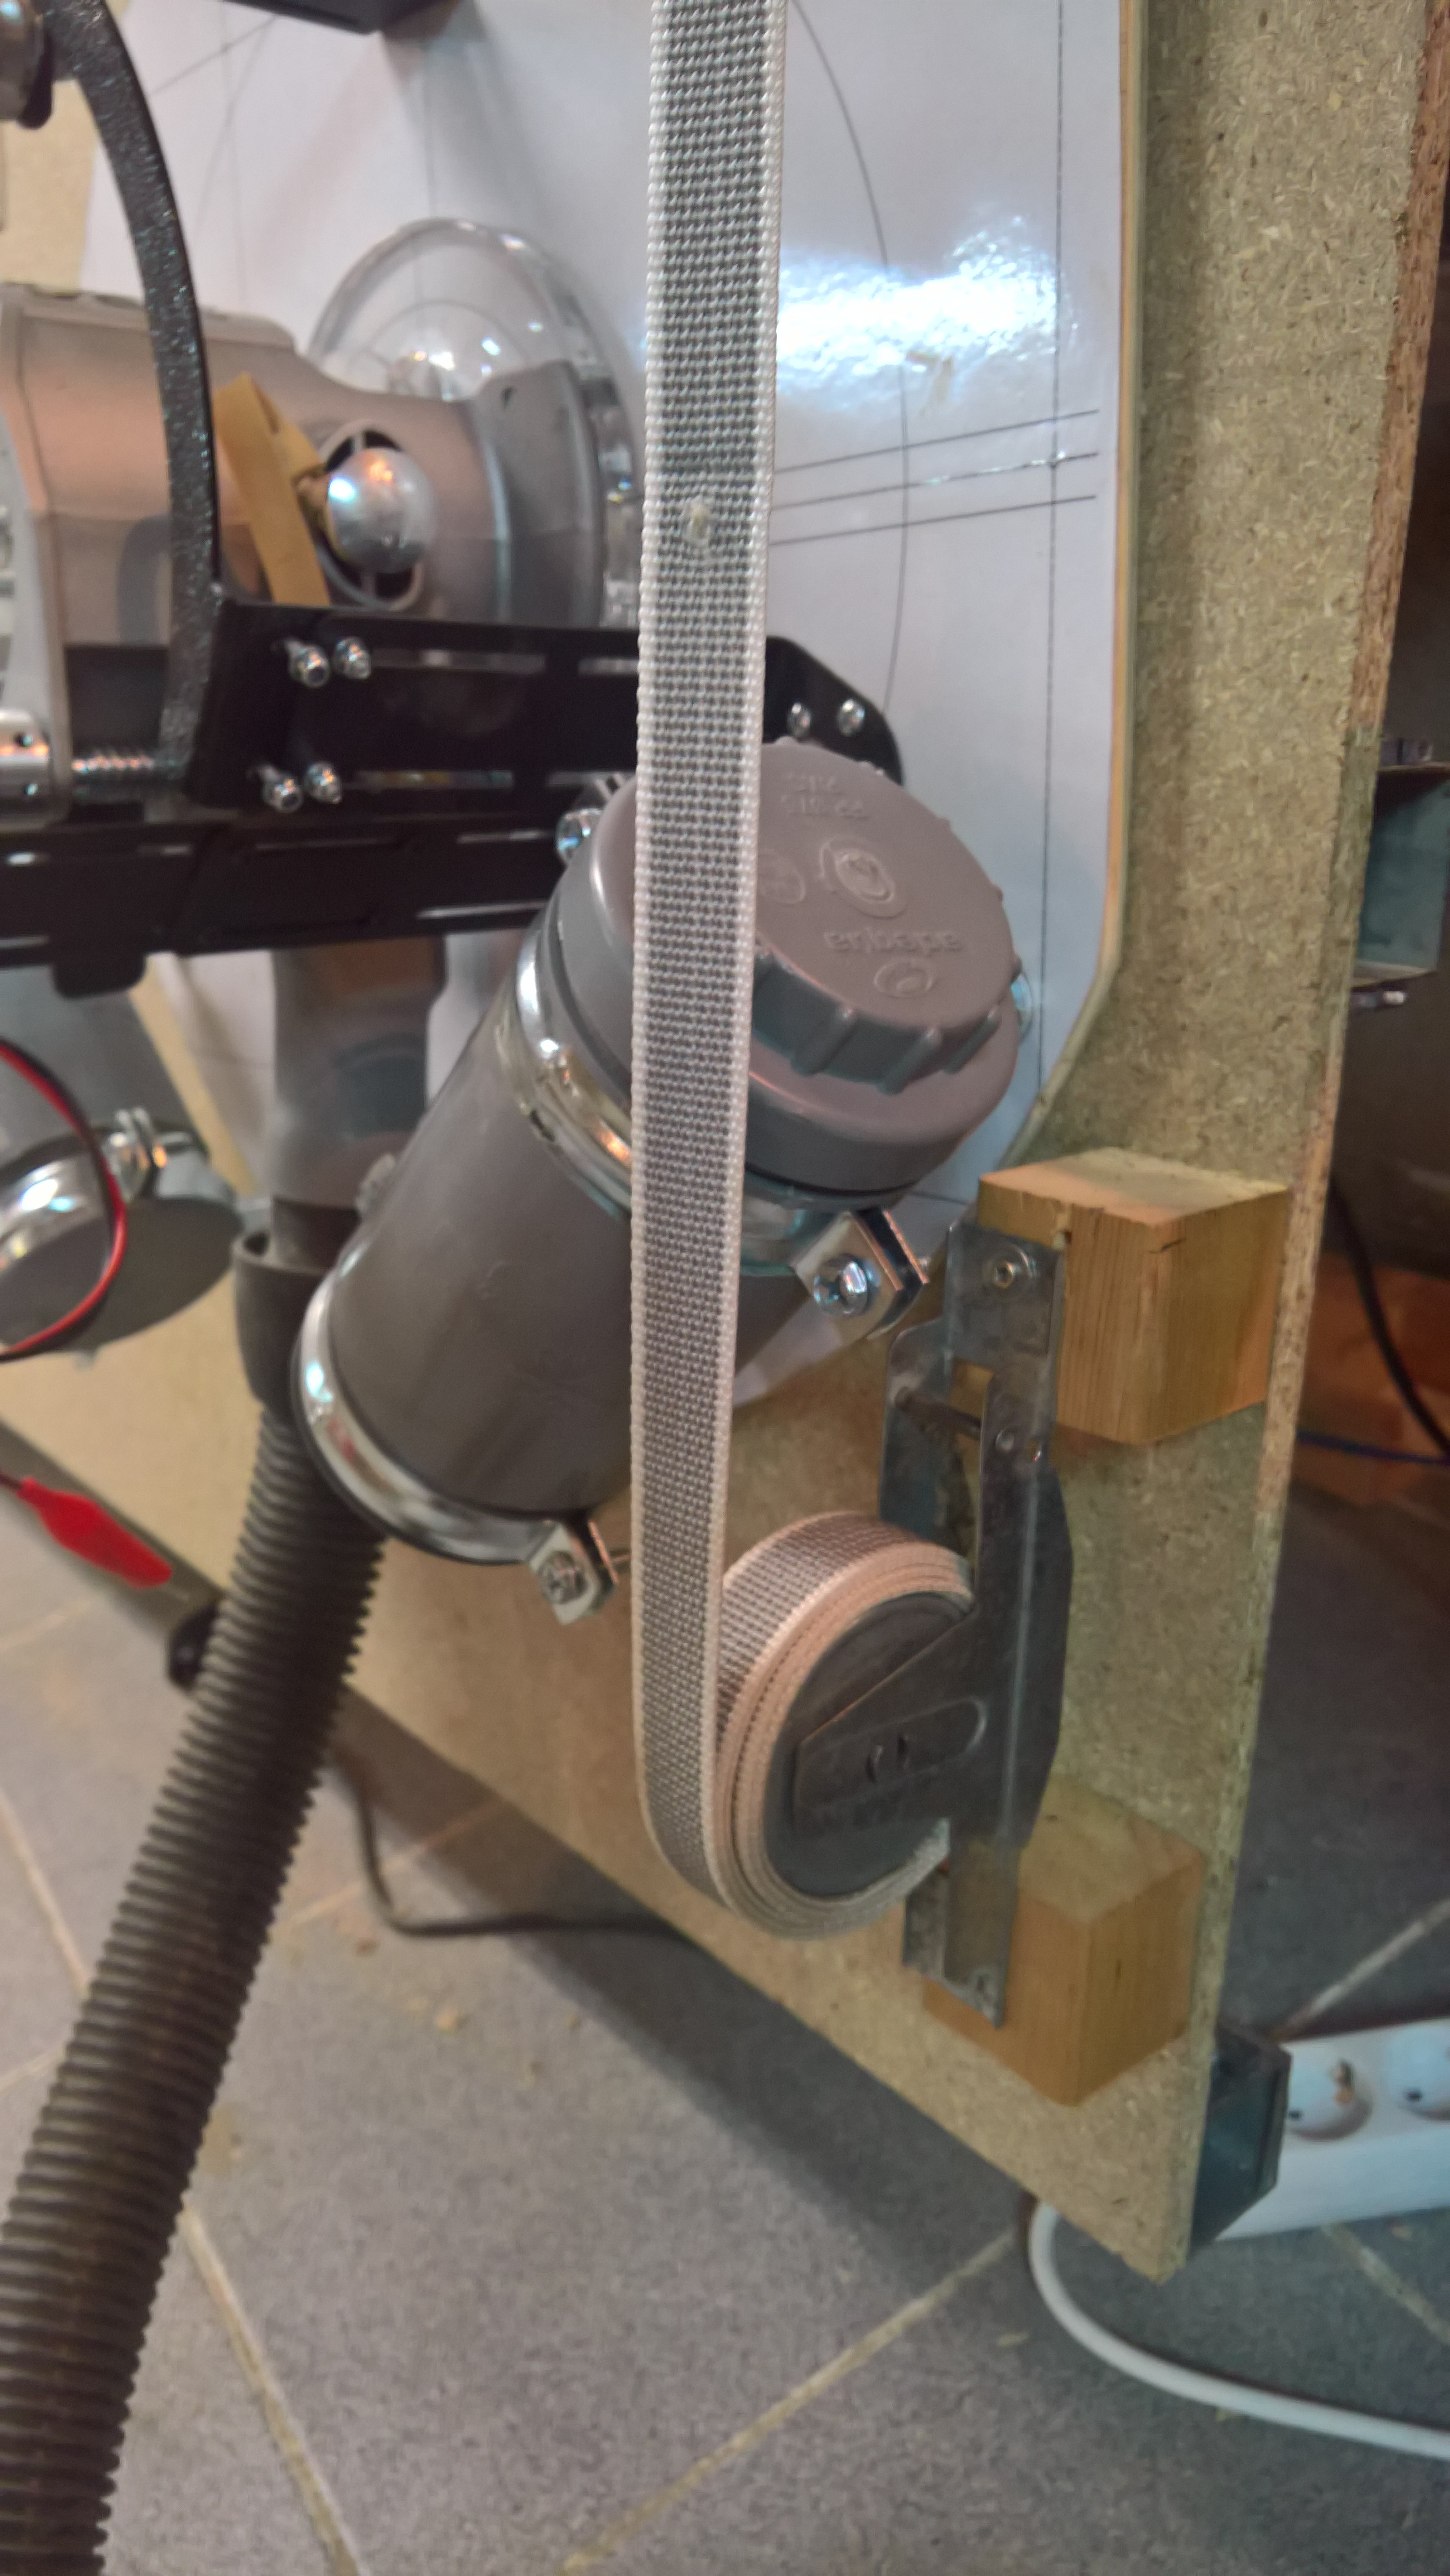
@Dag83 Thank you! Yes I was thinking I could try this on our other Maslow. Hey you can get by with less pulleys if you want less precision and more friction
Not to get too far off topic: Those rolling shutters look like small versions of our roll up doors we use to protect stores at night in busy cities, ocean front properties, or very high end homes that need security. Reminds me of movie The Purge. Most of those are manual or have a pulley and chain to pull up and down. Most of our shutters are fake (decorative) and do not actually move LOL!
Anyhow, pretty cool those are a local option for you. I am anxious to hear how many hours the OP has in using his Maslow?
Sadly, Dag…Rolladen are extremely uncommon in the US. (Kind of amazing, given the amount of Hurricane damage we get on our coastlines…)
When I was stationed in Germany…I always thought they were brilliant.
one thing, the difference between the weight of the router motor and the pen
will mean that the calibration results that are right for one will not be right
for the other (chain sag compensation specifically)
I’ve instaled the router 4 kg + ring sled 1 kg + 2 pvc weights 3 kg each, total weight 11 kg more less.
But the sagging persist, it’s possible, correct this.
On the topic of chain sag, someone was commenting somewhere that it would vary with sled weight, which in turn varies with sled configuration. I like the marker that fits in a router because it uses the router as a marker holder, meaning the sled weight should be nearly the same as with the bit.
On the other hand, two things are different: 1) no router shaft rotation, which seems like it would impart gyroscopic forces; and 2) no vibration from the bit cutting. I’d be interested to see if, running a pattern with the marker, then with a bit, they foldow the same path.
And a third, the side force from dragging the bit through the wood. In practice, I haven’t found any of the three have a big effect on plotting, but are important with the bit in the router. They are a reminder to me to use a sharp bit, conservative cutting depths and check the cutting speed and feed rate.
On the topic of chain sag, someone was commenting somewhere that it would vary
with sled weight, which in turn varies with sled configuration. I like the
marker that fits in a router because it uses the router as a marker holder,
meaning the sled weight should be nearly the same as with the bit.
I agree
On the other hand, two things are different: 1) no router shaft rotation,
which seems like it would impart gyroscopic forces; and 2) no vibration from
the bit cutting.
but also no sawdust or rough edges being generated to add friction. I don’t
expect that these would cause a significant difference.
I’d be interested to see if, running a pattern with the marker, then with a
bit, they foldow the same path.
I’ll run a test pattern with the marker and then with a bit, but i’ve a question.
How we should measure distances accurately.
On the right to right of the cut,
on the center of the cut,
or on the right to left of the cut
All my measurements were made with laser and a block of wood located in the center of the mark.