More progress pictures (note uploading pictures from a phone doesn’t work well…can’t see the image after uploading).
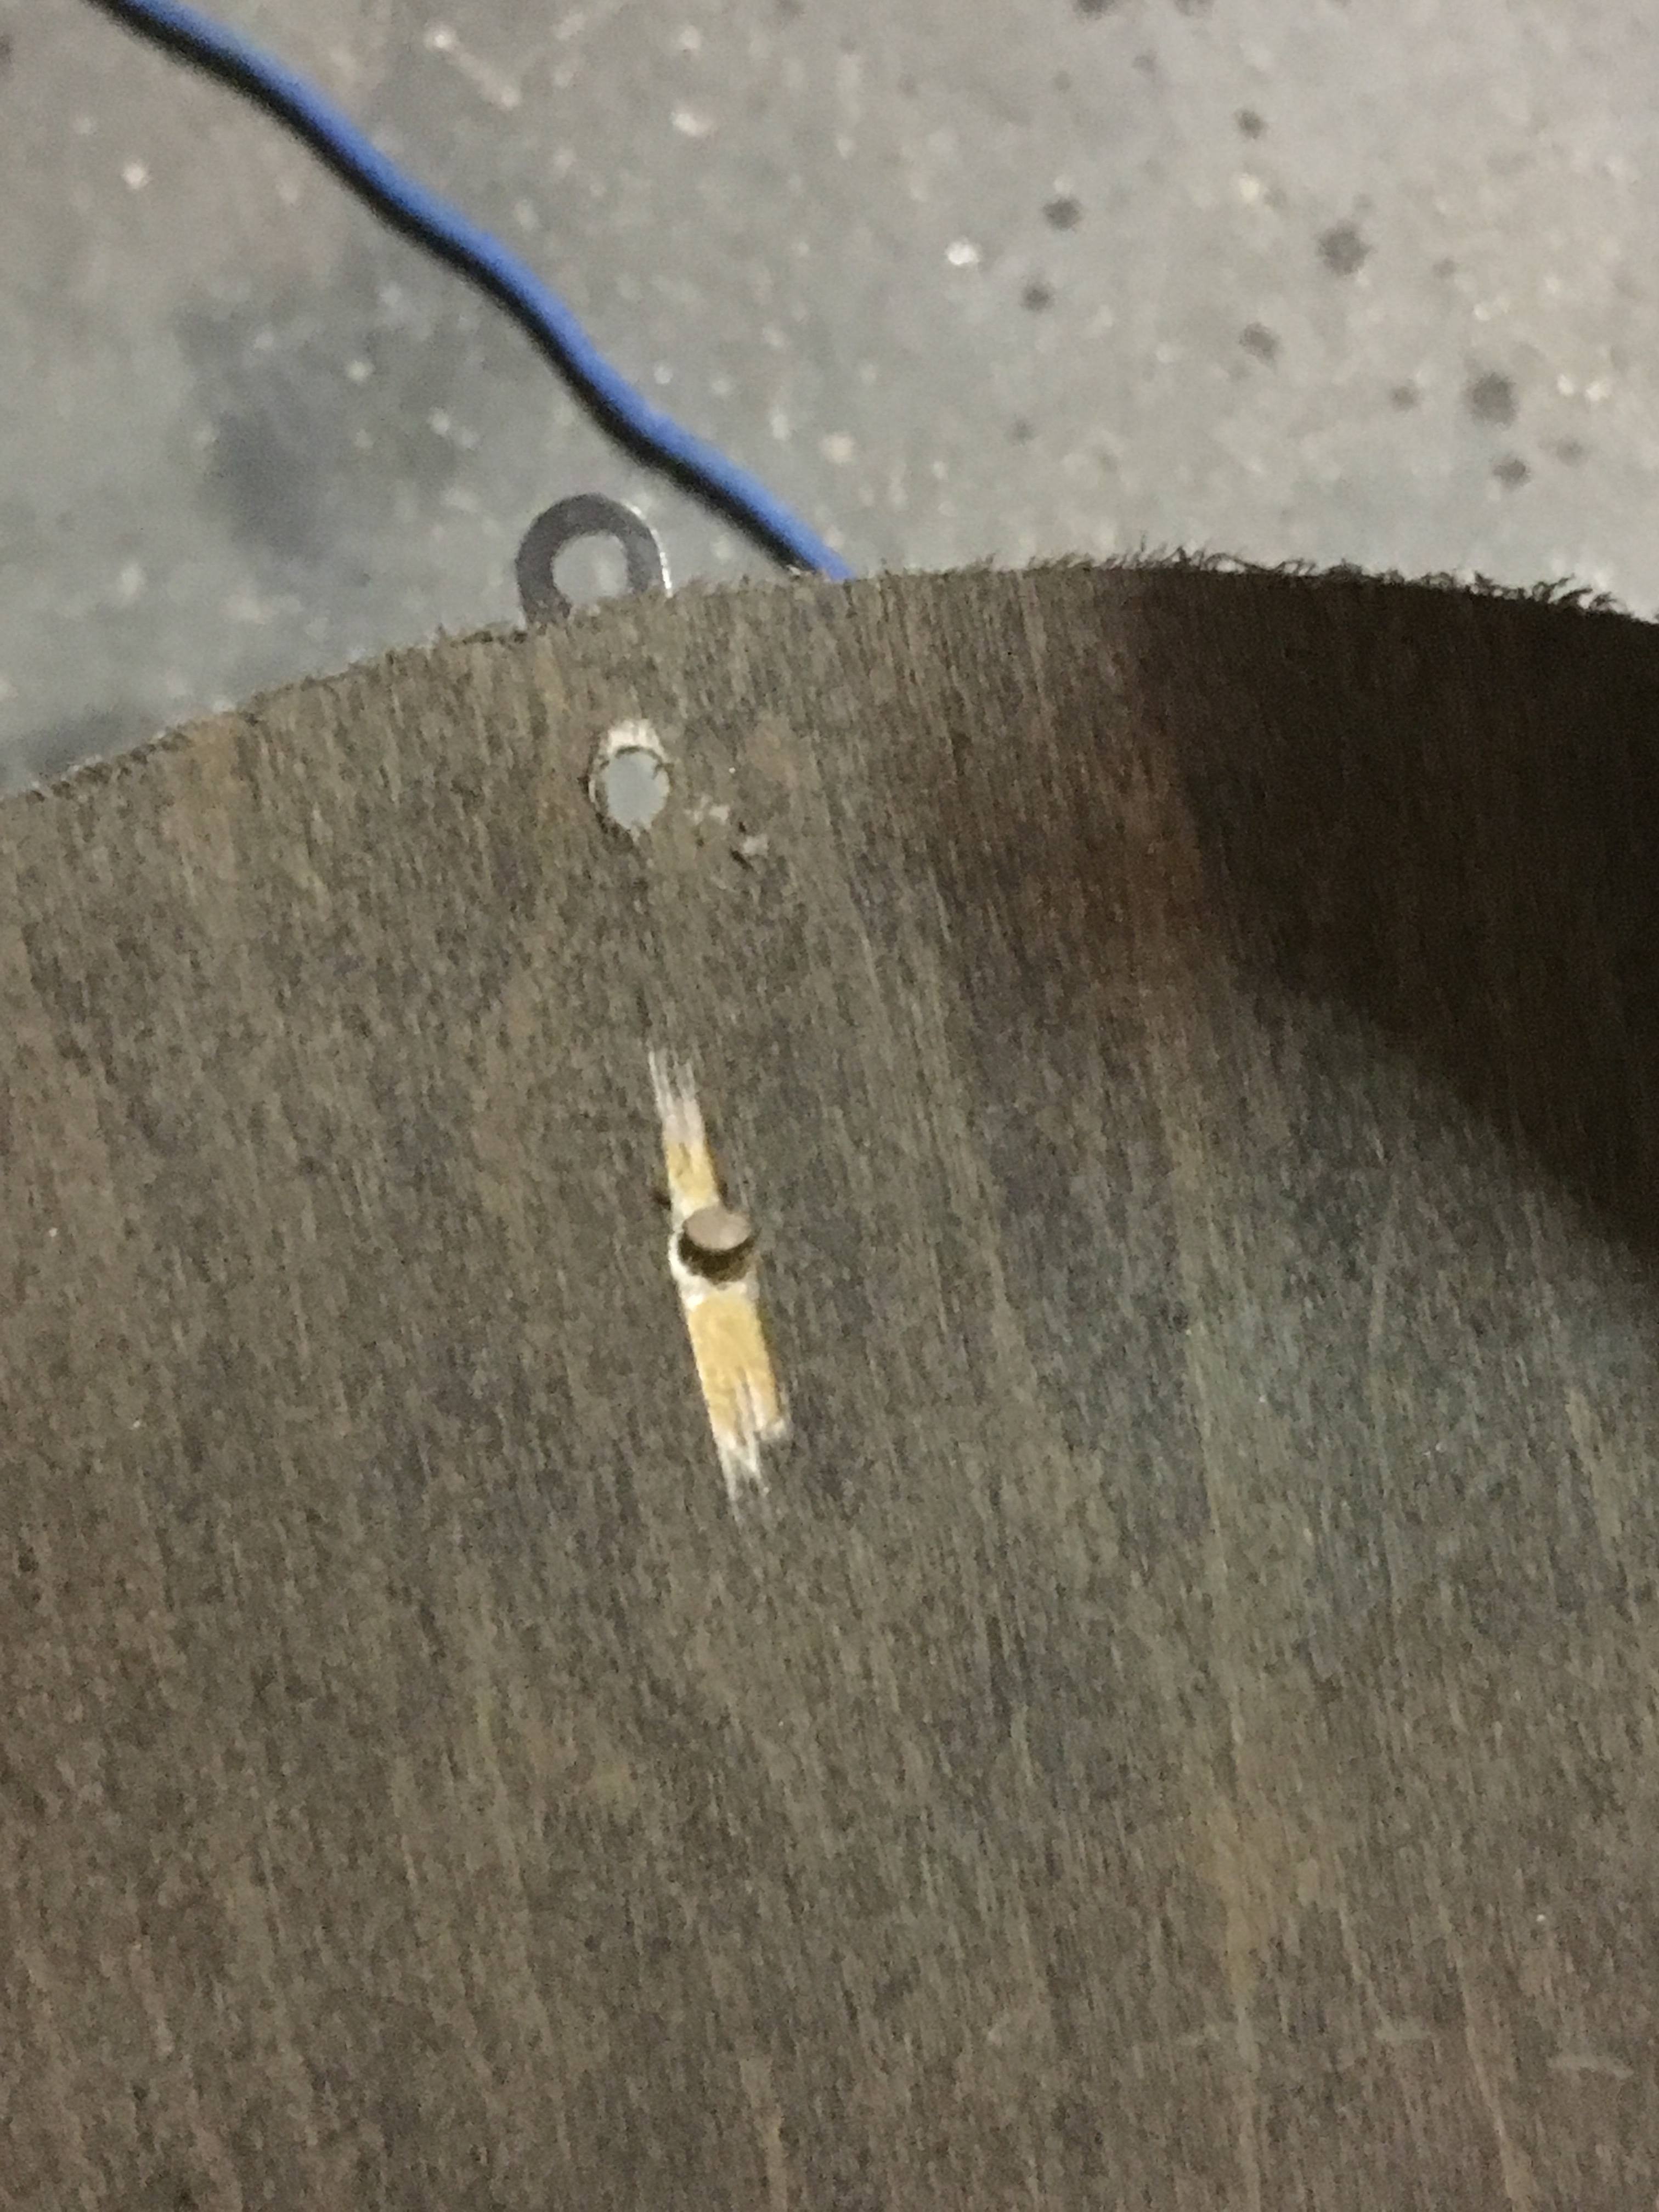
This how the bit looked poking through the sled. Note the router is mounted to the sled and the sled is flipped upside down. I put the small hole at the bottom end of the arm on the tip.
I clamped one of the vertical arms (looks like a hook) to the sled and positioned it so that the little hole in the hook end is centered on the router bit.
I then drilled through the sled. I’m planning to run bolts through the sled to mount the linkage.

Since the linkage needs mounted a few inches off the sled, I’m going to try a 2x4. I clamped the wood to the sled and drilled some pilot holes in the 2x4 to mark the linkage mounting location. NOTE: this 2x4 will be cut to 2.5" once the holes are drilled on the drill press.
I hand drilled the holes through the sled but I am going look into redoing this on a drill press so that the drill goes through the sled and 2x4 at the same time.

12/27/2018 Update:
Once I got the drill press, I looked into drilling new holes through the sled and 2x4 but it was too complicated to get everything all clamped together and drilled so I just continued drilling the pilot holes I made before.

I drilled out the bottom of the sled to counter sink the hex head bolts.

I did not have problems with the bolt heads spinning.
I cut the 2x4 block a bit smaller, per @dlang, and mounted the linkage. I put some washers on top of the 2x4 and lock washers on top of the linkage center arm.
I then used a hole saw to cut out the center.
I still need to add bricks, tighten up the linkage bolts and cut and mount the 1/8” sheet of HDPE to the bottom of the sled but.
Feb 11, 2019 Update:
I’ve been trying to improve accuracy (that is for another post) and decided it was time to catch up on documenting my installation. Completing the sled construction…
I eyeballed the brick placement which, in hindsight, isn’t a good idea.
As you can see, the weight is not balanced and causes the sled to rotate to one side. If the balance is really out of whack, I think this can cause issues with the linkage in the corners. I believe the center bar should always remain vertical (or at least more vertical than this).
After moving the left brick so that it is mirrored to the right brick, the center bar looked pretty well vertical in the extreme upper left corner:
If installed accurately, the bit should stay in place while the sled is rotated. @Jay_Settle pointed out to me that I should perform a “rotation test” to verify the accuracy of the installation of the linkage. With the sled connected to the chains, and centered on the work piece, I plunged a 1/4" bit down about 1/2" into a piece of plywood (via GC z-axis controls). Holding on to the router handles, I slowly and gently rotated the sled clockwise to about 45 degrees and then back to center; the bit stayed in place. From center, I moved the sled counterclockwise about 45 degrees and the bit moved down and to the right as you can see in this picture. Since I’m using my hands, it isn’t a scientific test (I could have unknowingly pulled more vertically or horizontally at any time during the rotation). However, I do think it is an indicator of the accuracy of the installation. I’m not sure I can do any better.


