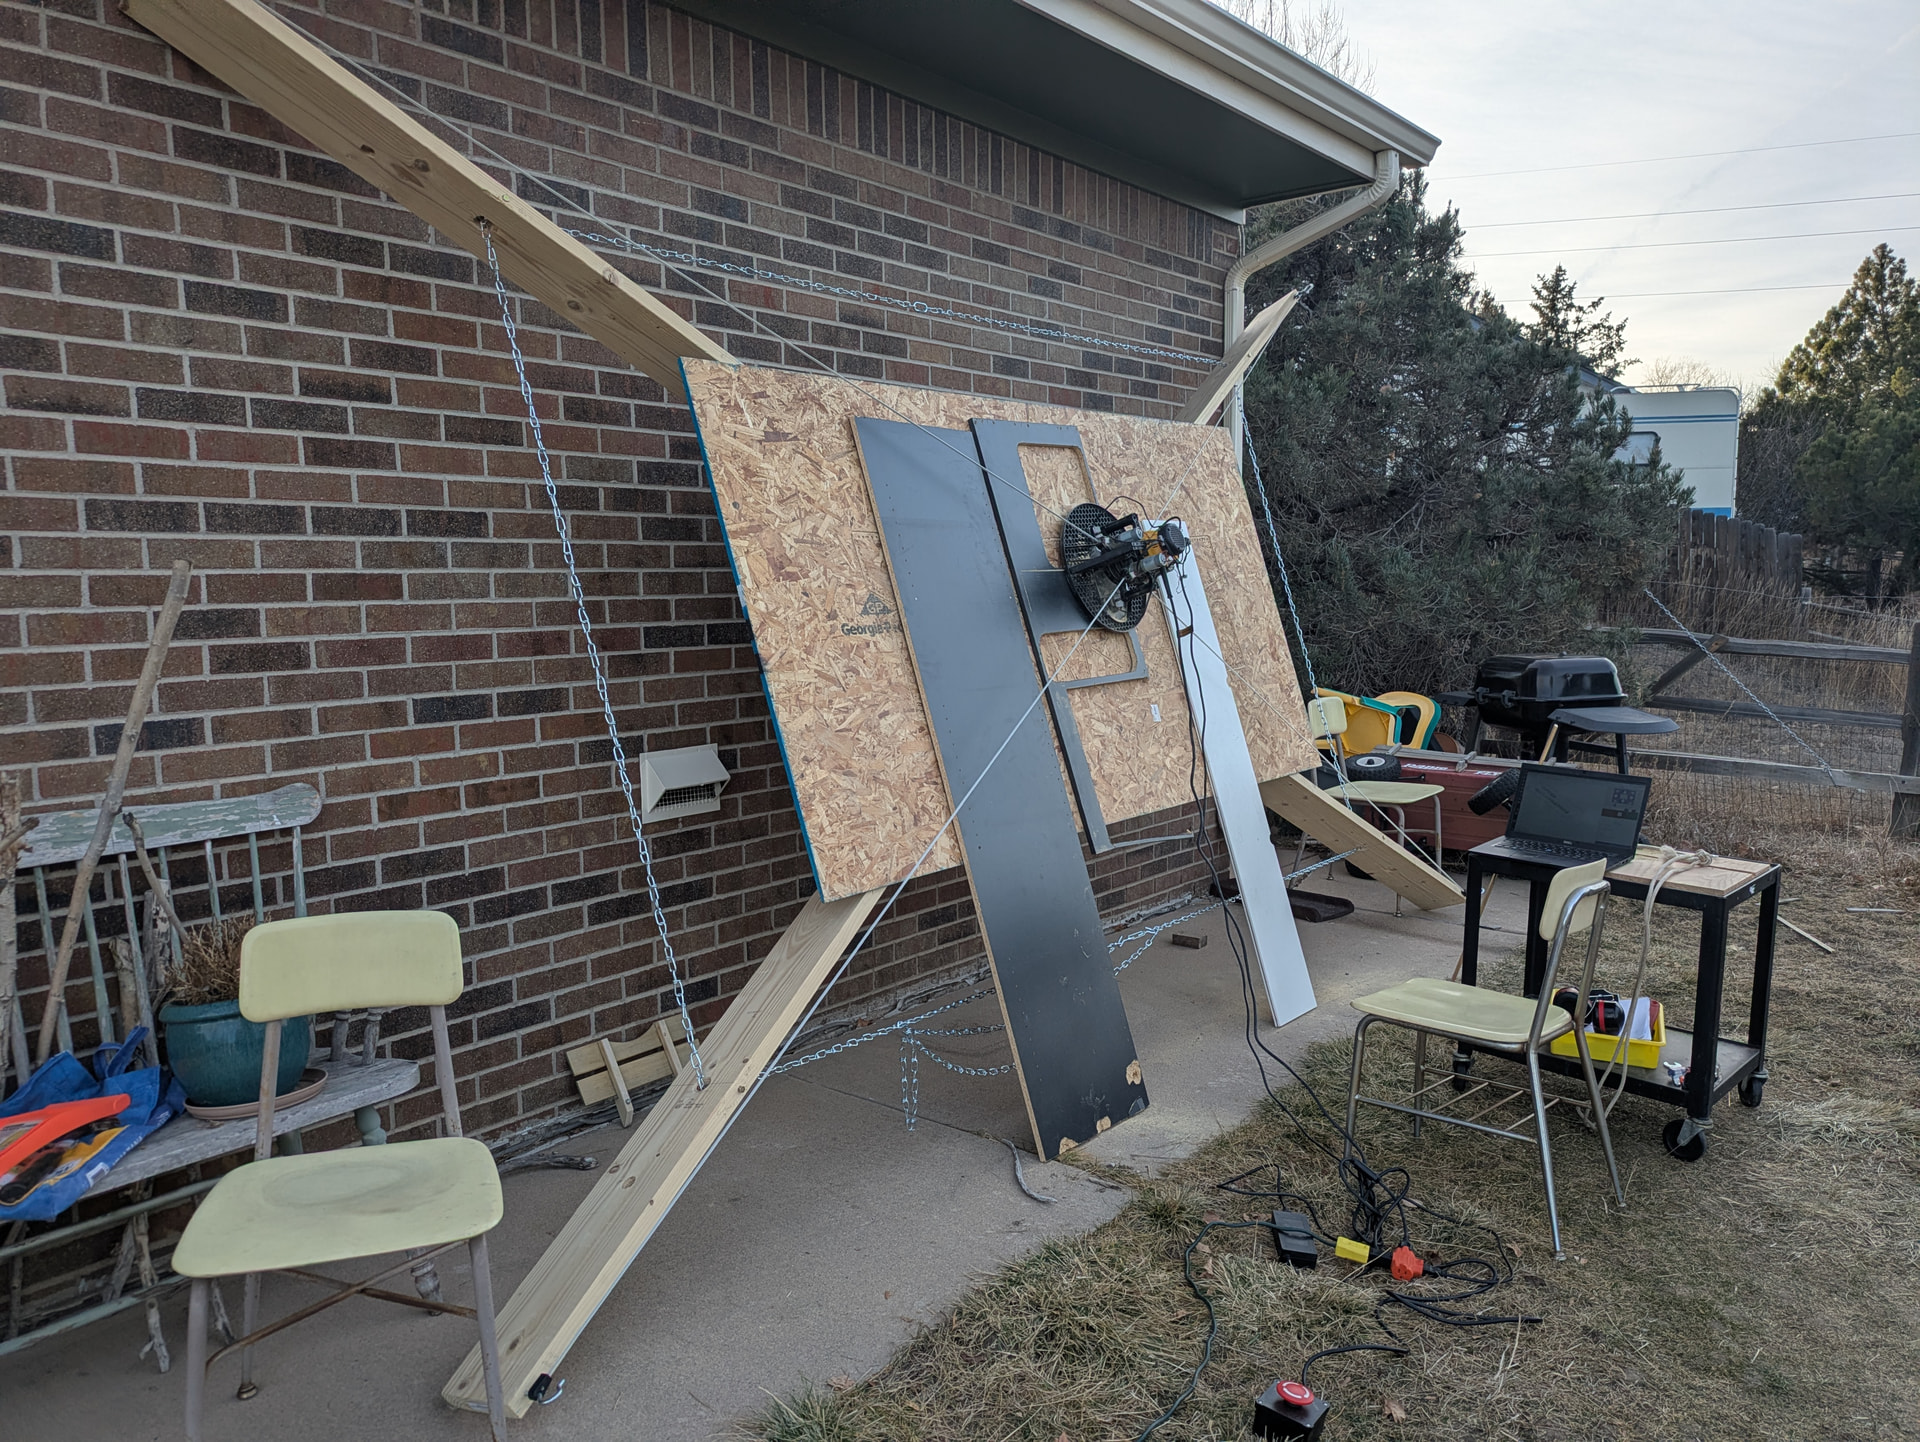
I want to build a shelf for the pi keyboard to make it easier to use. I also need to build a drawer and storage behind for bits and tools. Also trying to figure out how to set up a sanding station connected to the dust vac. Haven’t figured that piece out yet.
Haven’t cut anything yet. But the machine had a successful calibration! (I also at the end ran a puzzle piece gcode without a bit or the router or shop vac running.) I have large hinges. I intend to attach the top header to the wall just below the ceiling and cut foldable supports to hold the frame at 20 degrees.
The frame is just the default frame with a homemade gate kit. I also used threaded rod for the anchors. (This lets me adjust the Z offset with 2 nuts to get each resulting point closer to perpendicular to their respective arms.)
I would have just created permanent anchors along the back end of the garage but it’s a single car garage too small even for the default frame dimensions.
I also had to try at least 4 previous times to calibrate. It kept failing at different points to respond to new commands. I think it might have been because I was using Maslow’s wifi. (It kept showing the disconnect notice. I’m not sure whether this message was actually correct - but the laptop I was using kept trying at first to connect to a preferred wifi within range that would give it internet. It’s pretty reliable now that the Maslow uses that other wifi too though and I go to maslow.local. But it was pretty annoying to repeat unmounting, retracting, extending, mounting, and calibrating half a dozen times.)
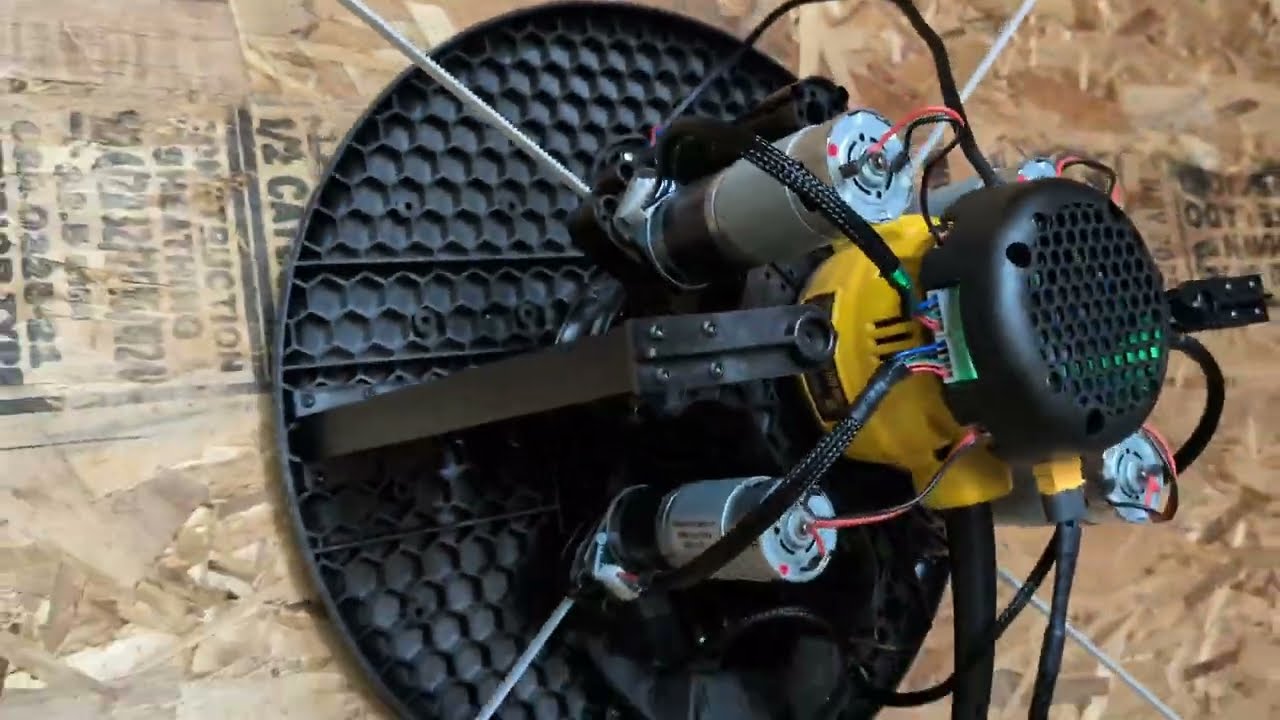
Basic frame with steps on either side, power brick holder, and e-stop controlled power outlets. I’ve added a magnetic cable fastener to the as of yet integrated z-probe to hang it from a screw in the frame. I’ve covered the power cables with split loom. The dust collector fitting is @bar ‘s modded to connect to a Centec hose. I have a Dust Deputy connected to my shop vac for dust management.
Just got it finished last week, and just got done putting my machine together today. Hopefully I can get it hooked up on the frame and test it this week. It’s on wheels so I can roll it into my garage when I’m not using it and take it to outdoor events and cut things in front of people so they can see how I make what I sell. It’s got room in the back for all my sheet good storage.
The anchors are inspired by a 3D print design by dlang. I downloaded the STL then decided I could make anchor "plates out of some scraps of bamboo flooring. I drilled 10mm holes for the pins which I machined from a piece of rod which was an offcut of some odd dia mild steel I picked up at a shop sale. Slightly larger than 10mm so easily machined to size.
I later drilled the pins so I could tap thread for 5/16in bolts to make it easier to pull out the pins.
This frame will limit the size of project, but I wanted to start small and have a frame I could store somewhere without having to dis-assembly in between uses.
Hallo there, would like to share about my not so fancy European style setup.
My car wont fit a whole sheet of plywood and to get it delivered also costs an arm and a leg, so my setup is a little smaller with a working area of 1350 x 900 mm defined by the space I have available after simulating with the layout simulator. Anchor Point Layout Simulator
This is remarkably space inefficient and also means you do not necessarily need a full rectangular frame so i designed it in a H form with some OSB wings to stiffen it out which works well in practice.
To get started there will be a few 3D prints required that can be found all over the place, first the holder for the European version of the DeWalt router so the cable is not in the way:
And the dust extraction insert otherwise the dust does not get extracted properly from the cuts for me. Some use this as a feature with downcut bits to not use holding tabs but I am not brave enough to try that out.
So lucky who has a 3d printer. There is an advantage of the metric system in that we can get endmills in millimeter steps, provided you have the matching collets which are not super abundant for the DeWalt:
I use a 4mm mill which is a good compromise to reach the cut of depth i need approx. 18mm max, small diameter for some details, wont break off easily and still workable within the rpm range of the Router (use speed 3) at 2000mm/min, i plunge 4mm, more could be possible but I am also not brave enough to try it out :).
As software I use Inkscape, Fusion 360 or the good old Sketch up 2017 with a plugin called OpenCutList that allows to directly export .svg. files. For creating g-code I use Estlcam which so far has never let me down and is relatively affordable.