Hi all, I am recently new to the community and I would love to share my build. First and most importantly thank you everyone in this community for being a inspiration. You guys are a collection of awesome! Next buckle up buttercup this is going to be detailed.
Now one to the fun details:
First off the frame: I knew I wanted a hinged frame so that was where my build started. I found an article posted by Tom_v which is what I based my frame off of. The link to his build can be found here. [Tom_v] (Wall tilting frame). Just like any project, off to home depot I go. Frame started with 4x 2X4’s that made up the square frame. Small blocks of wood were used to hold the corners tight while being screwed together. Once the square 2X4 frame was together I roped in some family muscle to help carry the sheets of plywood that was going to be used for a frame and throwaway board. On top of the 2X4 frame is 1/2 plywood, on top of the plywood is 1/2 osb for the throw away board. The bottom of the frame was done. YAY! Next up was to mount the top 2x8. Made it centered and level. It was beautiful thing when it was finished.


Making the frame hinged Back to home depot to find hinges . Found some pointed hinges that looked cool. Next was to figure out how and where to mount the frame to the wall. Marked and cut 3x 11in 2x4s, rested the 2x4’s on the foundation and secured them with some 3in screws. My thought here was if it can hold my house it’s good enough to hold my frame. The back of the frame needed a 2x4 for a spacer that would allow the frame to sit flush against the wall and give the hinges something to mount to. Called up the Broski and he came over with the car jack. We balanced the frame on the car jack and screwed the hinges to the 2x4s on the foundation. Next thing was folding legs, and mount the motors… pretty straightforward. Made some 3D printed clipies to hold the motor cables in place.


Building the 1st sled I bought the pre-made sled for convenience. Mounted the ring, bearings, and bracketry with no issues what so ever. Next was mounting the rougher to the sled. I ended up buying a Dewalt DWP611PK as a universal rougher for my CNCs. The acrylic on the bottom of the rougher base is a perfect template to mark the holes in the sled with.I printed a fixture to keep the sled and rougher concentric. The idea was the printed part would go into the sled hole. The plastic acrylic would set over the top of the printed part and I could transfer the holes to the sled. Unfortunately I don’t have a good picture of that process, BUT it worked well!


Totally psyched IT IS COMING TOGETHER!
Added the chains to the machine Next step was to add the chains to the machine. I did not use the elastics because it’s the basement and mice are little trouble makers. I can see one chewing on the elastic and POOF flying mice. I used lifting weights because they were starting to collect dust from a hobby I never picked up. 5lbs on each string hanging in the back. I ran though the calibration but I didn’t like how the chains were twisting. I just couldn’t leave it like that. So I printed some parts that used the original nail to hold the chains and keep them straight.


Better dust collector After the calibration cut, I ran some sample code and found out I needed a better dust collection system. The following weekend was spent designing a shroud for the rougher that would easily hook up the vacuum and use the pre-existing holes in the rougher base. This shroud has some BIG problems.
- Couldn’t see the bit while cutting
- Had unused space over the sled
- The Z needed to be operated manually.
All of these were not cool in my mechanical mind. I was starting to dream about the z axis upgrade.


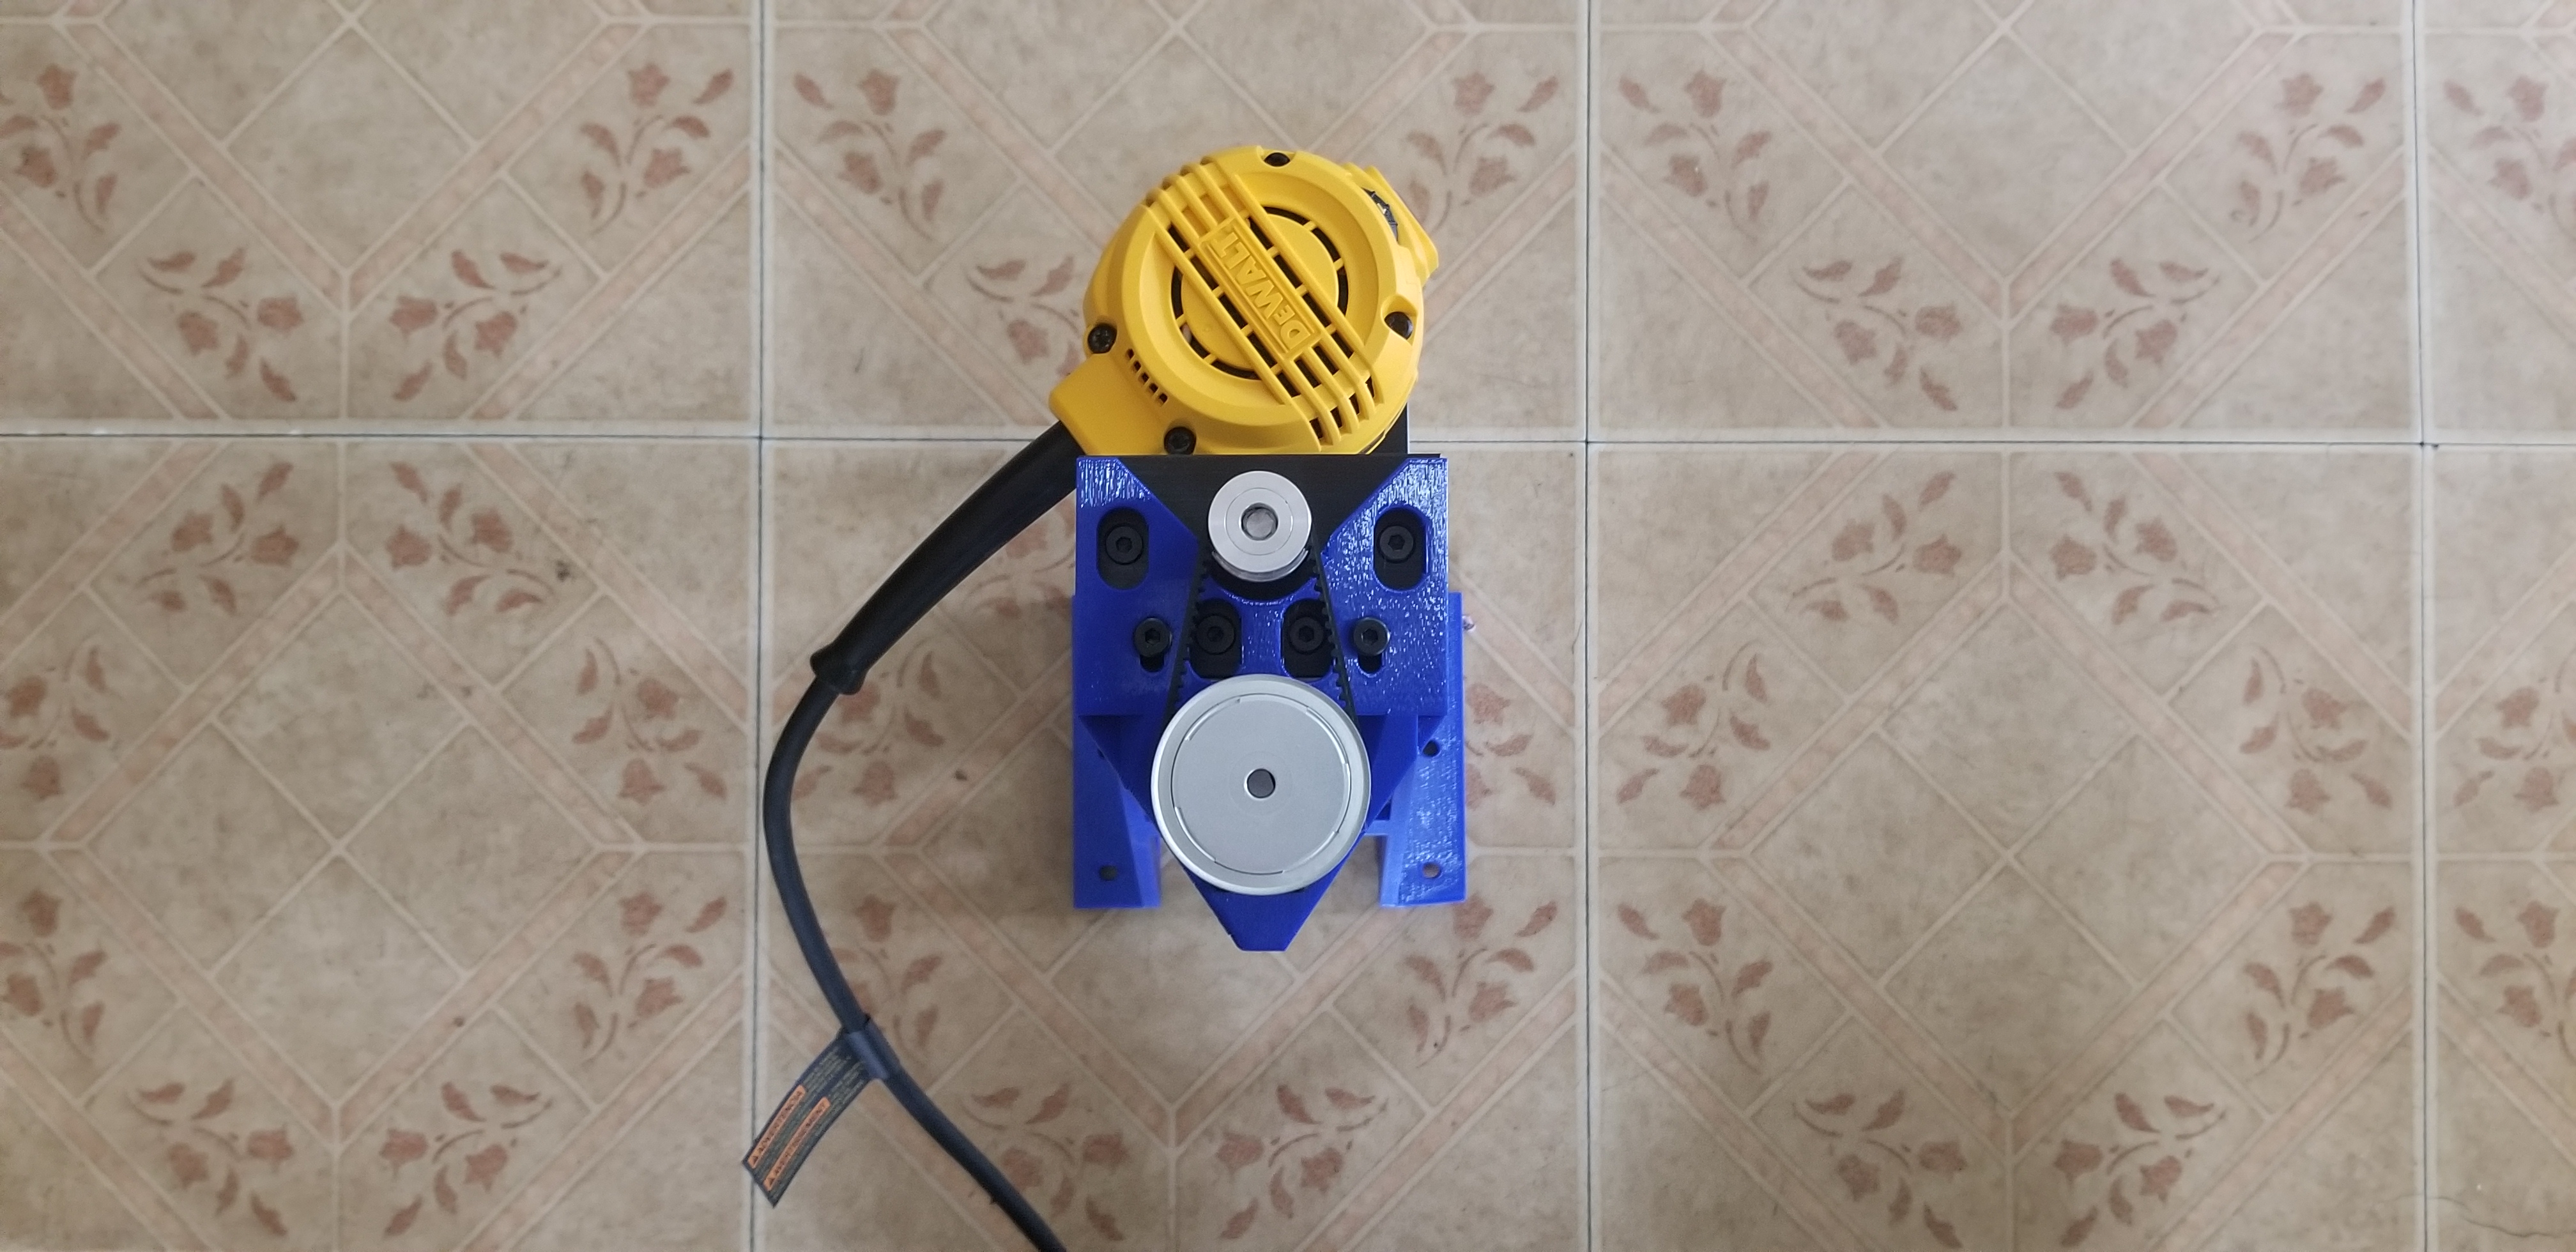
Few weeks later…Z-axis upgrade happened
After a ton of reading and dreaming I was ready to build an Auto Z axis. The style and simplicity of the C-Beam was stuck in my mind. Someone once said “You can’t put a price on something that makes you smile”.
After spending some time in CAD trying to figure out dust collection, placement of parts, and off the shelf components that could be used with little modifications. This is the final design.
Since I was already ordering from open builds, I used them to source most of my parts.
The parts list from open builds is:
- Dewalt rougher clamp
- C-beam 250mm rail system
- 1 × 3GT (GT2-3M) Timing Pulley - 20 Tooth - 9mm Belt - 8mm Clamp Bore
- 1 × 3GT (GT2-3M) 9mm Timing Belt - Closed Loop
- 2 × Tee Nuts - M5 (10 Pack)
- 2 × Low Profile Screws M5 (10 Pack) (12mm)
Parts list for SDP-SI (gear and pulley company)
6A53M045DF0906 (45tooth pulley, Motor side)
6A53M030DF0906 (30tooth pulley, Motor side)
Bought two different sizes so that way I can change the speed if needed.
McmasterCarr
95462A029 - Grade 5, Zinc-Plated, 1/4"-20 Thread Size
92210A546 - 1/4"-20 Thread Size, 1-1/2" Long
92141A029 - 1/4" Screw Size, 0.281" ID, 0.625" OD washer.
Vacuum attachment
Designed and 3D printed by me.
C-Beam holding bracket.
Designed and 3D printed by me.
All of the printed parts, and cad work will be posted shortly. There will be a link that is accessible to everyone.


Thanks for talking the time to get to this point. You made it!
TL;DR
Machine was built with wood and printed parts based on community ideas. There will be links to CAD, and printed parts. Just Sharing ideas and pictures.


