That is a question that I would like to know the answer to as well! LOL
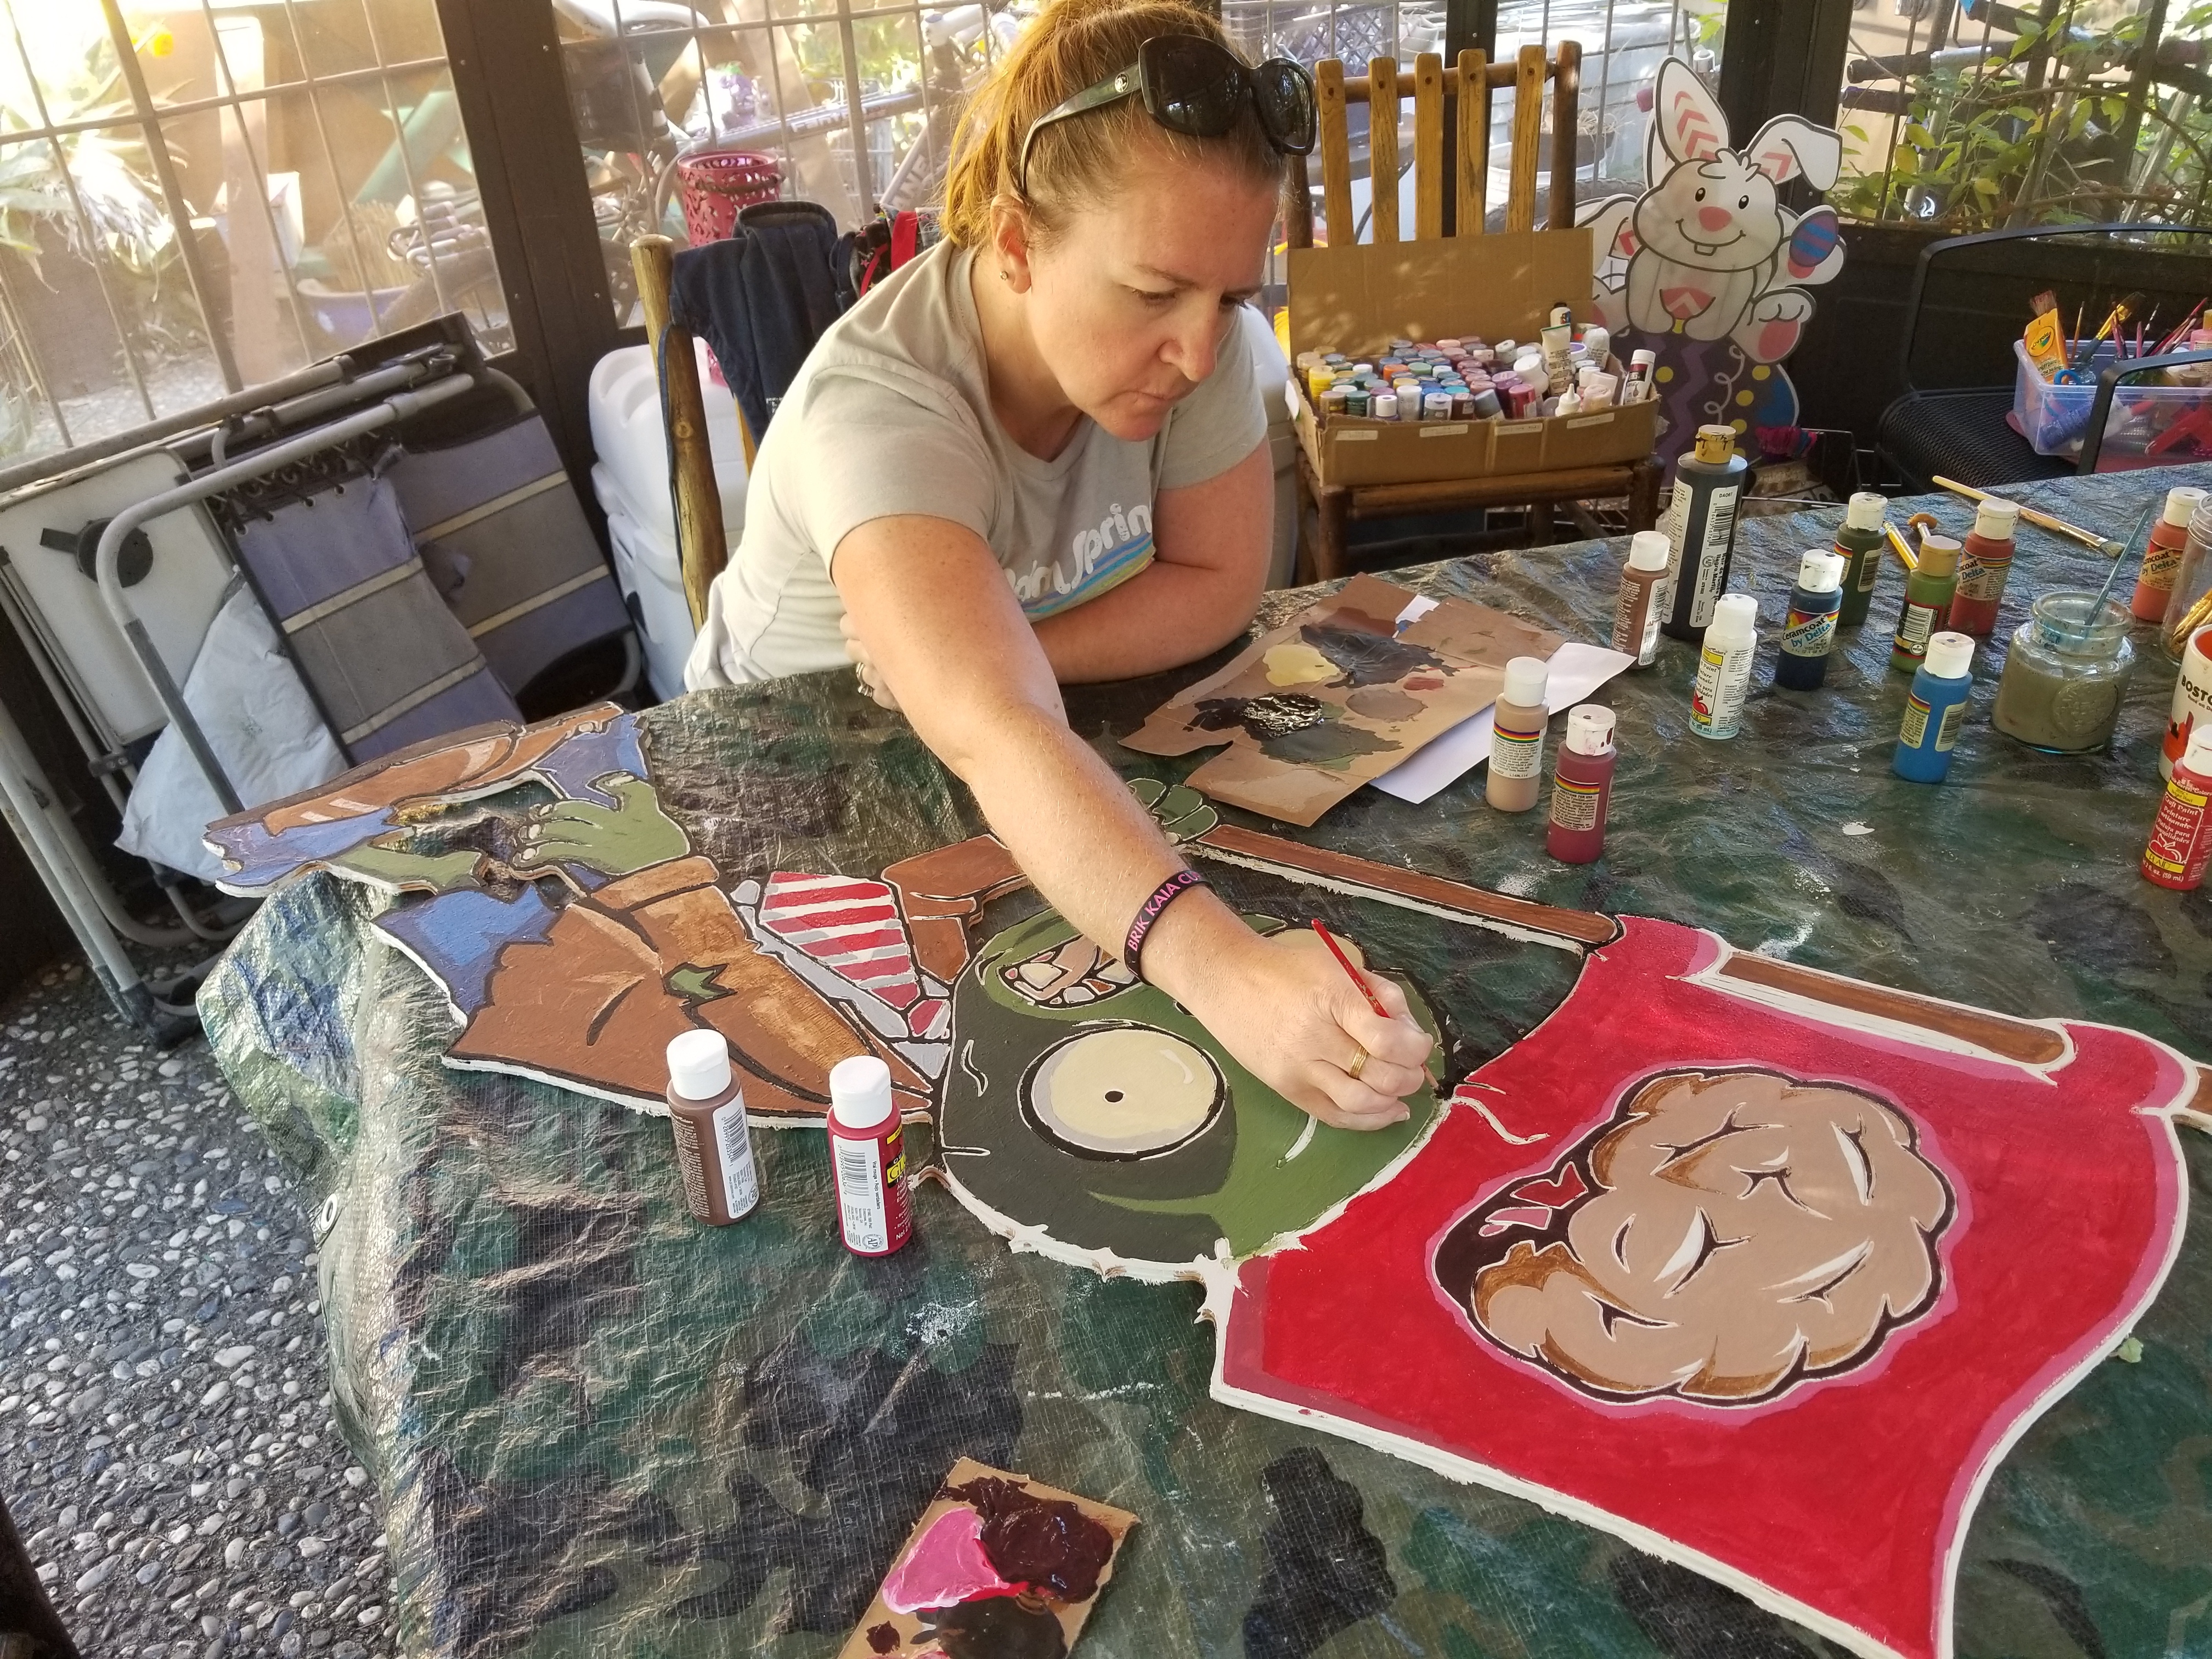
It is painted with 4 coats of exterior grade paint (3 layers of primer and then the color coat; the back has a final coat of black). From searching around the web, this covering method seems to have held up well for some folks, so I thought I would give it a try over the alternative of filling in the inevitable voids in exterior grade plywood I can source locally.
normal MDF, not well. There is MDF made with wterproof glues that does a bit
better, but you really have to protect it outside. It won’t even hold up it’s
own weight once it gets wet.
MDO is what is typically sold in the US for exterior signage. Unfortunately for me, it is 4 hours+ round trip to purchase MDO.
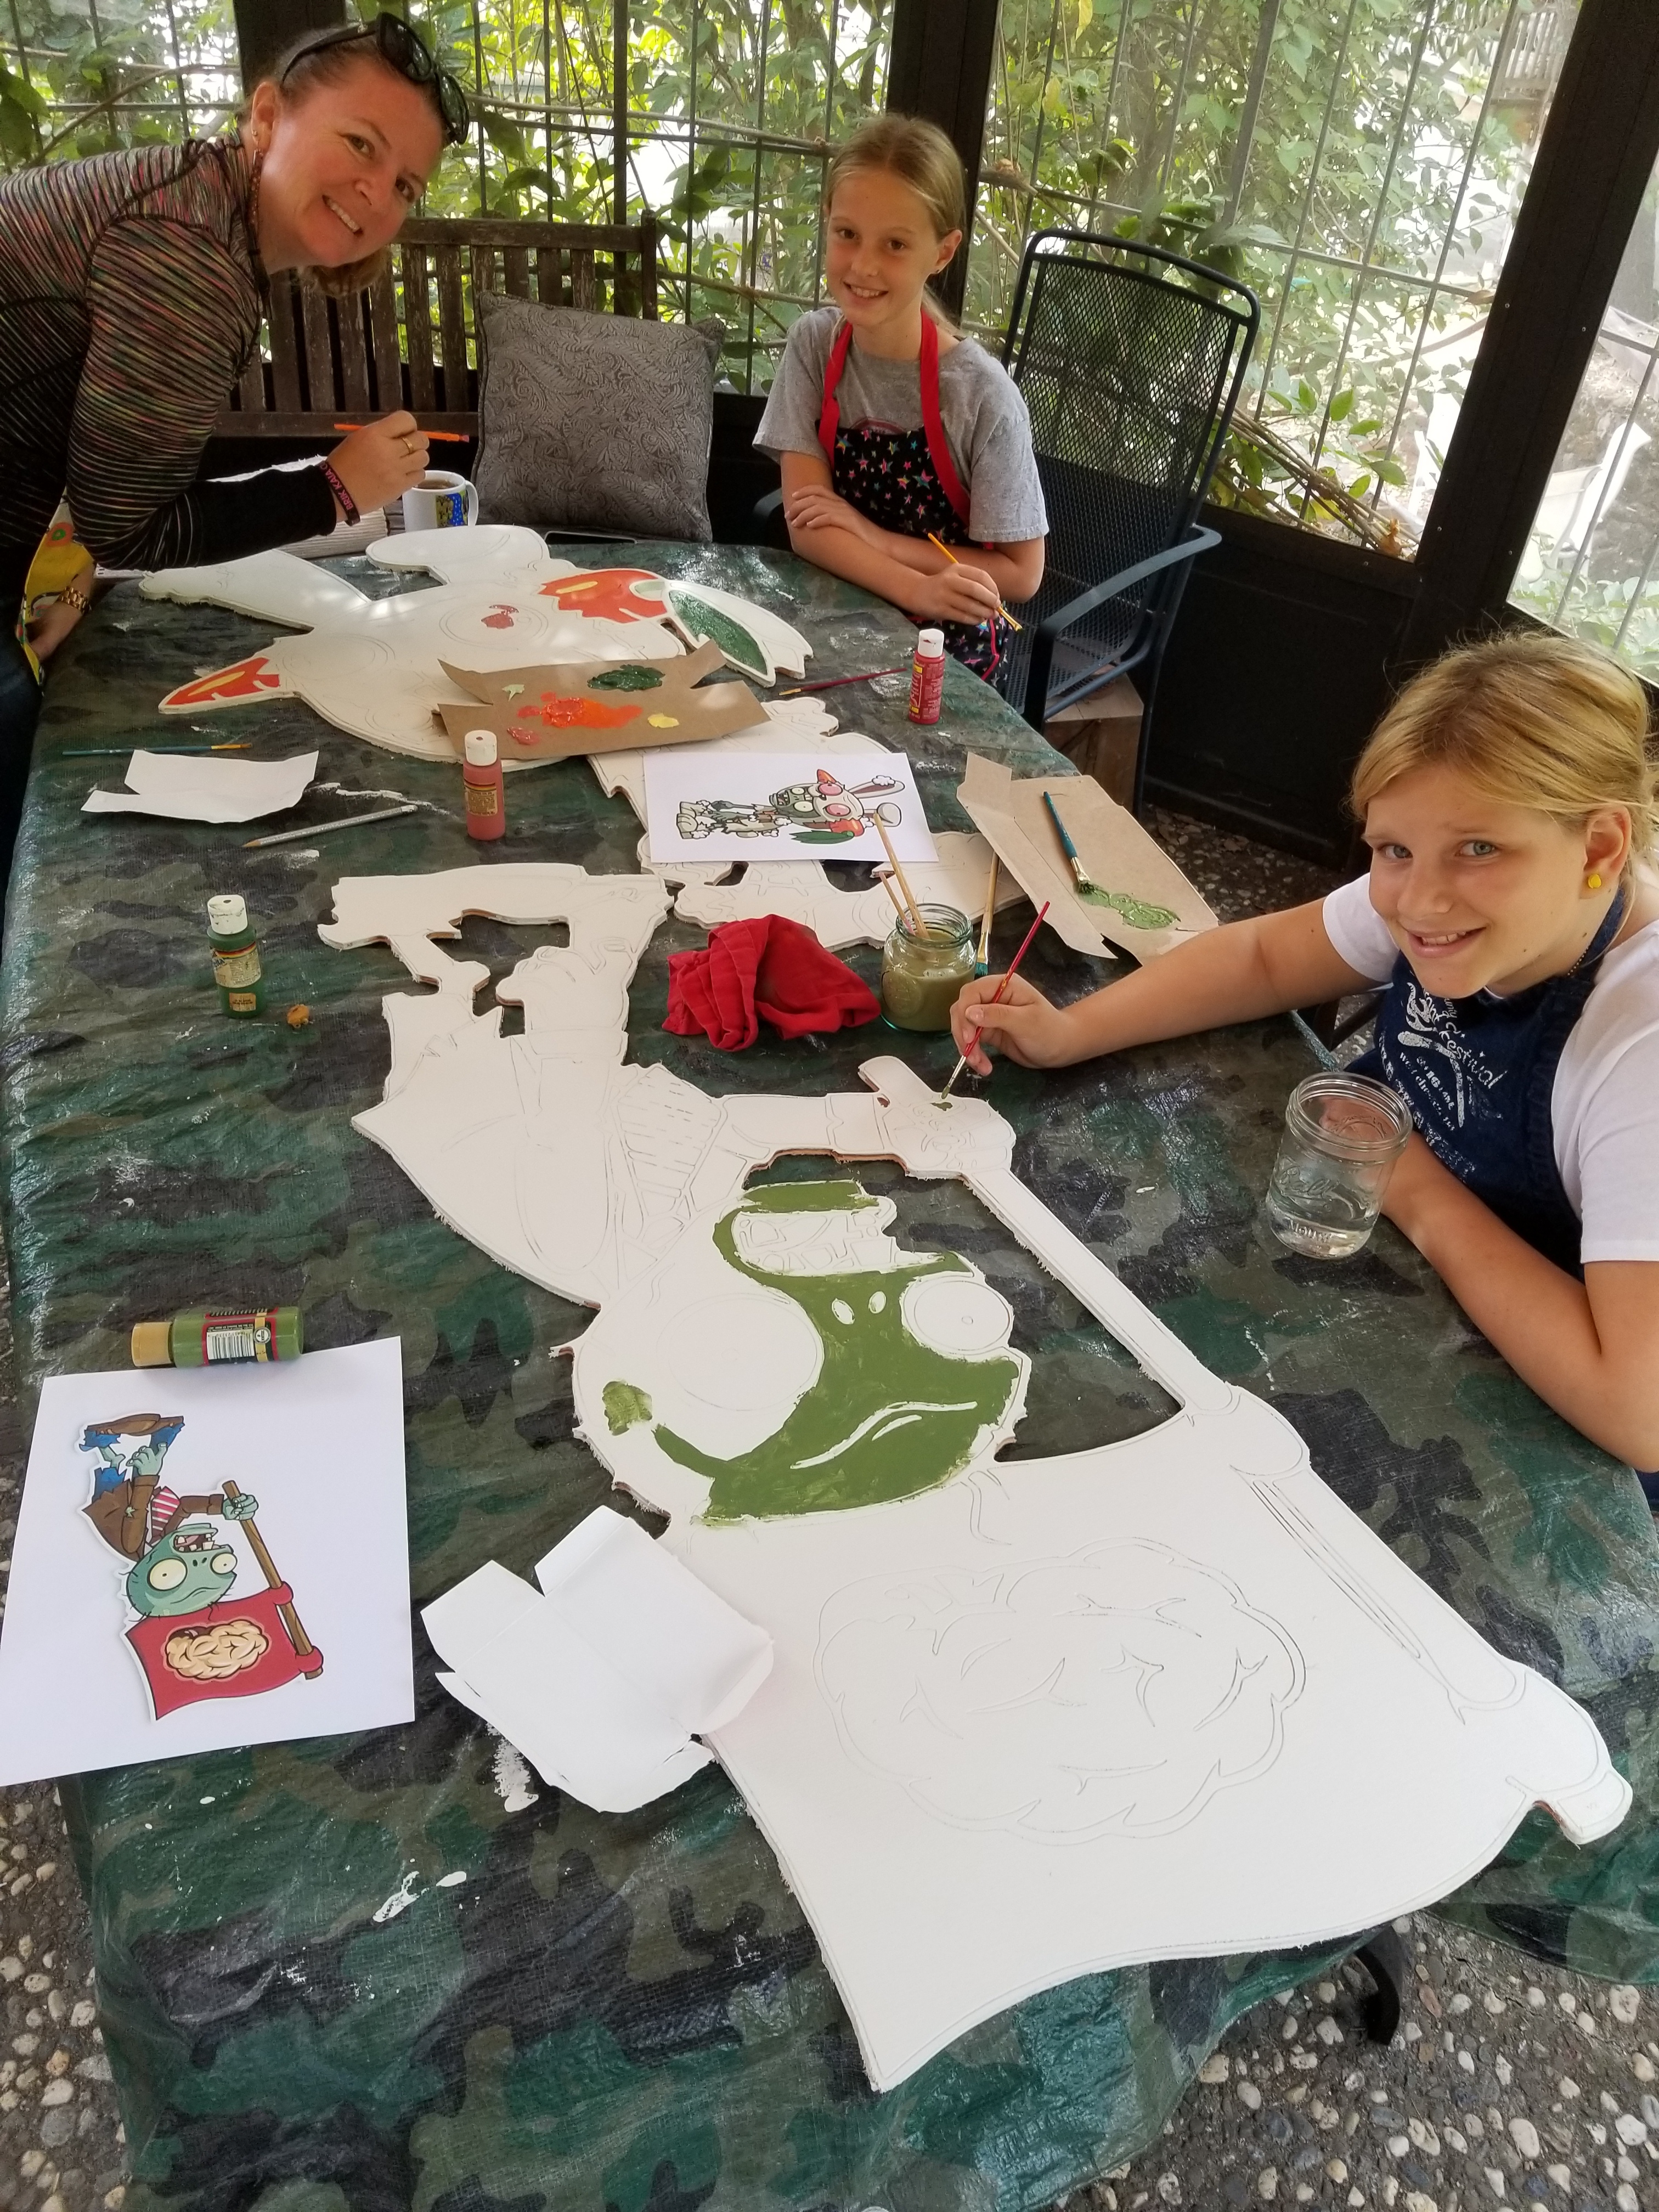
FWIW, we have made several pieces of yard art out of MDF for the upcoming holiday season. If 4 coats of primer/paint protect the MDF from water intrusion, great. If not, I know what my Maslow will be doing in the Spring!
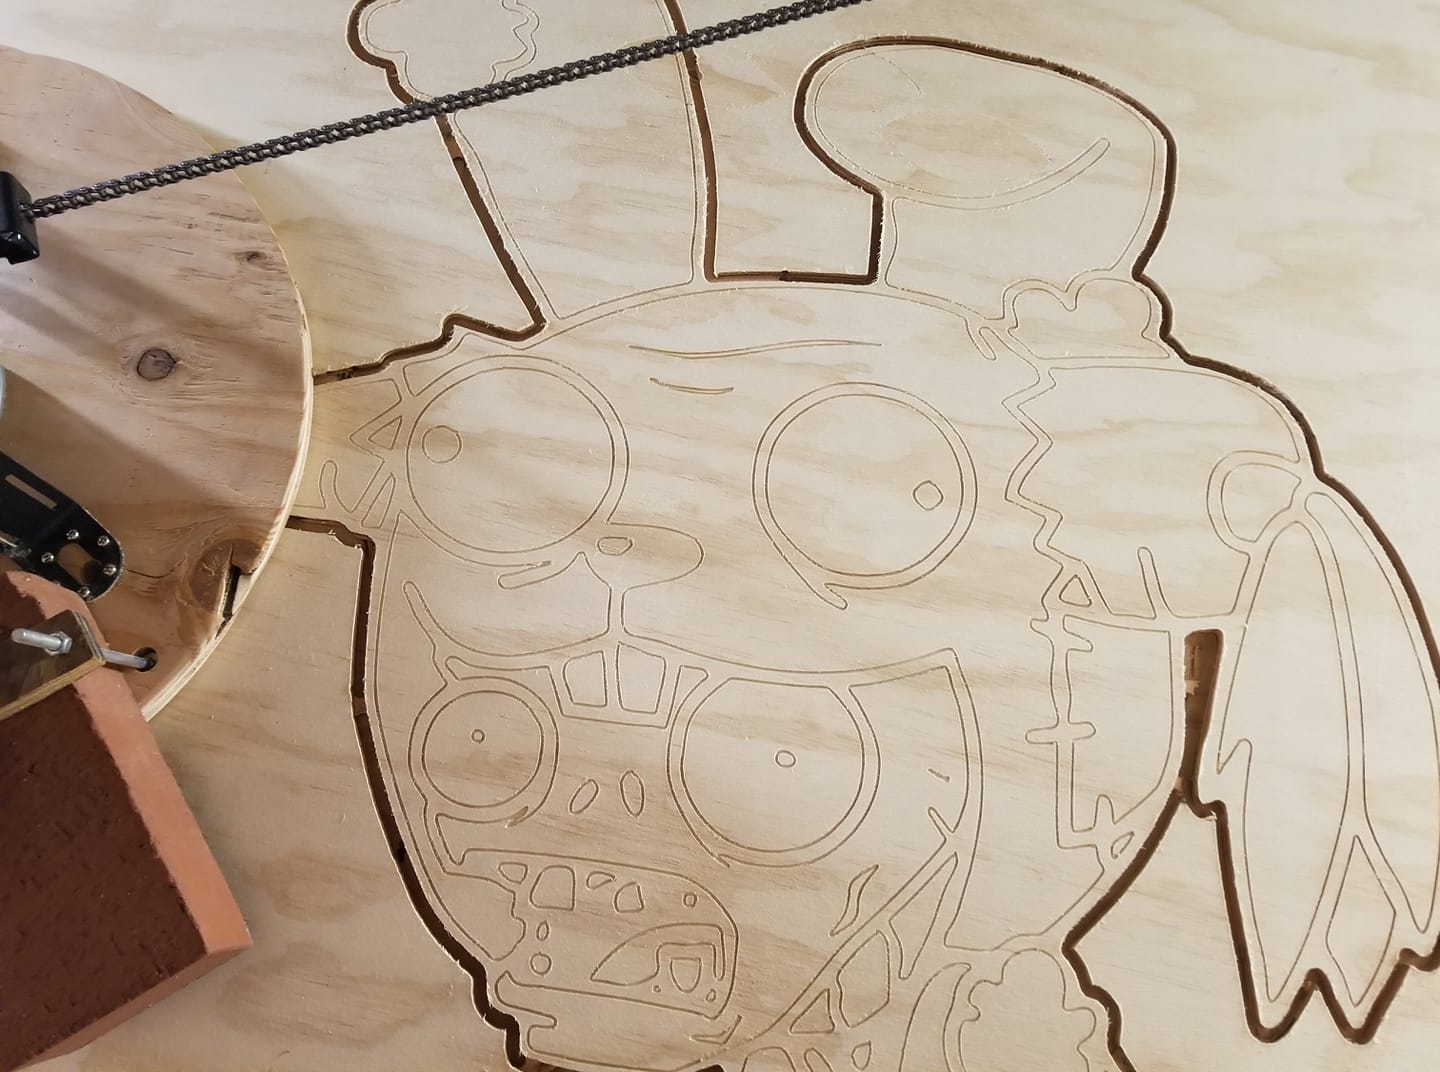
Cut a couple of cool looking zombies for Halloween.
Feel free to cut them from Fusion 360 (not sure if this link works, first time I’m trying it: https://a360.co/2oHqrAY)
Instructions:
On a centered 4’x4’ piece of 11/32 ply (ca. 7mm thick)
First use a 30 deg. pcb 1/8 vbit, 1mm deep to etch out the lines
Then cut the outline with a 1/4" downcutting bit:
Are you using the Ridgid router? If so, what collet are you using to be able to use 1/8" bits? I’ve thought about experimenting with engraving bits but they’re all 1/8" from what I’ve seen available.
A little testing on the accuracy of bigger cuts, I decided I’ll try to cut out the side of a Dragon’s Lair arcade cabinet, being as I have 2 original cabinets that I need to rebuild due to age, and being mistreated back in the 80’s… Oh the 80’s… sigh
This cut is 72" x 30" to give you an idea of scale.
So this is intended to be used as a template, since, as I said I have to rebuild 2 full cabinets. I did some modifications on this since I’m no longer using the laser disc players in either of them, so didn’t see much of a need to build the laser disc drawer for the cabs.
Note: If you’re going to cut something this big on a 1/4" piece of ply… Be ready to put screws in the pieces you’re cutting out haha This stuff bends like crazy.
Yes, I’ve got the rigid router. There are 1/8 Colette insert adapters, but they are not great. I ended up buying a set of ER-16 collets, much better and they fit once you remove the 1/4 Colette that came with the router. There is a post on the forum about it, even a video on you tube. Highly recommend it.
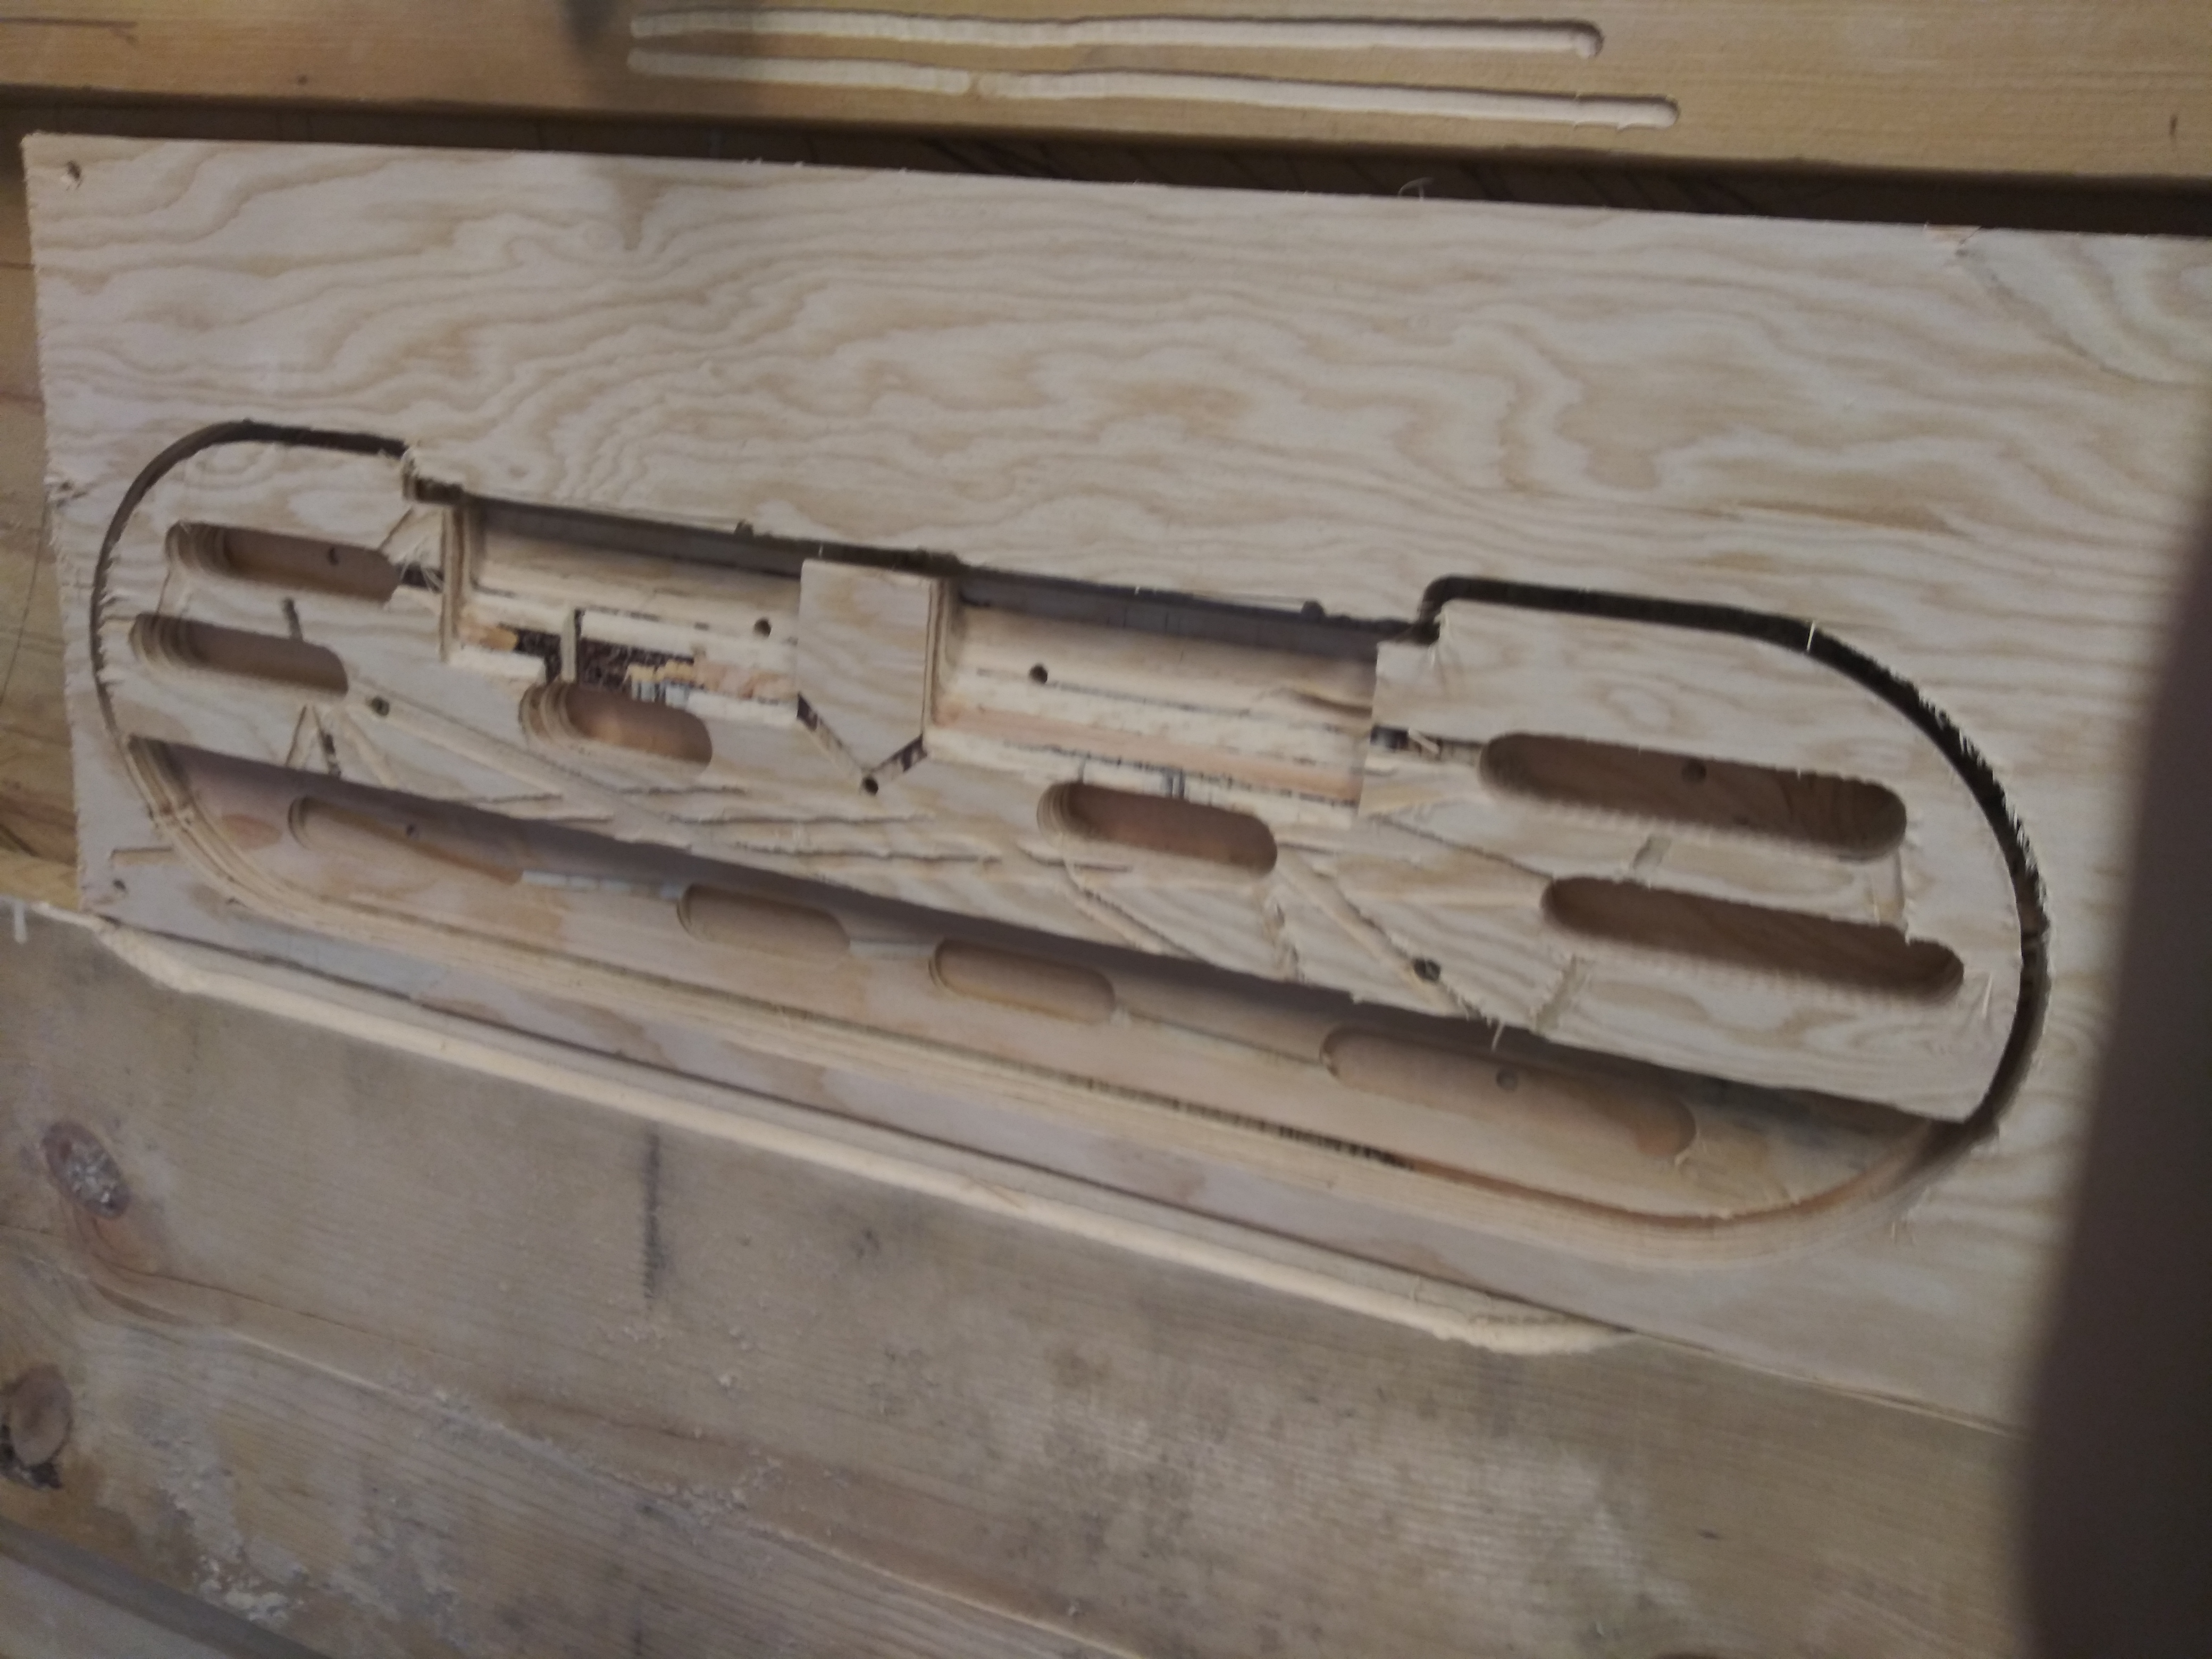
Made hangboard for rock climbing workouts modeled after the BeastMaker. 1/4 inch straight cut. 1.5 inch deep with some slopers on top. Didn’t glue the two pieces of plywood together and now I have two templates to apply to some hardwood!
Thanks @bar actually I bought the wood like this. In Germany its called “Leimholz” it might be translated with “glued wood” ? So there are solid wood pieces glued with each other.
Quality of these variate pretty much. Its beech by the way.
So I cutted the whole thing in one session. Then i chamfered it and oiled it.
For my first project I am pretty happy
That is a lovely guitar flite! Did it take a lot of hand work after you cut it to get it to that finish level? Those circles look great too, did you get good consistency with them?
[Edit: I see in your later post that it was primarily the chamfer and oiling afterwards. Wow. That’s a beautiful result. That laminated beech is lovely. I wonder if I can find something like that around here. Germany definitely has a special respect for wood working and wood products.]
I think it took me around 30 min the finishing process.
Used a Dremel for the pockets and my new handy small makita router for the edges and my Milwaukee orbit sander and some wood oil.