Warning: Long-winded and rambling post to follow:
I have been building my “retirement” tinker’s shop for the past three years (built from the ground up). The shop is two stories, the upstairs houses my paper model collection (20,000+ un-built models) as well as my 3D printer station and storage. {If you don’t know what a paper model is, google it. Fun and inexpensive hobby}. The lower level is for wood and steel working.The more I got into the wood working side of “tinkering”, I realized that the conventional tooling would not do for me. The stuff at Lowes/Home Depot were not geared for my kind of creativity and required a lot of skill to master each tool and tons of jigs to do what I could dream. I had originally stocked the shop with the standard wood working tooling and then some (radial arm saw, band saw(s), drill press, sanding machine(s), lathe, thickness planer,etc). These were find for simple projects (garden benches, planters, etc) but I wanted more modern tooling and methods. I purchased a good used Shopsmith system (I actually bought 2 basic systems so I had spare parts - one is in my son’s garage) with all the attachments I could afford (Fantastic machine!) and this helped as it could perform a huge number of tasks on a single machine. At the same time as I was getting the Shopsmith lined up, I started on the 3D router.
If you happen to live or your travels bring you nearby the Savannah Georgia area and want to visit, you are more then welcome to come see my Maslow and 3D router.
Maslow and 3D router nested together in my shop
Shopsmith system (for anyone who does not know what one it (Mine cost <$800 used)
If you stop by we can “chew the fat” (so to speak) on the systems. I have my hand written notes for the 3D router someplace (mostly cryptic notes) that I will share (If I can find them).
The complimentary nature of the two systems is exactly why I purchased the Maslow. I came from it from the other angle (I think). I felt that I could handle cutting the main pieces with enough accuracy to suit my needs and the 3D router I planned only to use for trimming (as you noted) and for some pattern duplication for smaller items. I have been making toy guns for my grandchildren for years and have templates made. I wanted to use the 3D router to cut out the templates so they could build and customize their own.
Building the 3D router facilitated the “Need” for the Maslow. I had such a hard time getting everything square and true that I figured the Maslow would be the answer (and it is for me). I had been following it on Kickstarter when they were live, but could not spend the money at the time to buy one. I built my Paoson 3D router before I got the Maslow. It was done all by hand. The upgrade requires some modification to the design. As I remember, the side rail thickness needs to be reduced as does the horizontal rail support. These are the supports that the V rollers ride against. I use V bearings I got on eBay (good price of 20 bearings for $30).
What I used were described as: RM2-2RS 3/8’’ inch Track Roller Bearing V Groove Rubber Sealed 0.375". Be sure to check out his “Instructable” post on the build. It includes videos, etc. It was very helpful for me. Title: “3D-Router-When-a-CNC-machine-is-overkill”.
I was so worried about messing it up that I did everything possible in Metric (bolting, dimensions etc) and did not want to “Tweak” the plans. I did change the bolts that hold the bearings to US standard inch sizes (3/8") as noted in the Vee bearing description. The aluminum worked just fine. The “V” rollers if your system is built square do not wear the aluminum enough to be any issue.
I highly recommend that you redraw everything in a cad program so that you can get dimensions changed and redesigned for English units. It has been needed for a while, but Paoson works in Metric and does not want to do the conversion. As I recall, he provides everything in sketchup and as dxf along with his pdf plans. I would learn one of these program and update his design if you don’t want to start from scratch. I am fluent in Solidworks and do not want to take the time to learn sketchup. I could have modified the dxf file provided, but Autocad dxf files are not as easy to adjust for me as Solidworks (SW) files are and I want the ability to do a virtual assembly of all parts (3D) to verify fits, etc. I can not do this with any of the free autocad compatible programs I have found.
I started to model the entire thing in Solidworks and have all (?) parts generated as solids, but did not finish it. I am sure I got side tracked by the arrival of my Maslow ( ). If you happen to be SW user, I will let you have the solids I have generated. I may also continue this project in the future converting to English units and incorporating the bearing upgrades.That was my original intention, but have not found the time to continue it. I have thought about making them and selling them as completed kit.
Would you have considered purchasing a prebuilt (or just precut) kit of this?
If so, what would you consider as a fair price (without router)?
I was thinking of around $150 built, $120 as a kit.
I had planned to send any upgraded (english converted plans) to Paoson so he could check it and include with new plans he sells. I know a number of people have asked for the English version (you are not alone).
In case anyone is interested, Here are photos of some of the wood toys I have build for my Grandchildren over the years. (Not re-posting the biplane photos)
Double barrel shotgun
Excavator (1950"s plan)
In action
Sniper Rifle (Sliding scope made from old TV parts - Works!). Still not yet complete (in process of painting)
Jeep (1950’s plans)
Airplane Swing (before painting and hanging in trees. (1960’s design)
The “DinoHunter” shotgun
The internal trigger mechanism
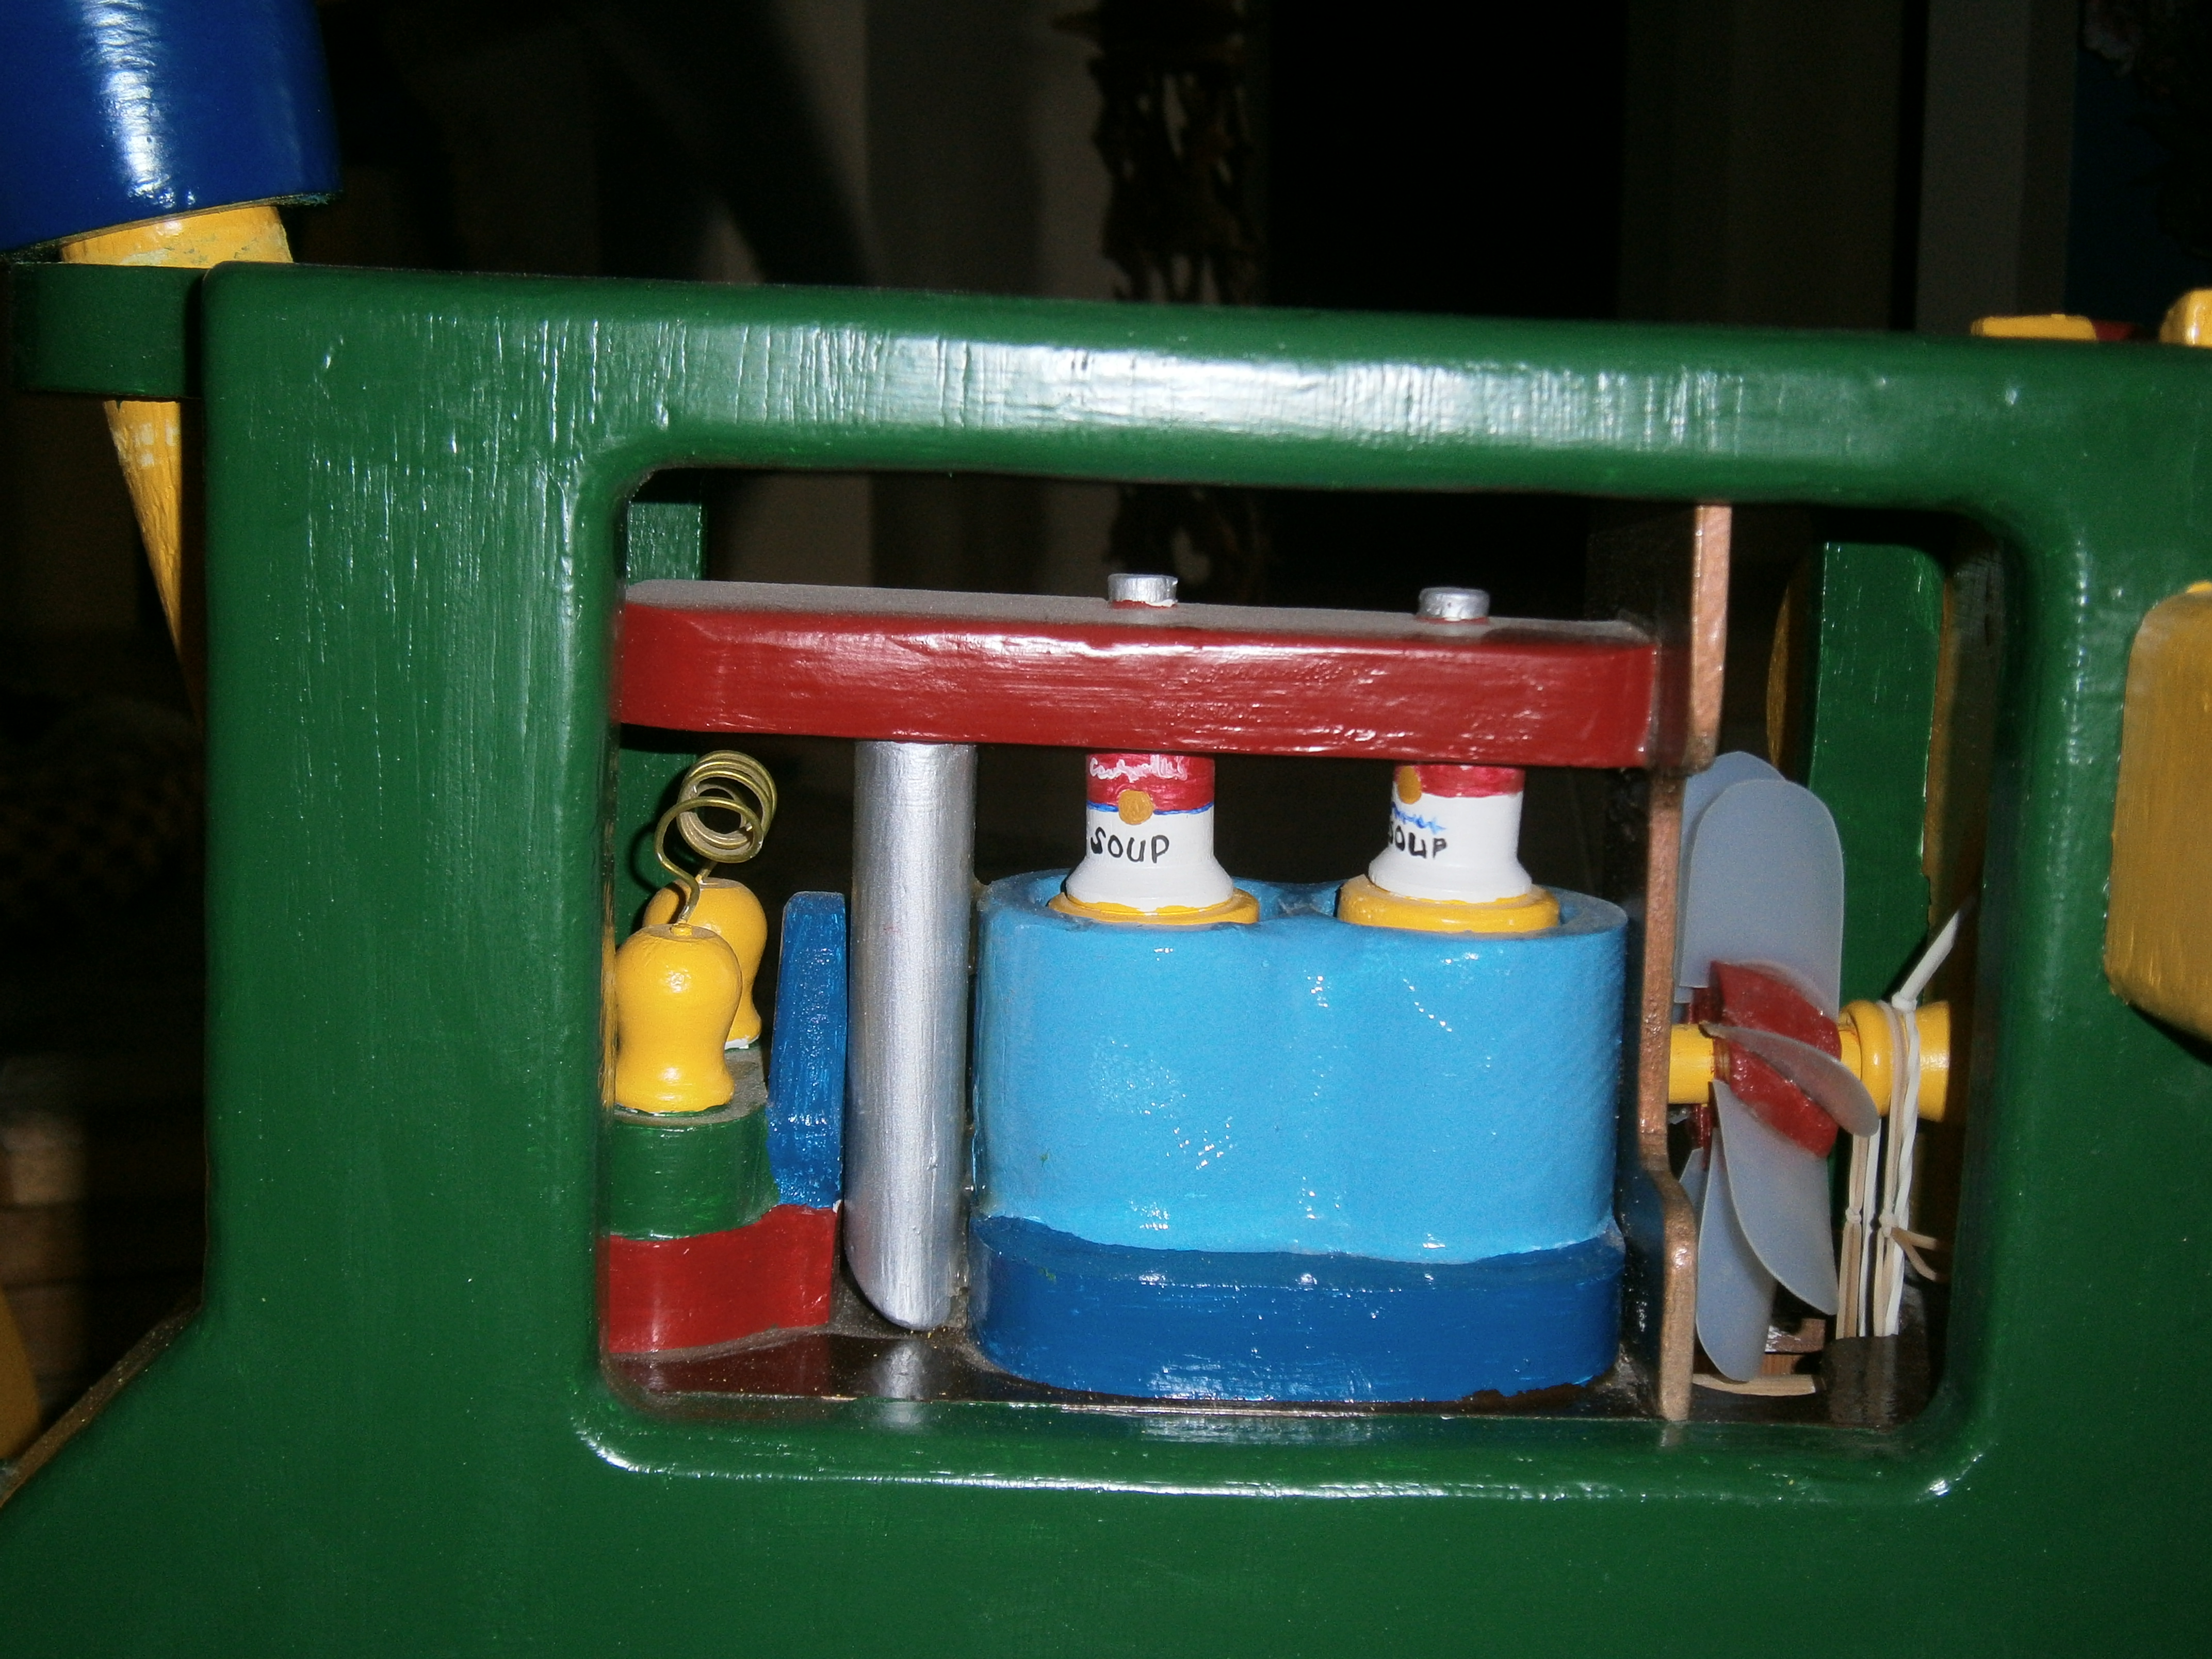
Ride on tractor (engine moves, fan blade turns when crank in front is turned).
The wheels are designed to be taken off by child using wooden wrench.
(The “Cross” in the seat was done “on purpose” - Lived in Dubai (Muslim country) at the time I made this)
Close up of engine (soup can pistons).


 .
.