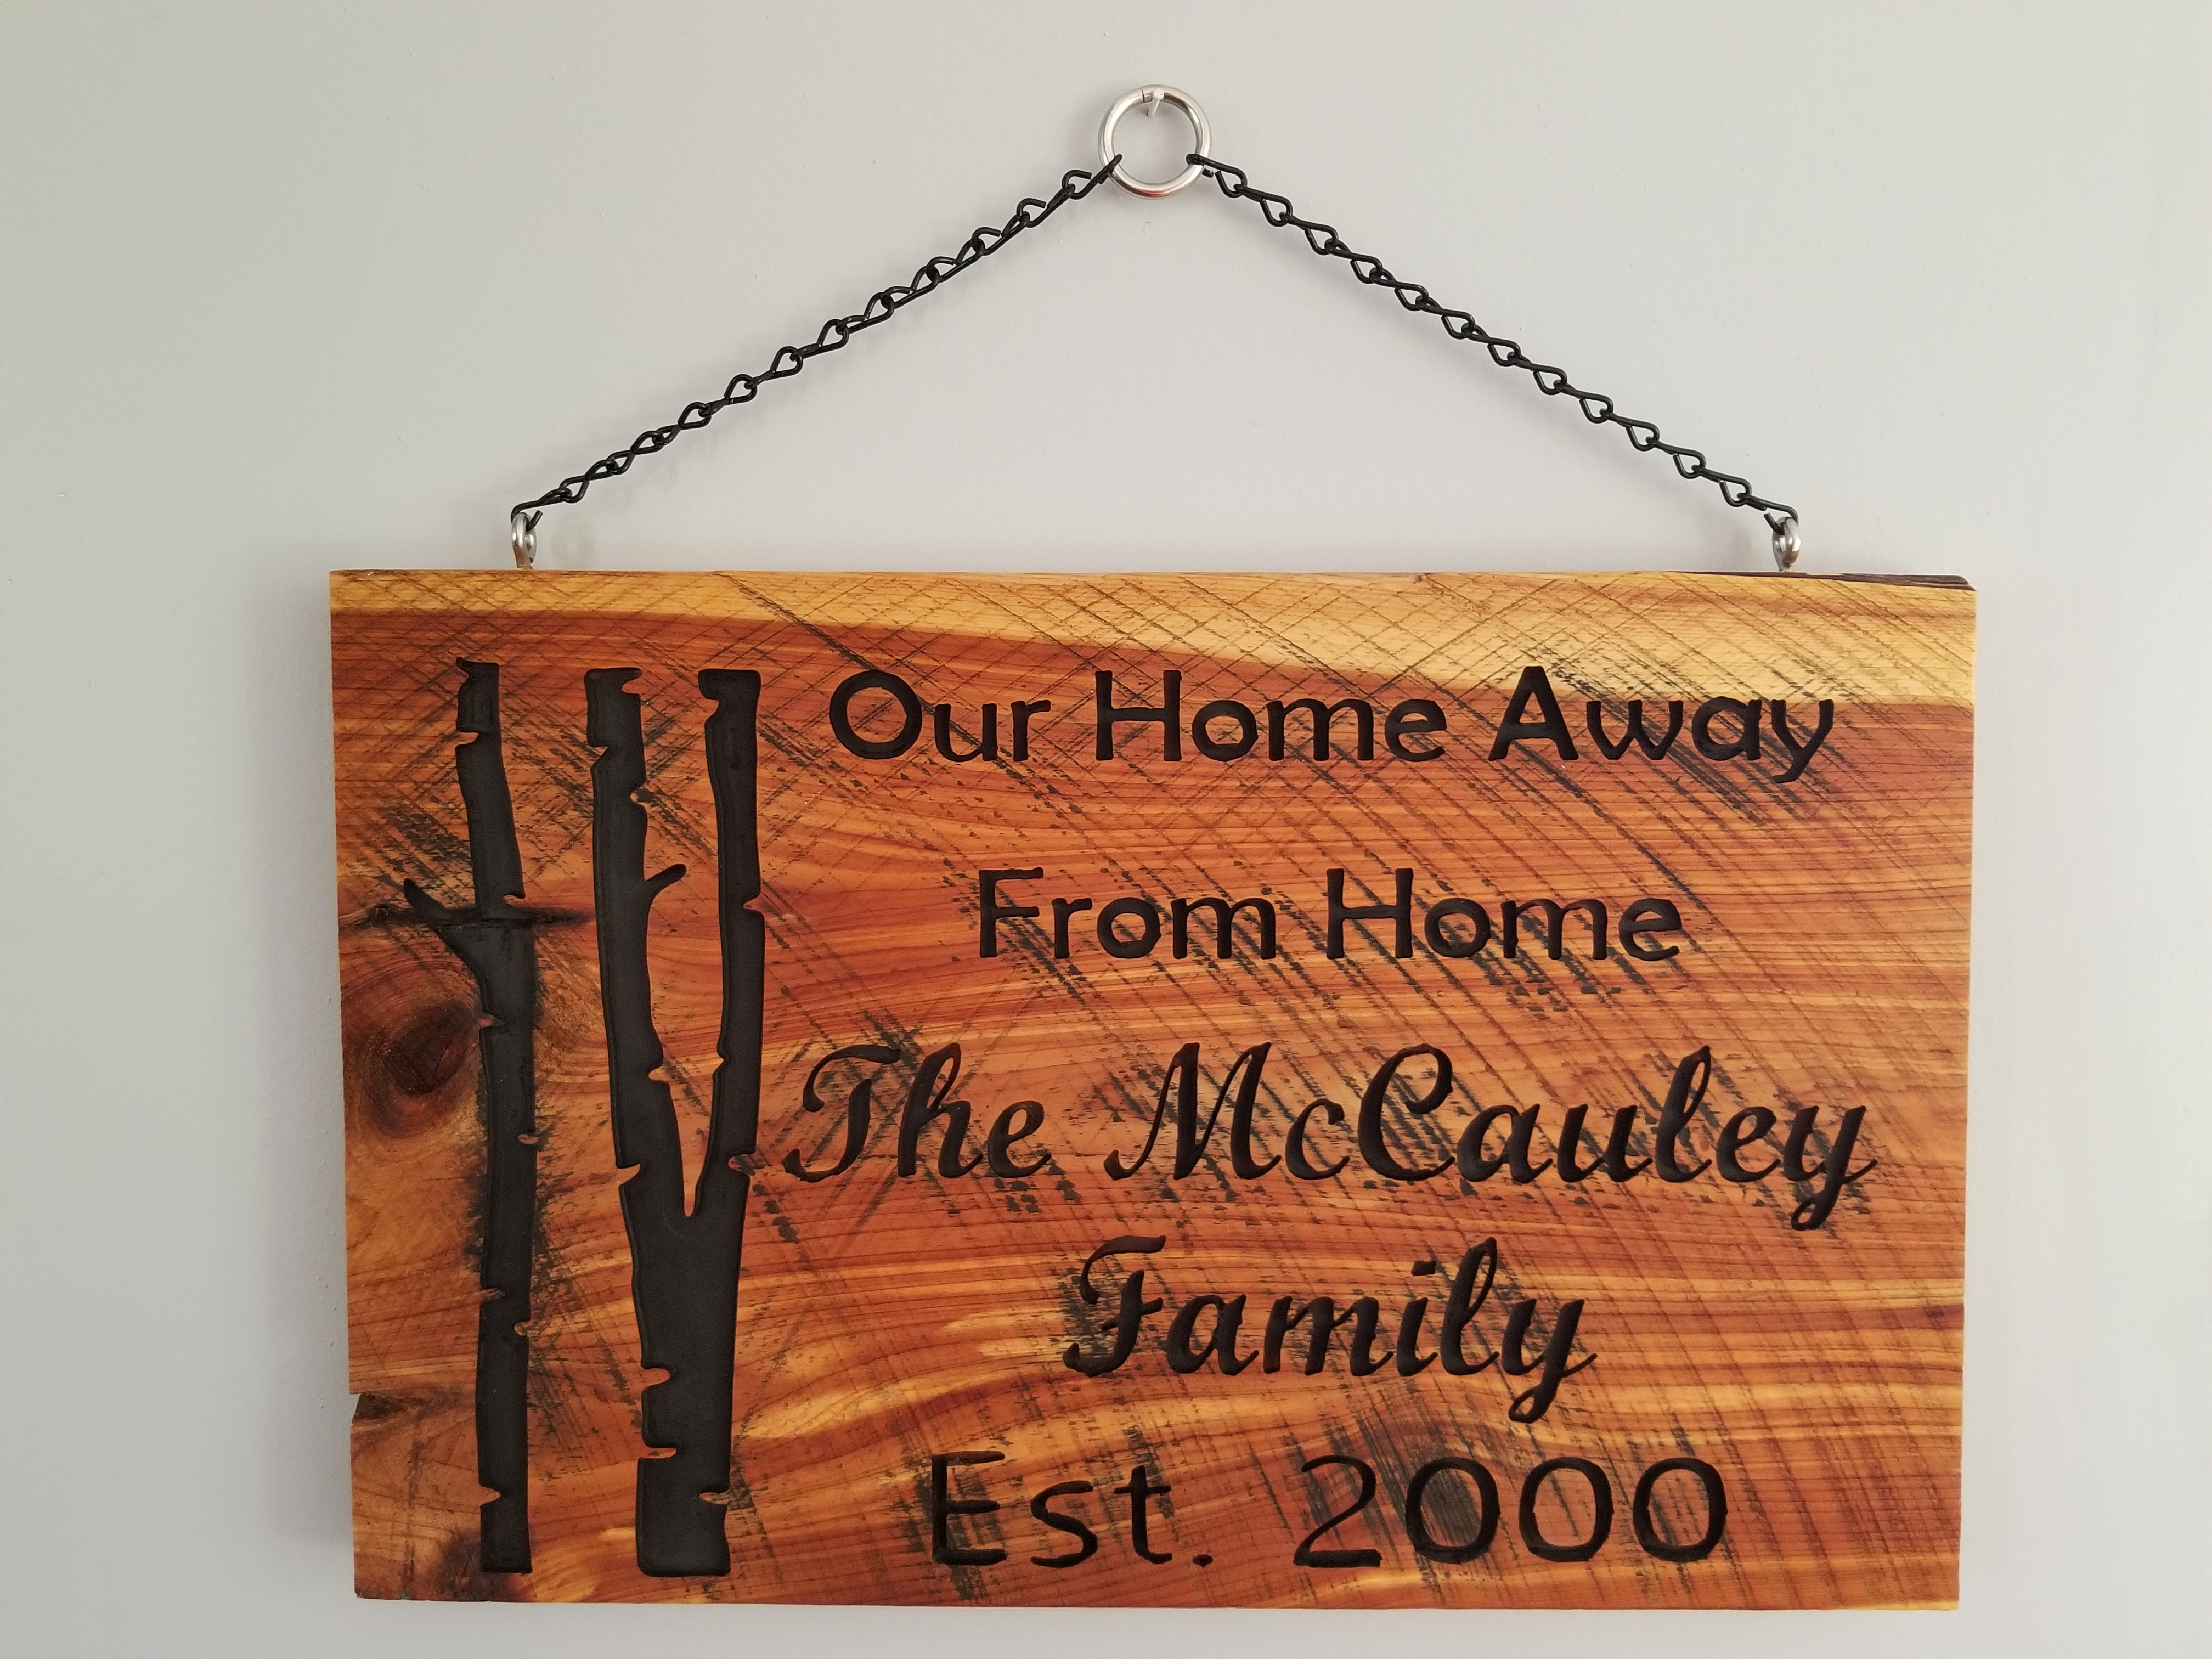
My parents are avid campers and with mothers day around the corner i made this camper sign. When camping people hang these at the end of there sites to introduce themselves to other campers. Designed and G code using easel. The logic of there G-code doesn’t seem to make sense- it will finish a letter then go down to another word and back and forth. IE T then G etc. Used some shipping create plywood that i got off craigslist. Sign is around 20x20. 90 degree bit, full speed, about .05 per pass.

9 Likes
I was just going to do this! Are letters paths or pockets?
*Edit: I’m assuming they are paths if you used a 90 degree bit. If so, did you use a single line font?
it would be a Path but that the good part about easel you don’t even have to worry about that pick a font, cut depth, and bit type. Its a single line font.
3 Likes
Oh cool, I didn’t know that. I’ll have to look into easel.
Its free for basic stuff and Pro you can do free trial for 3 or 4 days a month.
For beginners this is a great program.
1 Like
I made a sign for Mother’s day too!
Use a 1/16 bit to curve out the pockets for each letter. Wood is some rough cut cedar. Spray painted the front face, sanded down and oiled it up.
I had the same issue as Ttitobob where the cut seems to go from random letters.
4 Likes
Looks good
@Ttitobob have you looked at g-code optimizers? The only time I tried it our frame and sled weren’t working properly so I didn’t get a great idea if it worked better. It looked like it would though.
I’m hoping someone smarter than me can test it and see how much if any it helps: http://xyzbots.com/gcode-optimizer/
I have used it several times and it seems to work but i’m not sure that it saved me anymore then 10 minutes though. It doesn’t work well with bit changes. I prefer to do it manually with the CAM now.
*Edit: by manually with the CAM now, I mean that I take the extra time to do separate operations for things I would like to keep together.
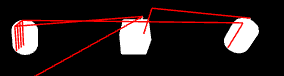
For Example: In Makercam(easel may be different), If I make 2 circles and a Square, and create a seperate pocket operation from left to right for each object. you will see that in a simulator it finishes that object before moving on to the next.


If you select all objects and make 1 pocket operation, it will do the first pass on all before moving deeper into the objects.

EDIT See Camper Sign for Mothers day for a better way of doing this
4 Likes
I just found an easier way to accomplish the manual steps I’ve been doing in the post above.

- Put a check in Separate Toolpaths by Boundary in the preferences for Makercam.
- Select all objects that will have the same operation
- Create the operation
- It will automatically create a toolpath for each object that was selected


This should complete an entire object before moving to the next one instead of the router making a single pass on one object and moving to another.
5 Likes
Thanks for this tip.
2 Likes
Wow that is a great tip. I had not noticed that check box
1 Like