I’m picking up where I left off in this thread here with a little bit more of a formal project thread for my new home. It’s been awhile since I posted an update, mostly because I’ve been so freakishly busy trying to fix the place up. We finally got a chance to do a good clean recently, so I took some pictures now that we’ve been living here for a bit.
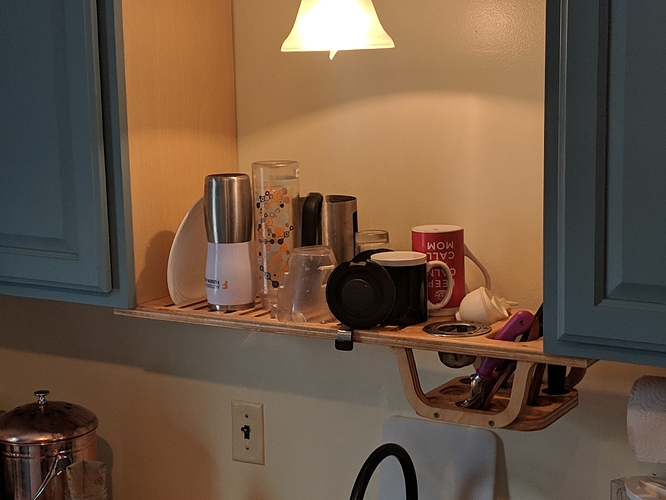
Our little, blue kitchen:
These pictures are a bit of a Where’s Waldo of Maslow’ed projects. There’s my mail organizer, @Bar’s dish rack, the butcher block countertop, and the sink base below the counter. The remainder of the cabinetry are from a Craigslist deal (see the thread linked at the beginning for more details about their rehab).
Other pictures of the mail organizer:
We ended up painting the flat faces because I did a terrible job of matching the wood fill to the veneer of the plywood. In the end, it worked out really well right next the kitchen, helping to carry the blue into the living space a little more.
My wife brought her camera down while I was working on the mail organizer and shot this amazing picture:
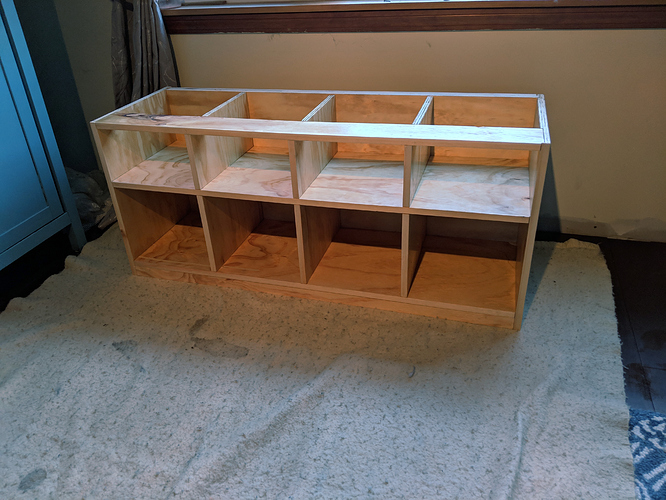
And coming down the pipeline are the shoe cubbie cabinets I have been working on off and on for the last 2 months.
Test fitting the cabinet and laying up the nosing:
Another of my wife’s action shots, this time just after I freed a partition from it’s nest:
Right now all the parts are sprawled all over the shop while the tung oil dries:
We still have another coat of oil to apply over this week, but we’re looking good to be building and installing the cabinets in our living space this weekend.


 Gotta say, pretty happy with it. Now all I need to do is build a top and sew up some cushions for it. More updates to follow.
