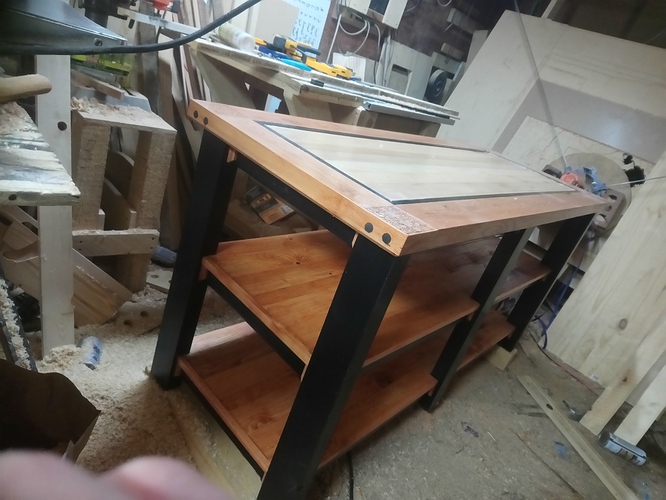
I’d take the sign 
I ran the gcode through my GCodeClean utility, dropped a few K off the file size and a few lines.Bob17w24t-gcc.zip (12.9 KB)
And then I fixed my DedupLinear code, and got it to stop dropping things it shouldn’t.
Interesting. I’ll have to try that next time I do a project like this. Thanks for pointing me in the right direction.
It’s still early days with the code.
I’m mainly doing it to produce something like a linter for gcode.
Have you shared this utility? Sounds nifty.
Yep:
Thread here: Command line utility to 'clean' GCode
Project here: https://github.com/md8n/GCodeClean
I like the stool. … snicker snicker… “stool sample”
Pretty slick, I really like the gitfiddle stand!
For you or anyone else interested, I had to crank the bed up to 110 C and the extruder to 255 C, combined with the enclosure, to get a good print with Tronxy ABS. You will also have to convert to a glass print mat as the stock one will separate and the tension from the ABS will pull it apart and ruin any print.
I ordered this one: Creality Ender 3 Glass Bed Upgraded, 235x235x4mm
Lovin’ those tray inserts!
I’ve had some success with ABS, I’ve found that 240 C for the hot end and 110 C works pretty well for my machine. I’ve have a few spools of Hatchbox ABS kicking around for forever now and I needed to print a mount and fan duct for my new E3D hotend. I printed just on the open frame, though, and I’ve had some small delamination issues.
I accidentally put 100 instead of 110 in my last post. I went up 5 degrees at a time until I got repeatable consistent results, wasted a lot of ABS and time on test prints.
Why OSB? Had a bunch left over. Thought I’d try it. Wasn’t too bad, actually. Sucked up the primer through.
I messed up the tabs, somehow. If you make one, you might fix the outline pass. I’ll post a pic when he’s painted.
Bender27w24t.zip (129.8 KB)
Made a door for out chicken run this weekend, I think it turned out pretty well!
It was a bit of a pain to do the lettering without a Z axis (waiting on my C-channel from Aliexpress), but other than that it went great.
I have a long term goal of converting an antique radio (internals were gone when I got it), into a bluetooth stereo. That is going to be an involved project and no time for that now. However, I had bought some components that are just sitting around and at the same time my shop radio has main drivers that dry rotted from years in the garage. A quick solution was to adapt the small drivers to the old radio. I designed an adapter that replaces the footprint of the speaker mount, and mounted the small woofers on hand in those adapters. I didn’t expect much becuase the enclosure size is not ideal for the small woofers, but was suprised at the excellent sound. These enclosures have a passive radiator on top and produce amazing sound!
I meant to take a pic before I mounted but I have included a picture of the Fusion model.
The electric uke’s final form is here! This was a very fun project to finish in quarantine. Designed around a soprano (13" scale length) ukulele crossed with the “warlock” style body for maximum shred and comic size. Fretboard, bridge, pickup, and electronic from cbgitty.com. Everything else was made from plywood and shaped using templates I cut on my maslow. Body was stained with true black while neck was finished with waterlox and everything was heavily clear coated. Honestly doesn’t play very well (its so small) but I had such a great time making it and that grain is soo noice.


