These look fantastic! I love the addition you made to the olivia desk with the curved section.
1 Like
So I have been working on this for a couple weeks now, but the wife asked me to redo the signage that hangs in her school’s lobby.
Workflow was Inkscape for image import and conversion to .SVG, then EsltCAM for the tool paths and GCode generation.
Cut in 1/2" MDF; Letters are about 10" tall, and the bear is approx 22" wide.


Sealed & Primed:
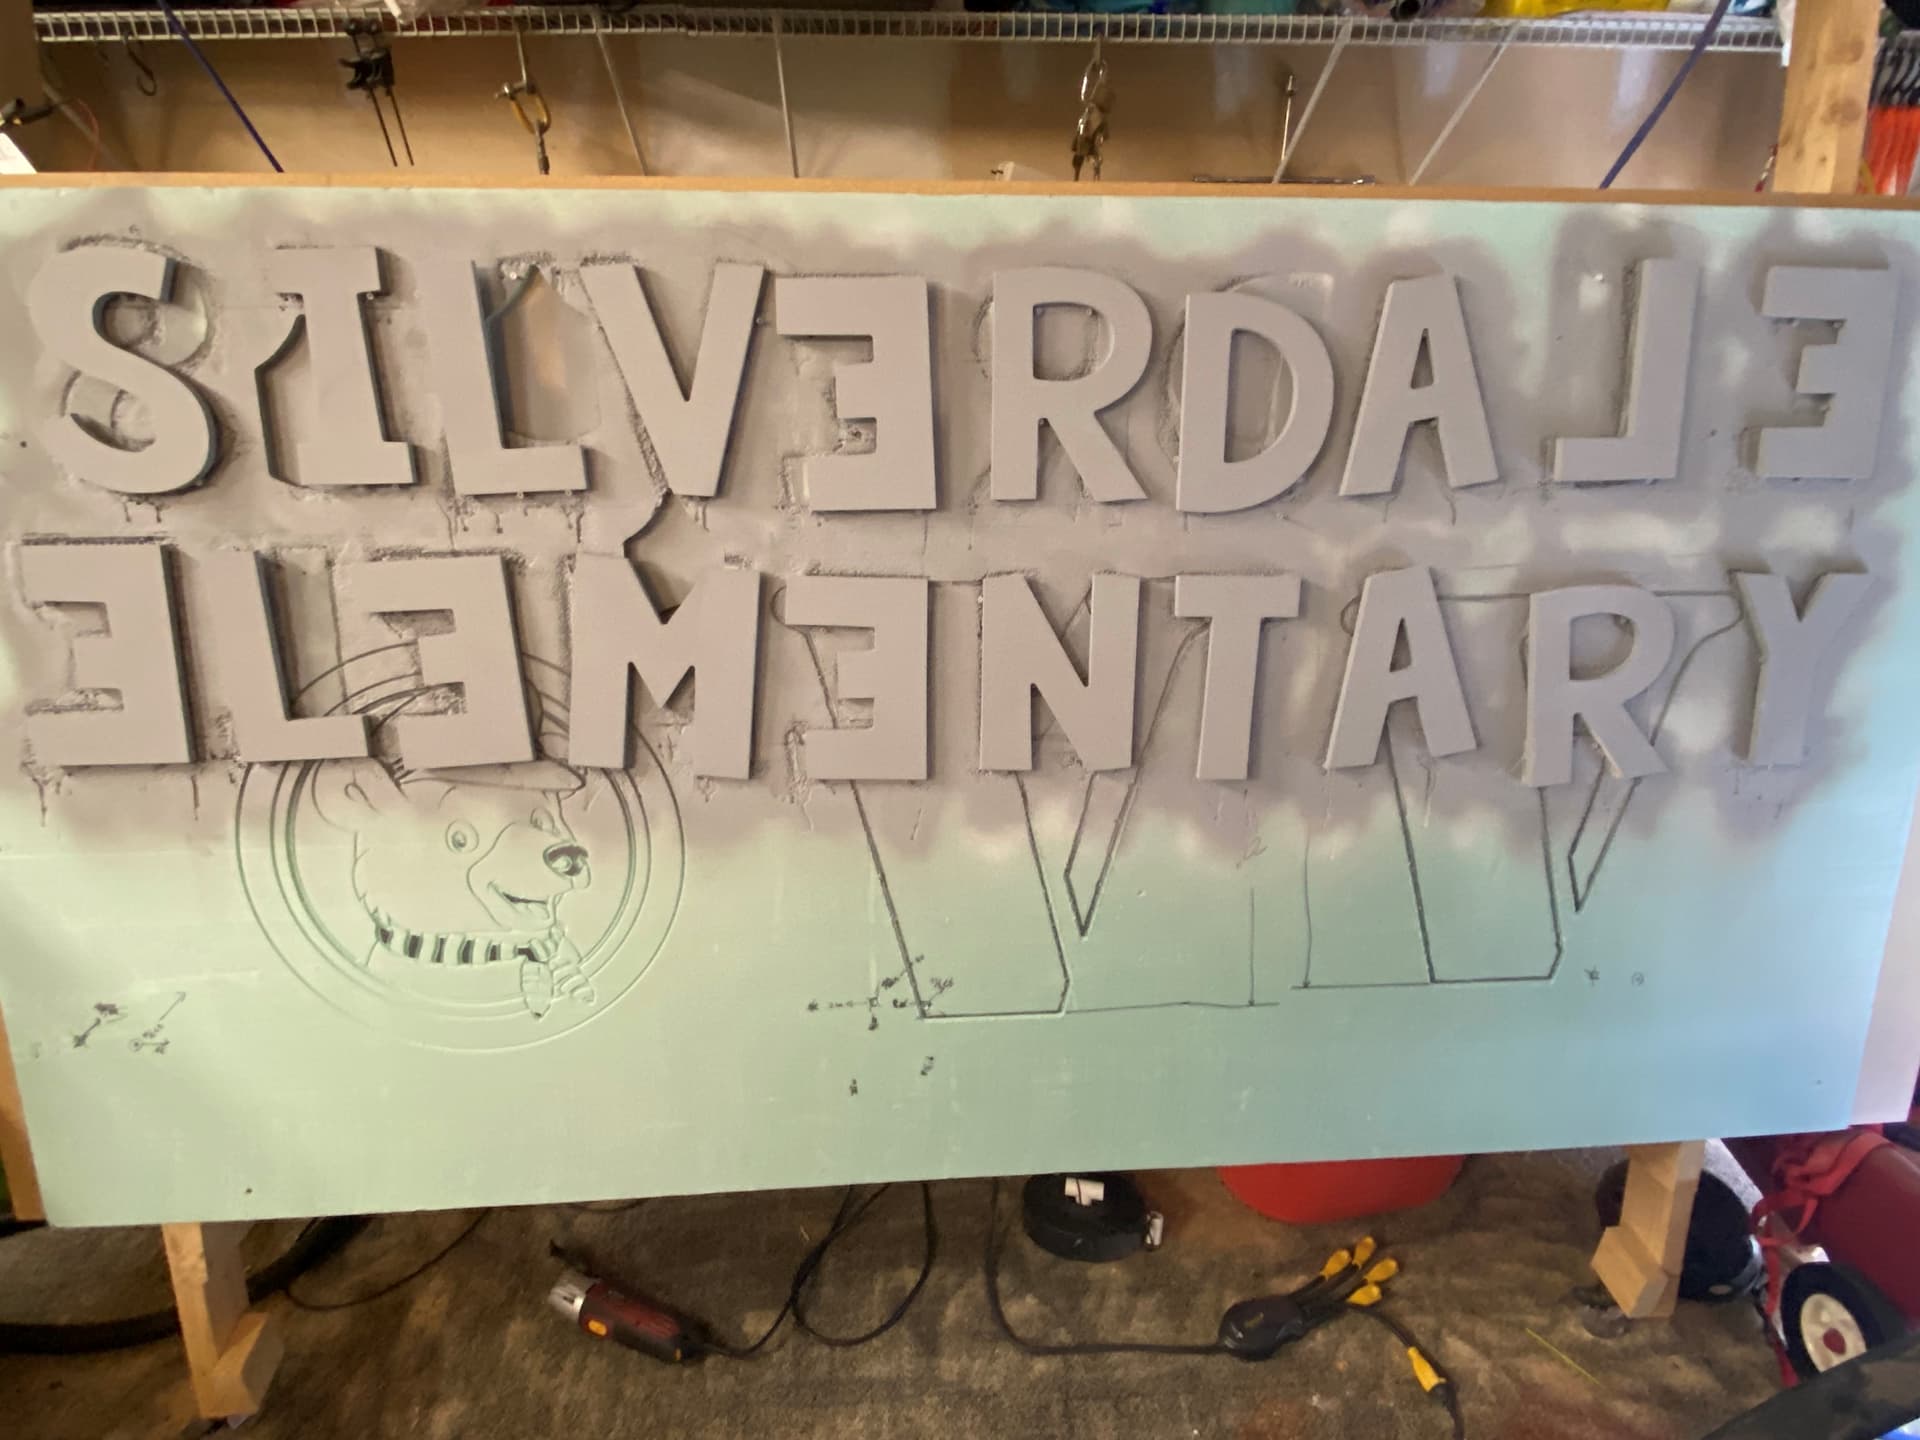

Painted Letters white:

And painted the Bear black followed by epoxy inlay with the different colors and clear coated:

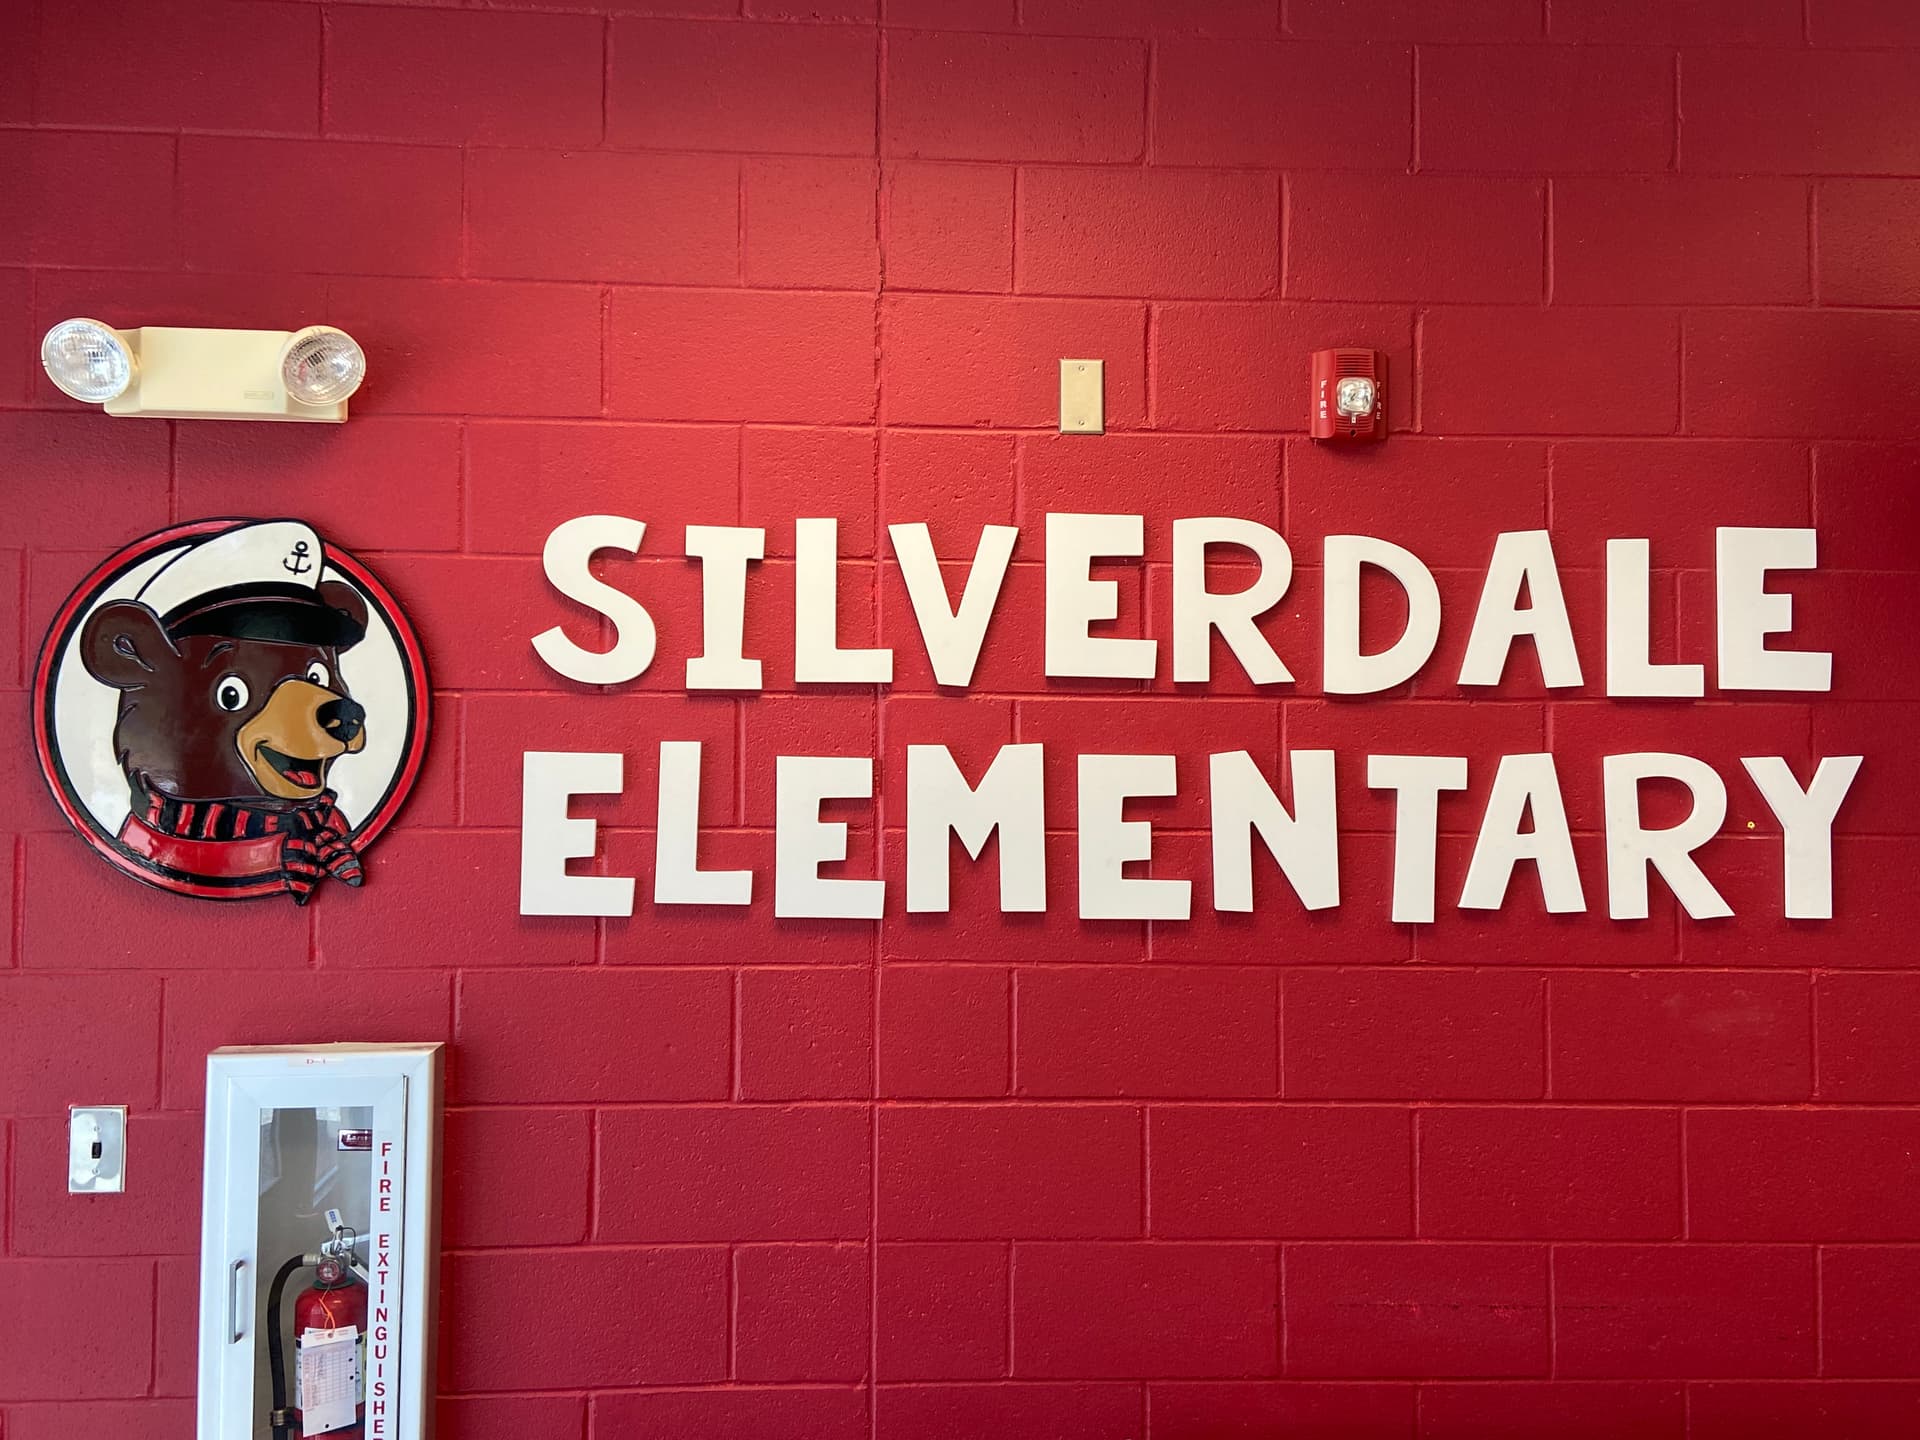
The clear coat is still drying and will be ready for delivery to the school tomorrow. I’ll update once they get everything hung in the school in it permanent residence.
EDIT: Got it hung in the school:
Next up, a 32 foot Viking ship…
12 Likes
That came out beautifully! Nicely done, especially the bear.
Woah!! Keep us posted!
1 Like
We had a large wall that seemed boring, so we decided to fill it. Overall it came out fairly nice, still missing some of the islands such as the UK, New Zeeland and others. But it was a fun project. The total piece is around 15’ wide. 
12 Likes
How did you do the lines between the countries? They look great.
Thank you Bar!
Designing and cutting curves is maybe what I like most with Maslow 
1 Like
NZ is always missing - that’s standard
4 Likes
Just like Upper Michigan
Where? 
Dang Yoopers. Speaking as a troll that migrated south. 
Exactly
I stained and sealed entire board before cutting it then I routed out just the rivers and inland boarders. Without even taking it off the Maslow I then filled them in with black spray paint. After that I cut out the physical countries, sanded off any overspray, restrained them and resealed them.
After some trial and error this seemed to be the easiest way. I’ve tried masking off the board, hand painting the black in and a couple other methods, but it seems that prestaining, and putting down a very light coat of polyurethane then going back and standing and restaining seemed to give me the best results. I made a series of other signs maps and played with this over a couple months.
2 Likes
Like many others in the community, I’ve been wanting to try my hand at an arcade cabinet for a while - and while it’s still got some ways to go before it’s complete, I finally managed to make some visible progress.
The original design is VERY heavily based on what “The Way of Wrench” put together (very very cool - see Custom Raspberry Pi Arcade Build Intro Ep 1 - YouTube - definitely recommended viewing IMHO with plenty of useful tips). As a fun goal, I wanted to do as much as possible on the Maslow e.g. cut outs for the buttons, joysticks, power switches, cable feedthru’s etc. I did end up having to use a table saw for the bevel cuts; use a trim bit off-line to correct for small differences in panel widths depending on where they were cut on the 8’ x 4’, and also improvise when I discovered that Carbide Create had made an internal cut of the side panels even though I had programmed them to be external (I should have caught this one earlier if I had really being paying attention). Below are a couple of pics of what it currently looks like.


8 Likes
That looks like it’s coming together great!
How did you mount the monitor?
The TV I have is pretty light, so I went with something relatively simple while making sure I could remove the TV in the future.

The basics at least work in the meantime. The next steps are to install a Pi on / off button, move the TV speakers to the speaker panel (not totally necessary - but a choice I made for fun), sand, apply wood fill, sand and then hopefully apply some finishing touches.

8 Likes
It lives!!
Nicely done 
I’ve been thinking of building one myself in the not too distant future, and it’s nice to learn from someone who’s already built one
1 Like
Is the squat pot file shareable?
Wow… almost looks like you could layer the first onto the second and get depth!!! They both look great and I’d have never known that deer was male lol!
“Please design an over engineered placeholder for this bin and make shure the guys from the marketing dep get a couple of nice pictures!”
OK, here you go: [details]

[/details]
8 Likes
Is this your project? It’s very nicely done, I like how you used those pockets
A video of this build popped up on my instagram a few days ago and it made my day 
1 Like