Kewl stuff
Not on the Maslow, but for the Maslow 
A 8mm thick acrylic sled for the 150mm c-beam spindle and an acrylic slidable dust protector for the gears.
Leaving the centre in allowed for precise alignment. The engraved grid is just for fun. No fun was it when i realised that i had to peel off hundreds of squares of the protective coat 
The workflow was ->FreeCAD → linuxCNC.
On the desktop cnc with 1/8’ 2 flute upcut bit, feedrate 1800 with the highest spindle speed.
Edit: For the grid I used grid.py from the collection of Simple-gcode-generators
It also does circular grid that could come in handy for aligning a ring-kit.
That is fantastic! What was your inspiration and what did you use for the metal hardware parts?
This is actually a project with some years, inspired by Meccano sets . At the time it was easier for me to make metal parts than wood parts. It actually stopped when I received a quotation for the wood parts. Now I would probably make it all wood, with the maslow 
With some extra parts it’s possible to build also a tricycle.
Woke my Maslow up from hibernation and got her covered in dust this weekend.
Quite a few projects I’ve been juggling:
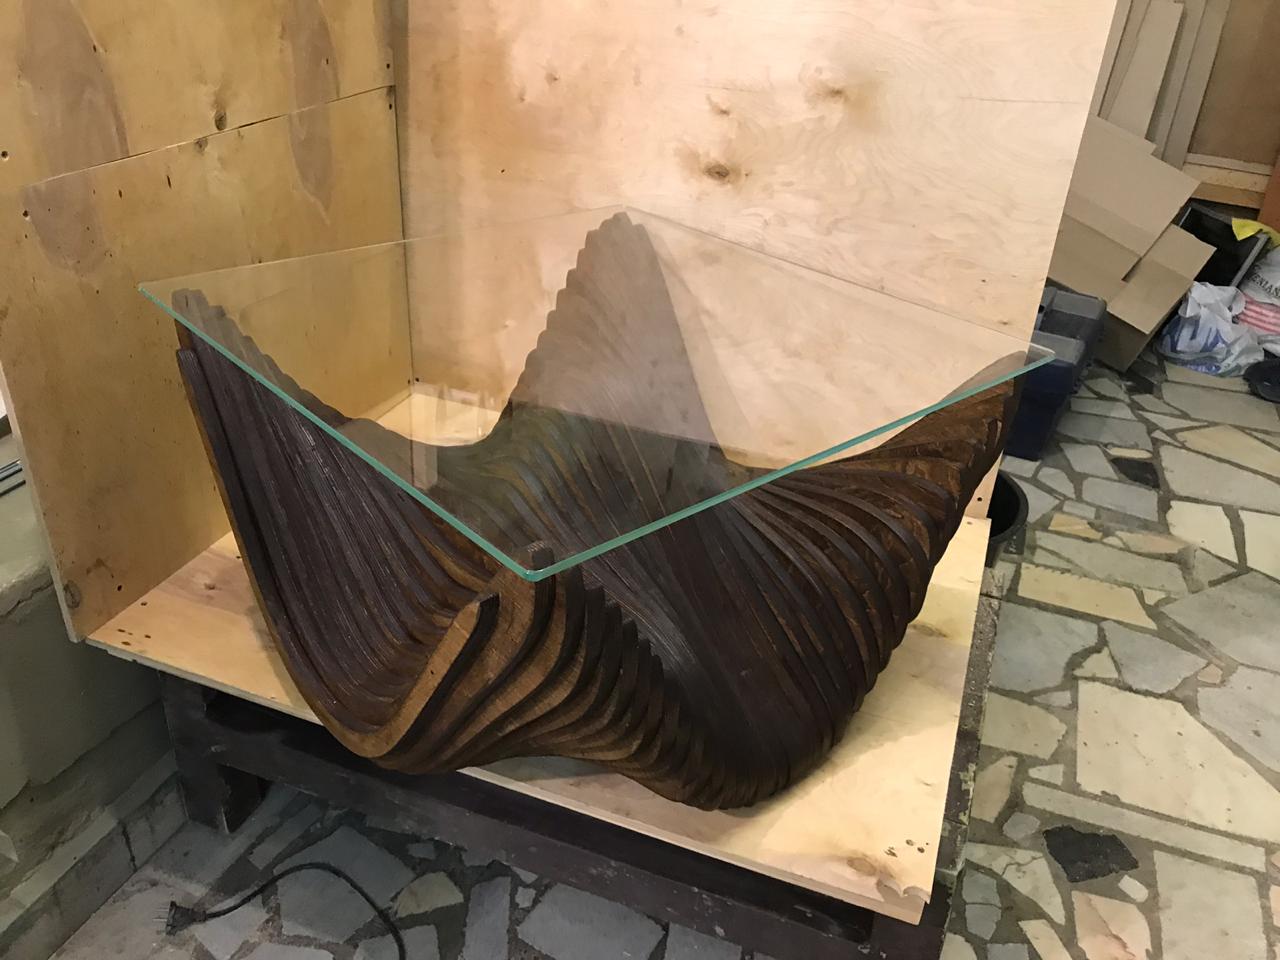
This is for a local maker, who’s currently working on a gaming table top for his dad. The edges (not shown here) were built up from stacked layers of laser cut plywood. He had me make the 36" x 36" table top that was too large for the laser cutter at his maker space.
Next up is a shoe cubbie for my living room. This is the design I made in Fusion 360:
I then programed the parts using the manufacturing tab, arranging them a couple parts at a time. The first parts to be machined are the ends:
These are the ends after I cut the tabs off:
Next are the dividers. I cut an extra one here because I’m going to make two of these cabinets and it just made it easier to cut one for the next one now.
I also cut the deck of the cabinet this weekend. I still have the shelf and the stretcher to cut for this cabinet. This stack here is all the parts I machined today, including a little mail organizer for my kitchen:
This is a better view of the mail organizer. Still needs sanding and some staining. I am pretty pleased with how this came out, especially considering I drew this up this morning. It’s really cool to be able to go from idea to an assembled product in a day! 
More to follow in the future. Next weekend also will have a fair amount of Maslowing.
Would you be willing to share the mail organizer design file?
Of course. I’ll try to get it up in the community garden tonight when I get home.
When I saw the first picture I thought you were mass-producing boomerangs (which would be cool btw) but the table is even better! 
I didn’t cut anything but I printed something! Got my 3D printer set up and working so I can print the meticulous dust chute parts. Started with the body, 3 hrs and 23 minutes.
Very cool! I was thinking about using this technique to make sculptures. What program did you use to design the slices?
Fusion 360
The upside down table looks like an interesting lounge. Since I’m not familiar with the scale, I might be way off!
700х700mm


