Sharing some notes and questions in this topic now that I’m finally getting around to tinkering with Maslow 4.1.
Been a while, so I’m behind/hazy on what the 4.0 to 4.1 migration steps are. Below is my understanding, please confirm, correct or redirect me to latest greatest process folks should follow. Cheers!
Plan…
Upgrading Maslow 4.0 to 4.1
- Read/follow 4.1 Upgrade Instructions — Maslow
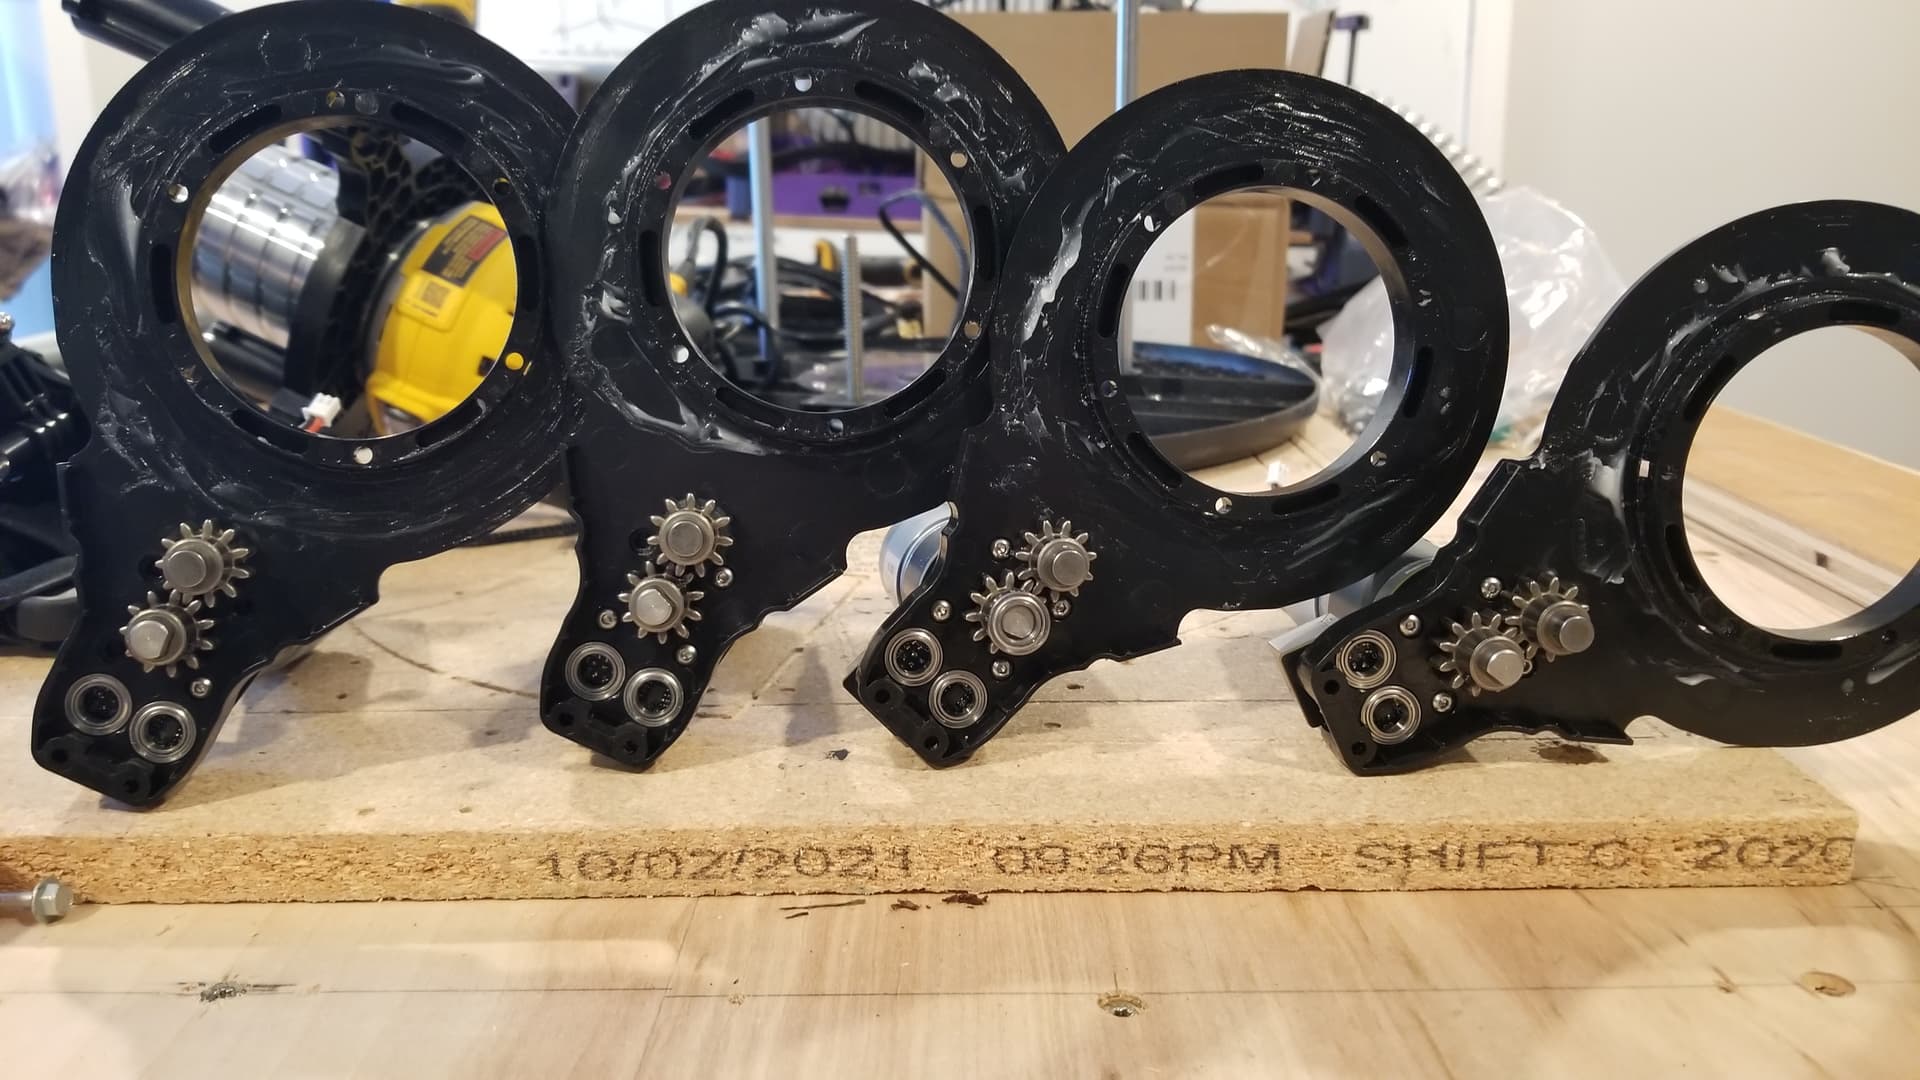
- Partially Disassemble 4.0, https://www.youtube.com/watch?v=T6YOMy4PIlM
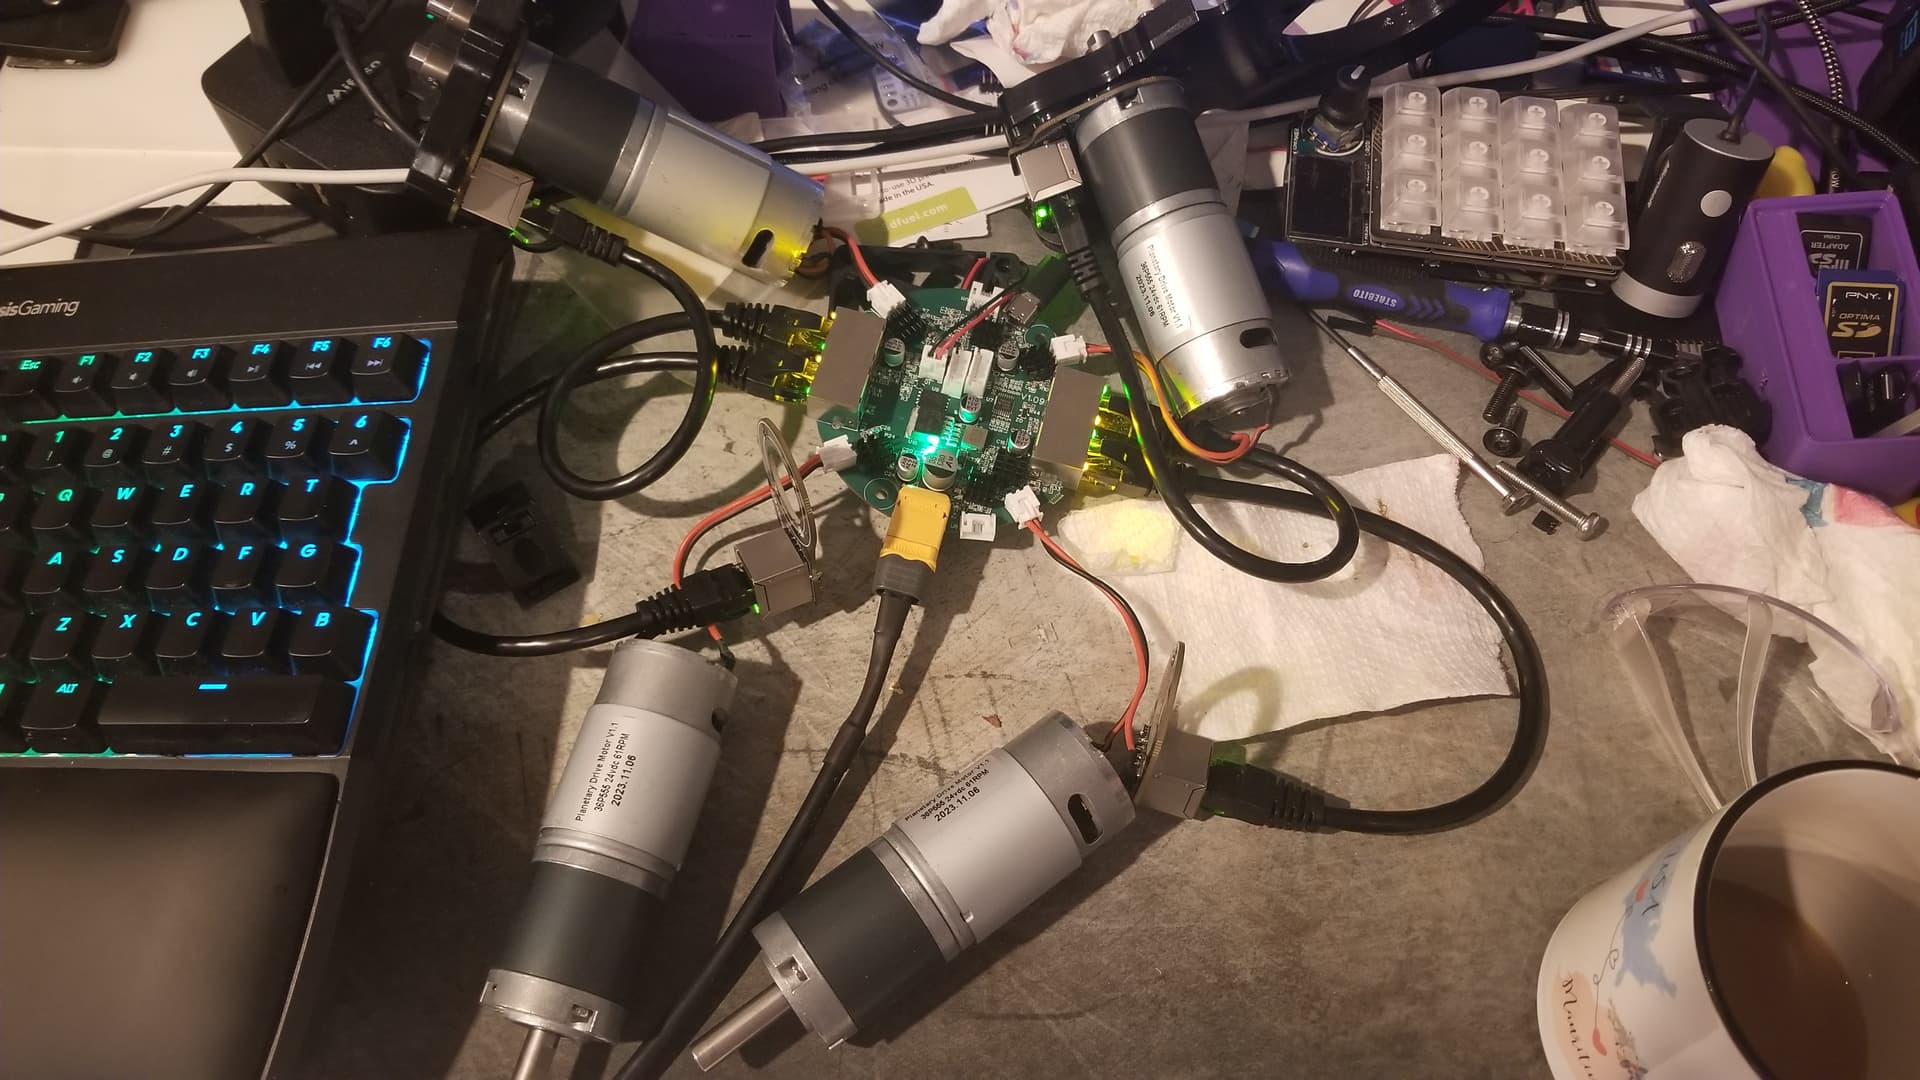
- Assemble 4.1
- See https://www.youtube.com/@MaslowGuides, docs will evolve/improve, so see what’s new/updated, specifically:
- Assemble 4.1 Arms, https://www.youtube.com/watch?v=eZelnkdbFbk
- Assemble Router mount, https://www.youtube.com/watch?v=SX6Un_KJFtk
- Building the sled, https://www.youtube.com/watch?v=-YXFFvfvOZc
- Putting it all together, https://www.youtube.com/watch?v=29Pf2GpZ3kI
- Install firmware, https://www.youtube.com/watch?v=od7DpdLel6A
- See https://www.youtube.com/@MaslowGuides, docs will evolve/improve, so see what’s new/updated, specifically:
- Calibration walkthrough, https://www.youtube.com/watch?v=mQwz0omOKJc
- First Cut tutorial
- Some Maslow Coaster/Sign, or, some other useful calibration verifying beginner project (e.g. tool box/chest for Maslow 4 and related bits/tools. Or jig, etc…)?
- Share feedback post build, to help inform design/firmware/doc improvements, maybe a questionnaire like this.
Community tips
- Hardware:
- Bolts to consider:
- Consider Socket cap heads where possible, check clearances of near by parts though… Beagle’s post
- Consider using some 12mm and 16mm bolts when needed to help better engage Nylock, Dlang’s post.
- Dealing with stripped bolt heads:
- Drill out stripped heads using 3mm, start with 2mm, see Beagle’s post.
- Use vice grips to twist out and remove headless bolts, see Aggie.wes’s post.
- Consider using rubber band between bit and bolt head for extra grip, seeronlawrence3’s post.
- Consider #2 triangle bit, not common but could be great?, see GESDesigns’s post
- If all else fails, ensure sufficient home and medical insurance policy coverage, try blowtorch/hot-blade to cut the screws out, TebrynNym’s post.
- Dealing with nut spin:
- Try jamming small straight screw driver between nut and plastic recess. see DLang’s post.
- Bolts to consider:
Feedback…
Maslow Packaging
- Arrived nicely packaged, bundled and looked organized to me.
- Consider reducing unboxing and getting started friction/frustration by including sticker with Maslow CNC logo + QR Code. Depending on whether upgrade/full kit, the QR Code points to either 4.0 to 4.1 migration doc, or, full 4.1 assembly-setup docs. Consider using intermediate forwarding URL for QR Codes so you can update URLs.
@ Admins, feel free to edit my posts if that’s faster/easier than responding back and forth. Maybe there’s a wiki with 4.0 to 4.1 upgrade roadmap already?