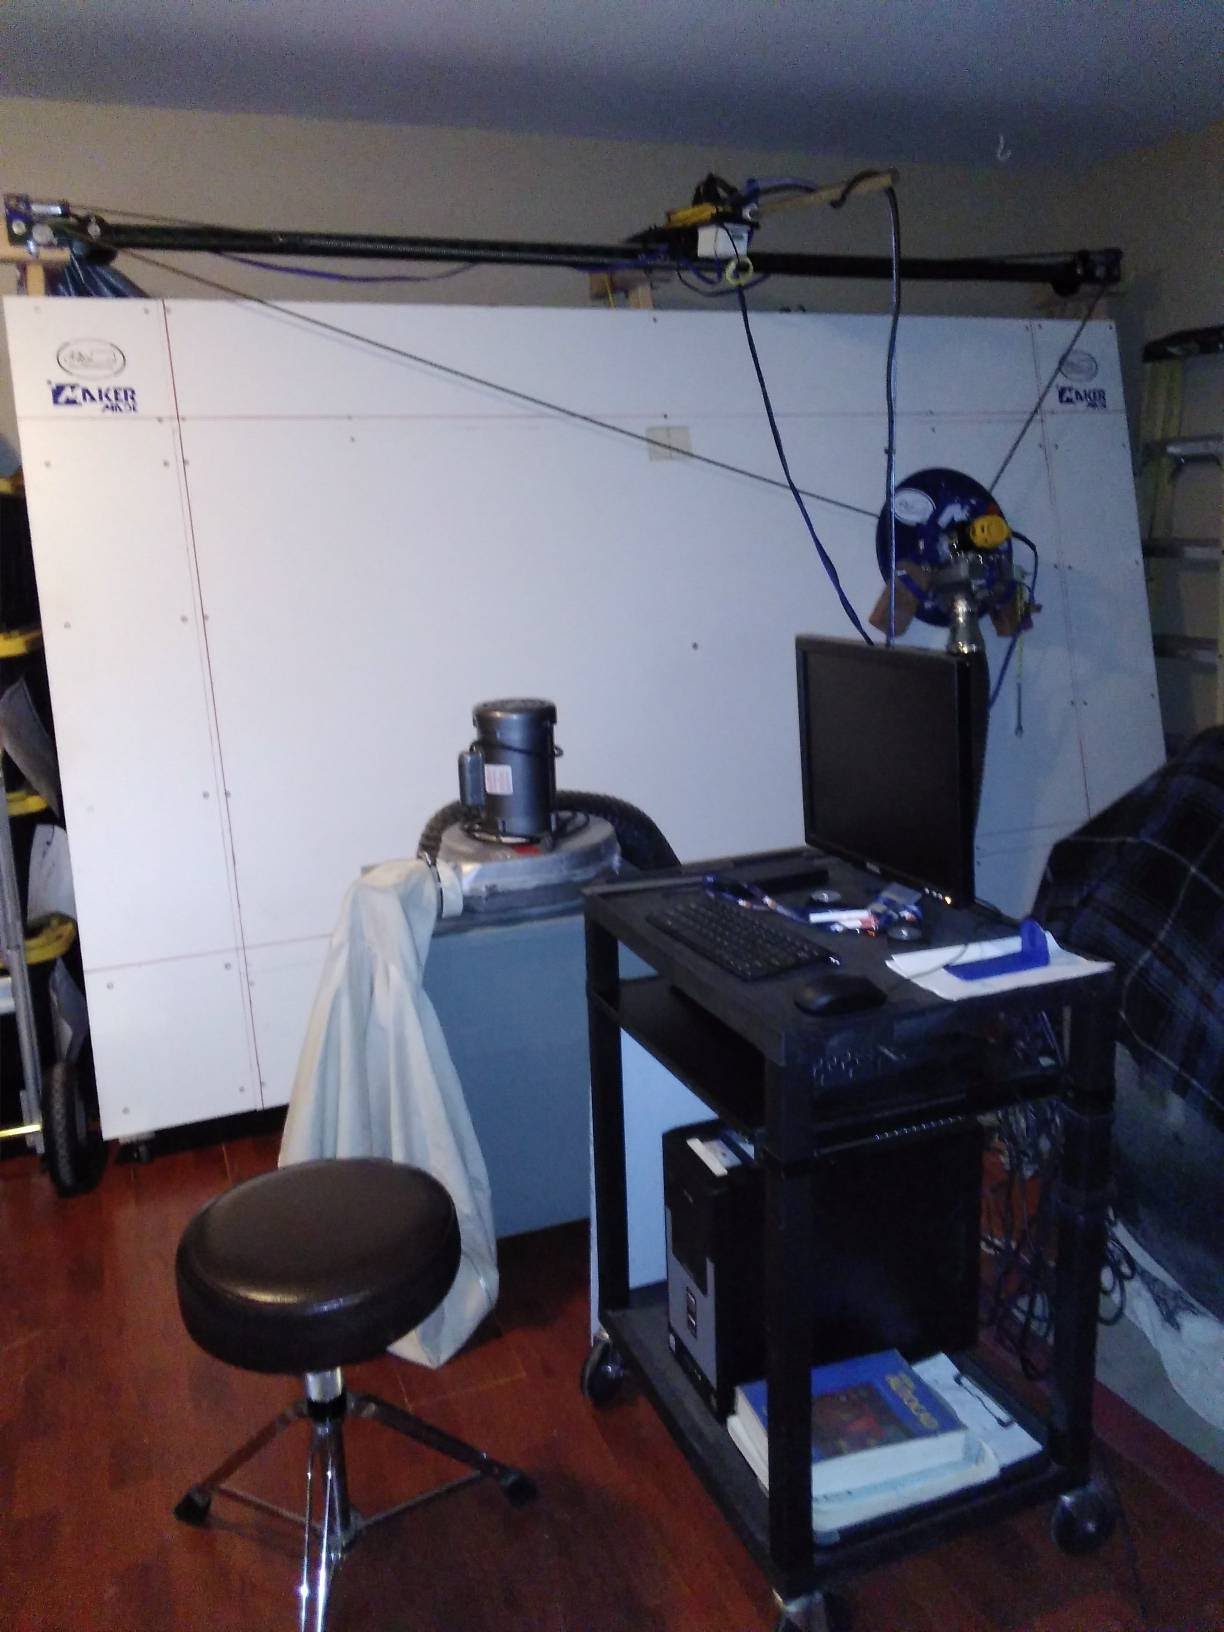
#1: the M2 sled tilted badly and chains skipped while cutting lower left corner area and M2 sled seems to have lost it’s calibration…those dashed lines and straight lines are supposed to be straight no curves…I am cutting 4mm coroplast sheets and yes, I placed GCode file fairly close to the edge of 4’x8’ sheet of coroplast so I own this…BUT I think I may have the chains and roller too close to the middle of towers on M2 Sled…should I have these chains and rollers connected higher up the Z axis? The M2 sled was tilting falling off the 4mm coroplast sheet…to be fair, I had another 4mm sheet of coroplast underneath as waste board so that was total of 8mm thickness material…should I relocate chains and rollers higher up Z Axis and recalibrate?
#2: my GCode file created a whole bunch of vertical lines inside the triangle bulkheads…I thought they were machine travel lines and did not realize they were actual cut lines…I certainly did not add these lines in my drawing file…how did they get there??
once the chain skips, you need to reset the chains to known positions or recalibrate
if the sled is tipping ( and the sled ha enough material under it ) then the ring is not the right height from the sled. If you hang the sled by the ring, it should hang straight (some people argue that it should hang at the angle of the frame, either is close enough, given that as the router moves on the Z axis, this will change)
on the x/y plane, the center of gravity is several inches below the bit, so you need to have something around 6" of material the thickness of your workpiece below where the bit will be to keep the sled from tipping. the top doesn’t have this problem, and on the sides you only need a couple inches
did your sled jump because the floor pushed up on the vacuum hose and wouldn’t let the sled go to the bottom of the workpiece? This will cause the sled to roll 45 degrees to one side for the vacuum hose or if it is travelling almost vertically down, the sled stays up while chain relaxes and then the chain can skip. I found if the vacuum hose sticks out 90 from the sled surface rather than facing the floor, it won’t jam on the bottom edge of the cut piece. Another fix is to jack up the entire frame for hose clearance.
As for the dashed lines, if you share your svg, I can look at it.
the dashed lines are part of the design of the part / perforated dashed line so the coroplast can be easily bended on that line
I agree that from now on the parts I design and cut should leave 6" to the edge of the 4’x8’ work surface so the M2 Sled has enough footprint contact so it won’t tilt off work surface…yes, the dust collection hose DID touch the floor and increase the tilt of the M2 sled, very good observation!
I will recalibrate from scratch, I am getting good at it at this point from all the times I have done this…I also realized that Easel creates GCode that automatically raises Z Axis up 15mm from router tip touching material and I over-rode that and calibrated the machine with Z Axis before I ran the GCode file…that caused the machine travel lines to be cut into material because the router was dragging across the material…I just didn’t realize all of this! But coroplast is CHEAP and easy material to work with and with all of your help I am learning and learning and learning and learning and growing in confidence…
the most important part of cutting parts is having accurate XYZ calibration and the second most important part is having your Easel / GCode file accurately set for proper cut lines, proper cut depth, etc
lots of work but I am learning, thank you all of you
I am now understanding why some people choose to build their M2 CNC Machines with 12’ wide upper crossbars with 10’ x 6’ work surface so they can calibrate the M2 CNC to be able to cut accurately all the way across a 4’x8’ material!
I agree that from now on the parts I design and cut should leave 6" to the edge of the 4’x8’ work surface so the M2 Sled has enough footprint contact so it won’t tilt off work surface
When you see people talk about ‘skirts’, they are talking about added area
around the workpiece that’s the same height as the workpiece, so that the skirt
supports the sled so that you can cut all the way to the edge of the workpiece.
Most of the conversations talk aobut 9" on all sides, but the balance of the
sled in the x/y plane means you need 6-8" on the bottom 2-3" on the sides, and
none on the top in practice.
I also realized that Easel creates GCode that automatically raises Z Axis up
15mm from router tip touching material
This should be configurable in Easel. Z movement is slow, so you want to make
this just a couple mm.
I am noticing that where I have the chains anchored binds / rubs against the chain length from sprockets to M2 sled when the sled is towards upper work surface edge…I copied what I saw in the assembly guide (as best as I could although I am using unistrut so it is tough to anchor a nail with unistrut) but that is not a good place overall to anchor the chains as it interferes with the chains from sprocket to sled…but for now that is no problem if I only cutting parts that leave 6" surround of material at work surface but at some point I want to add 12’ cross bar + longer chains and reliably increase this CNC’s ability to cut all the way to 4’x8’ material at least within a few inches
doesn’t my frame have a full width skirt? Am I understanding correctly?
hard to tell from the picture, but if you have a skirt that matches the
thickness of your workpiece, then the sled won’t tip as it passes the edge of
the workpiece
I am noticing that where I have the chains anchored binds / rubs against the
chain length from sprockets to M2 sled when the sled is towards upper work
surface edge
the stock approach of bungee cords provides the most tension when you need it
the least, and the least tension when you need it the most. replace it with
weights and they do a much better job of managing the slack
I am using the stock included spring that came with Makermade M2 kit but yes, I will soon take your advixce and upgrade to the more reliable / zero interference weights on chains tensioning system. Good advice, now I see why people upgrade to that
And yes, my 4’x8’ work surface is 3/4" MDF and so is the surrounding skirt. I believe my sled tilting and jumping off sprocket was due to a few factors that conspired together to create the problem —> #1: I was cutting 8mm tall stack of coroplast with no levelling skirt next to material I was cutting (which I can do from now on) —> #2: my GCode file was extremely ambitious and had parts drawn out to within a couple inches of the 4’x8’ material (easily fixed, I have scaled back my ambitious GCode file to have at least 6" of unused material around the 4’x8’ coroplast sheet) —> #3: where and how I have chains anchored on the unistrut top crossbeam causes interference with the chain from sprocket to sled when I am trying to cut parts at the corners (I will have to fix this later with an improved chain tension system such as what Mr. David Lang suggests)
I have been calibrating and re-calibrating and re-calibrating to get the machine ready again…ay yay yay…calibrating is very time consuming and I have a small cramped workspace and this is a tall frame assembly so measuring the edges when calibrating takes time and moving of ladders, stepping over cords and dust collection tubes, etc…ay yay yay
but should be able to do next test cut this evening
And yes, my 4’x8’ work surface is 3/4" MDF and so is the surrounding skirt.
ahh, the skirt needs to match the surface of the material you are working, not
the backing. so you either need to make the skirt adjustable, or you need to put
a pieceof the coroplast on top of it.
I have been calibrating and re-calibrating and re-calibrating to get the
machine ready again…ay yay yay…calibrating is very time consuming
This is why there is the ability to set the chains to a known length.
just before you do the ‘move to home’ you should have a tooth on the sprocket
pointing straight up (12 o’clock), mark the link that is on that tooth. Then
when something goes wrong (and it will), all you have to do is to get a tooth
(any tooth) on each sprocket back to 12 o’clock, put the marked link on that
tooth, and tell the firmware to reset the chains (the default length is 1651mm,
it would need to be longer, some multiple of 6.35mm, with a 12’ beam)
yes sir! I am following your advice! Right now, I am still in calibration…I previously marked the sprocket at 12oclock but then had the m2 sled tilt jump skip etc and ruin calibration…what do I physically need to do to put my chains back on in correct spot? I marked the chain and sprocket but what do I need to do to physically reset all that? Remove the chain, move the X axis until sprocket is 12oclock and place chain back on? I marked both sprockets so do I do that both sides? I am unclear on what physically to do? Thank you for all your advice and I have a 10’ crossbeam by the way and 4’x8’ work surface with skirting surround
By the way, I have M2 sled removed and chains connected together with cotter pin at center of my work surface right now but the sprockets are obviously no longer at 12 oclock…could you explain what I need to do to rotate the sprockets and replace the chains at marked link with sprocket at 12oclock?
what do I physically need to do to put my chains back on in correct spot? I
marked the chain and sprocket but what do I need to do to physically reset all
that? Remove the chain, move the X axis until sprocket is 12oclock and place
chain back on? I marked both sprockets so do I do that both sides? I am
unclear on what physically to do?
I’m not familiar with the software for the M2, but there should be a menu to let
you move the two motors to get a tooth to 12 o’clock (you have to do it for the
calibration anyway)
then you put the marked links on the chain
Then there should be a setting somewhere to set (or reset) the chain lengths
(and buried in the settings, there should be a place to set what this chain
length is, defaulting to 1651mm)
I am afraid to lift the chain off the sprocket as it has that really strong spring and I dont want to get torn up haha
since I already have the two chains linked together with cotter pin at my center point of work surface (which I have marked with 1/4" routed hole into wasteboard) but the sprockets aren’t at 12oclock…so do I keep the chains in same place and clamp the chain one side at a time to crossbar so it doesn’t pull back and tear me up and THEN lift chain off the sprocket and rotate the sprocket motor until tooth I marked is at 12oclock?
My biggest question is how do I lift the chain without getting hurt…that spring that connects them is really strong…ideas?
thank you for all your encouragement and responses, they have been very helpful!
once you find where to control the sprockets, you can opt to just run the
sockets to get the link in position. If you can remove the chain you can save
time.
groundcontrol and webcontrol have buttons for 0.1, 1, 10, 360 degrees in each
direction. under the covers this is done with a B command (custom command that’s
gcode like)
but the m2 may use different firmware, so all I can do is tell you what to look
for.
never mind last response, with M2 sled removed, it was simple, I climbed up ladder to crossbeam at left side motor sprocket and physically grabbed the chain and lifted it while holding it and then aligned my previous mark on chain link to sprocket mark…I moved the X axis 1mm at a time to get sprocket at 12oclock and made sure my linked chains were still at center of my work surface…it was all MUCH easier than I thought it would be…OK, so now I put M2 sled back on and do I need to recalibrate the X&Y to edge or am I good?
My Z axis is all messed up also, I was / am getting soft limit errors all over the place just trying to lift the router bit so sled wouldn’t drag…so i will re-do that again anyways
never mind last response, with M2 sled removed, it was simple, I climbed up
ladder to crossbeam at left side motor sprocket and physically grabbed the
chain and lifted it while holding it and then aligned my previous mark on
chain link to sprocket mark…I moved the X axis 1mm at a time to get sprocket
at 12oclock and made sure my linked chains were still at center of my work
surface…it was all MUCH easier than I thought it would be…OK, so now I put
M2 sled back on and do I need to recalibrate the X&Y to edge or am I good?
you need to find the setting in your software that tells it that you have moved
the chains
My Z axis is all messed up also, I was / am getting soft limit errors all over
the place just trying to lift the router bit so sled wouldn’t drag…so i will
re-do that again anyways
The Z axis needs to be set every time you change the bit, that should be the
same process.
I am struggling to calibrate the X&Y of this machine. I have set left side sprocket at 12oclock and lined up the chain mark…this might be a stupid question…but I do this for BOTH sprockets?
I have finally reached a point where I have the chains not binding when I calibrate, I adjusted where my chain anchors are located and that made a big difference. Truly though, I believe the weight tensioning system is something I will eventually incorporate at some point.
I have gotten much better at X,Y calibration but Z Axis calibration still is tough for me as I am having depth cut issues where I am not cutting all the way through these 4mm / .167" thick coroplast sheets…it may be the inconsistency of sheet thickness though, not sure yet. I ordered 2 Tankards Z axis alignment jig and height adjustment jigs and look forward to using those. But at least I am better understanding the X&Y calibration…getting the sprockets aligned at 12oclock was easy once I figured it out, I hope Makermade produces a video on chain calibration because it is truly very hard to understand and do correctly as there are so many variables that just aren’t very clear or intuitive / easy to understand. BUT, I have figured it out…for those who are brand new to this machine, it truly is extremely difficult to learn to calibrate the M2 CNC chains…
I learned the hard way that your first parts you try to cut be very very conservative and leave much space around your material so M2 sled doesn’t tilt or catch on the screws you use to attach material sheets to the frame…and it is highly recommended that you use skirt surround of same thickness as material you are routing so sled stays horizontal otherwise your M2 Sled will have chains jump sprockets / tilt and ruin your cut and ruin your calibration. Live and learn!
But I am getting there!
I have discovered that the M2’s Sled’s stock factory dust collection is TERRIBLE and the channel underneath Z Axis tower assembly clogs with dust and material chips very easily rendering your dust collector useless…I am going to purchase the 2 Tankards upgraded dust collection for the M2 Sled and I hope that properly resolves the terrible dust collection problem
all in all I am making progress though, thank you for those who have helped and encouraged!